My breakfast nook wall has been bare for almost four years.
With the pandemic going on, I’ve decided to take on yet another DIY to makeover the breakfast nook in my home. We all know that I’ve been bringing more plants into my house but I have always enjoyed flowers. I pictured myself eating breakfast every morning, surrounded by flowers, with the breeze coming in through the window. That’s when I knew I needed a DIY floral wall hanging.
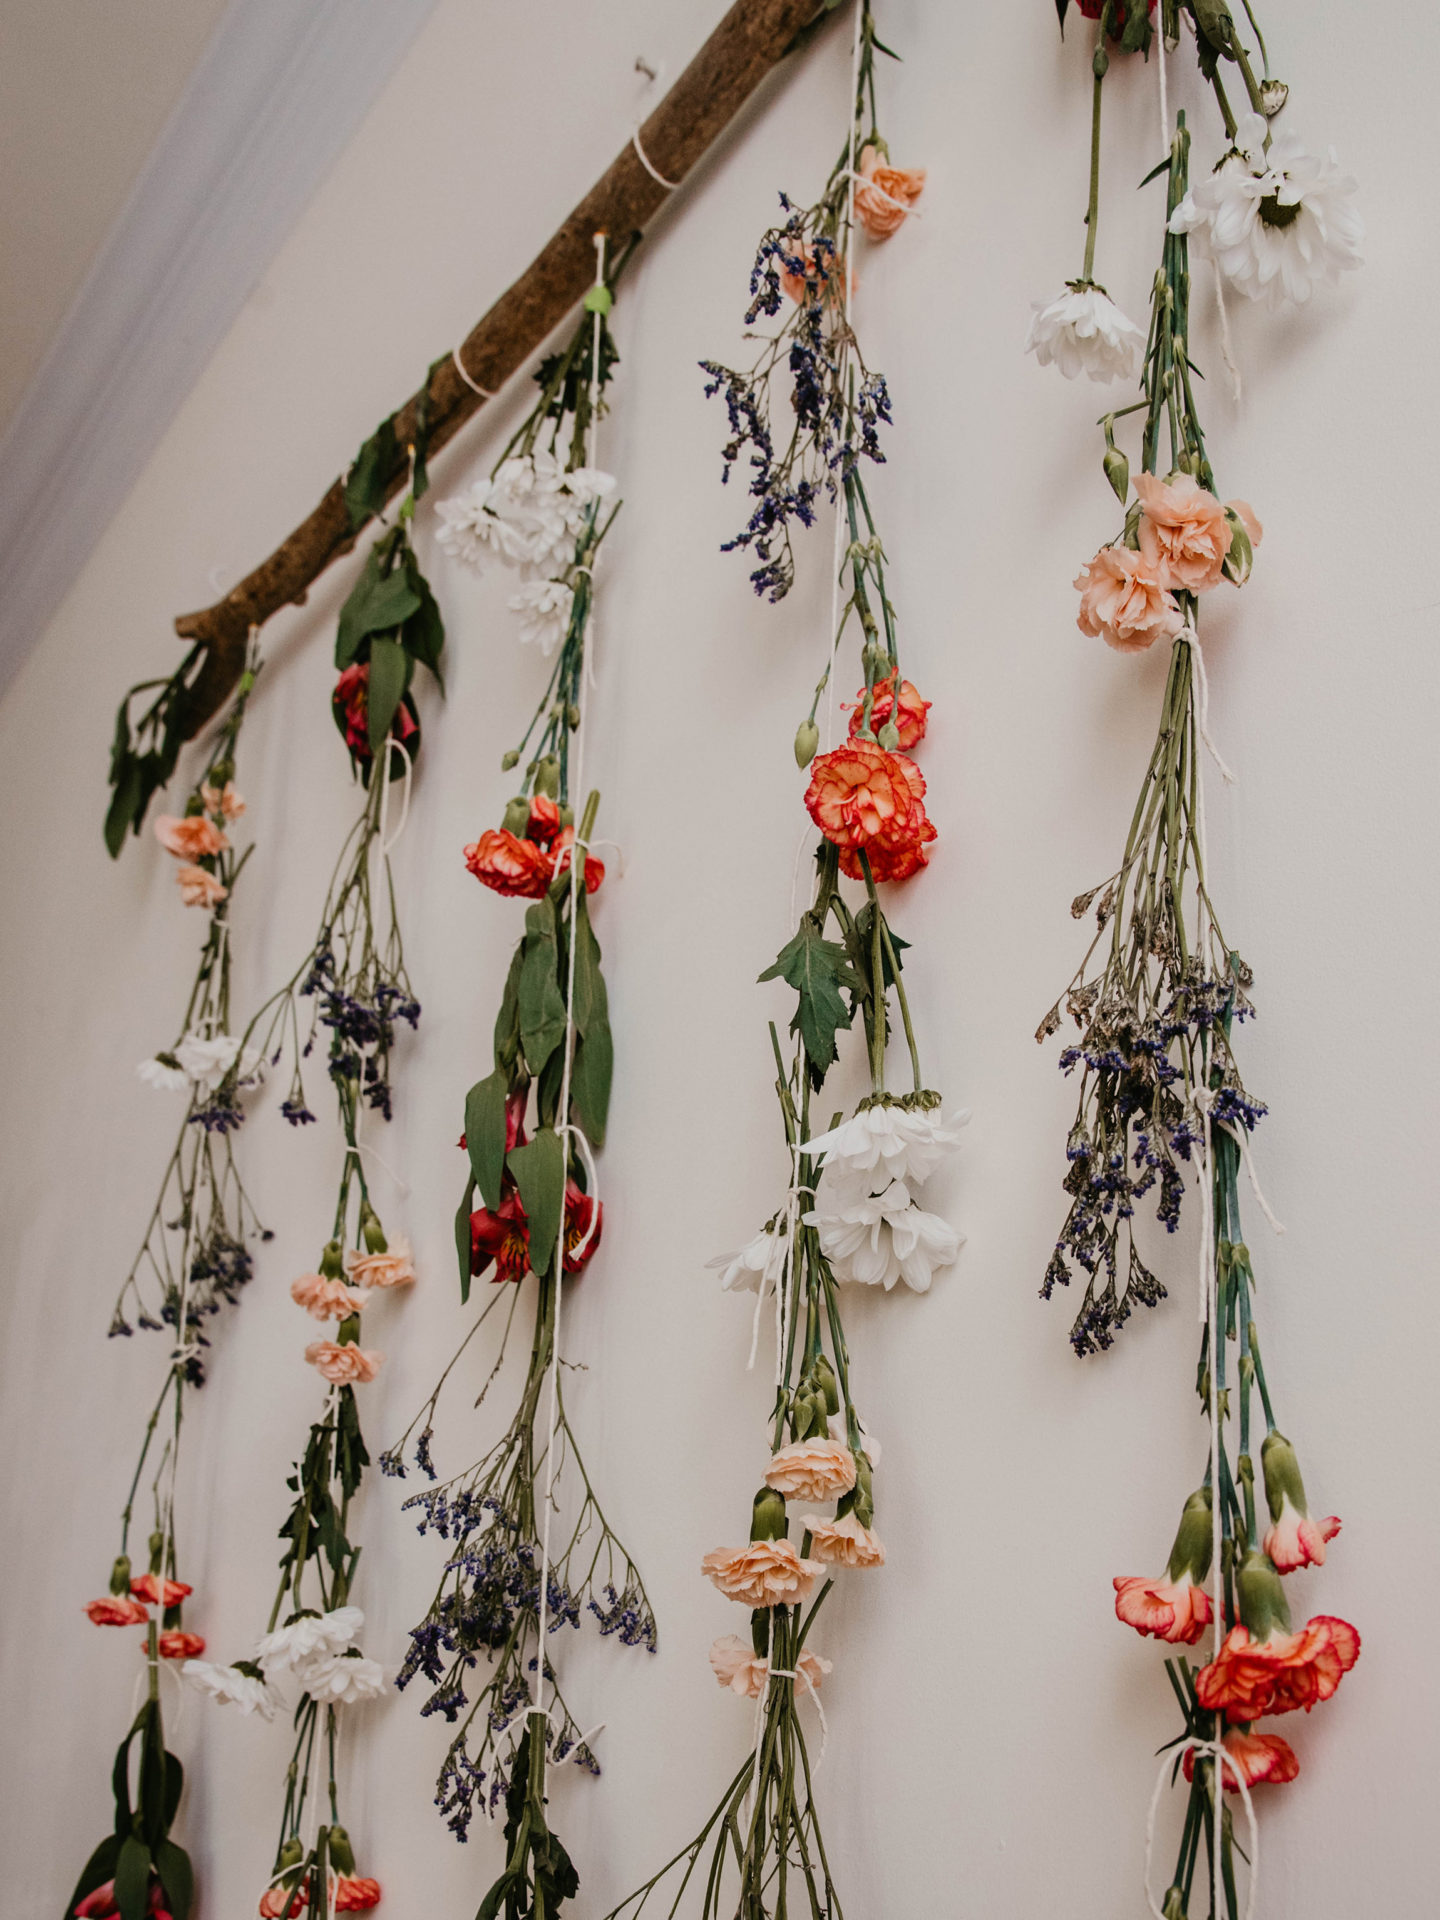
I could not be happier with the end result! What’s great is that I can leave these flowers up to dry or change them out for the seasons.
Things You’ll Need:
-
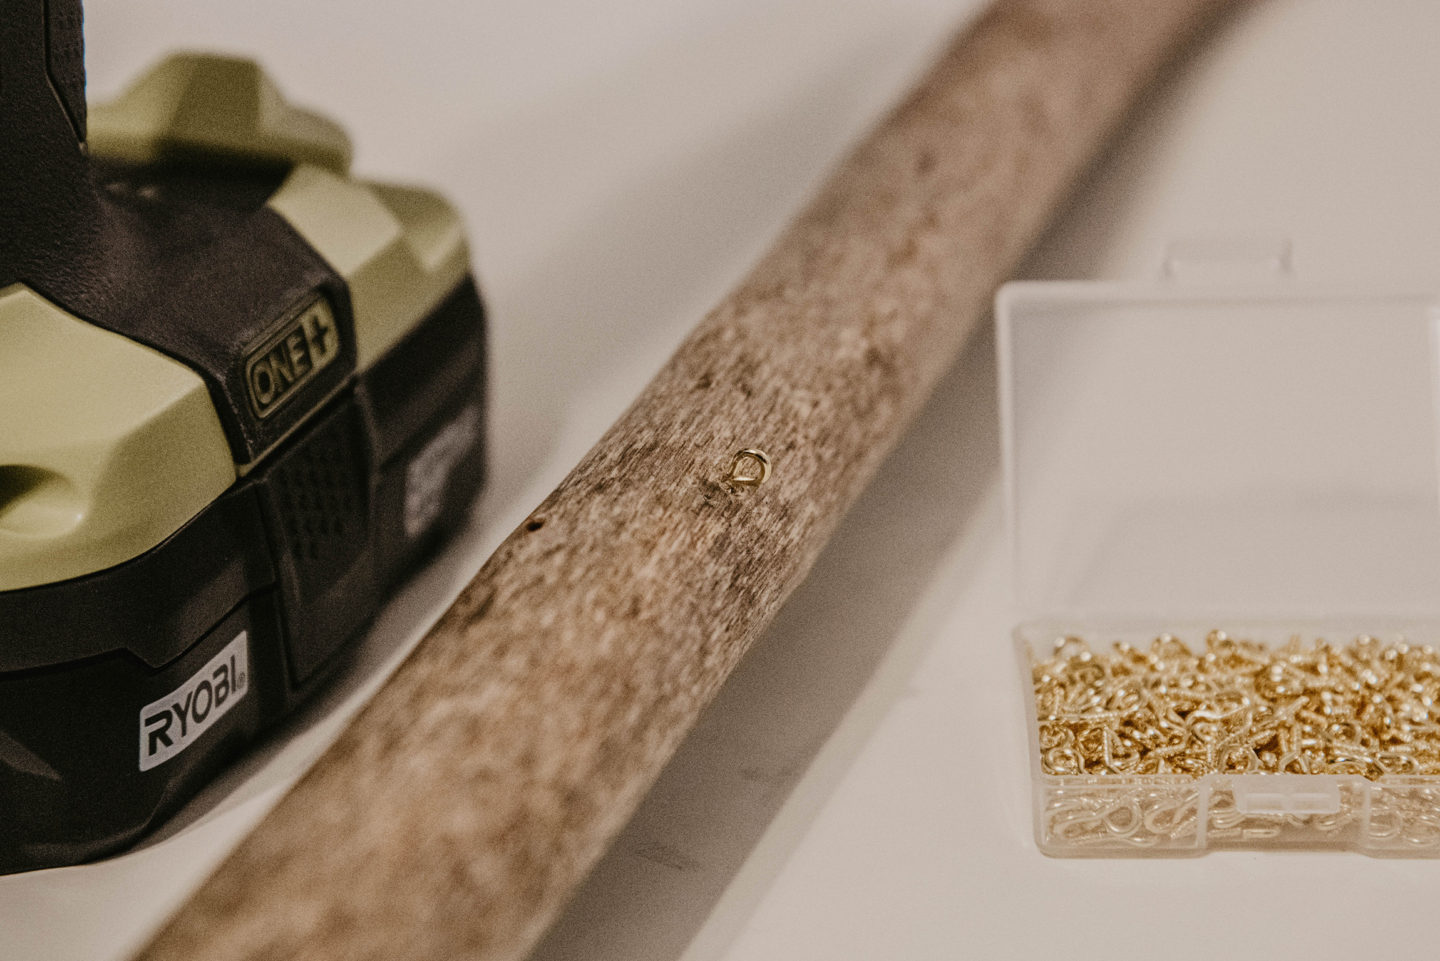
- Wooden Branch/Driftwood
- Hook Screws
- Eye Screws
- Twine
- Floral Tape
- Garden Scissors
- Screw Driver & Drill Bits
- Leveler & Pencil
- Flowers
Step One:
Measure out the piece of wood for how many hanging sections you plan to have – I made space for five. Also, make sure you measure the two hanging points as well. Drill shallow pilot holes into the wood so that it’s easier for the eye screws to sink into the wood. Be sure that your pilot holes are not wider than the eye screws themselves, otherwise, you will have loose screws. If you are concerned the screws may shift, you can always put at little E6000 on the tip of the screw before you screw it into the wood.
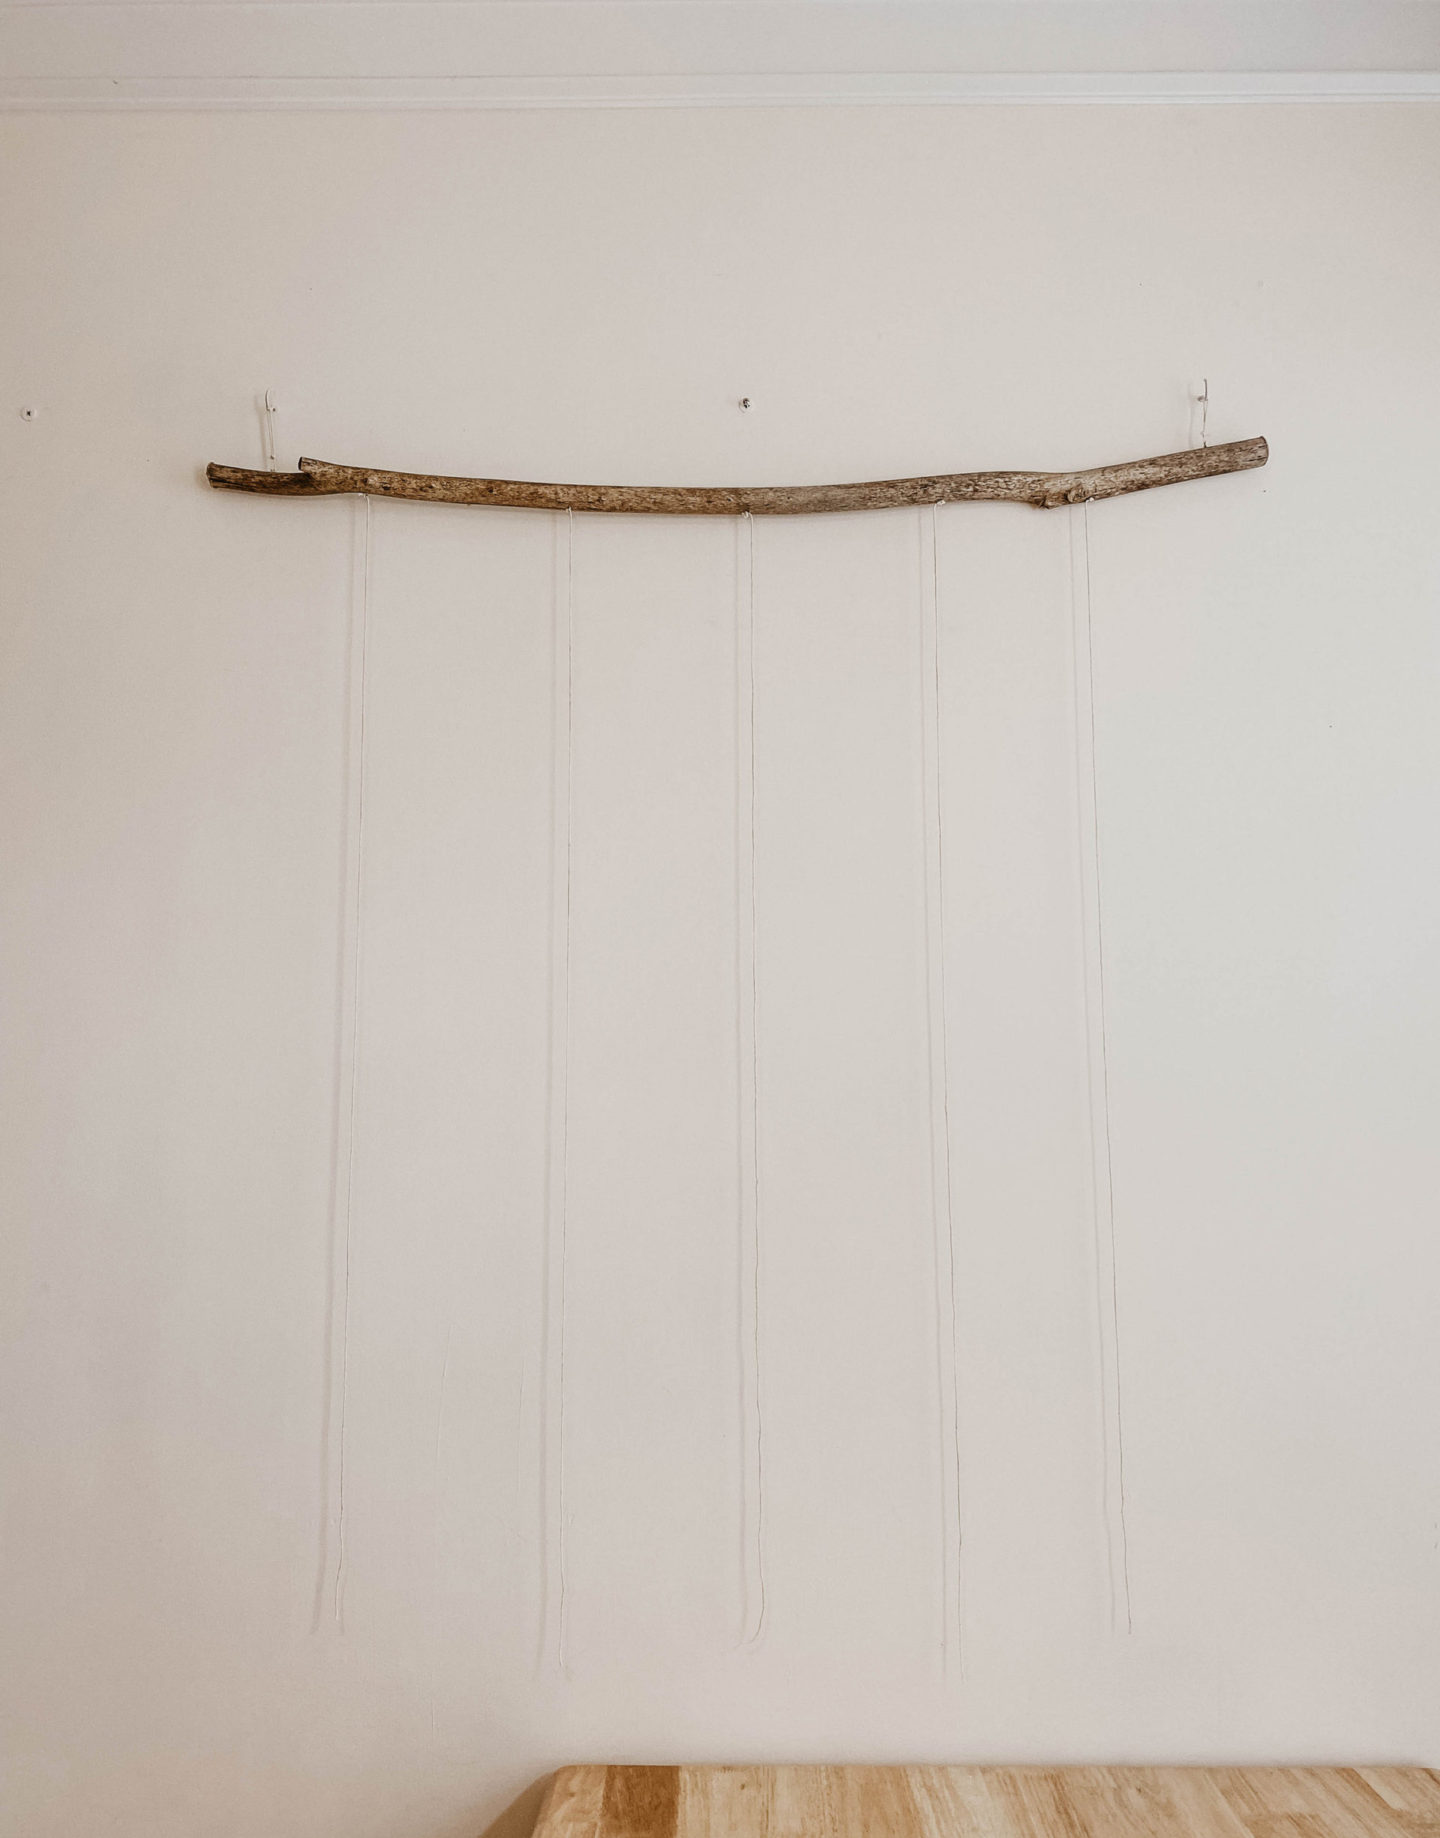
While that dries, measure out the length of twine you need to hang the wood from the hook screws as well as the length you need for the flowers. From there, cut the appropriate number of pieces to match the number of eye screws you dedicated to the DIY floral wall hanging. Tip: Be generous in length, you can always trim later!
Go ahead and tie the twine through the eye screws and knot the ends so the twine doesn’t slip through the eye screw opening. Regarding the two eye screws the piece will be hanging from, hoop the twine and tie a knot (see below).
Step Two:
Once everything is ready (or dry, if you used E6000) measure the distance between the two eye screws dedicated to hanging the wood. Mark the appropriate spots on the wall where you will be placing your hook screws. You can use a leveler to make sure everything is even!
My piece of wood isn’t heavy so I hand-twisted the hook screws in the marked section of my wall. From there, I took the two hooped twine sections and hung the DIY floral wall hanging from the hook screws.

Step Three:
Make sure it’s even! Even though I used a leveler, I always take a step back to examine the work in case I made any errors. Also, take a minute to look at what you just did. That was all the hard part – now the fun part starts!
Step Four:
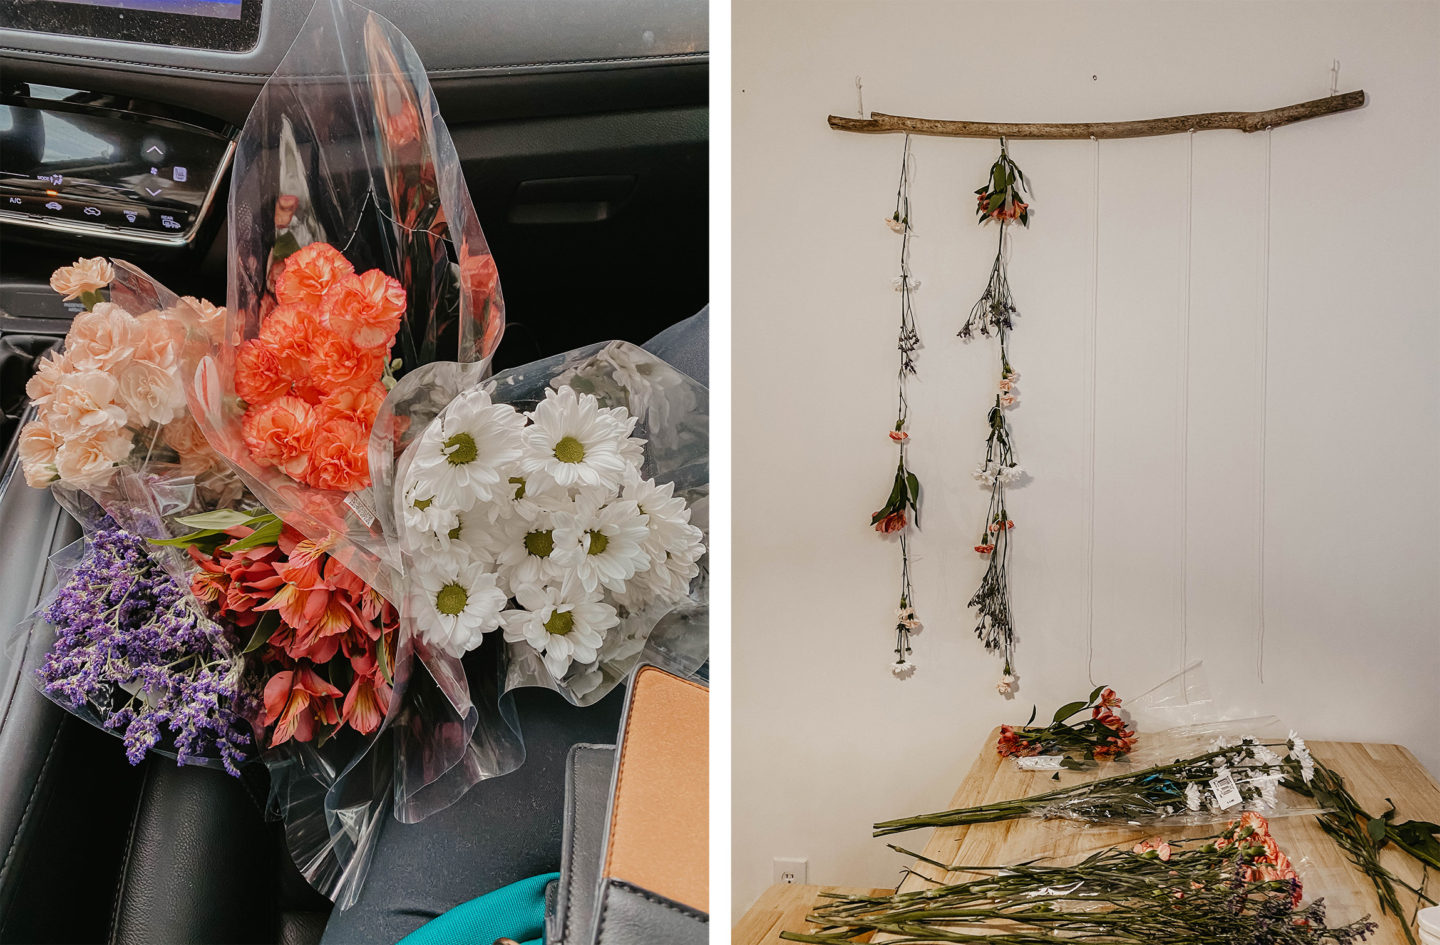
Buy your flowers. Choose carefully. If you are able to plan ahead, even better. I bought my flowers from Haris Teeter, our local Charlotte grocery store, so I had limited options to choose from. I tried to keep a peachy color palette and highlighted those with purple and white florals.
Step Five:
Take your floral tape and garden scissors and start trimming the stems and hanging. I was a bit reserved with the first strand, but I went back and filled in the lighter areas with more florals with any extra I had available.
Making your own DIY floral wall hanging is easy! Are you going to give it a try?