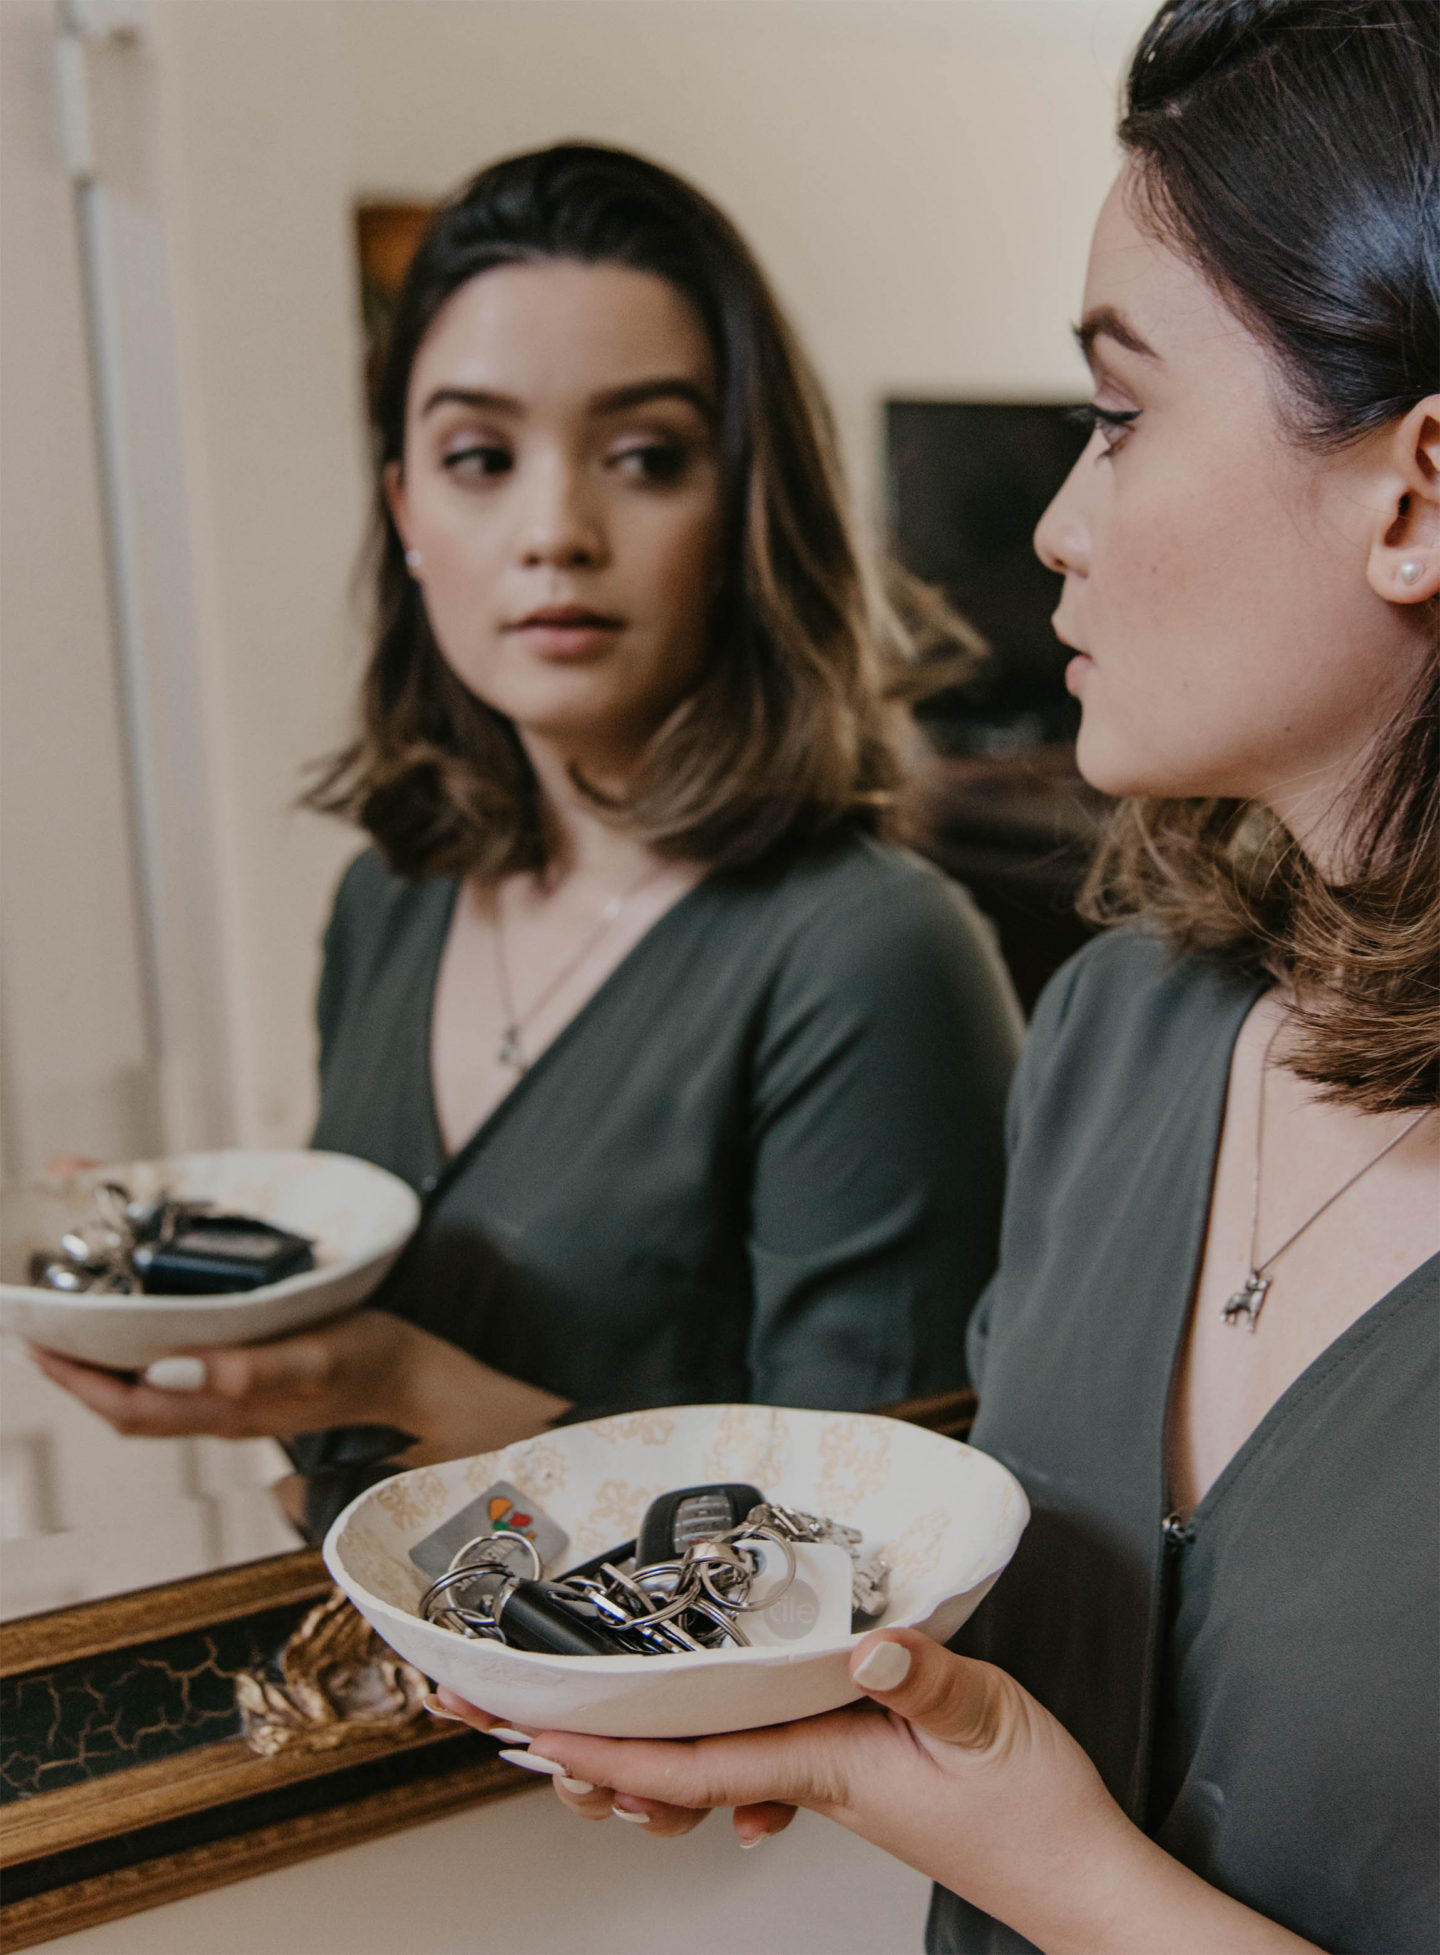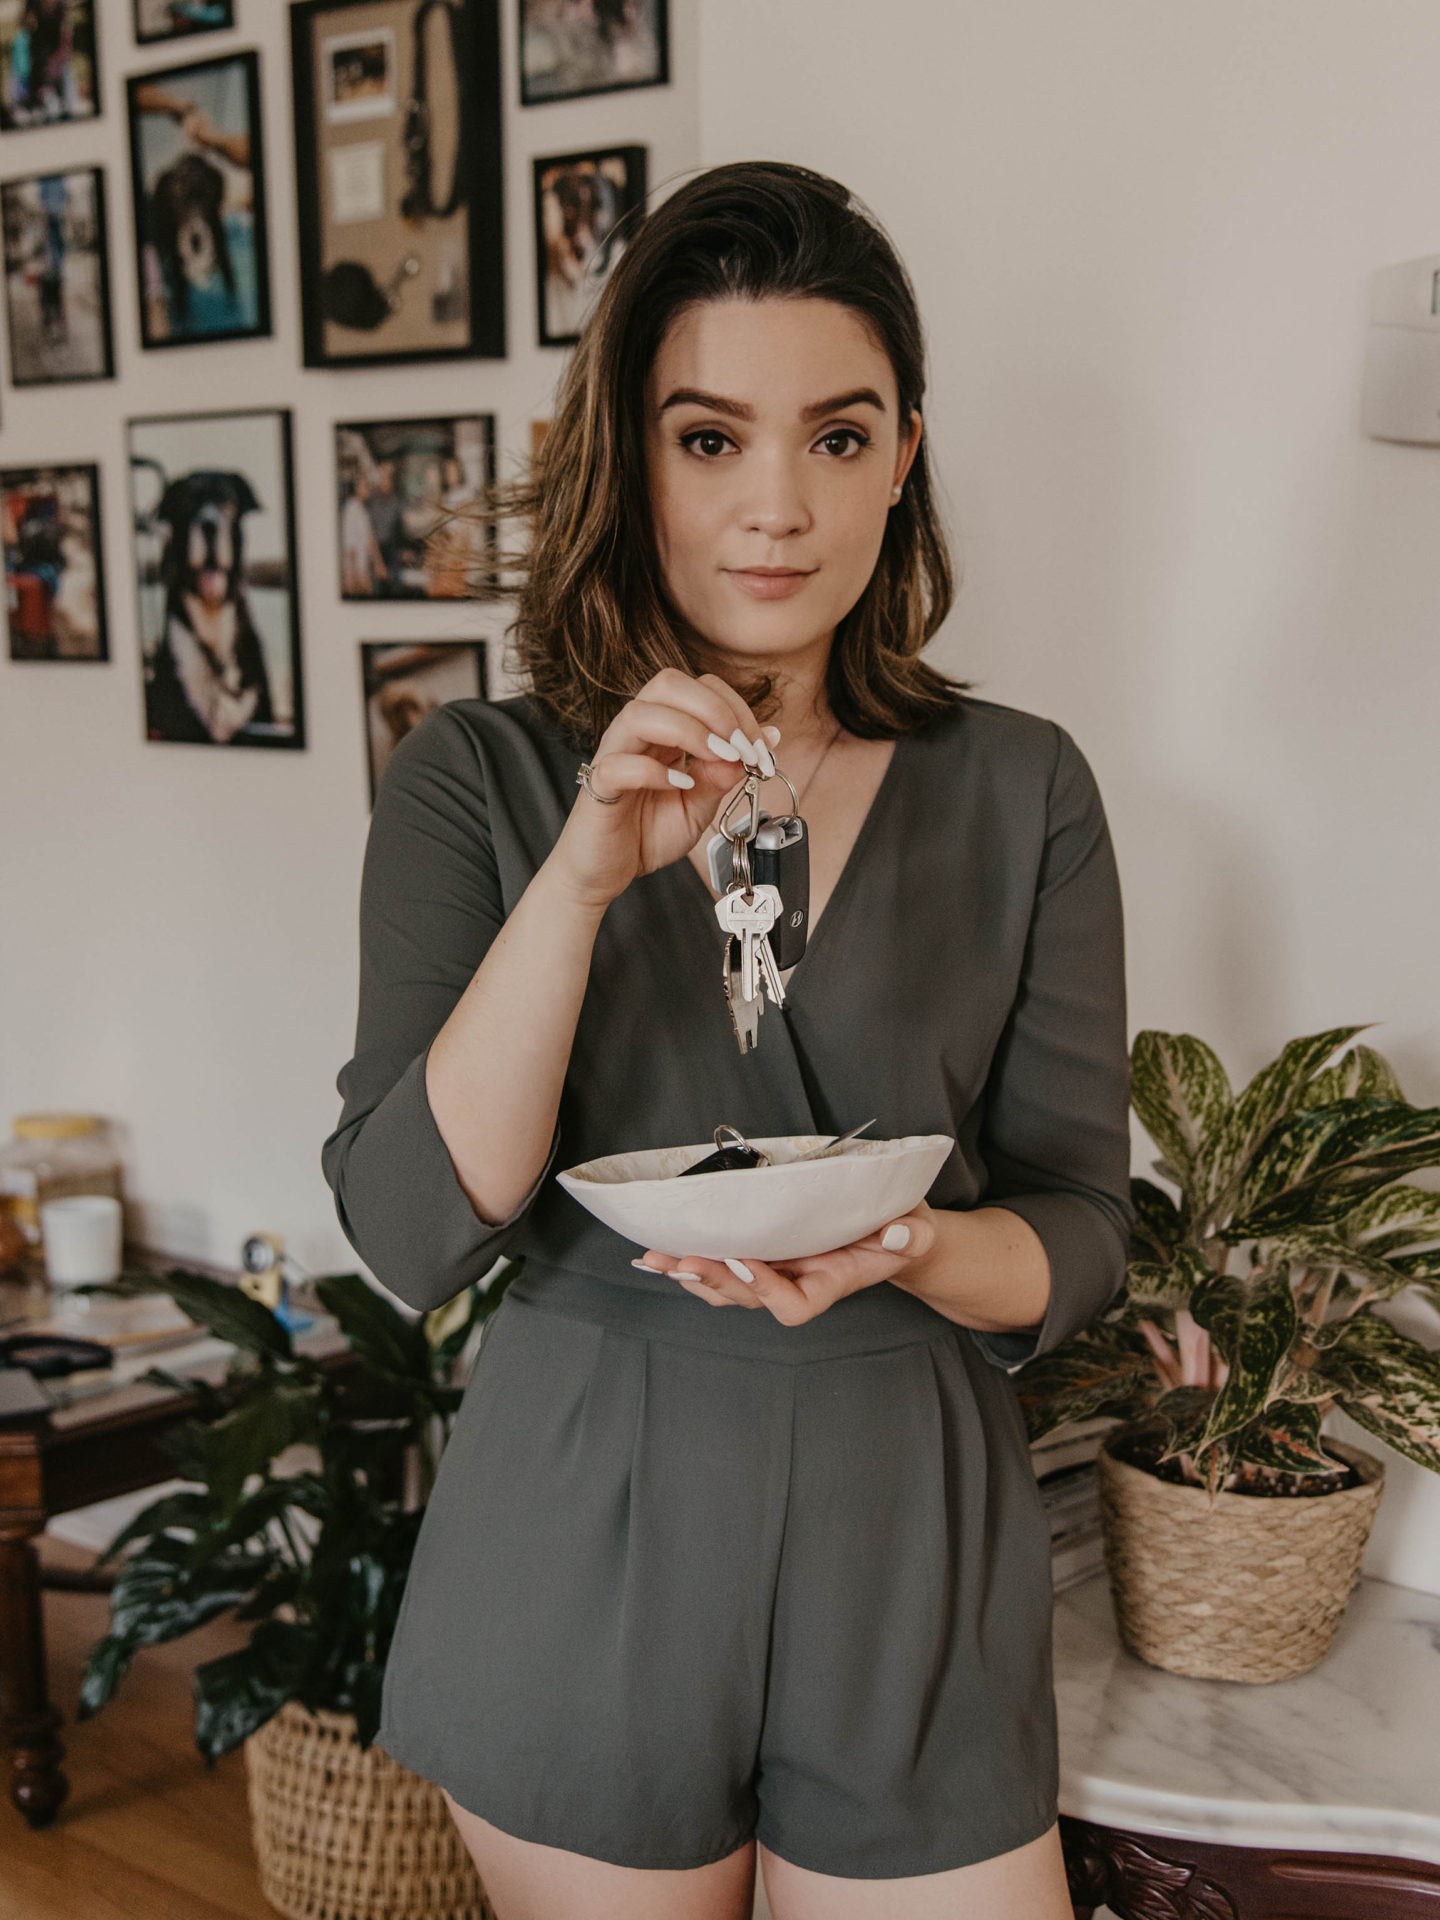
I can never remember where I left my keys.
I want to blame it on being pure forgetfulness, but I don’t have a good place to keep them. Sometimes they’re on my counter, or table, or in my purse… After losing my keys last week, I decided it was time to get a key bowl. I originally thought of thrifting it but decided it would be more fun to make my own key bowl from clay. If you’d like to make your own clay key bowl, follow along!
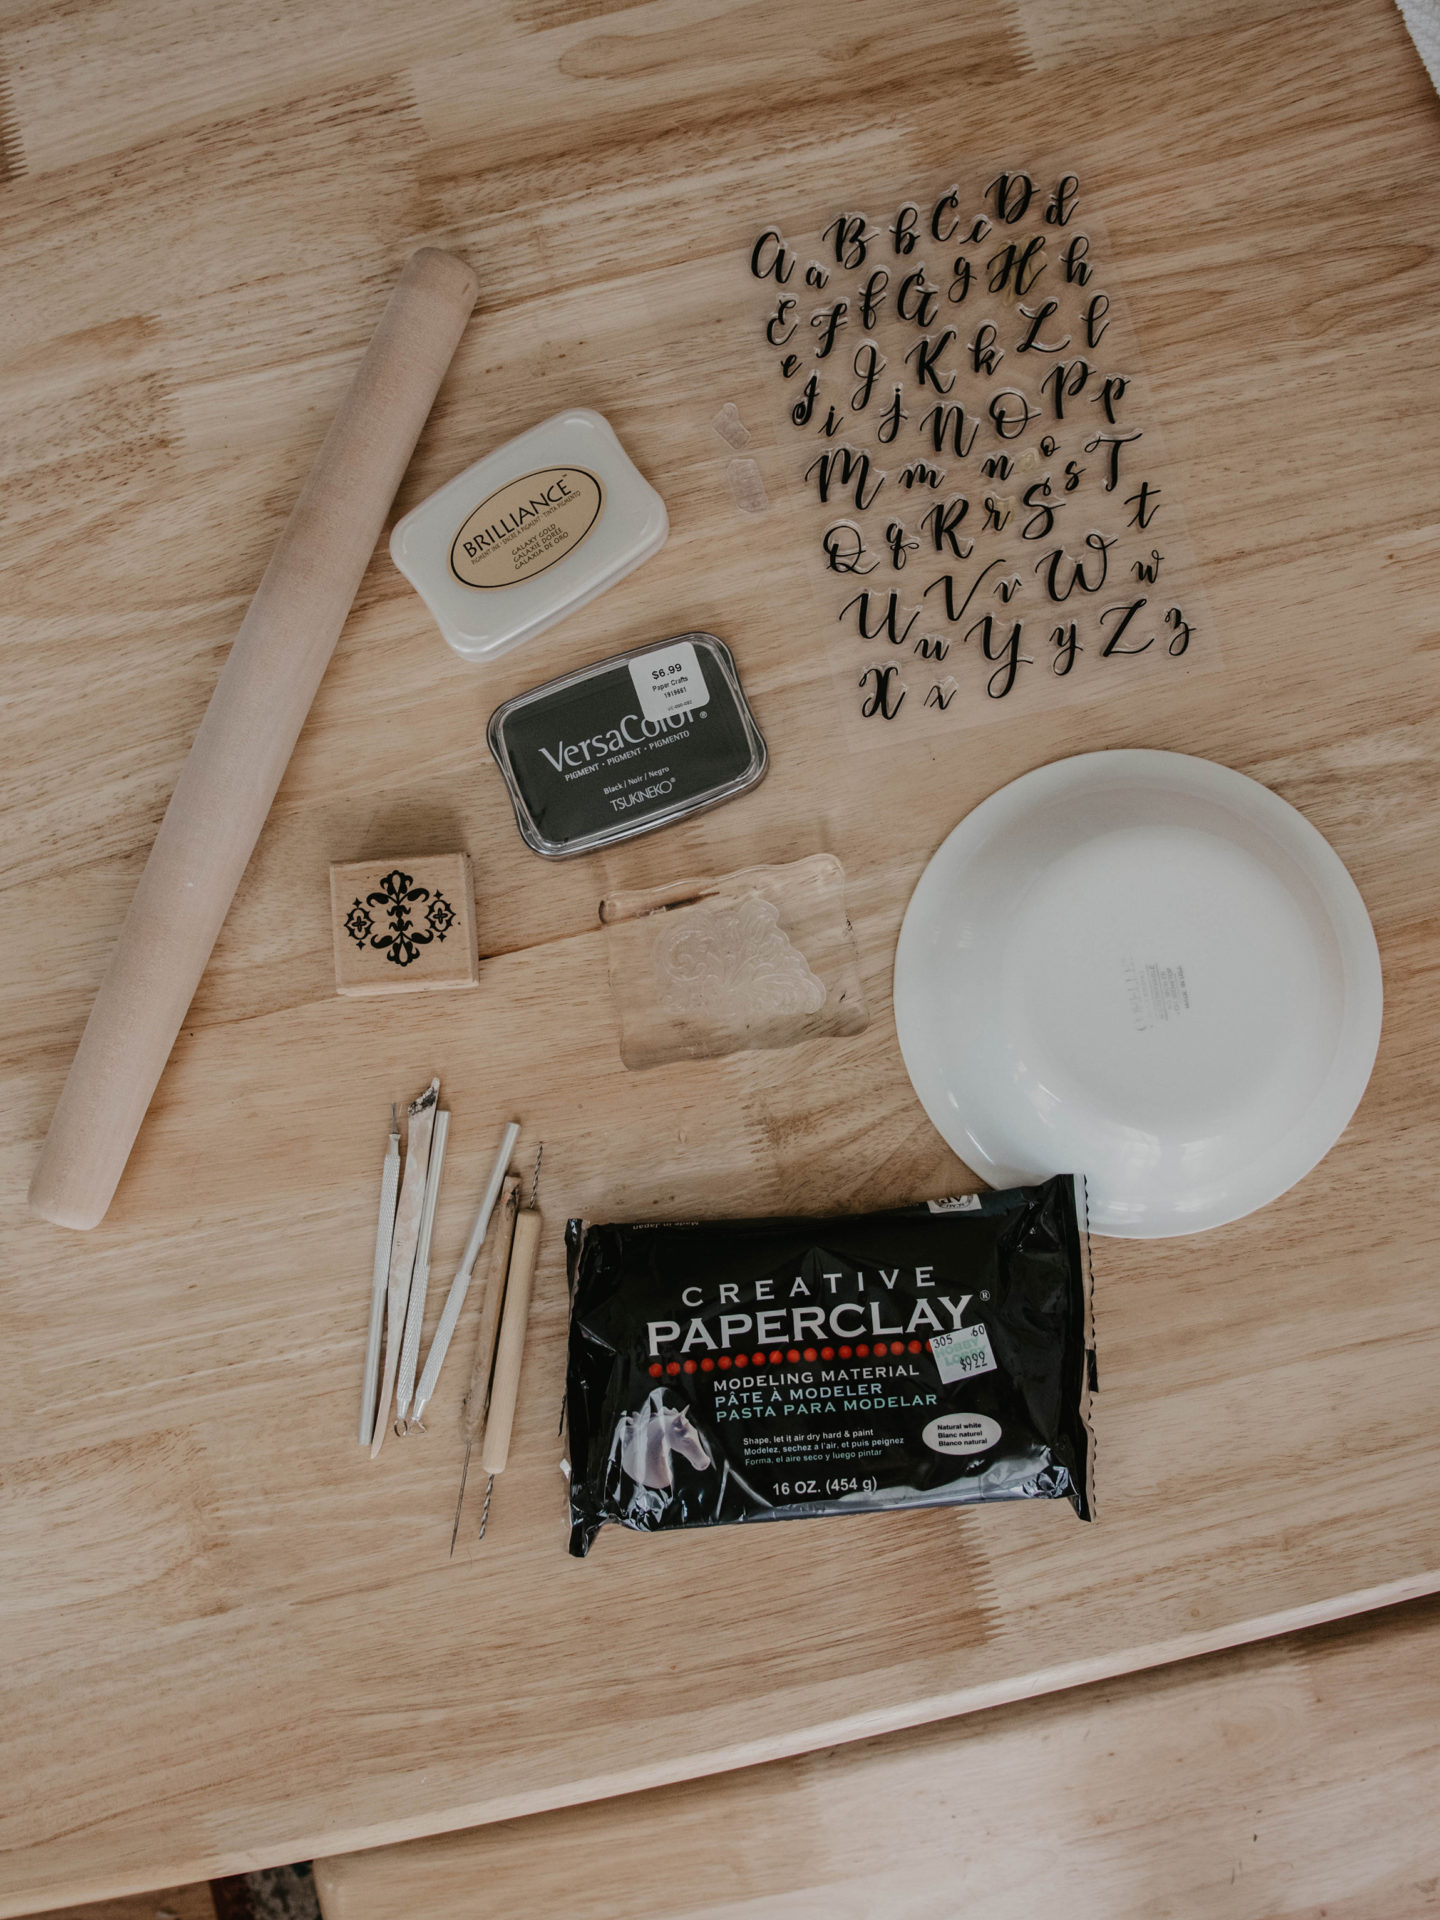
Things You’ll Need:
-
- Paper Clay
- Rolling Pin
- Gold Stamp Ink
- Stamp (similar here, here and here)
- Sandpaper
- Optional: Sculpey Satin Glaze
- Bowl
Step One
ATTN: Wipe down areas before taking out your clay to ensure you are working on a clean surface.
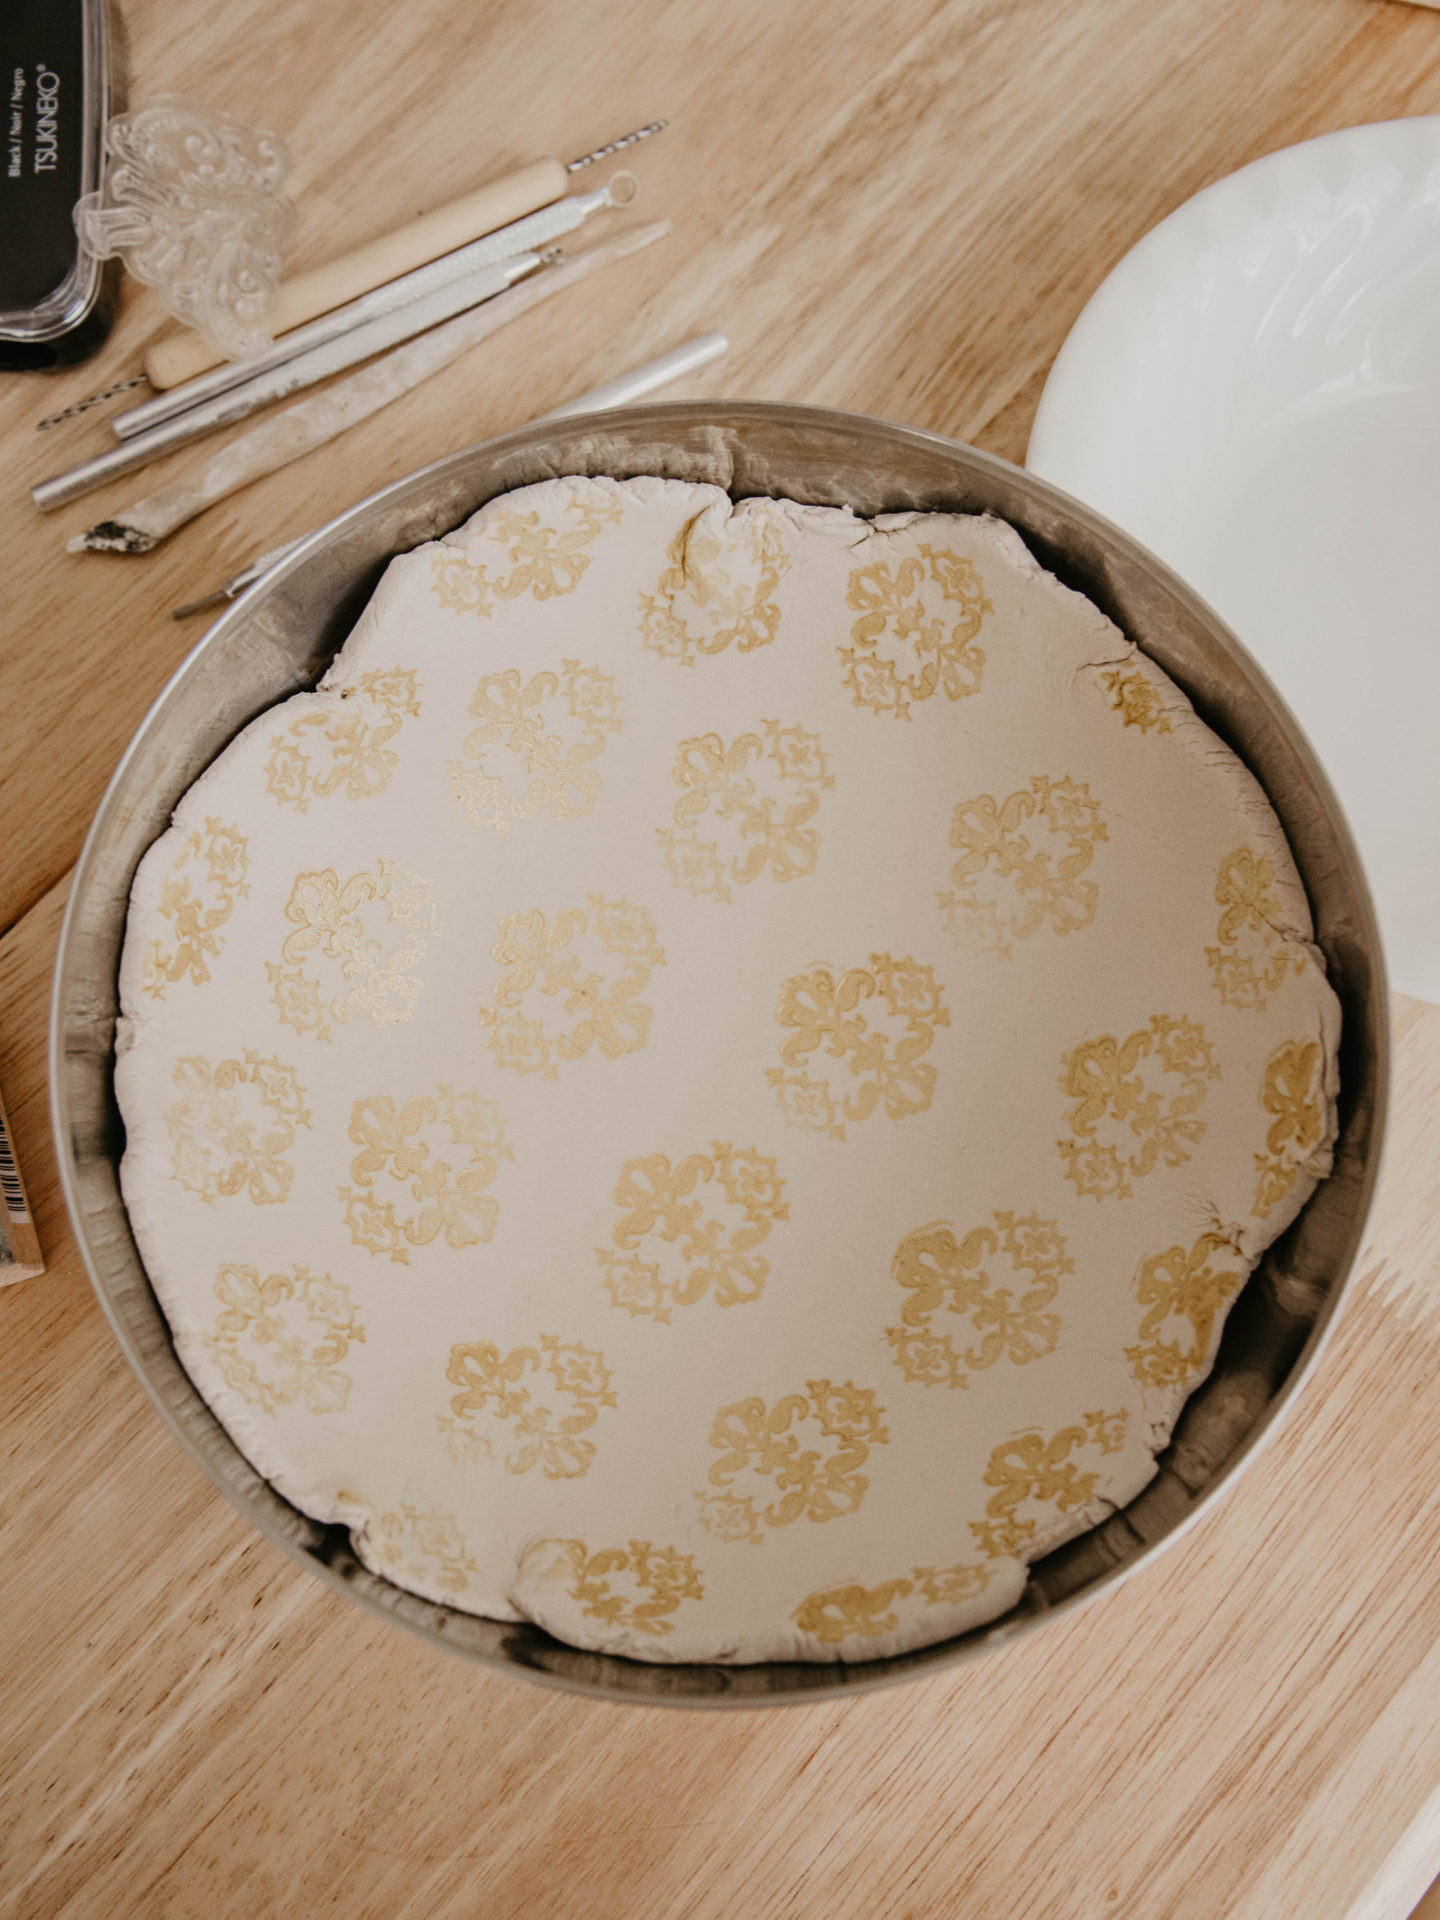
I used 80% of the clay from the bag and squished it into a ball shape. From there, I used my rolling pin to flatten my clay to about 1/4 of an inch thick. As you roll out the clay, make sure you flip it (like dough) and roll on both sides. It helps even out the texture of the clay and prevents cracks and splits as the clay air dries.
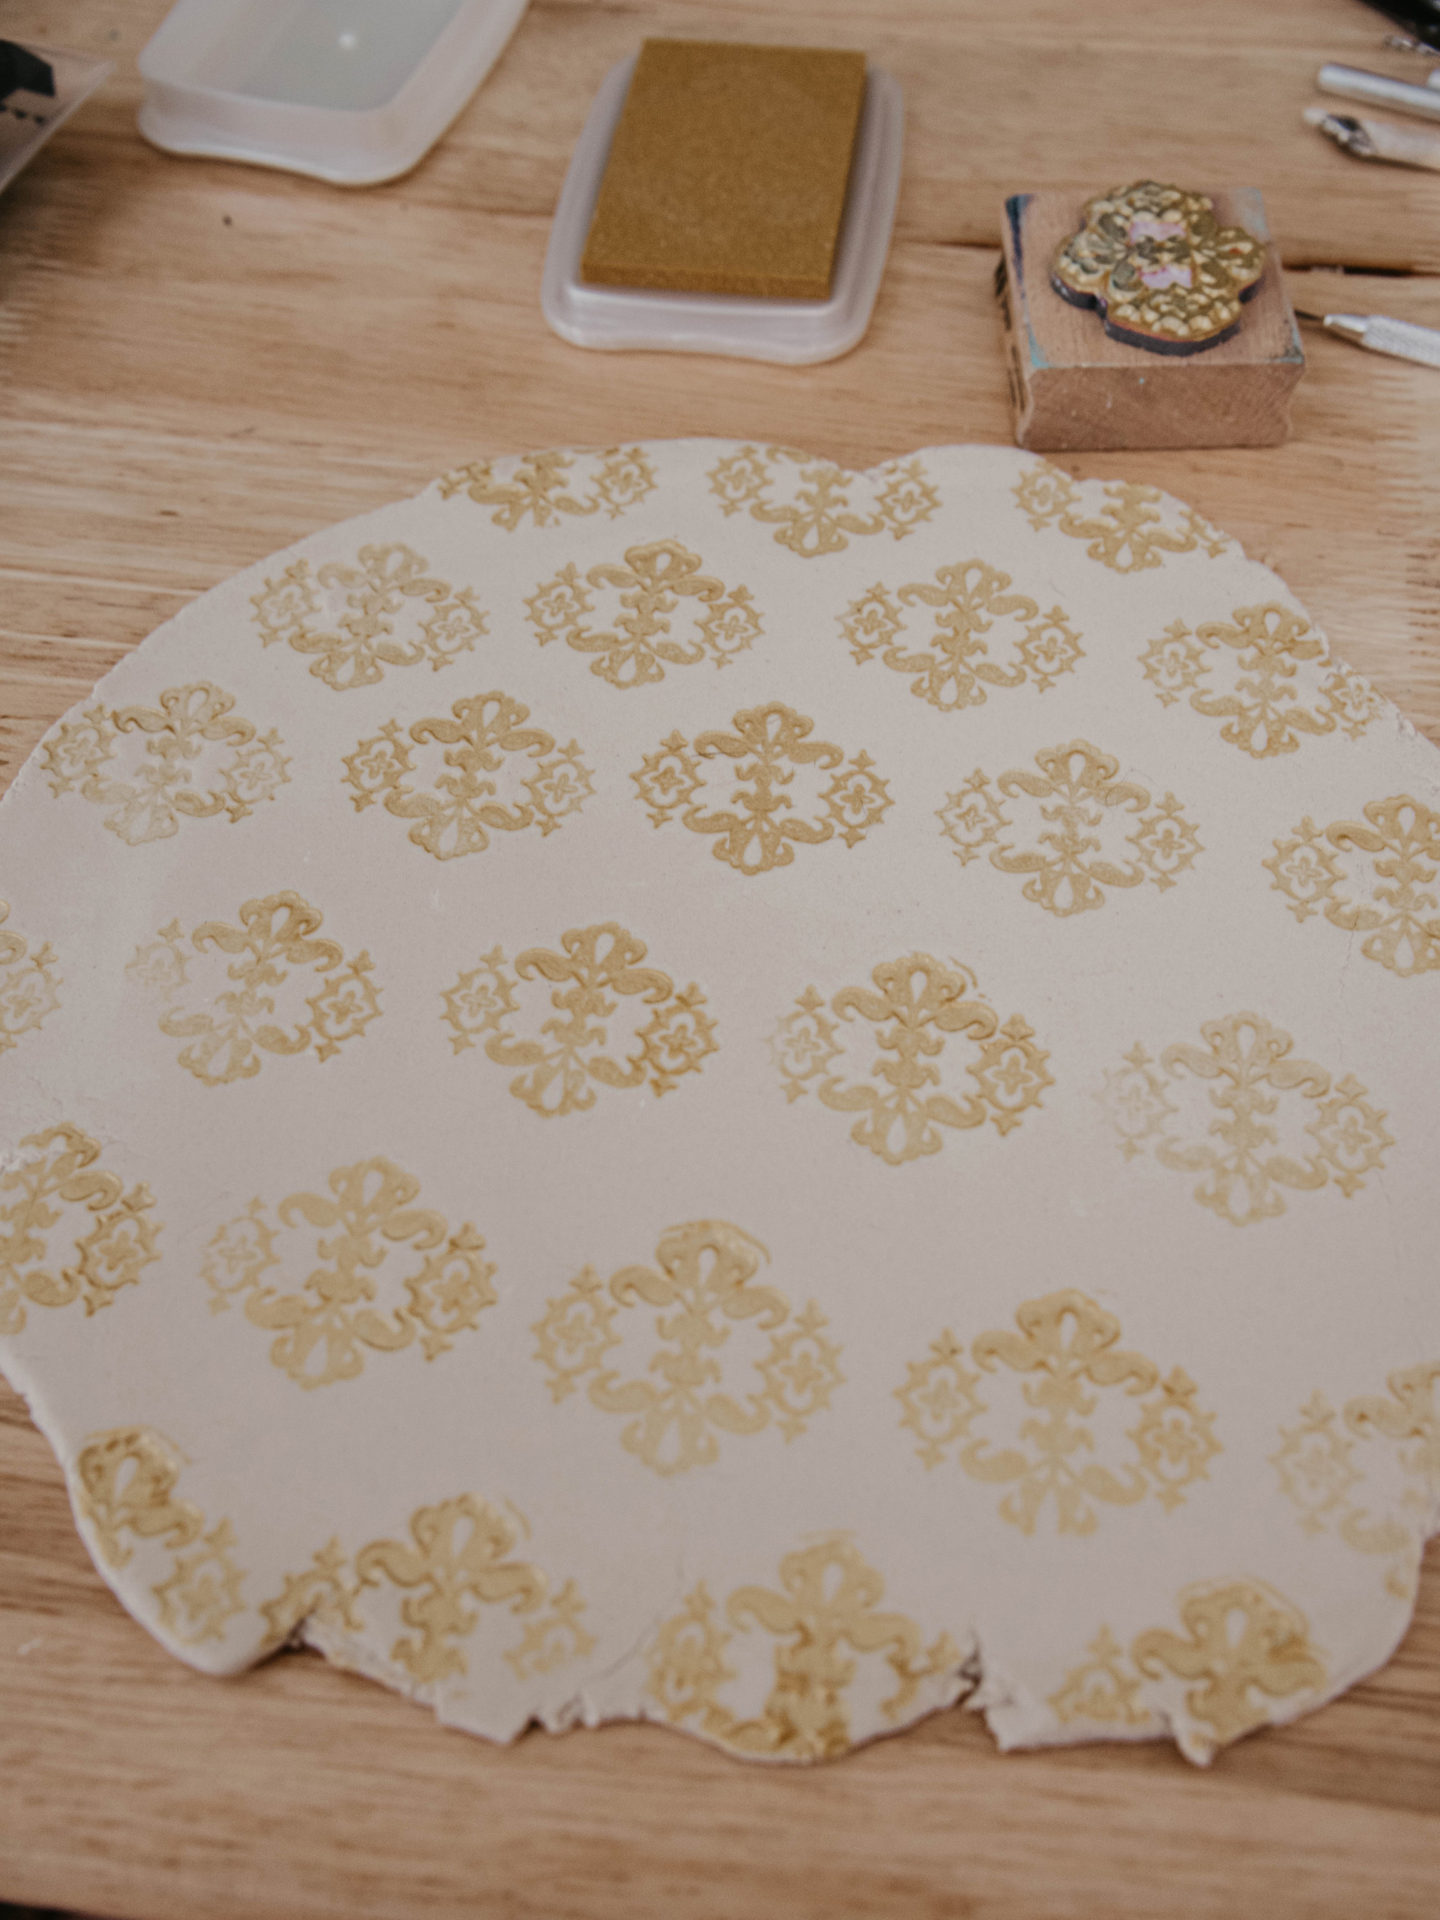
Step Two
Press your stamp into your ink and begin stamping your clay. Remember to reapply the ink after each press into the clay so you can achieve a strong pattern. I tried to create a cohesive pattern with my stamping; however, I liked that it wasn’t perfect. It gives it more of a handmade vibe versus machine-made designs.
Step Three
Place the unstamped side inside your bowl so that the clay can dry out into its shape. You may need to gently press the clay into the bowl. Do not press too firmlyFrom here it may take 2-4 days before your key bowl is completely dried out.
Step Four
Once the bowl is totally try, you can sand down the edges so that you have a smooth rim. Take a damp rag and wipe off the excess clay dust. You may want to consider wearing a mask to prevent clay dust from entering your lungs!
Optional: After the damp cloth application, let the moisture dry, then apply the glaze. Although this glaze is made for polymer clay, it works beautifully with the paper clay. It creates a smooth and durable finish and protects the paper clay from stains, minimal moisture, or accidental spills. I recommend using a clean brush to spread the glaze evenly across the surface of the key bowl.
–
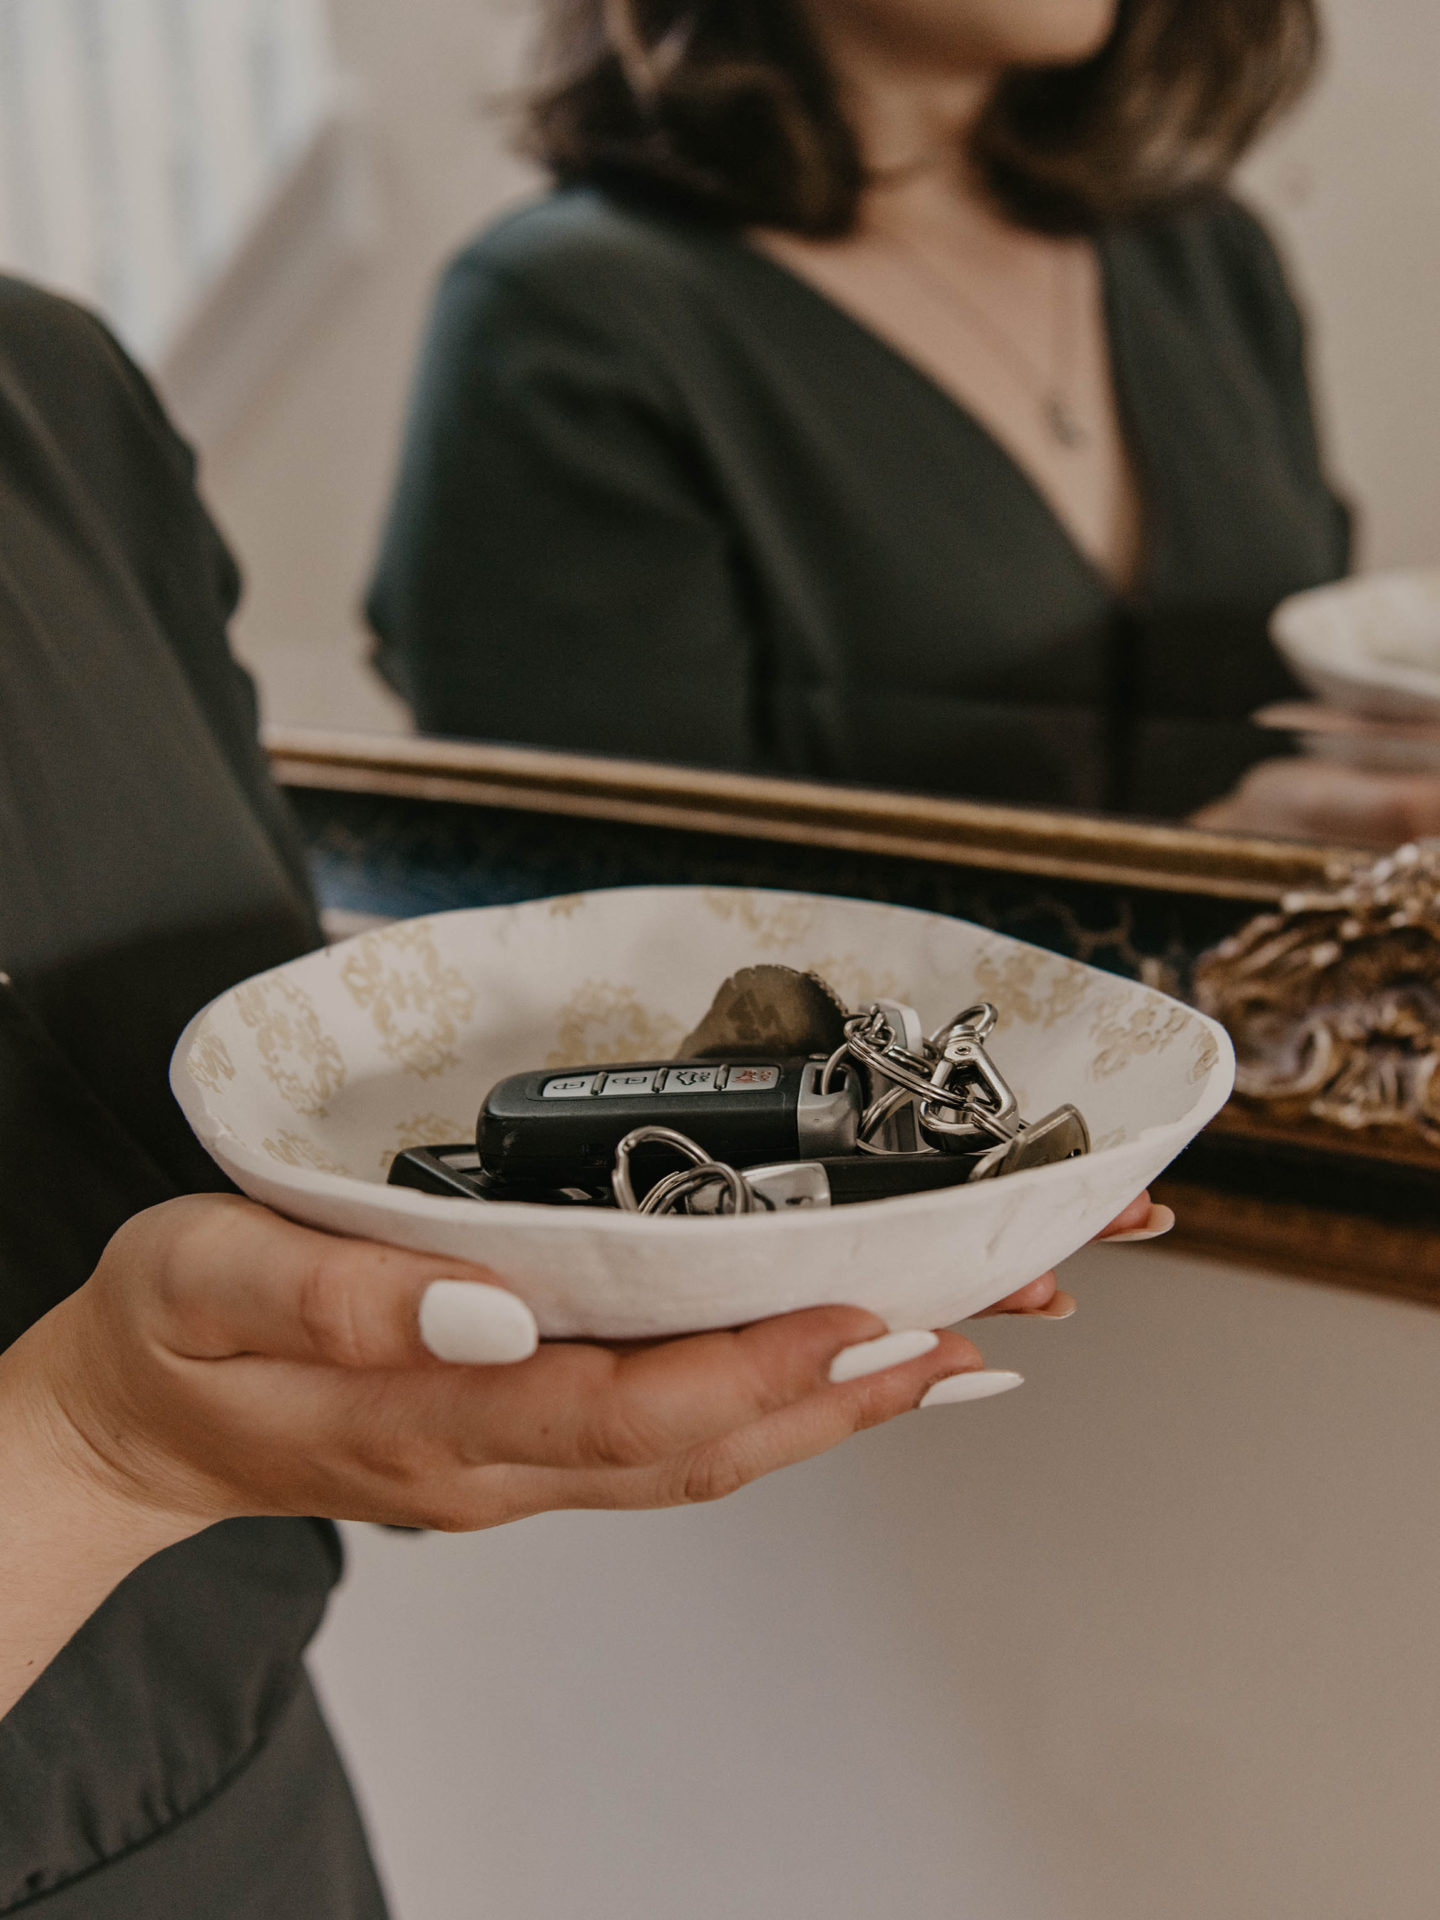
This key bowl looks perfect on my marble table. We no longer have car key overflow and I love it! I could see this also being a wonderful housewarming gift.
What are some of your favorite clay projects?