Picture Frame wedding decor will never grow old.
Well, the whole point of it is to appear old, but feel timeless. Picture frame decor can be used for a number of things…ceremony signage, escort cards, table numbers, photo collages. Whatever your heart desires, really! It gives off a classy, eclectic, boho vibe that works for so many wedding styles.
As you guys know, Pat and I are having a English Garden/English Country wedding. That combined with my known love for antiques means these picture frame decor elements will absolutely be present on our wedding day.

T H R I F T / S H O P
You can always pay full price for the exact frame you want by shopping at Michael’s or Hobby Lobby but I recommend thrifting them. I have found so many frames that are perfect just by browsing Goodwill or Salvation Army when I had some extra time. Keep an open mind. Thrifted frames usually need a little bit of TLC. Often times you will find art inside, but this can be removed. If you think the frame is more trouble than it’s worth, don’t get it. But if you don’t mind dabbing some glue or giving it a coat of paint, thrifting is the way to go.
P R E P + P A I N T
Remove the glass and any art or backing on the picture frame. For sealed art you may need pliers to remove any staples or nails. If there are any surfaces you need to sand or glue, this is the time to do so. Once the glue is dried, start by cleaning your surface. Use a cloth towel with a bit of alcohol and make sure there’s no residue left behind from glue or sanding. Now you can paint!
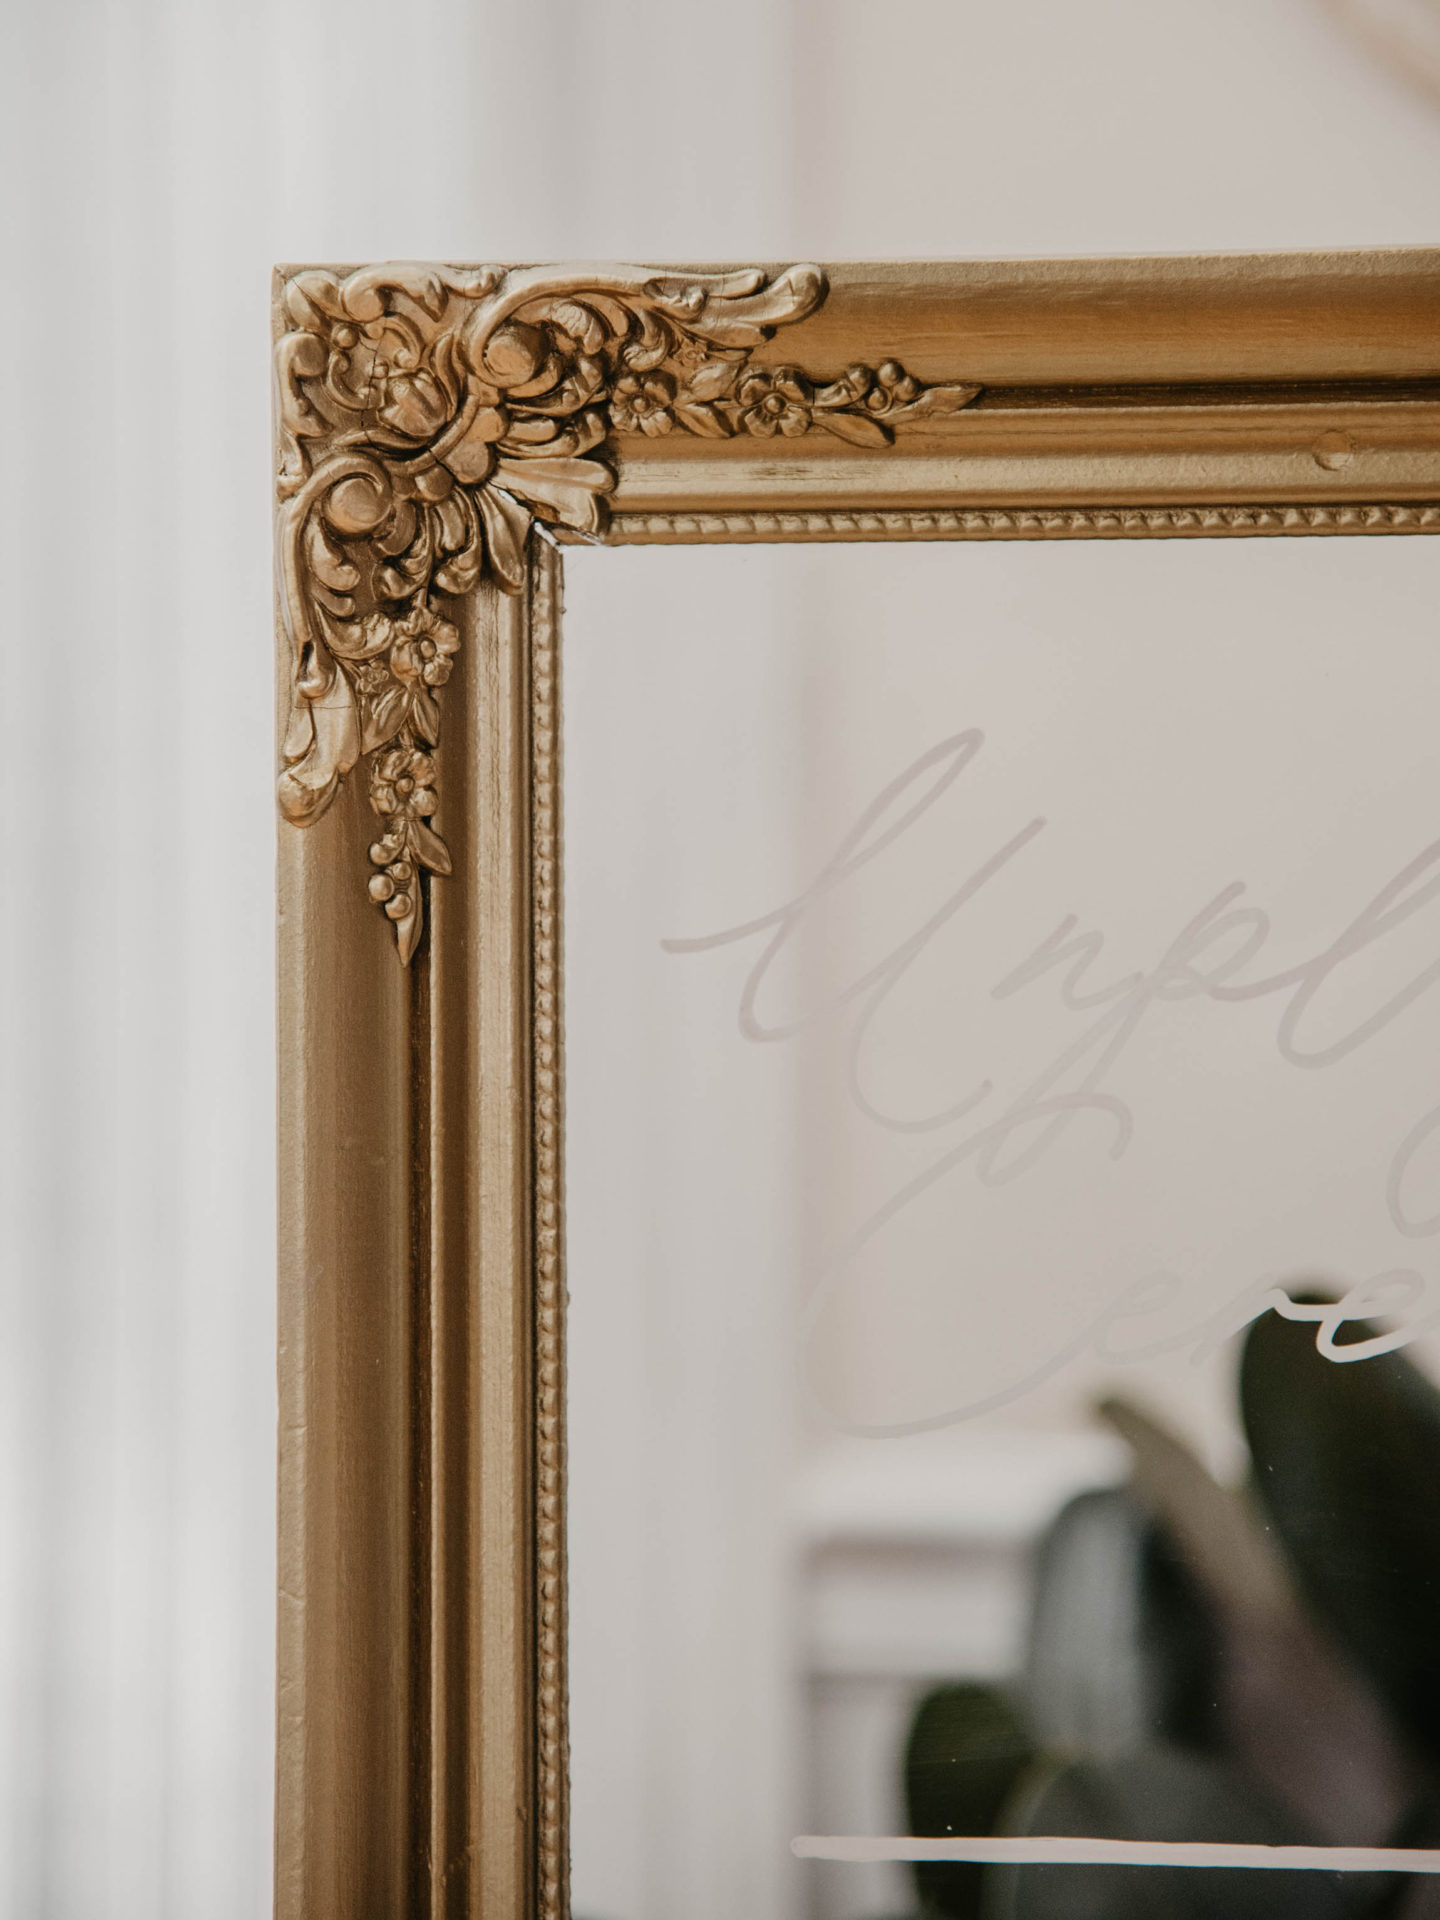
Take the picture frame to a well ventilated spot and spray paint with the color of your choosing. I used a combination of aged vintage gold and metallic gold to create an antique look – similar to the Card Box.
I N S T A L L
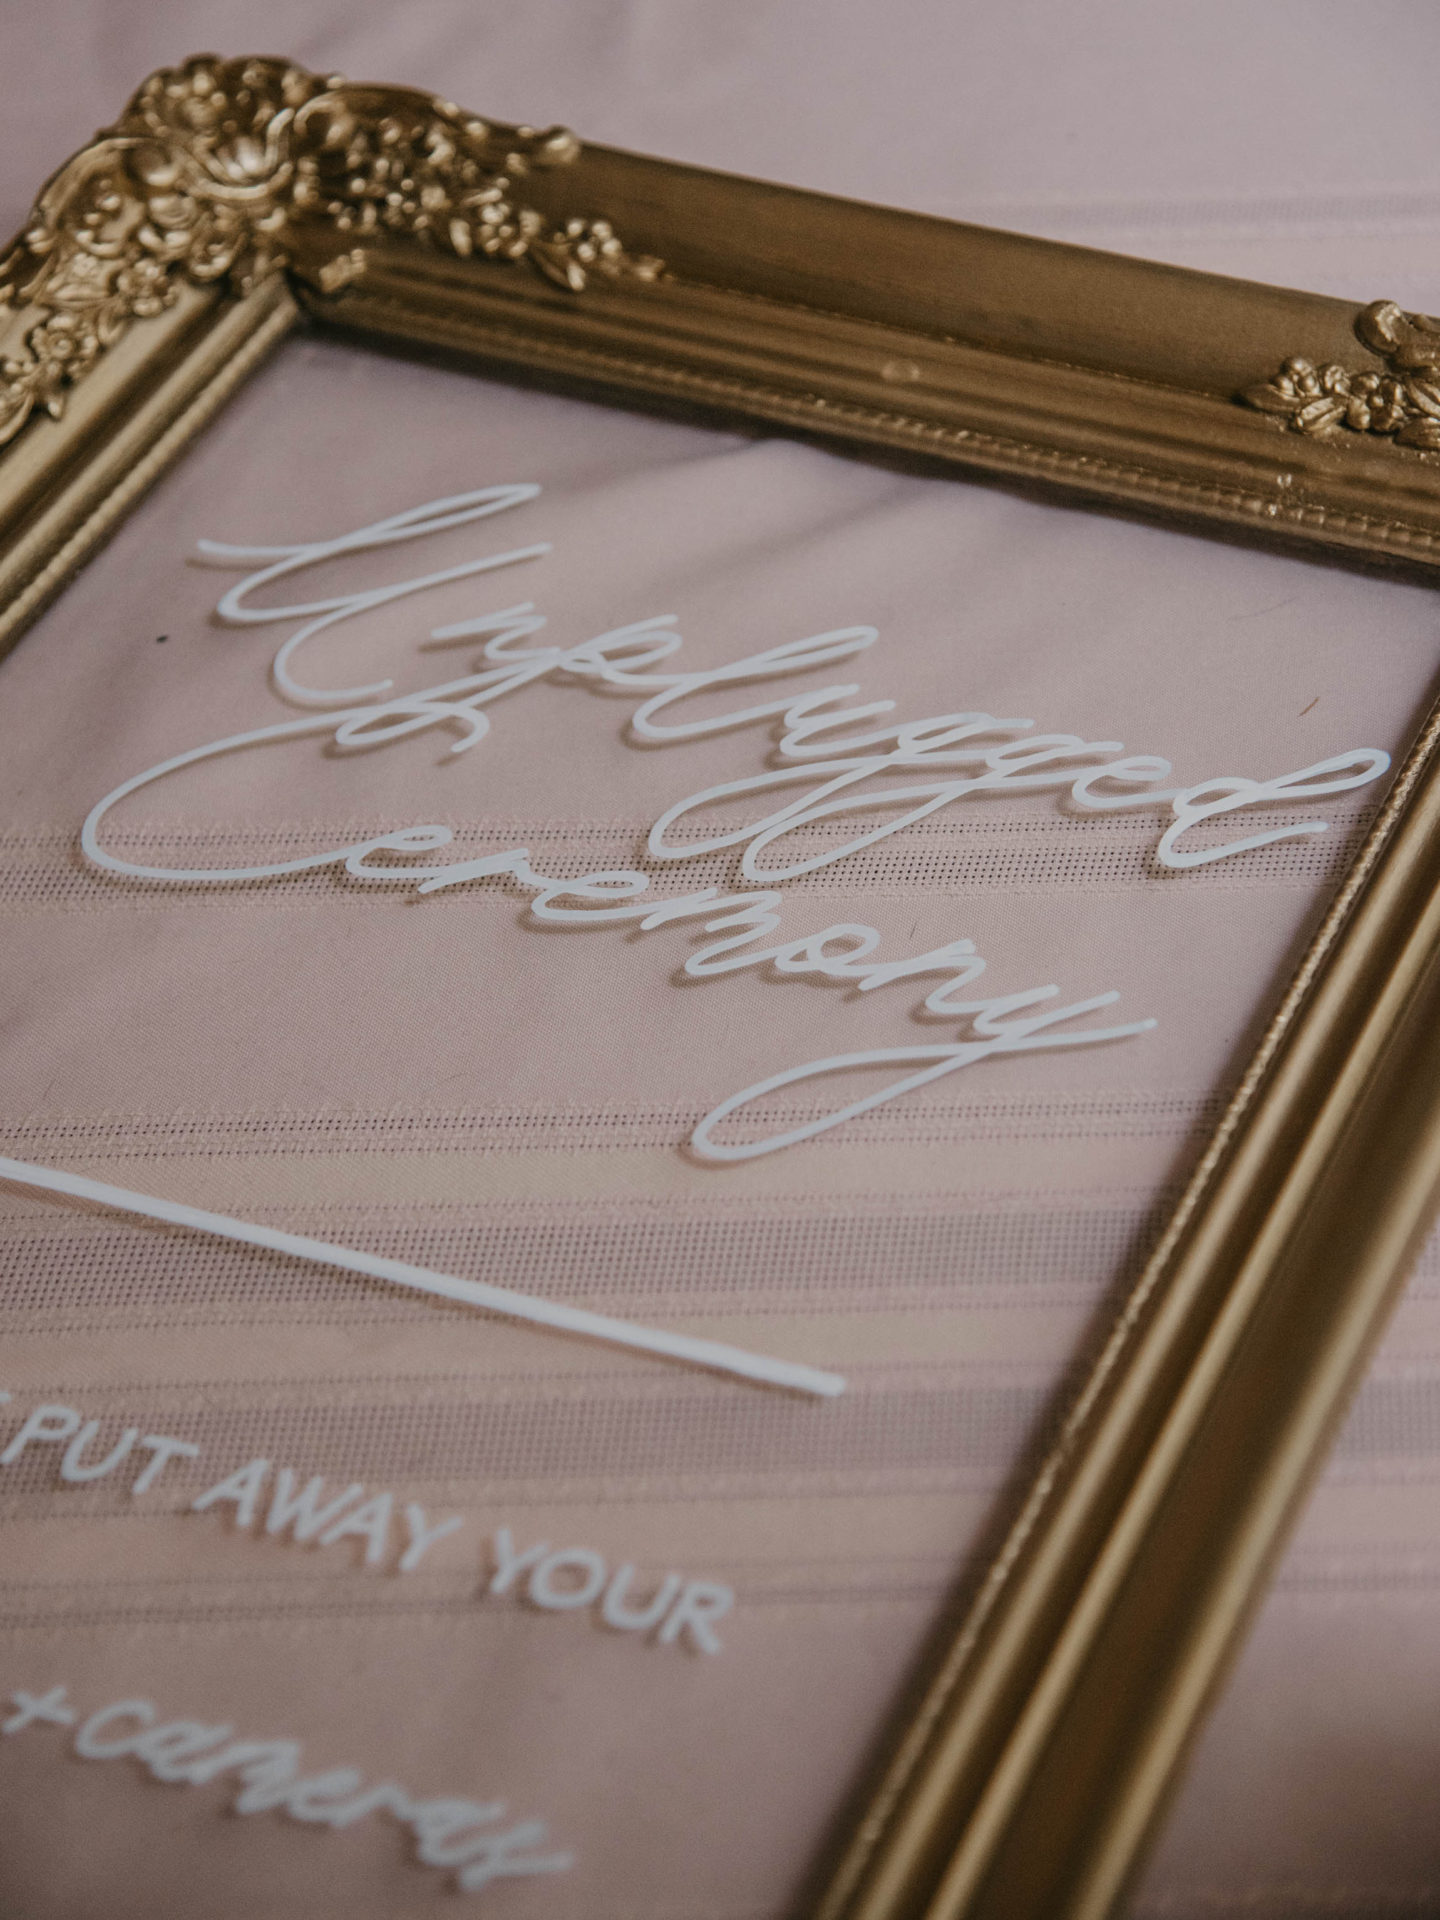
When I removed the glass from my picture frame, I discovered that the edges of my glass were jagged. Odd, right? But you can’t tell when the glass is back in the frame. I took some E6000 and placed it around the border of the glass, then placed it in the frame. Then, I weighed it down with some books and candles until it was dry. The glass should not move at this point. For added security, you can also take bamboo sticks and glue them around the border of the glass to stop it from potentially sliding out.
If your frame does not come with glass, you can pick up an acrylic sheet from Home Depot en lieu of replacing the glass. This makes the frame less fragile during transportation and costs less too. Follow the same above steps to secure it in the frame.
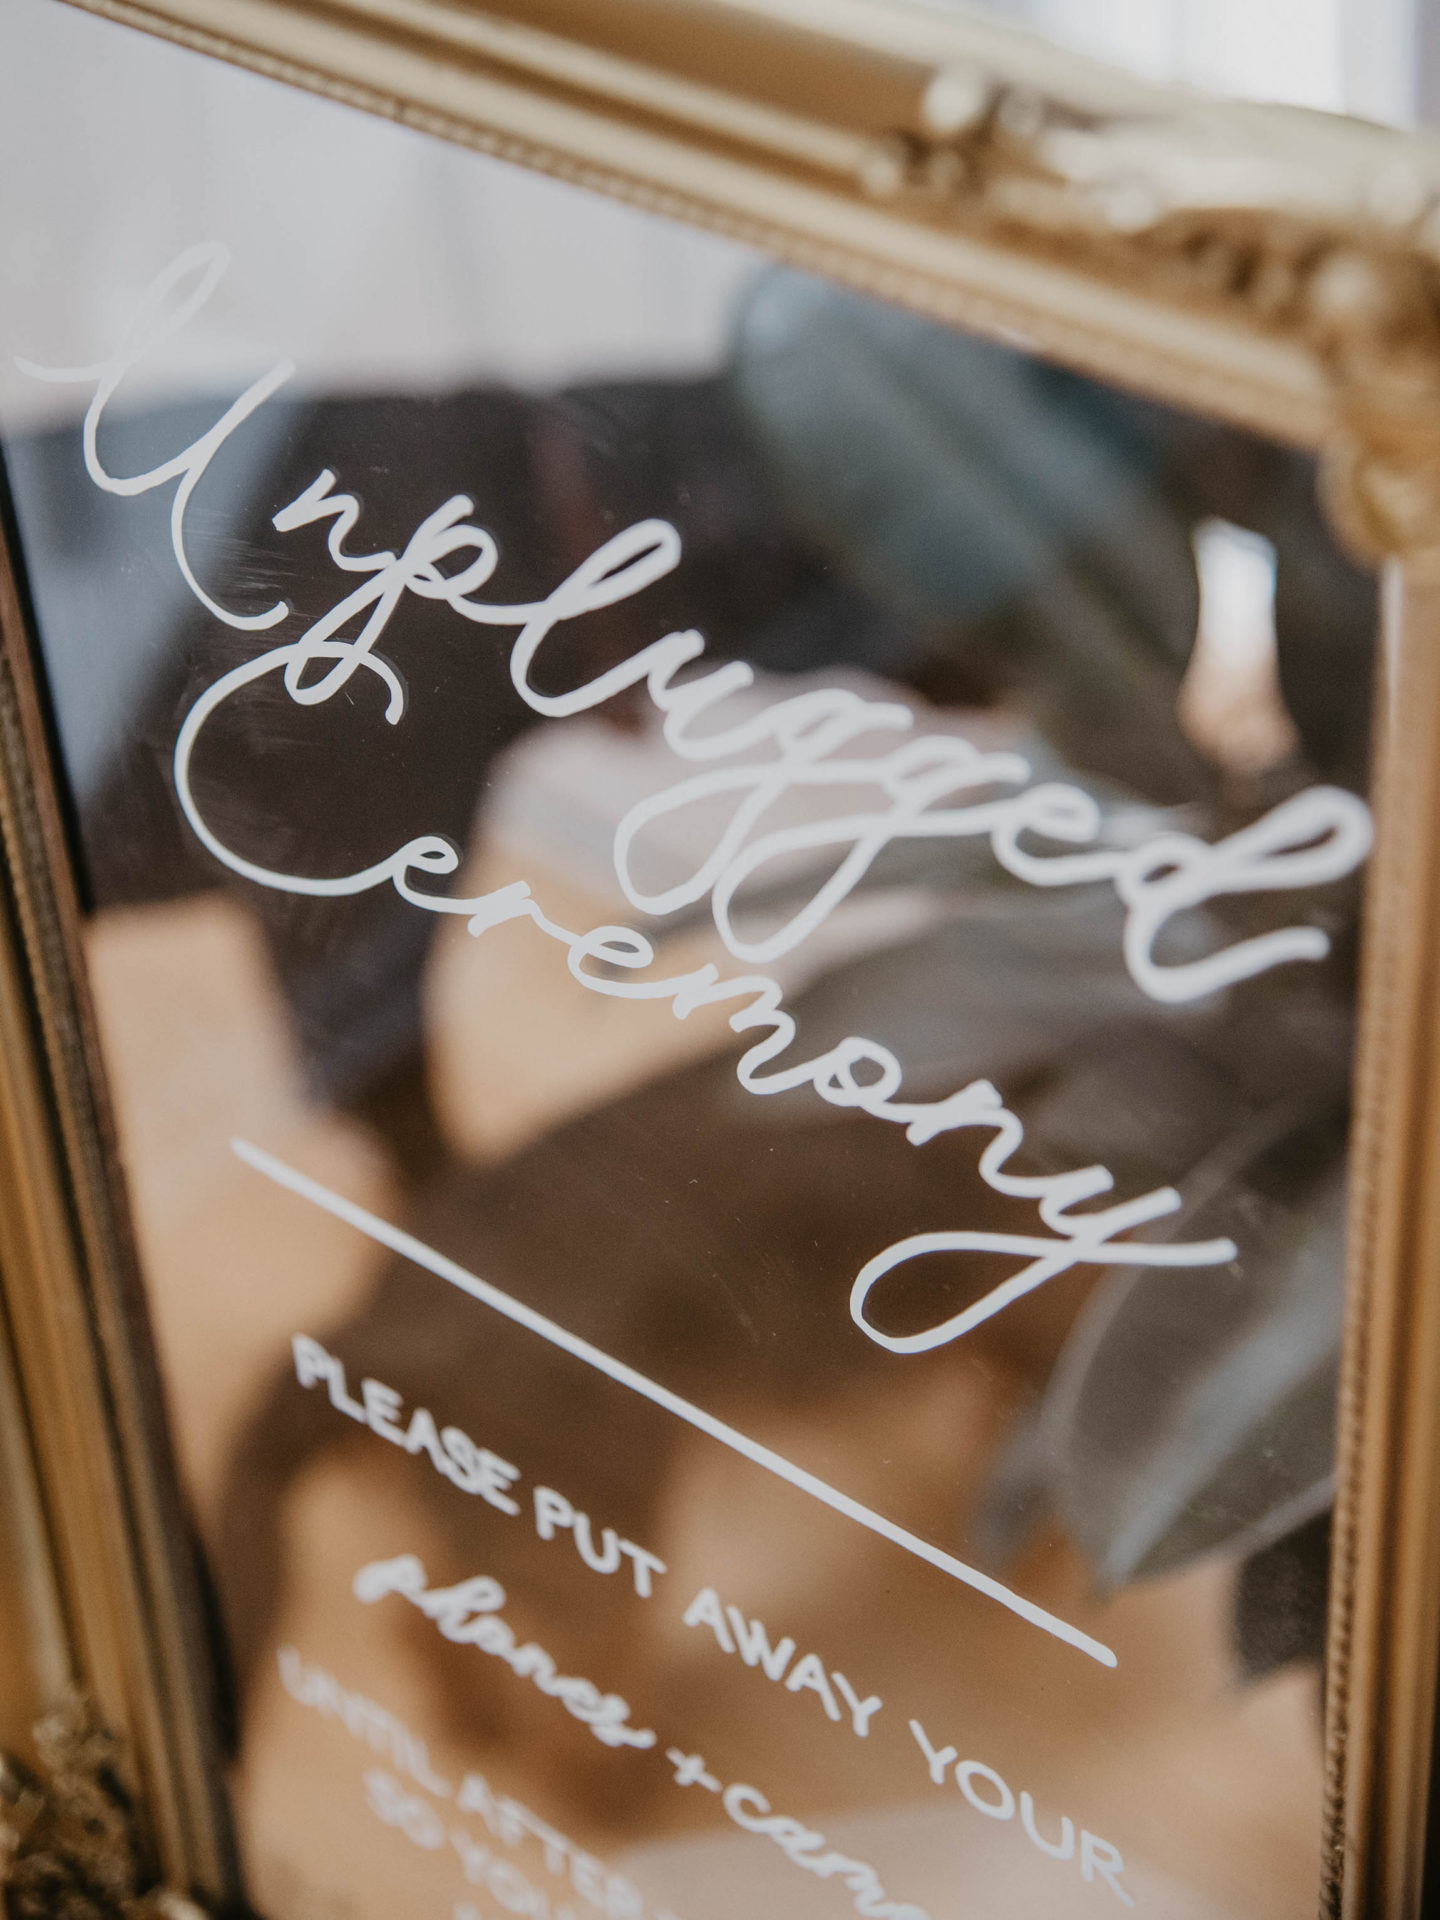
L E T T E R I N G
If you are not confident free-handing, you can always trace over a font you like instead. Just print out the size you need and grab your white chalk marker to trace over the lettering.
–
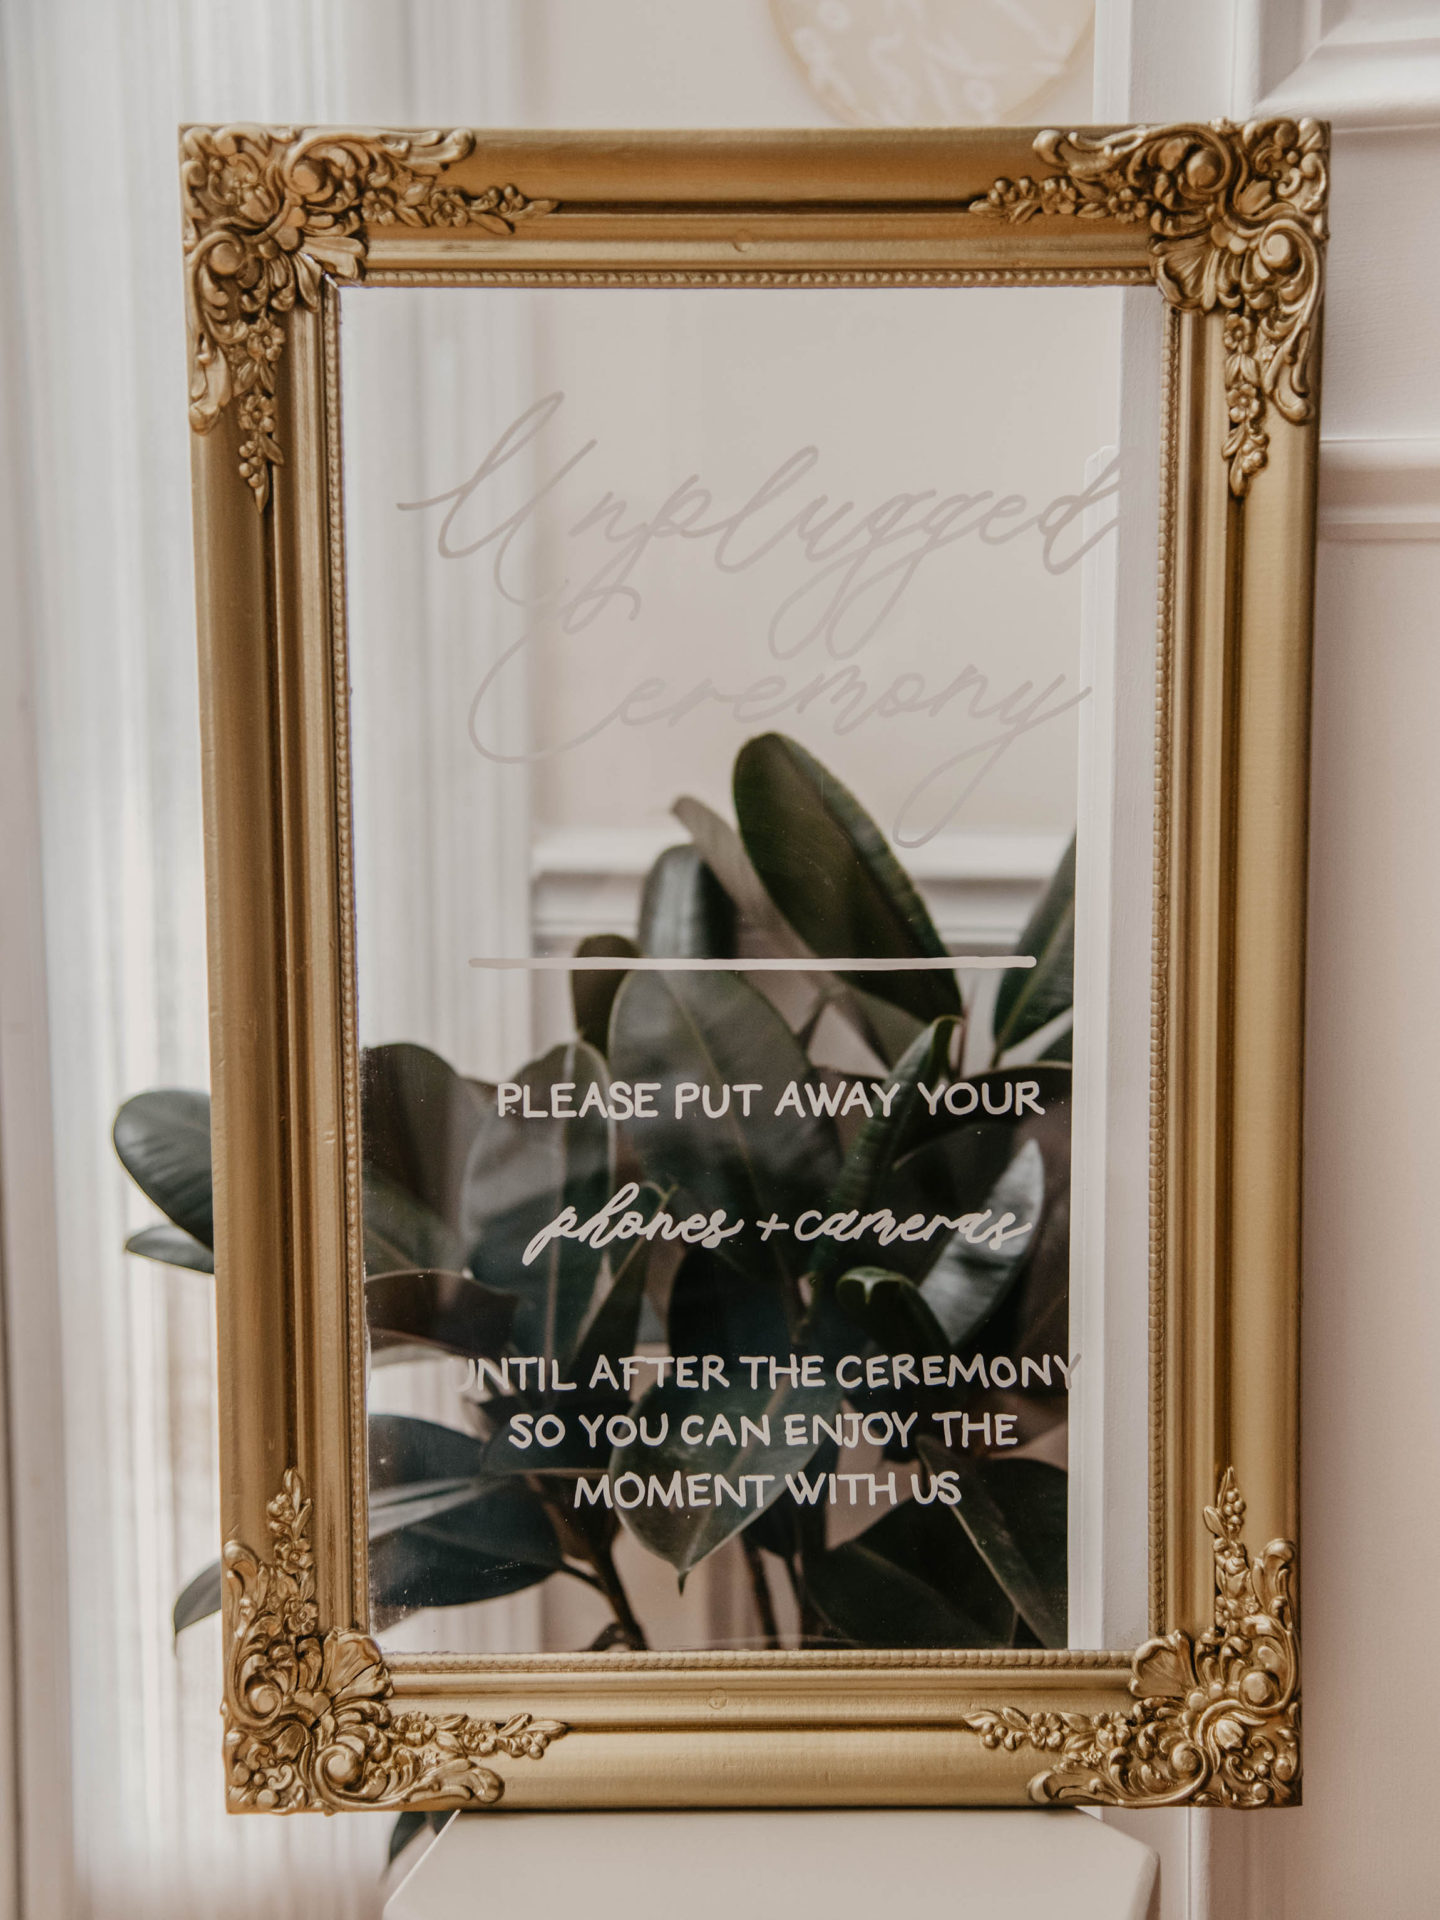
I’m obsessed! It came out looking so freaking cute. I’m not saying I hope 2021 goes by quickly, but I cannot wait until my wedding day. It’s going to look so beautiful. I have a lot more DIY wedding projects to do before the big day comes so stay tuned!
What do you think of this picture frame wedding decor idea?
![]()