A statement clock would be the perfect addition to my living room.
Okay, so this is not a build-from-scratch DIY clock but we are going to revamp an old one I had laying around. I had my eye on this clock from Burke Decor for a while now so I decided to make my own version of it!
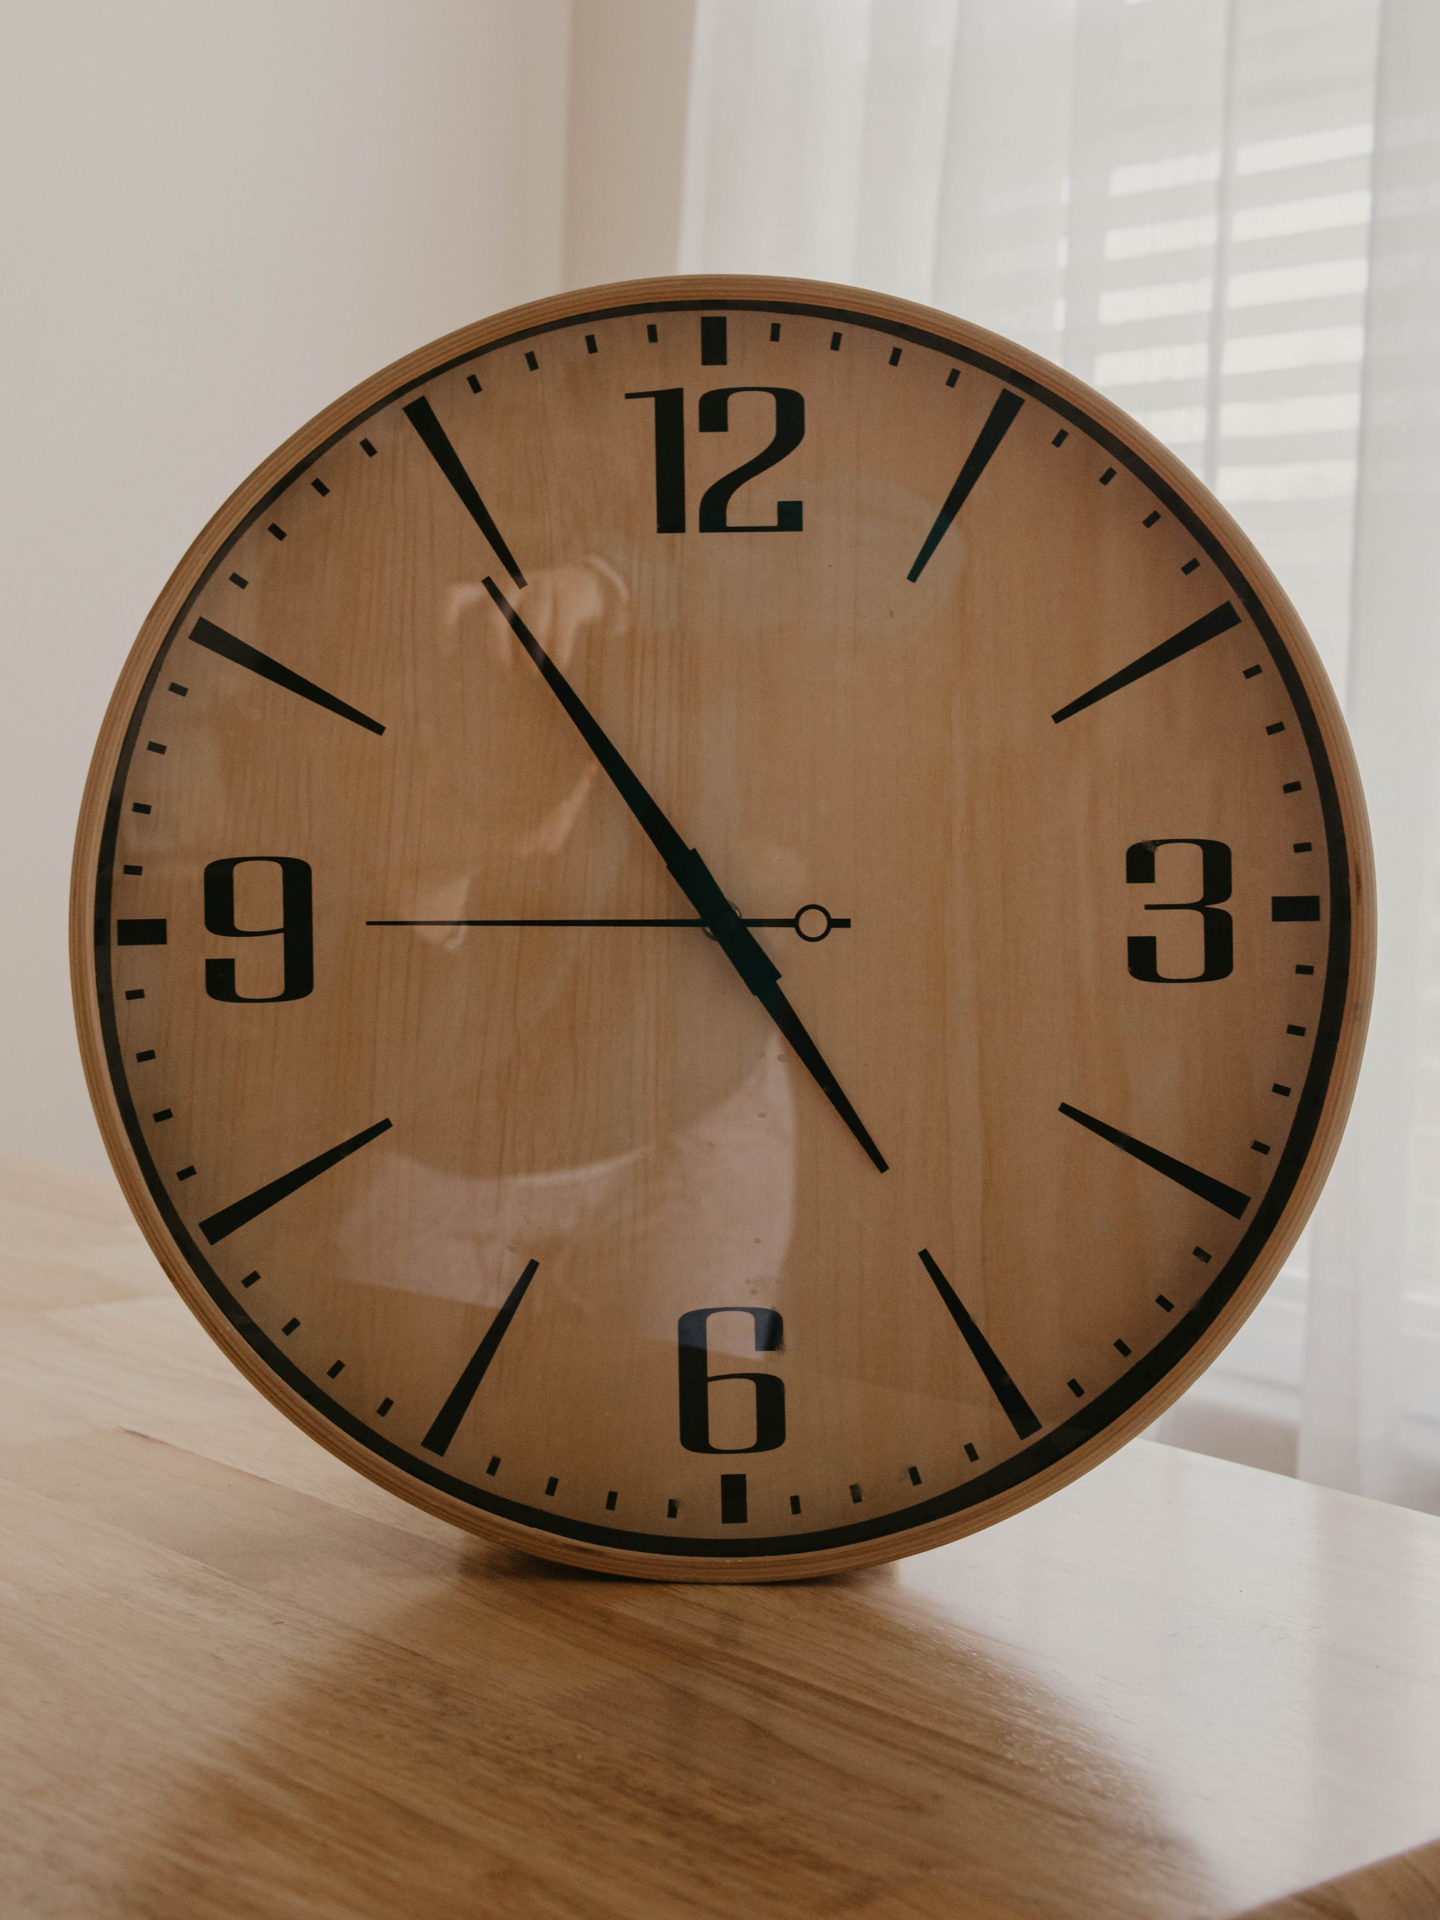
For this project, you can purchase a clock on the cheap at a thrift store, use an old clock you may already have, or if you are a baller, you can get a brand new clock. I got my clock four years ago as a house-warming gift from one of Pat’s friends. We kept it in the garage but I decided I wanted to give it a little makeover and bring it into my living room space.
What You’ll Need:
-
- Clock
- Matte Black spray paint
- Satin White spray paint
- Gold Leaf paint
- Painter’s Tape
- Small Paint Brush
- Watercolor palette and paper
- 1/2-inch hole punch
Step One:
This bad boy was on the wall in my garage, so I cleaned it off with some Windex. Next, I disassembled it and taped up the clock hands with painter’s tape. I don’t want to get paint on the clock hands when I start painting the clock face.
Next, I gave an even coat of matte black paint on the rim of the clock. While that was drying, I took the satin white paint and started to carefully spray the clock face, making sure to gradually build up the paint so we don’t have streaks. As you are spraying, make sure you move the wrapped clock hands around so that portion of the clock face gets painted too. I let the rim and clock face dry for about three hours.
Pro Tip: Make sure you mark along the sides of the clock face where the numbers live so you know where they are after the face has been painted. I did not do this and had to estimate where the numbers were originally placed…mistakes we’re made.
Step Two:
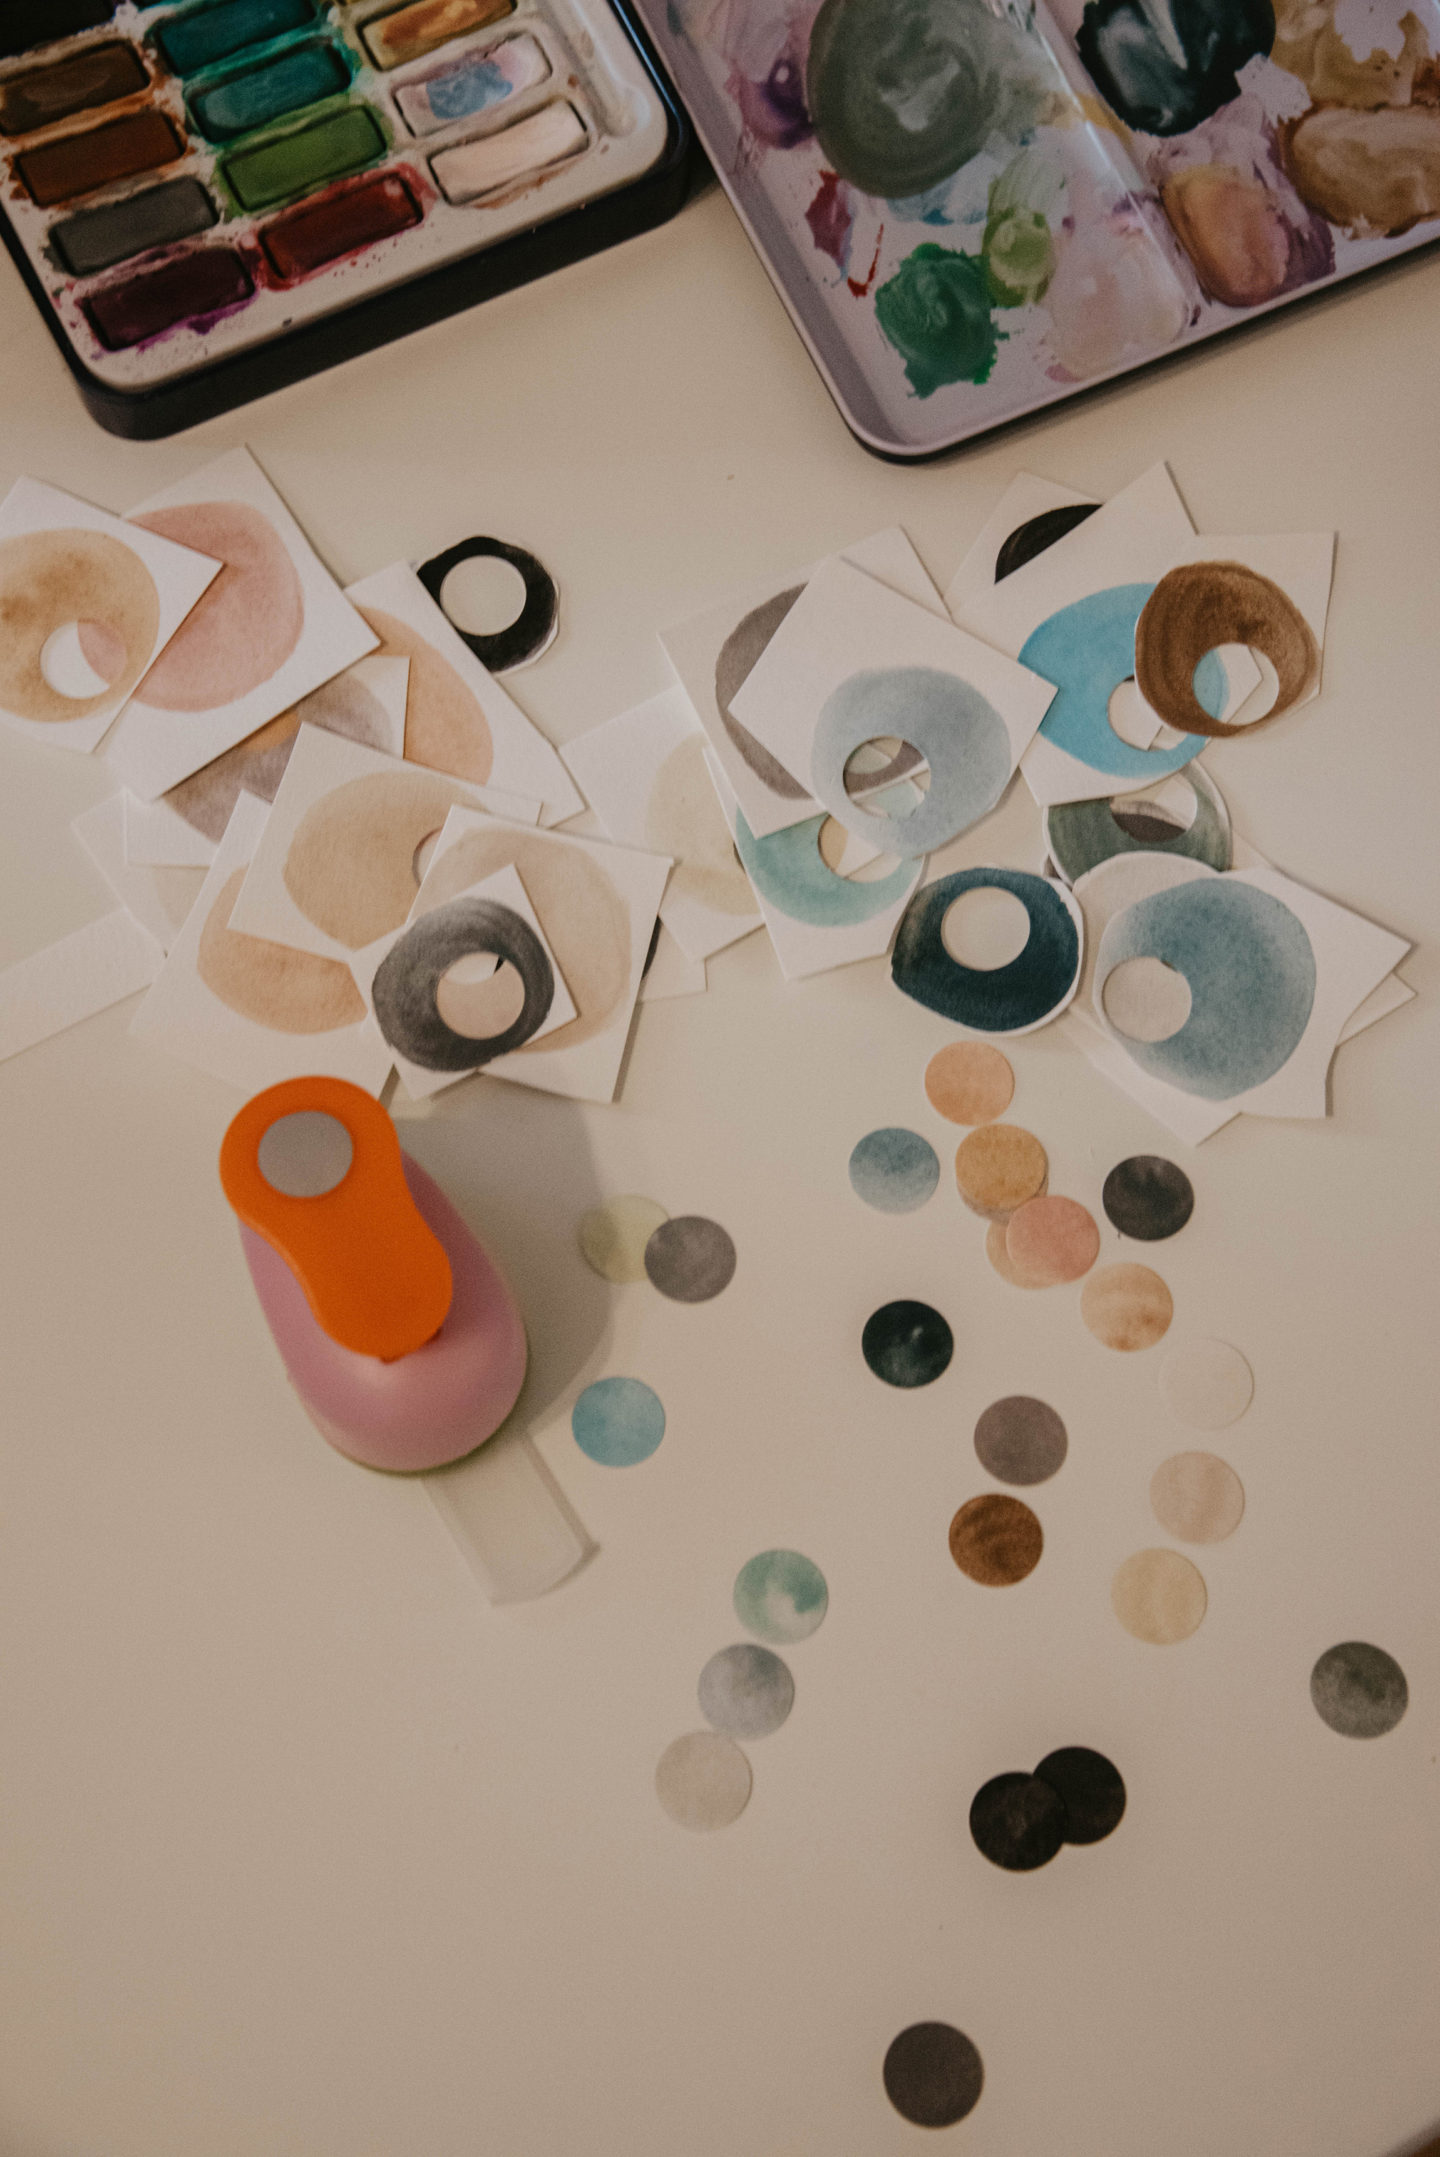
While the spray paint dries, grab some watercolor paint and paint some swatches from a color palette of your choice. Once those are dry (and it dries pretty fast) you can take your 1/2-inch hole punch and punch out sections of each swatch.
If you don’t have watercolor, you can use your desired color of marker, colored pencil, or even crayon. You might be able to download and print watercolor watches from the internet, too.
From here, I chose my favorite punched swatches and numbered them 1-12 in the order I wanted to see on the clock’s face.
Step Three:
Almost done! Once everything was dry, I removed the tape from the clock hands and gold-leafed each one with a small paintbrush. I gradually built up coverage so I didn’t run the risk of getting gold paint on the clock face. In hindsight, I probably should have done this first before painting the clock face white. It would have been easier.
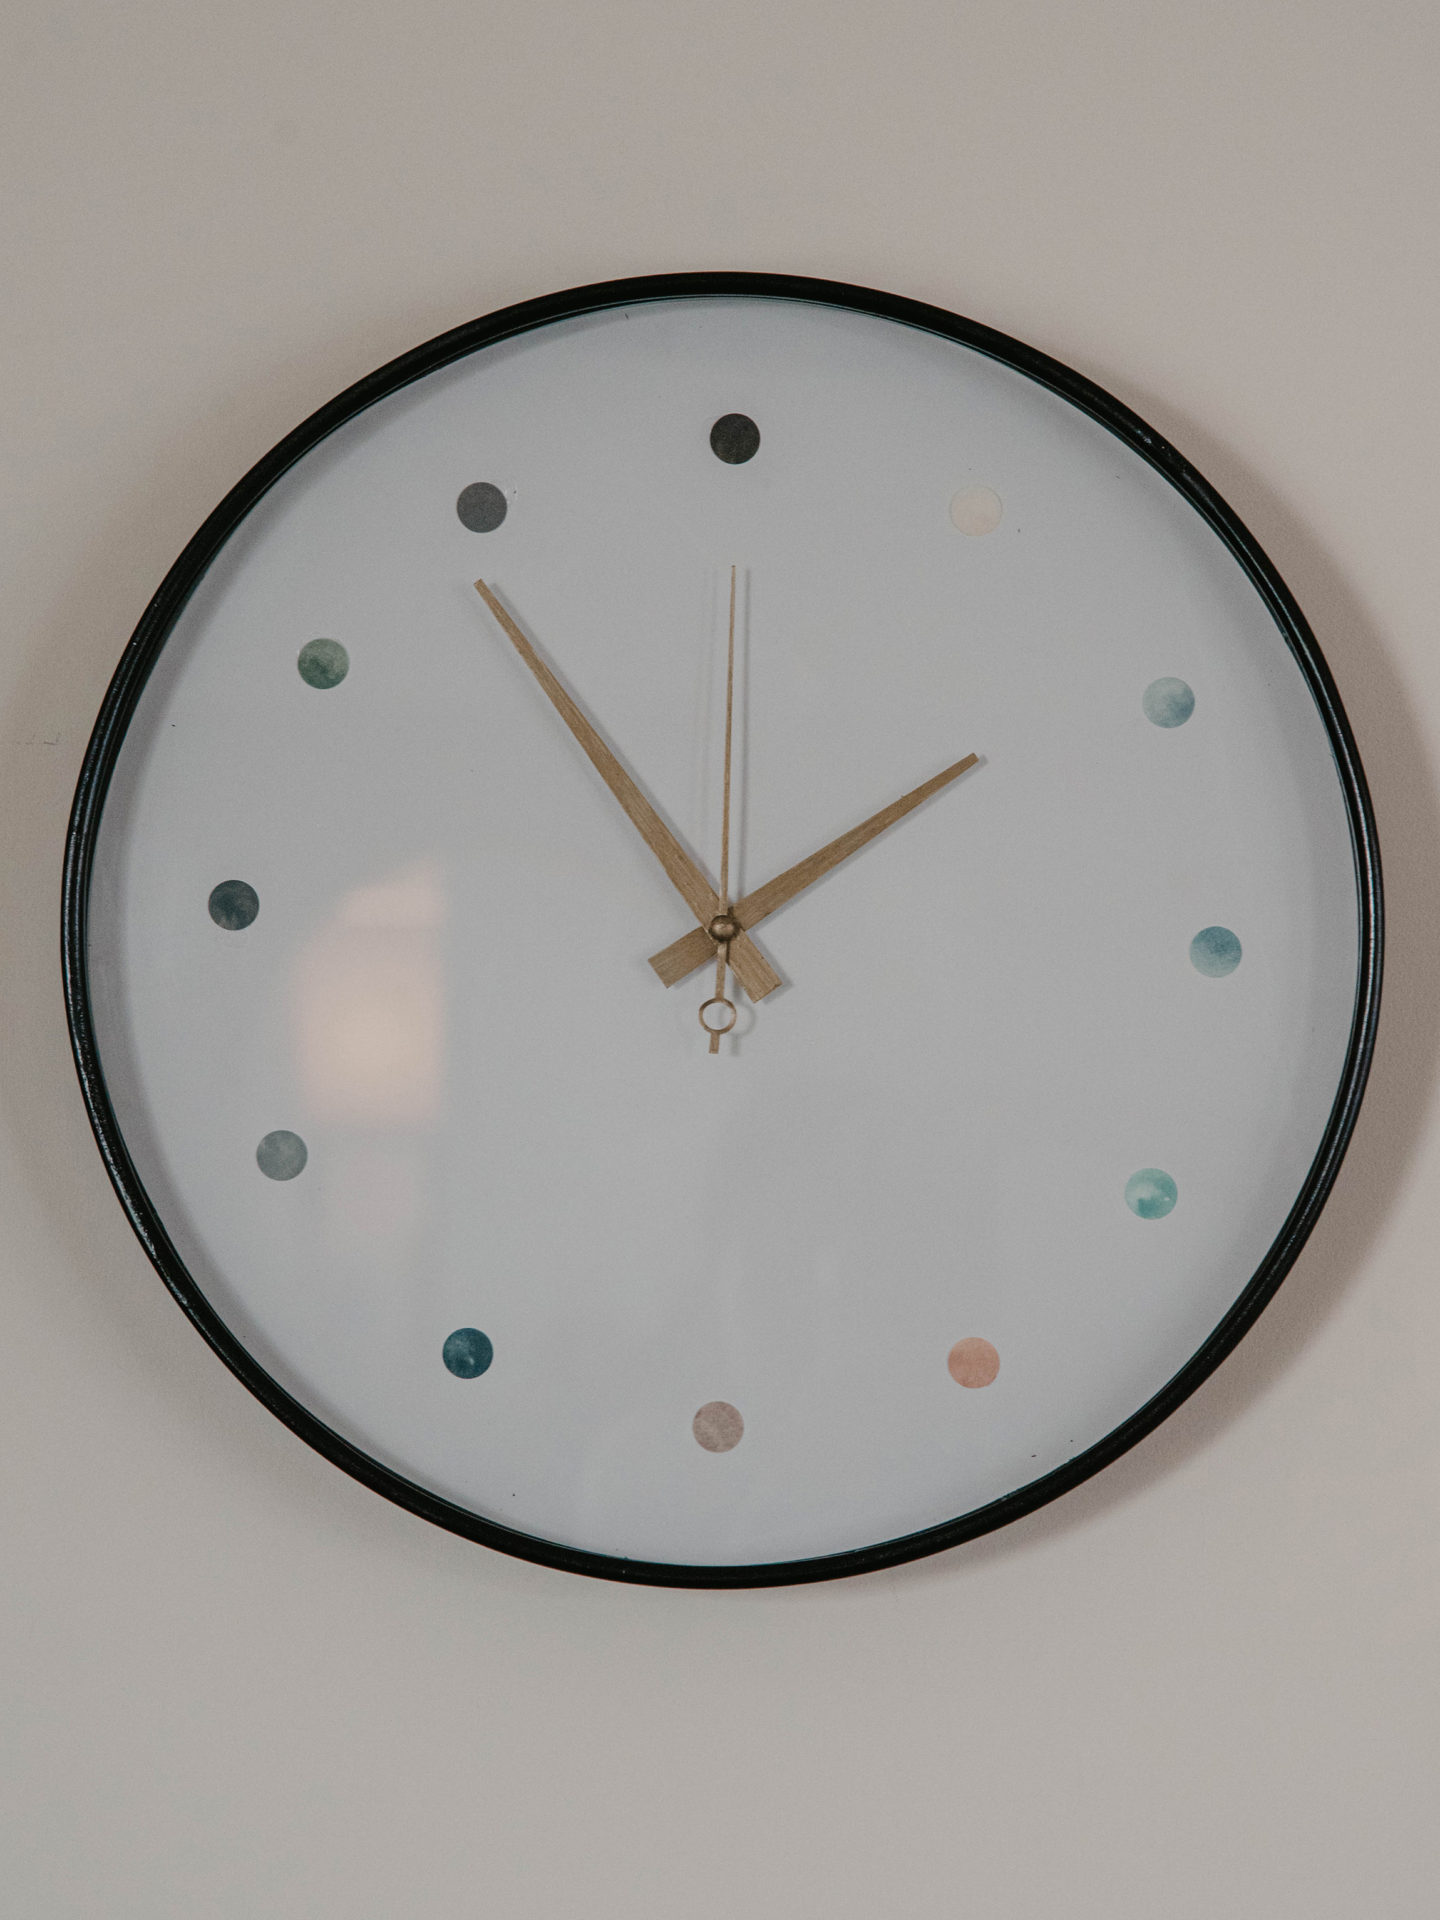
While that dried, I took some hot glue and glued each punched swatch in the respective place on the clock. This is where marking where the numbers are comes in handy. My clock swatches are just slightly off, but it’s okay. Now I know for next time.
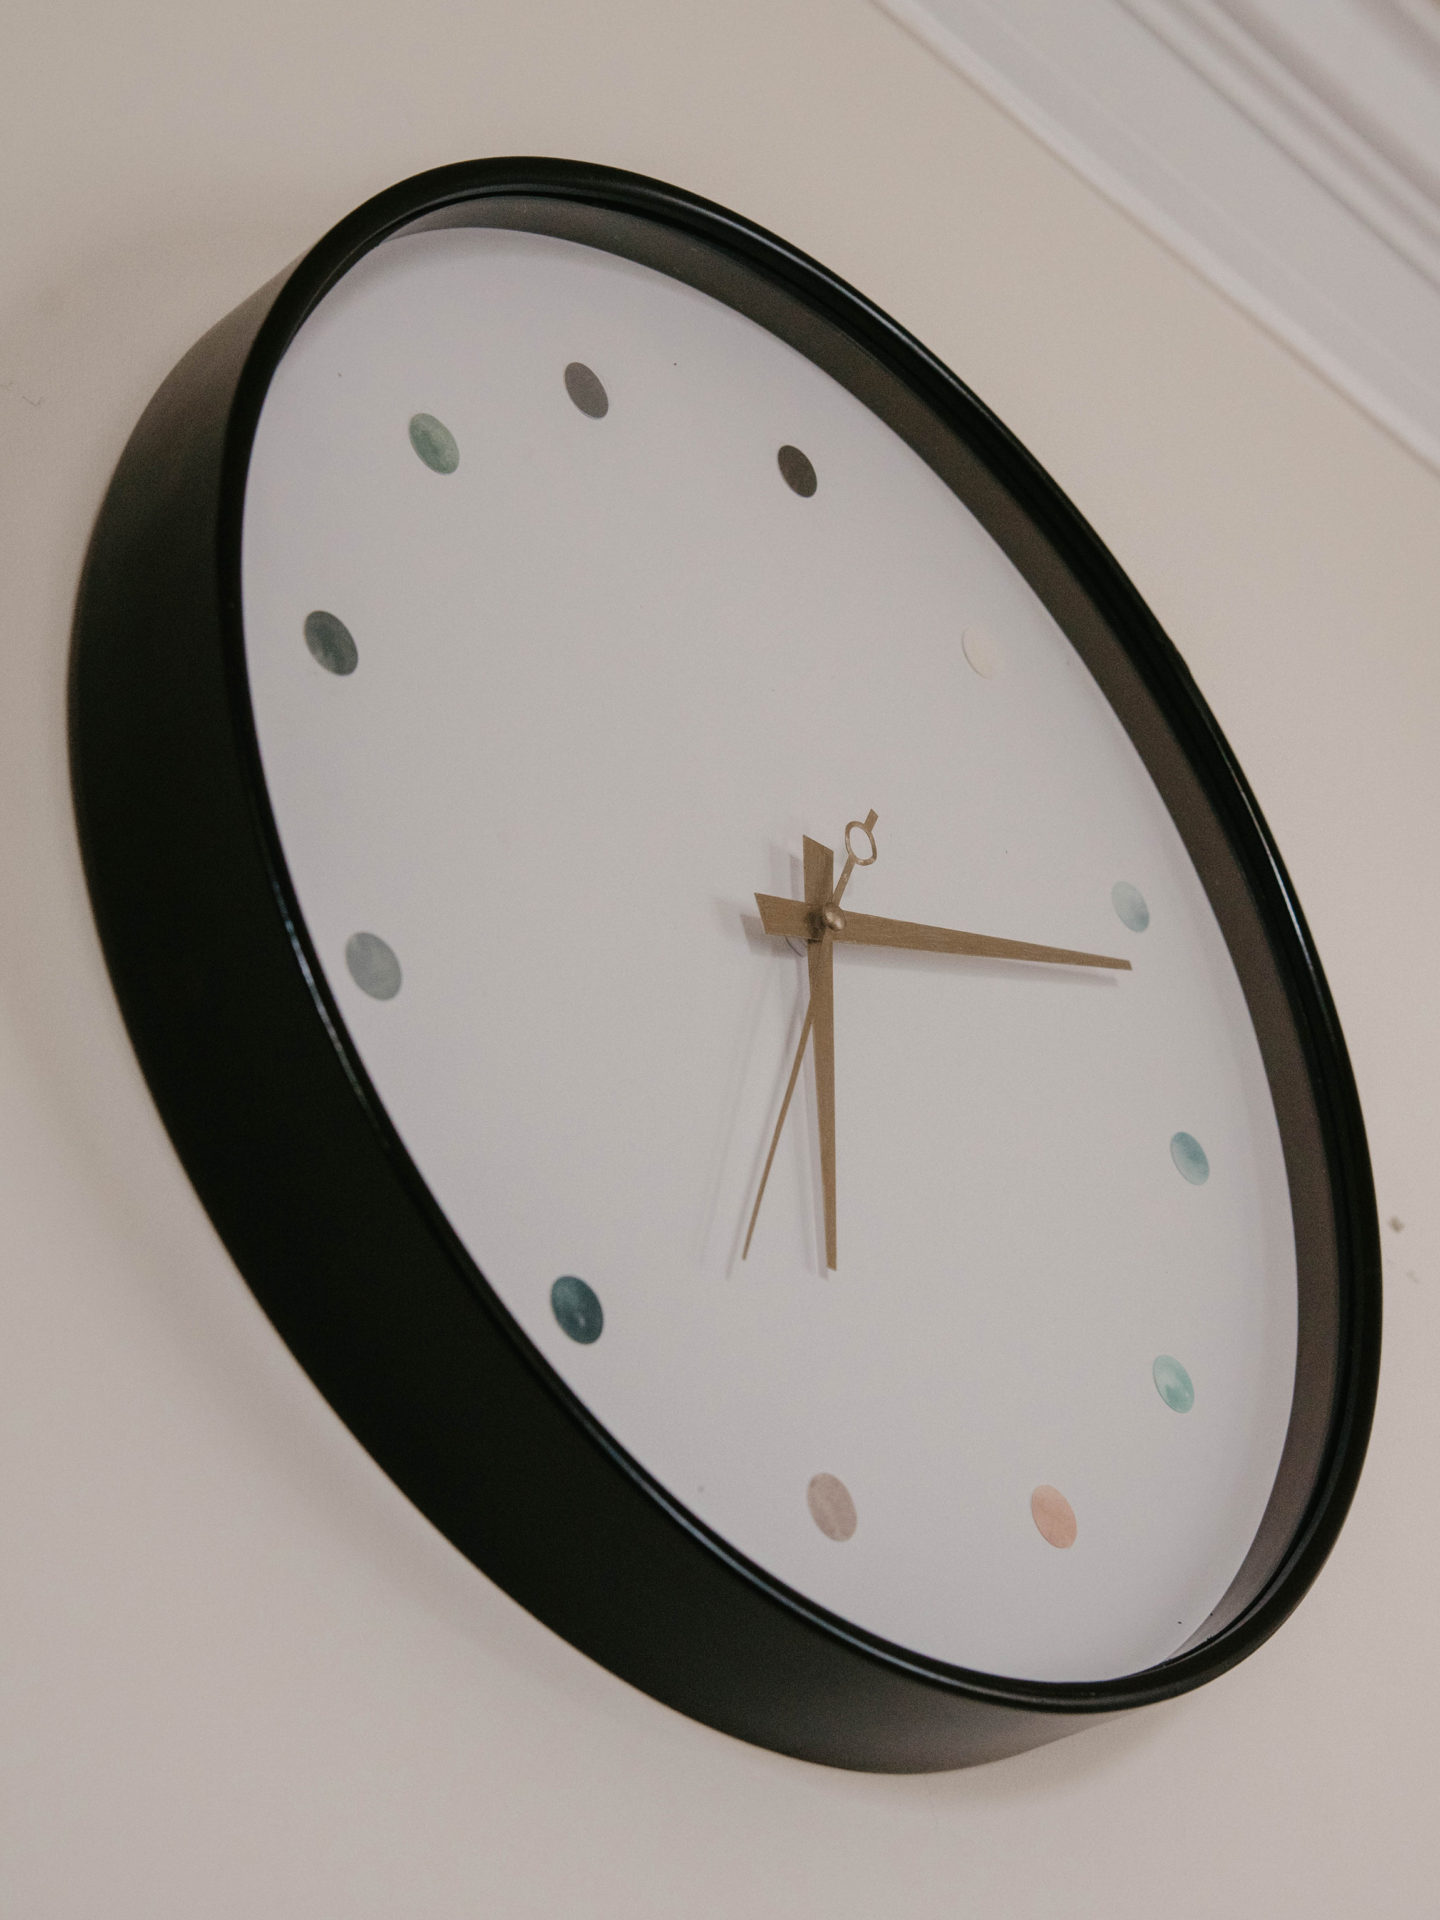
Once everything was totally dry, I reassembled the clock, put in a battery, and hung it on the wall. What do you think of my DIY clock? I am in love with it! This was so much fun to transform – just looking at the before and afters got me shook.
Let me know if you give this DIY clock a try! How did it turn out?