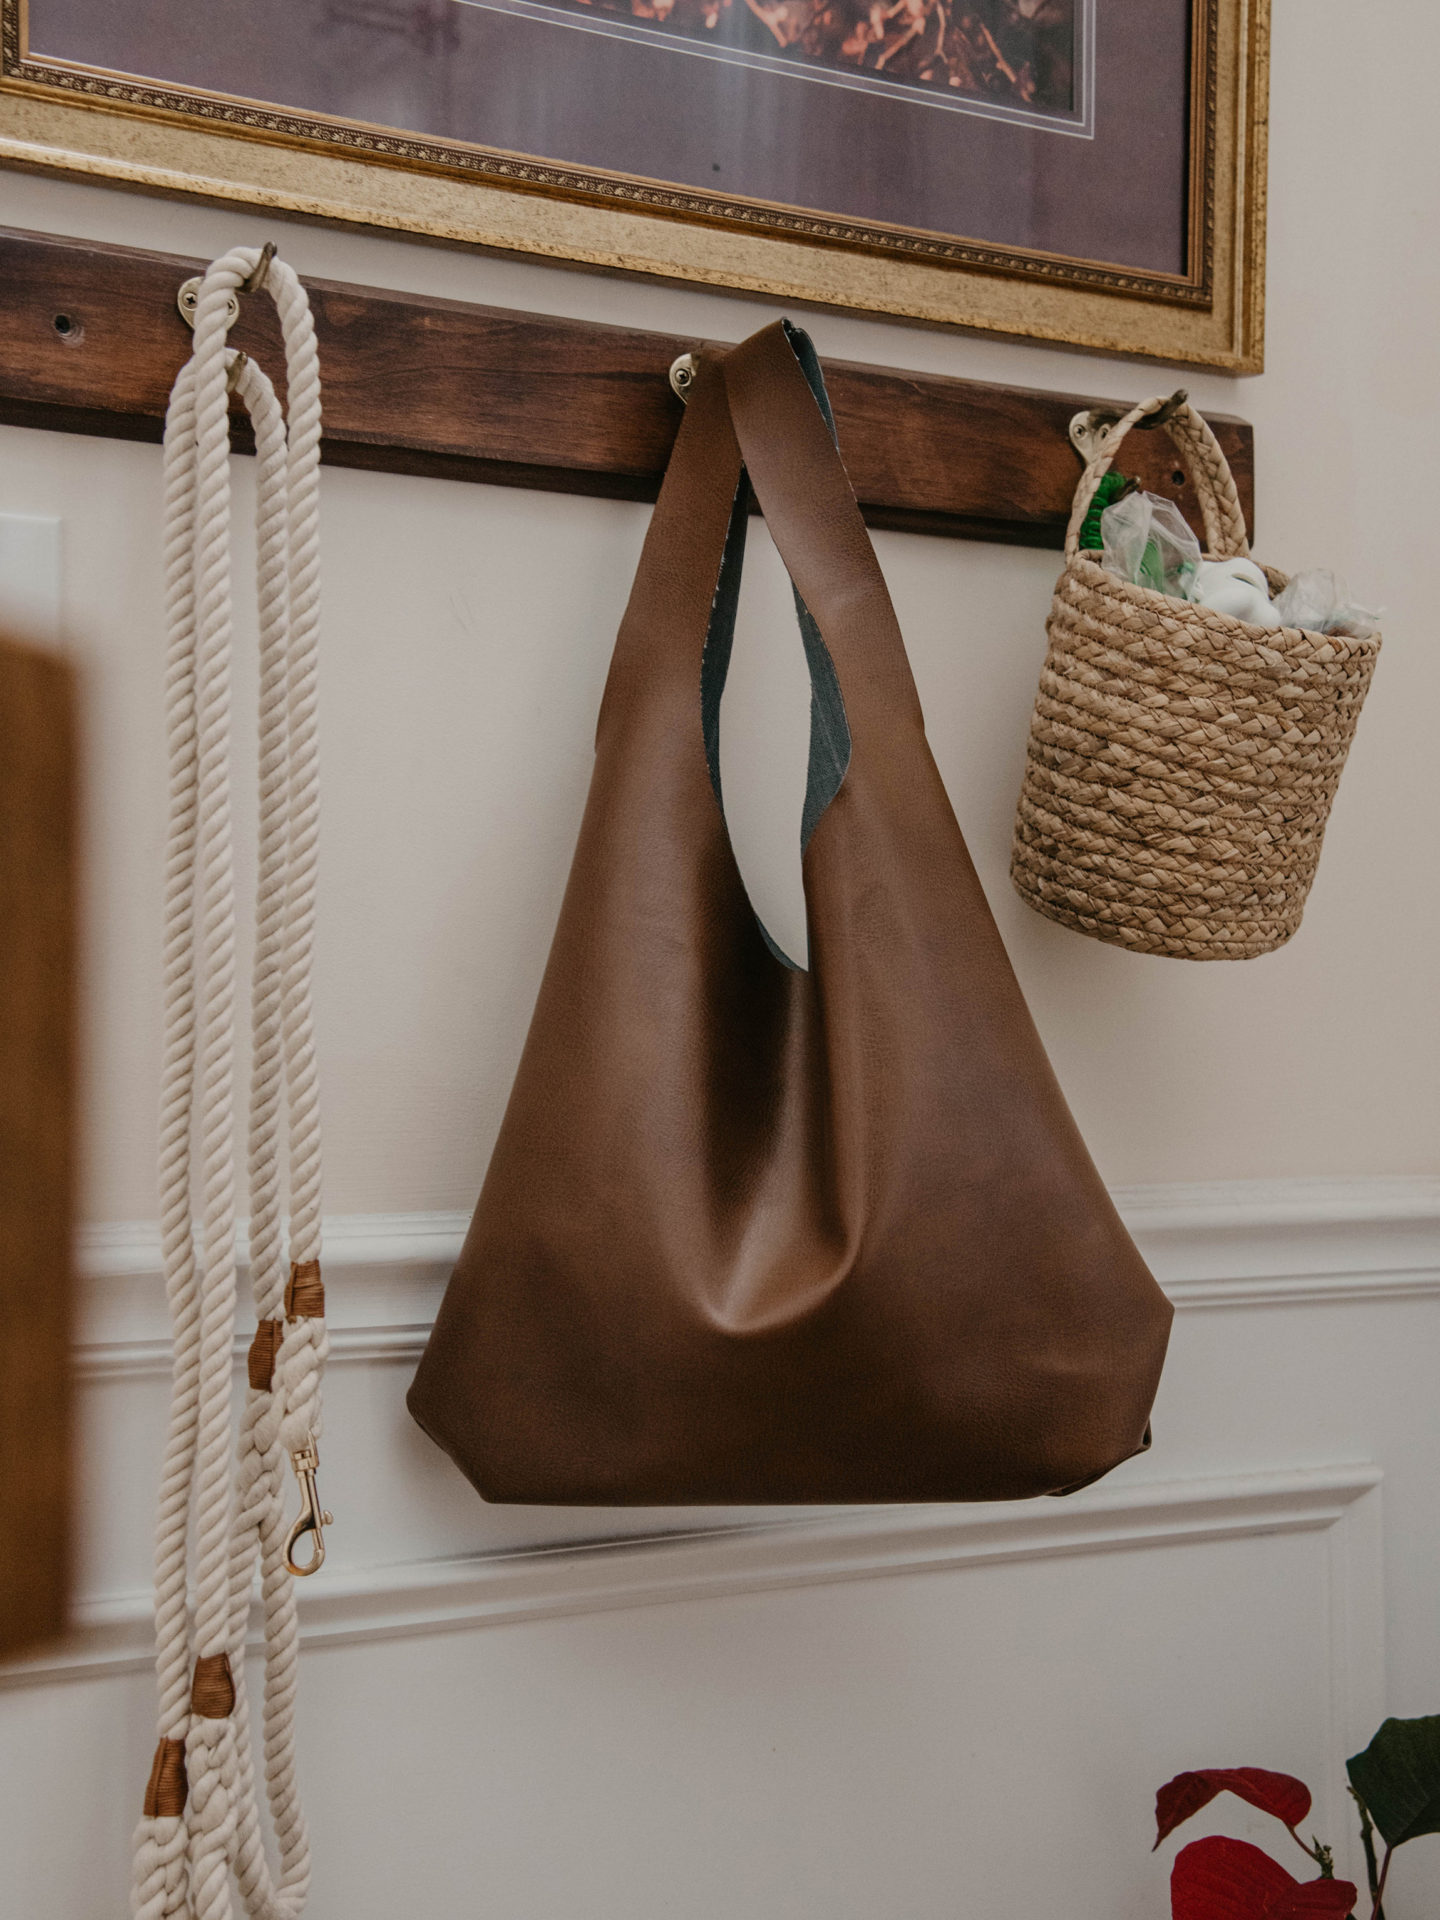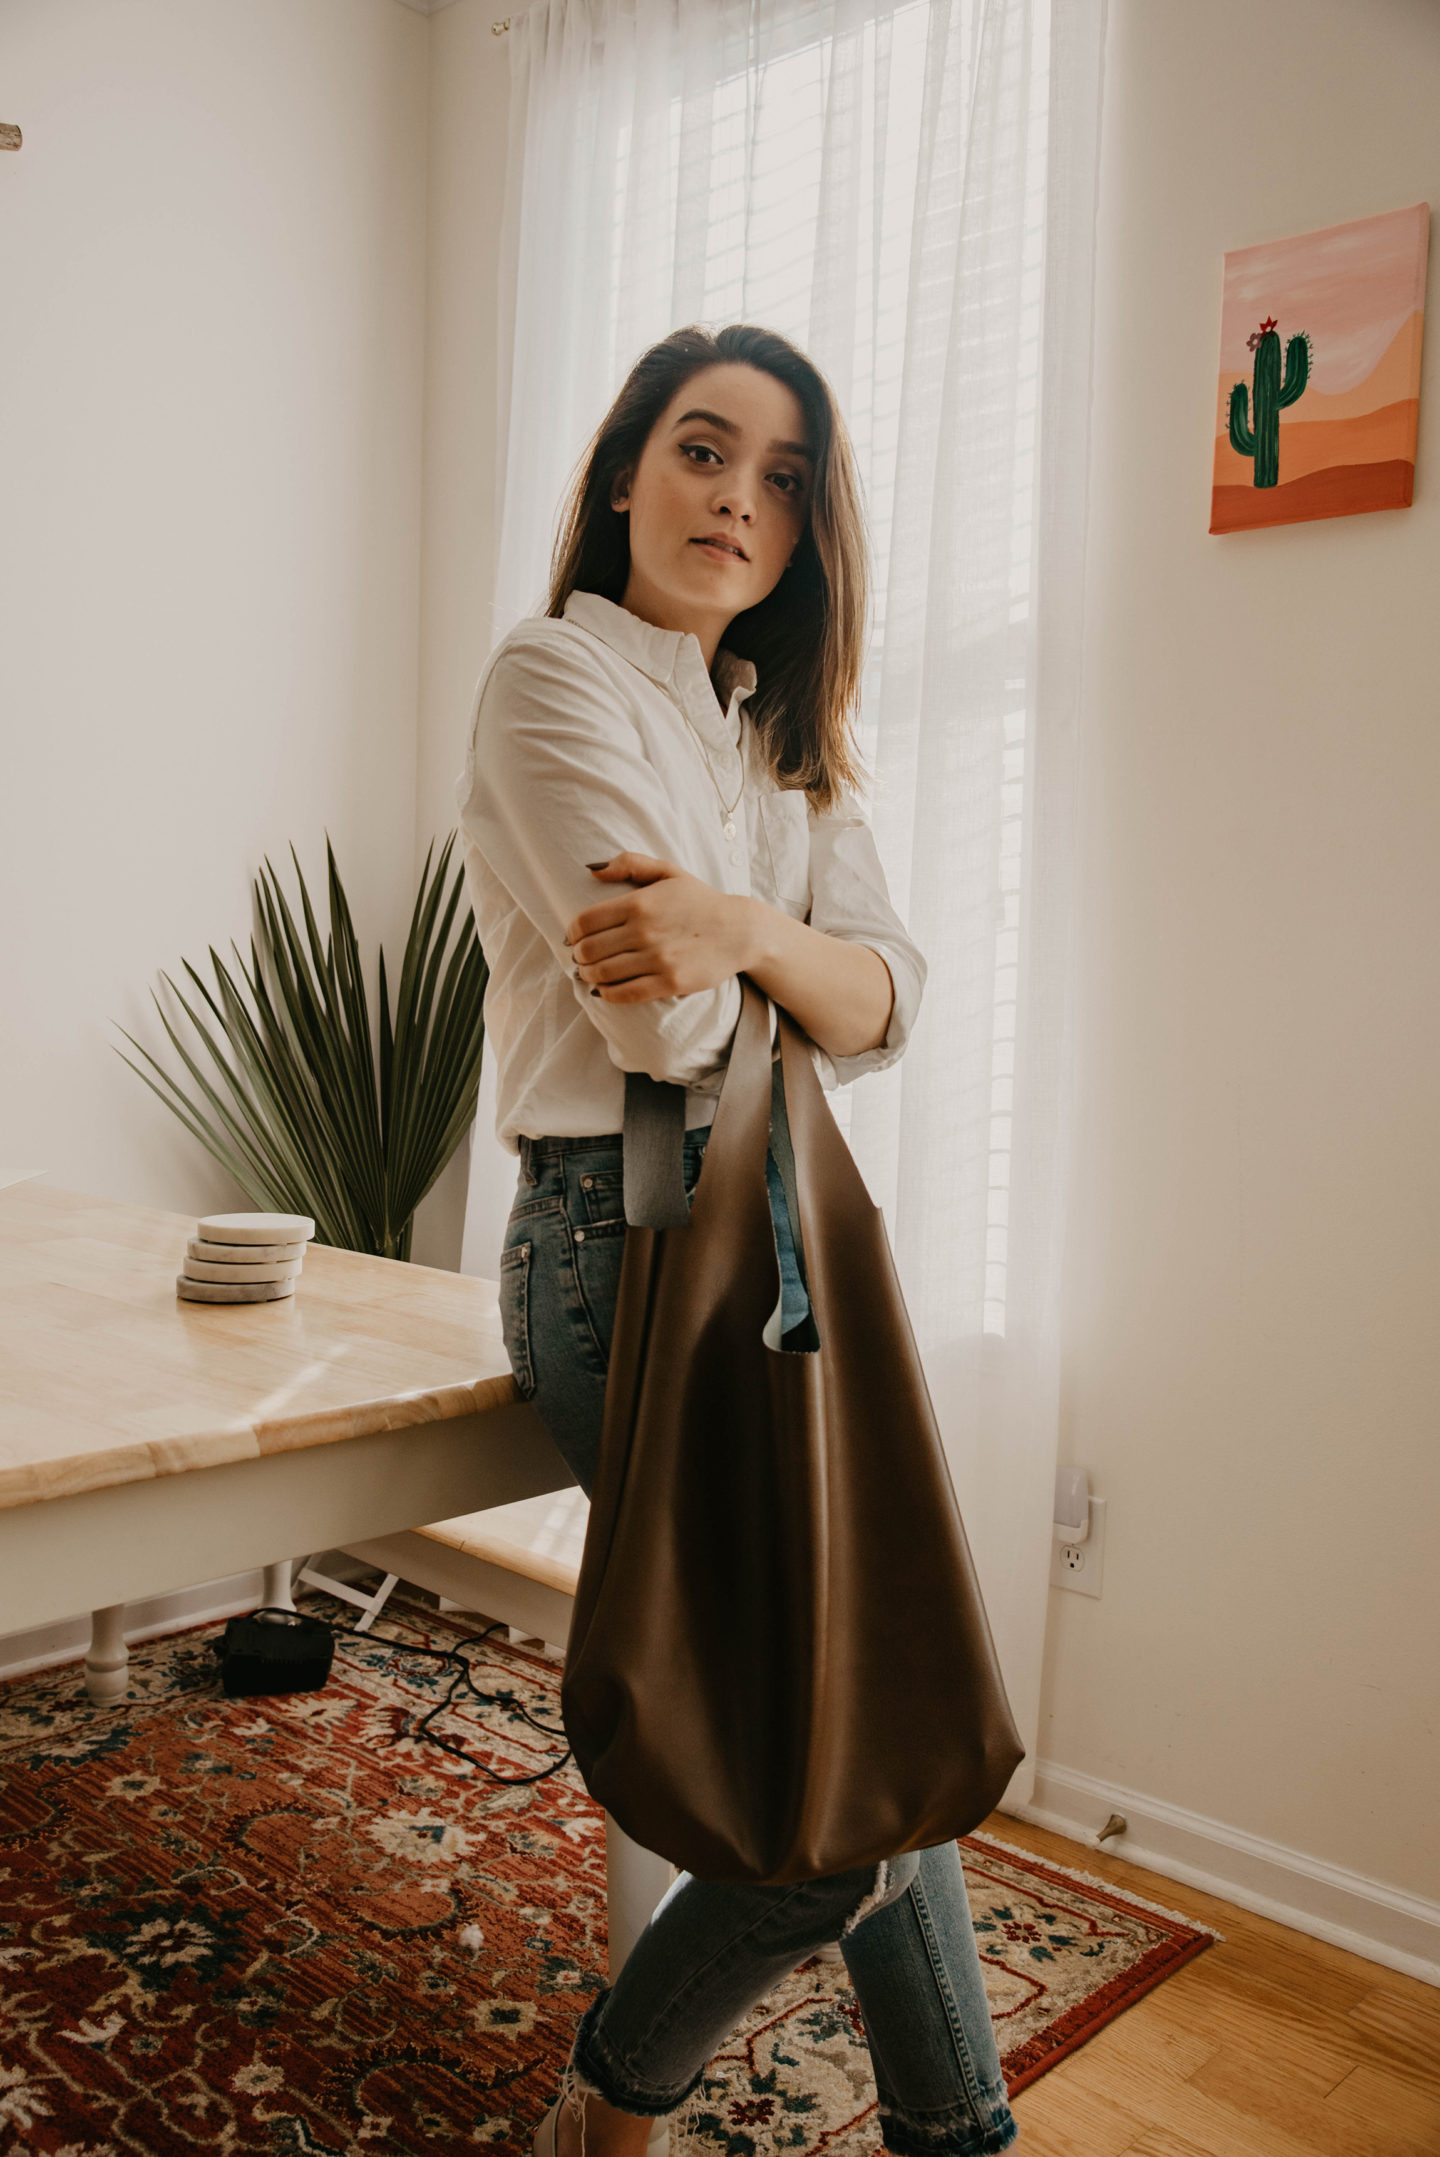
I had leftover material from my last project so I decided to make a DIY Leather Bag.
First and foremost, I was inspired by Baggu shoulder bags – they’re everywhere on Pinterest. I used to wear a lot of shoulder bags like this in the past, but in the last few years, smaller bags have been trendy. Before the Coronavirus pandemic, I was looking forward to hitting up farmer’s markets and needed a bag I could store produce or small antique finds. Say hello to this DIY Leather Bag!
I’m new to machine sewing and this was the first attempt at making this bag, so be kind! Keep in mind, I was running low on material after my DIY ottoman project, but I am very happy with the end result. I am going to continue to test patterns and improve upon the design. My favorite thing about the bag is the raw edge look.
Things you’ll need:
-
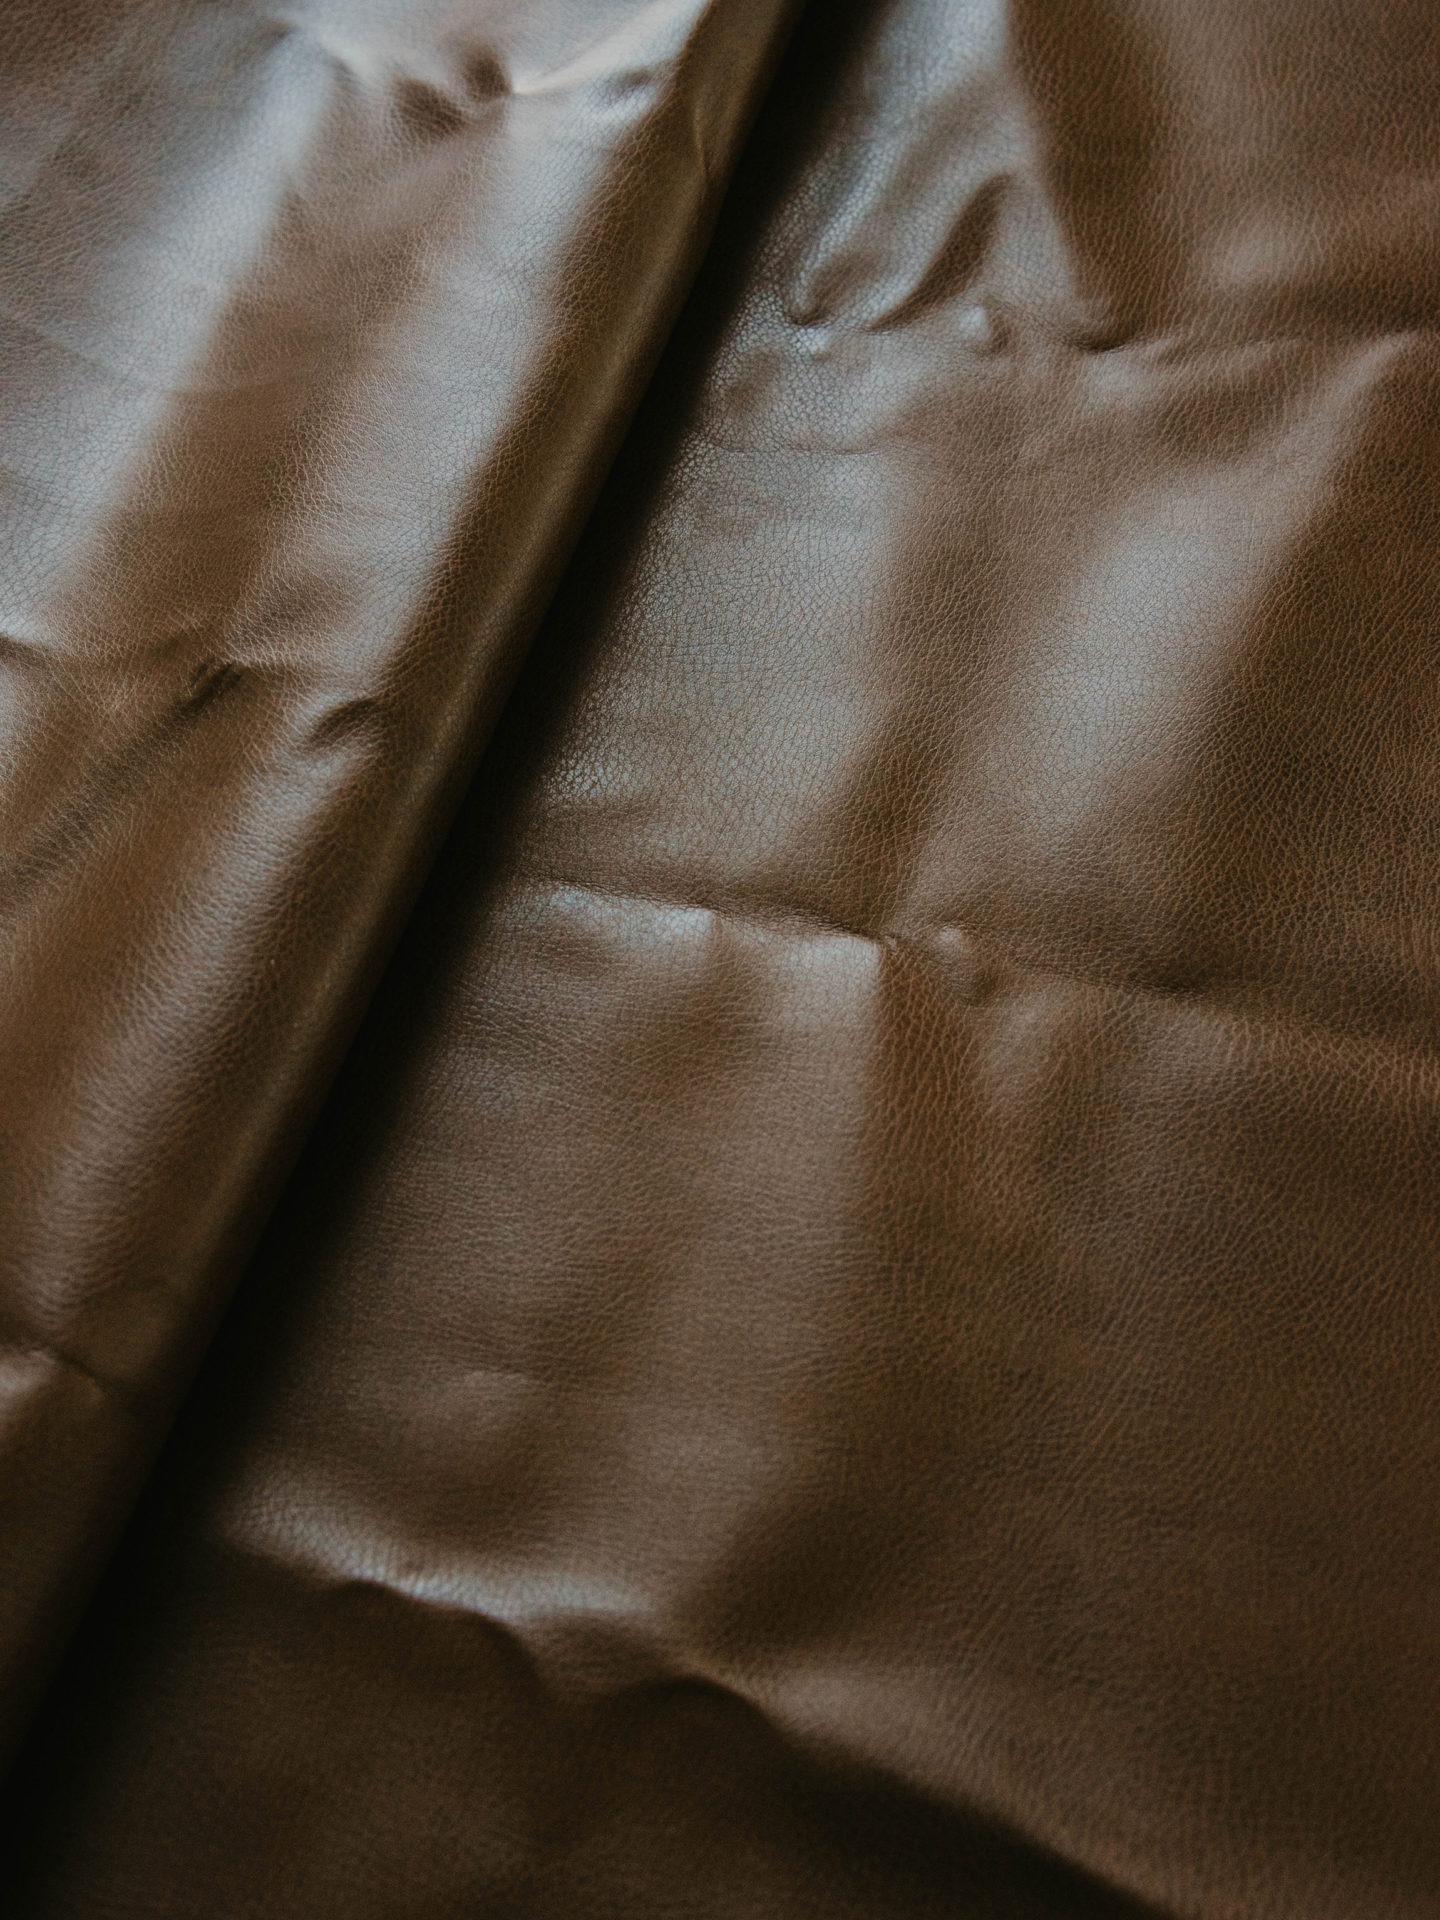
- 1 yard of leather fabric – just to be safe. I had less than that when I made mine (similar here)
- Sewing machine (similar here) & colored string to match fabric (polyester / heavy duty thread)
- Sewing pins
- Scissors
- Chalk pencil
- Ruler
- Iron-on adhesive
Step One:
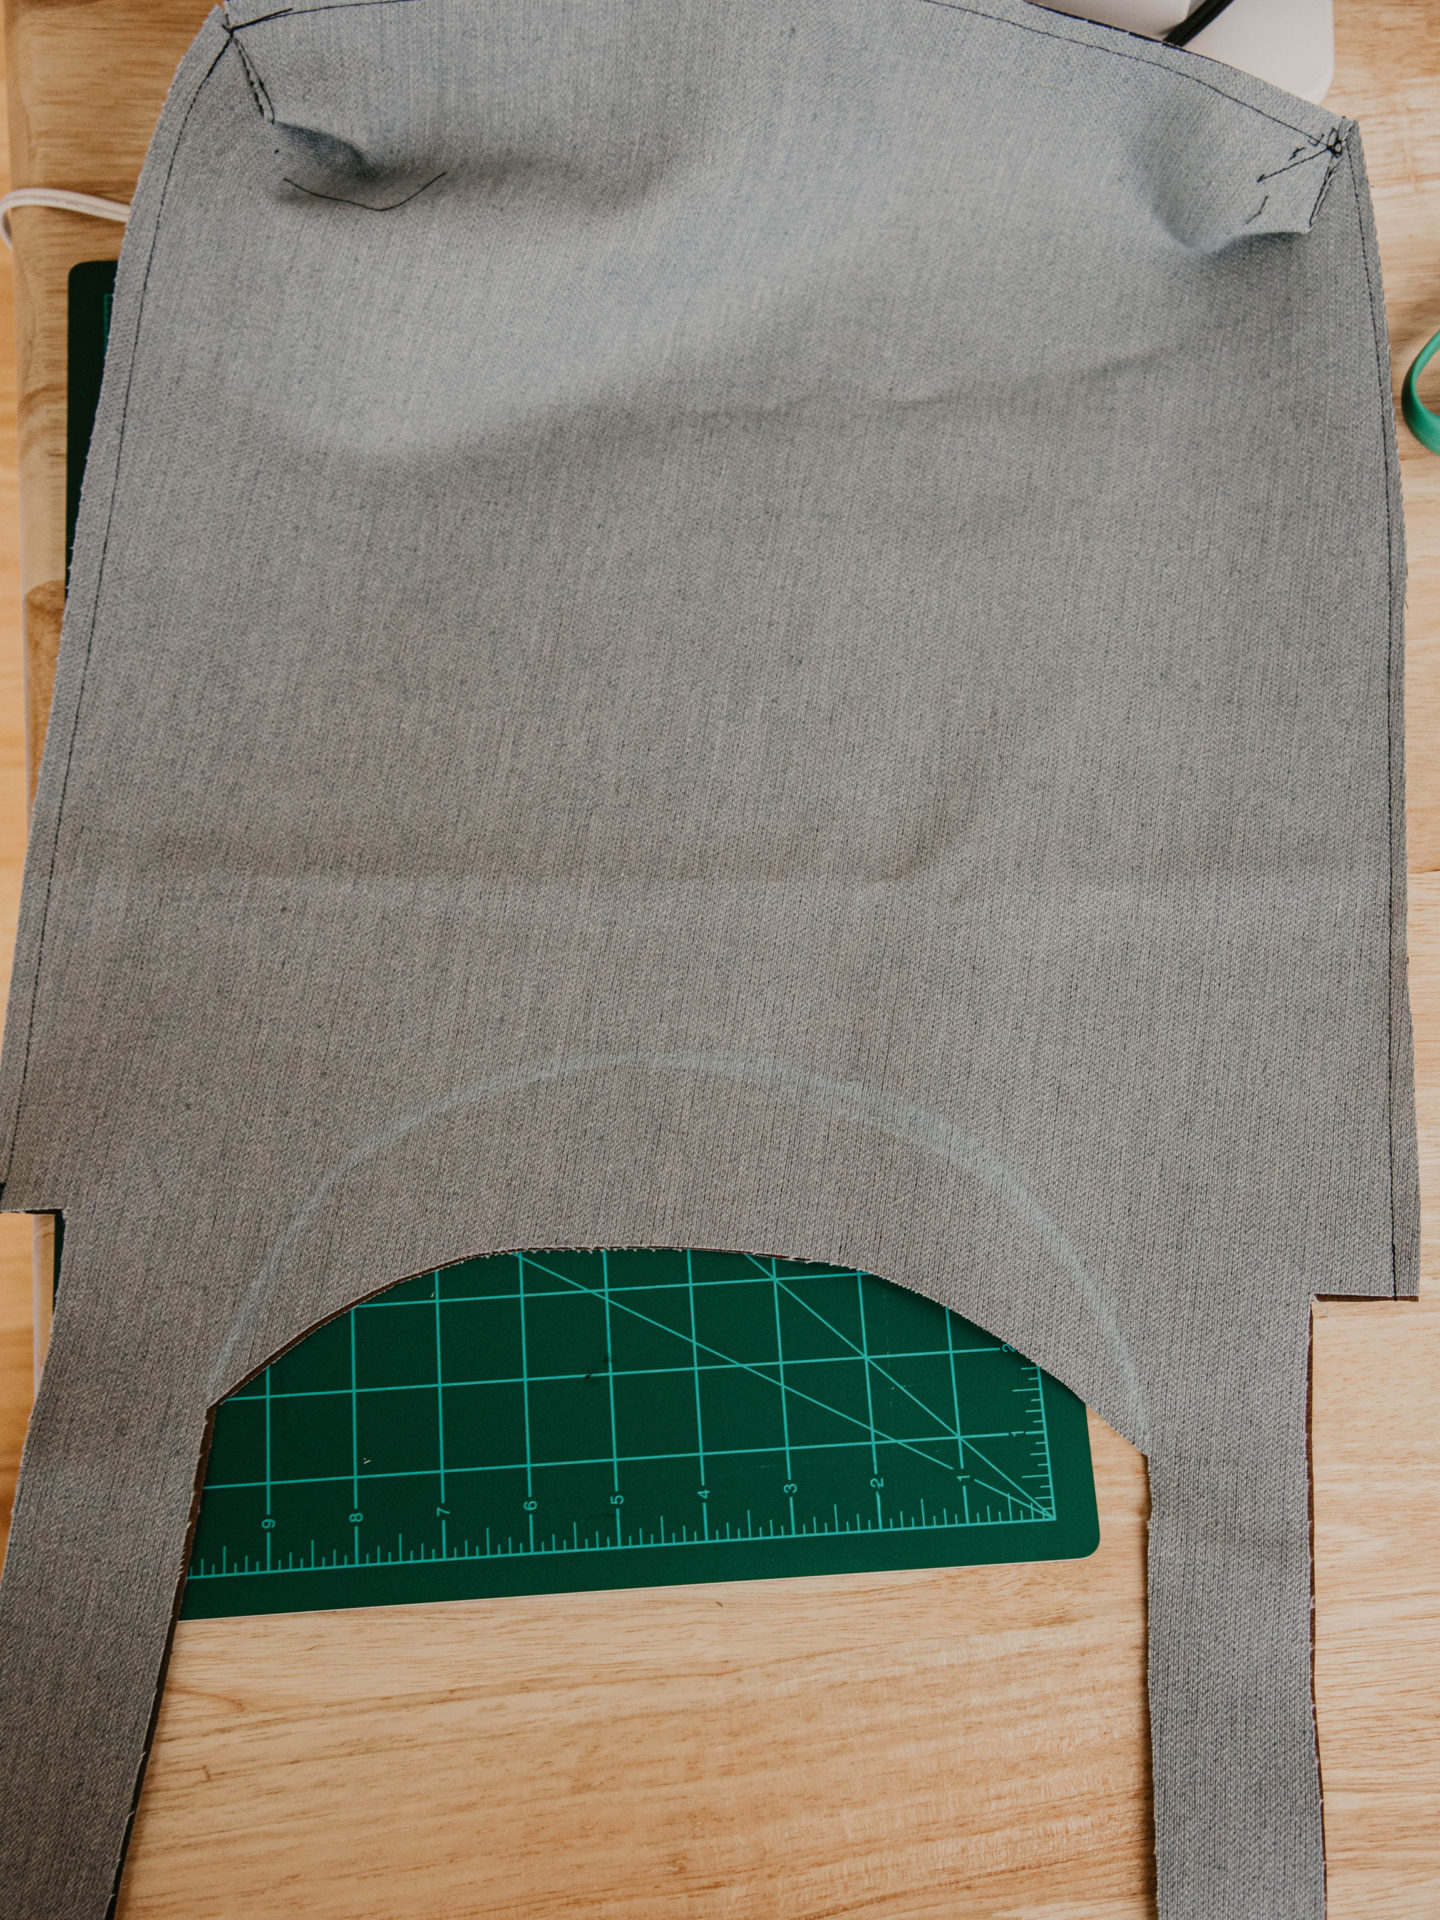
Draw your pattern on the back of the material using your chalk pencil. I used a pattern I found online as inspiration but I added my own flare because I wanted a more spacious shoulder bag. Using a ruler can help you keep your lines straight and your measurements even! (You can use my pattern below – second image.)

Step Two:
Cut out your pattern using scissors. You will have two identical sections to sew together when you are done. You can cut your pattern while the fabric is folded in half, but recommend pinning the material together to prevent it from sliding as you are cutting.
As you prep to sew, use sewing pins to hold the top of the straps, the sides, and the bottom together. The image below is a makeshift pattern I made for you guys to use in case you want to try this DIY project! You can see where to place your sewing pins and where to add your straight stitches.


Step Three:
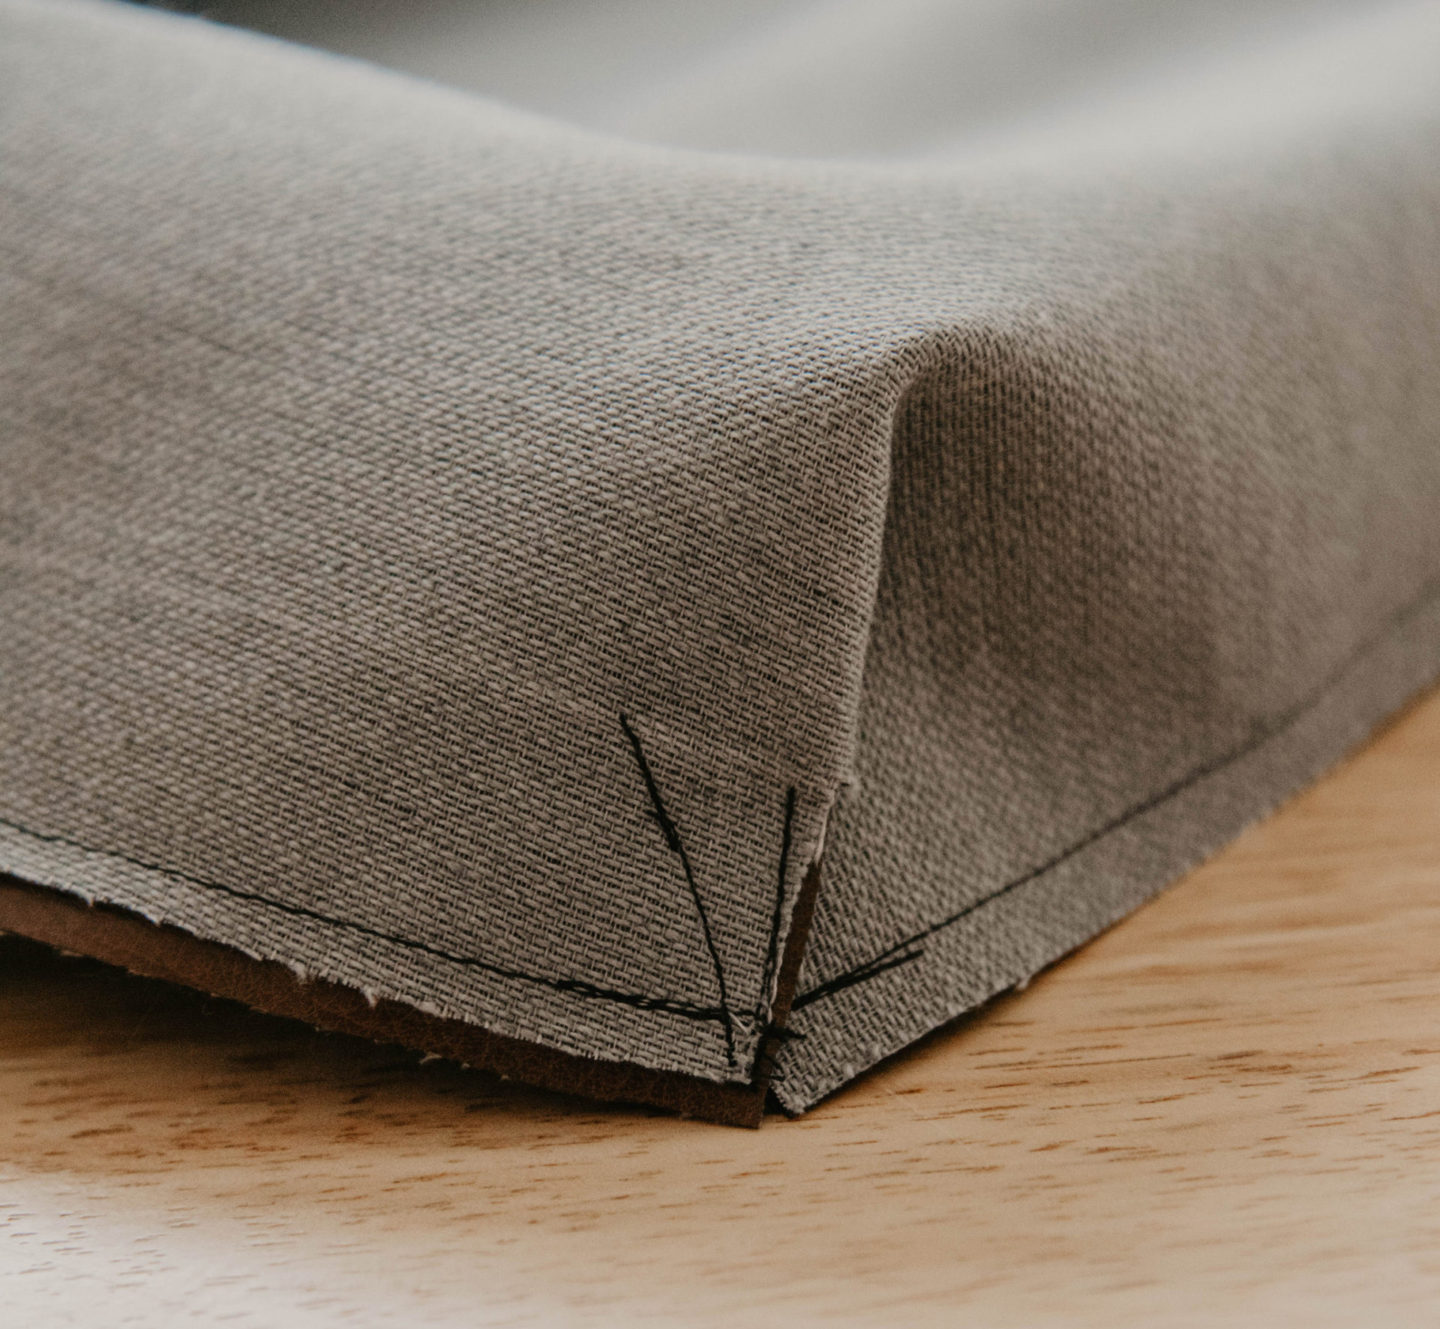
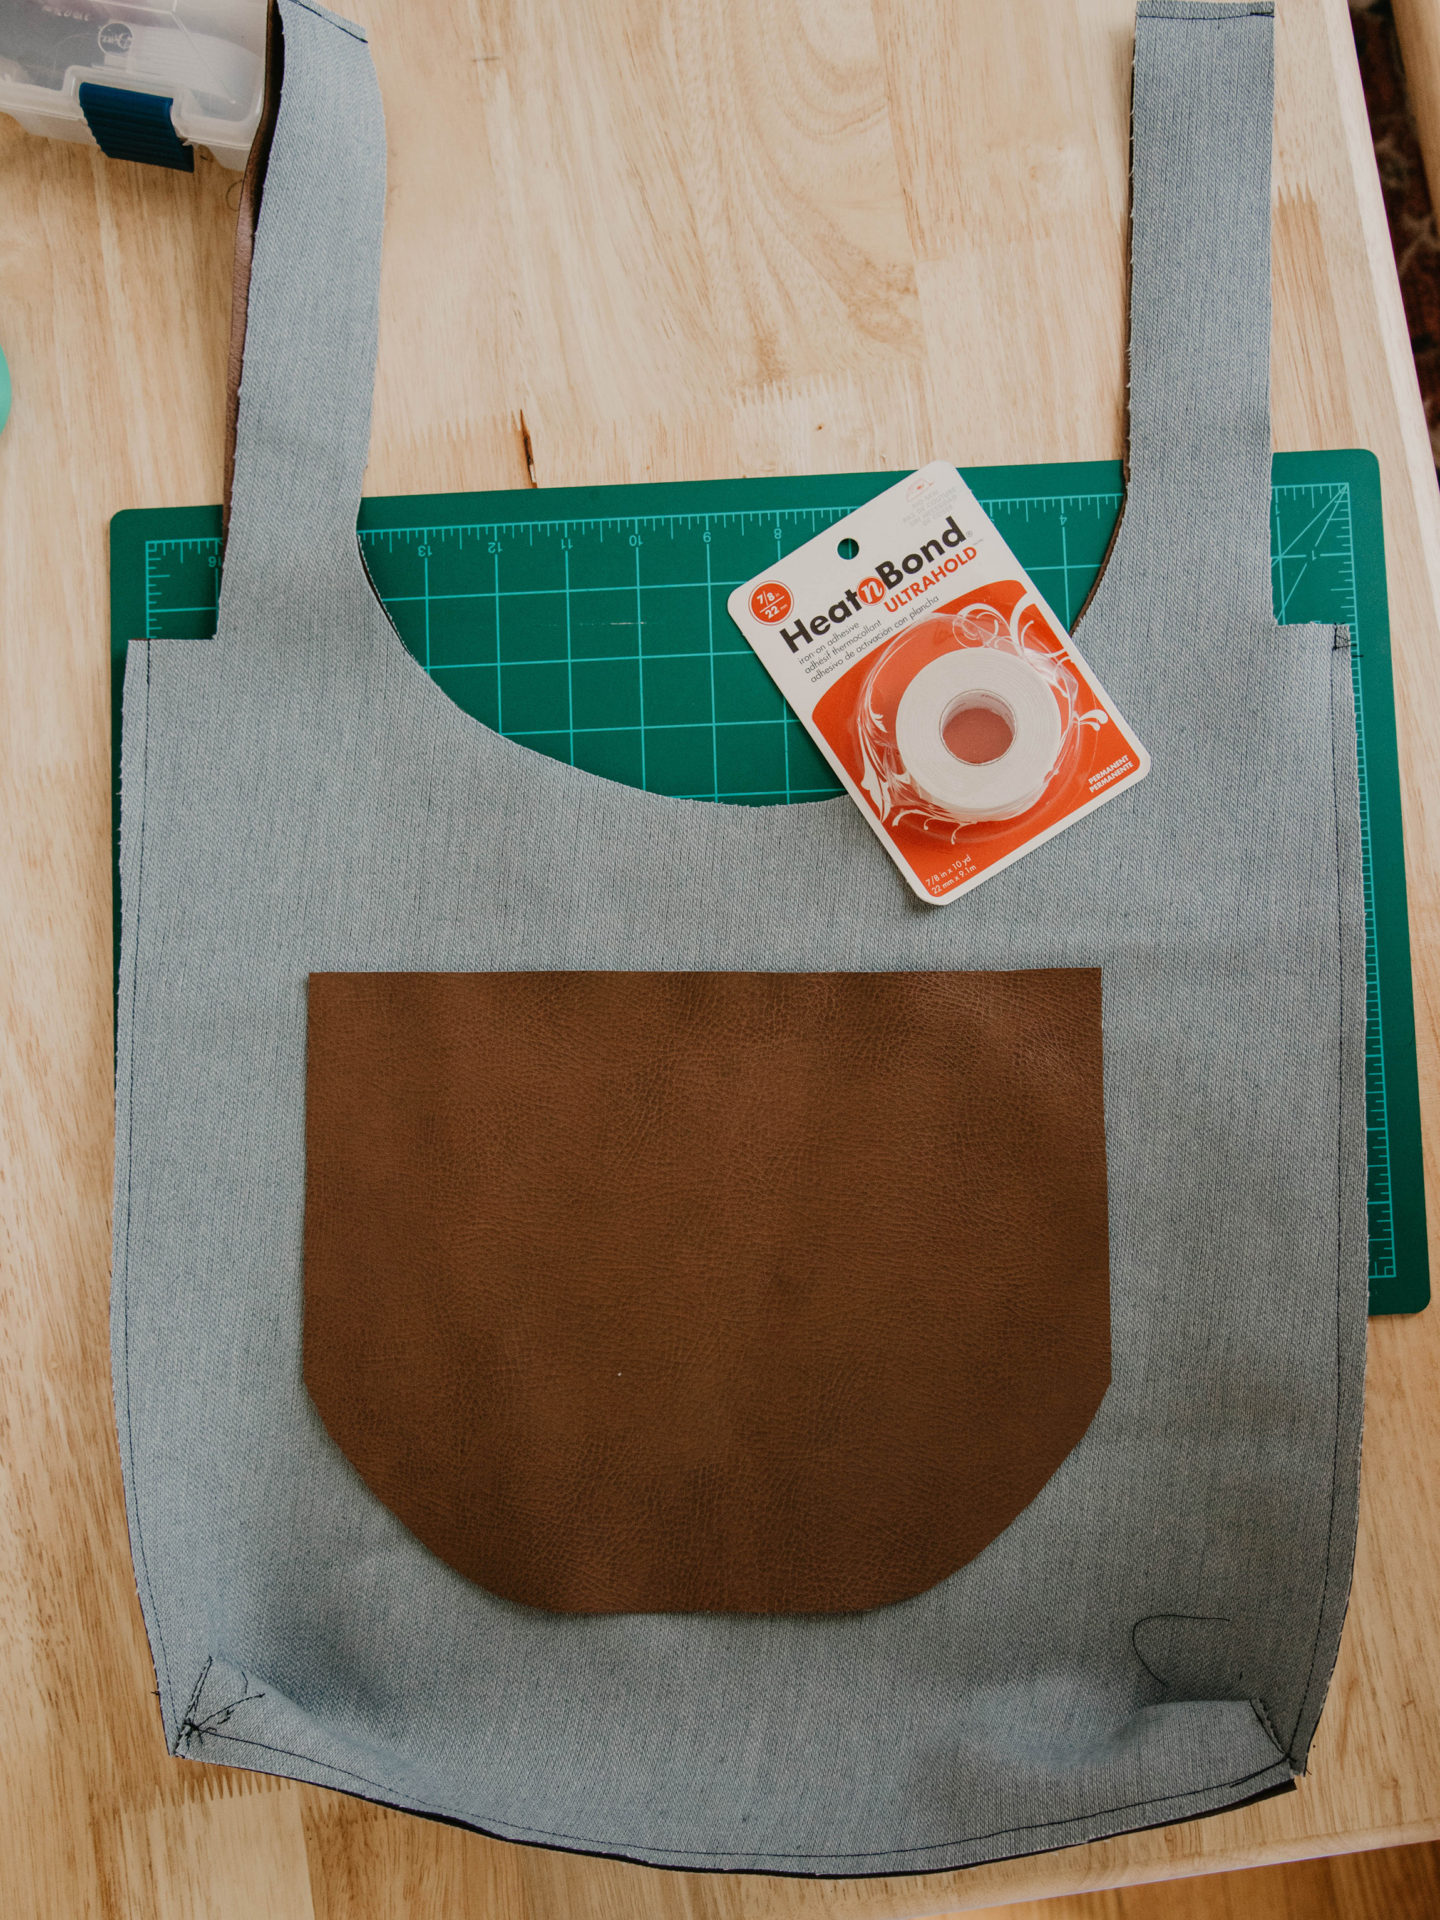
Sew up the top of the handles, the sides, and the bottom of the bag. You will want to overlap the bottom corners and sew them together (see pattern above). Completing this step gives you the appearance of a puffier bag when it’s turned inside-out. Cut off any excess string.
I also opted to cut the opening of the bag a bit lower to elongate the handles. You can also trim off any excess fabric below the sewing lines.
Step 4: (optional)
Using leftover faux leather material, I cut a pocket for the interior of the bag. Unfortunately, I don’t have lining materials on hand and didn’t want to sew straight through the exterior of the fabric, so I used iron-on adhesive to fuse the pocket to the bag. I spent quite a bit of time ironing this sucker on because the material was so thick. To prevent material heat damage, I used a t-shirt to act as a buffer from the iron.
And there you have it! Now I have a beautiful new bag, perfect for future farmer’s market trips – if the pandemic ever ends.
Let me know if you decide to give this DIY Leather Bag a try! If you have other patterns I should try, link me in the comments.