Dyeing fabric is similar to painting watercolors on a canvas.
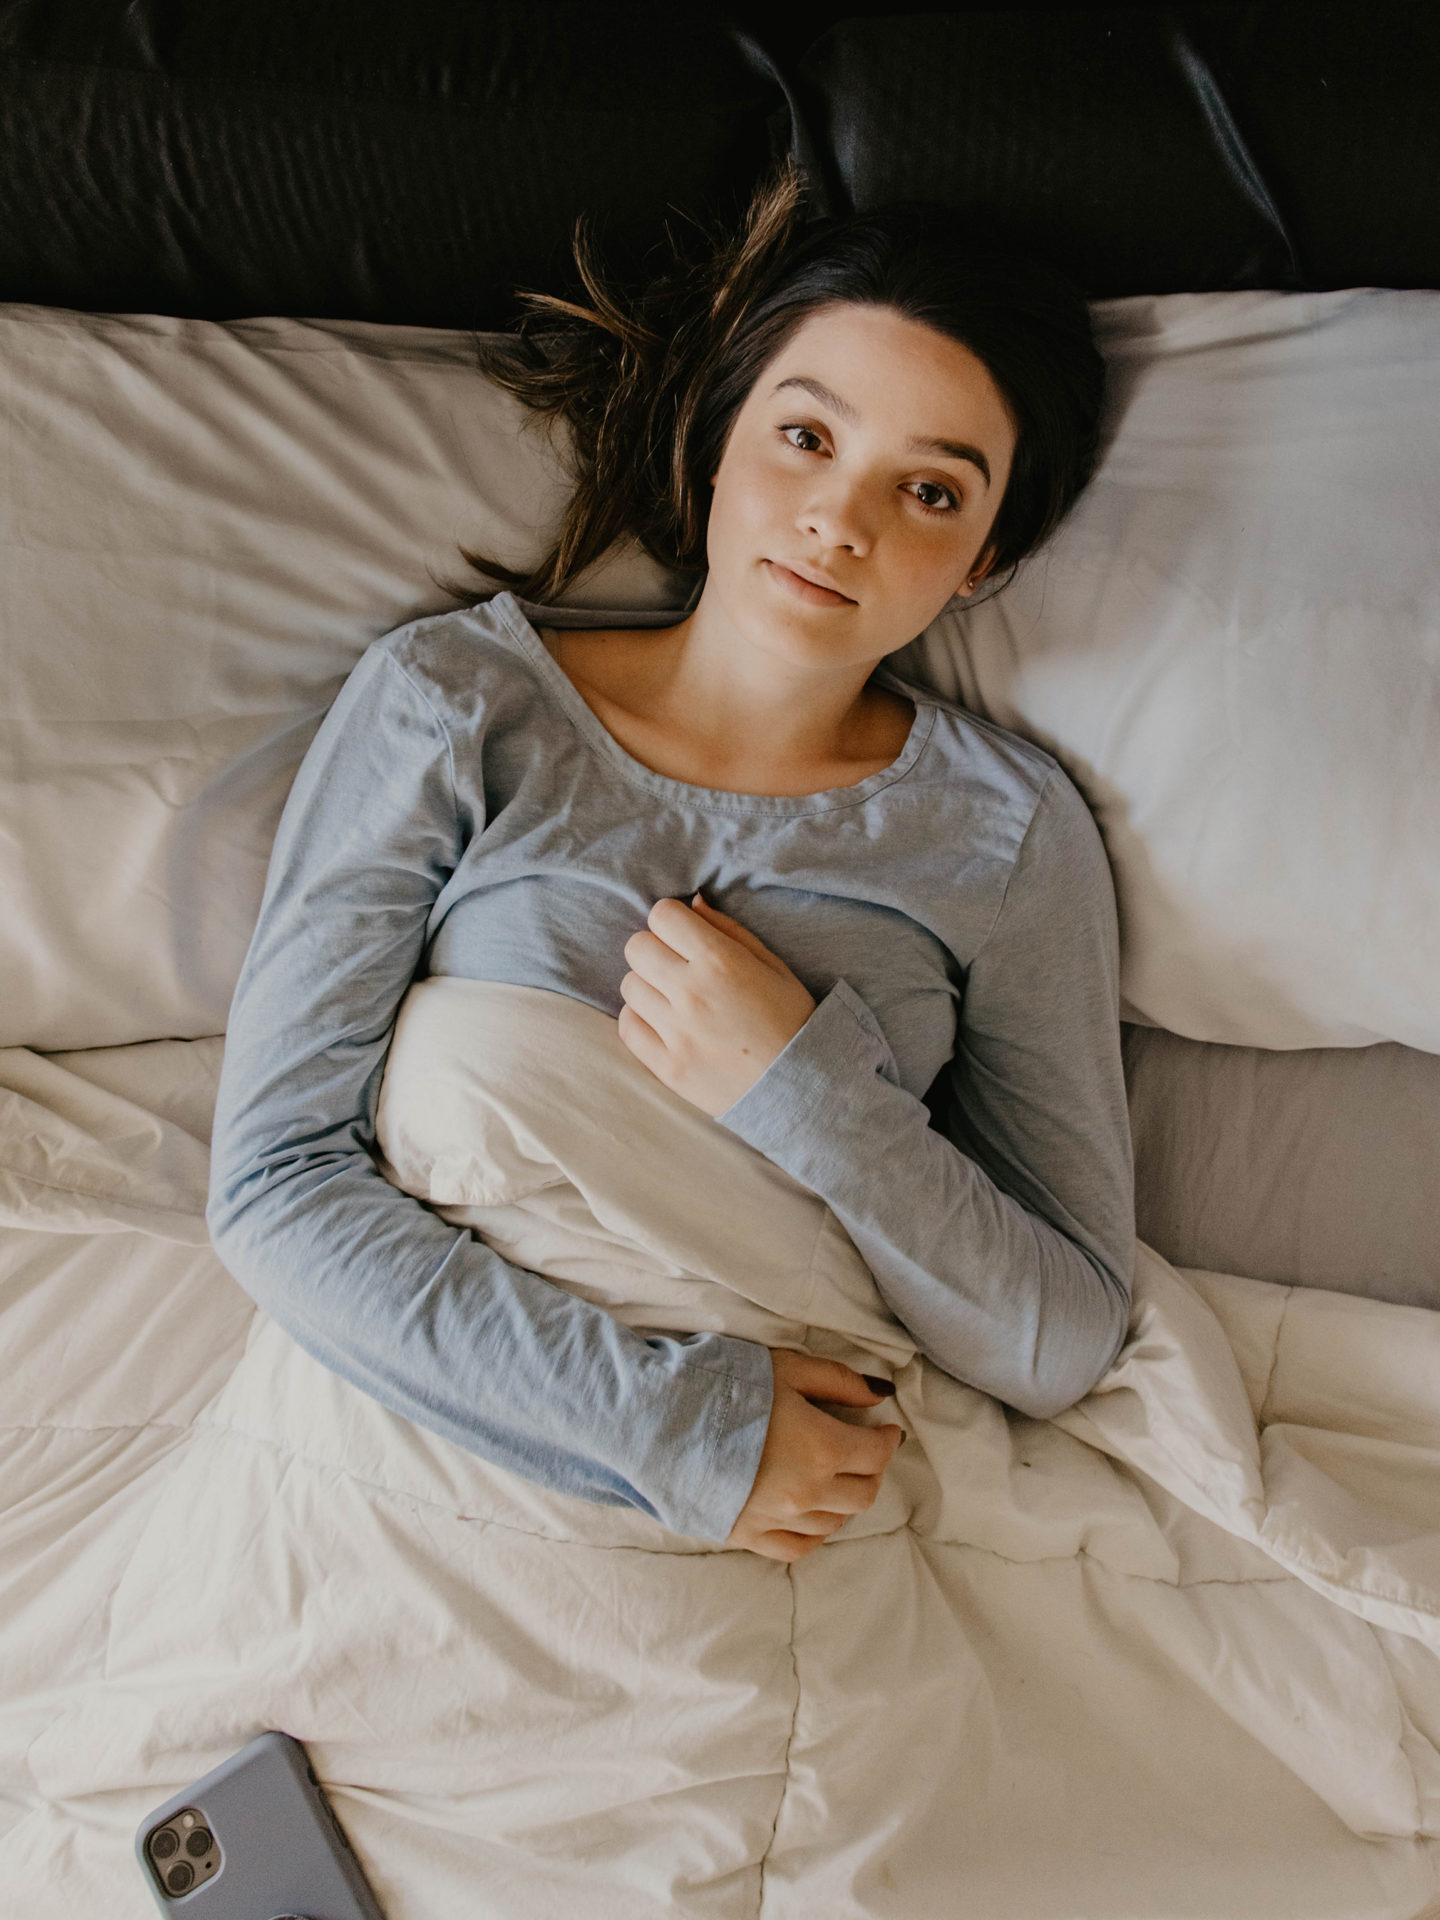
At least, I think so. Ever since I started painting with watercolor, I’ve become obsessed with the free flow of paint on paper. It’s so easy to create an ombre effect with the stroke of a brush. I wanted to recreate that effect on white pillowcases using dyes. Using the dunk method and staggering time submerged, it’s easy to turn a boring pillowcase into your own work of art. Who doesn’t love ombré pillows?
But I made a mistake – I used a set of polyester microfiber pillowcases from Walmart, but Rit dye works best with cotton, linen, silk, wool, rayon, ramie or nylon fabrics. When I washed the pillowcases the ombre faded significantly. To rectify this for you, I’ve linked 100% cotton pillowcases below and dye fixative that I did not have to use. Note, if you use the right materials with your dye, you will have more vibrant and visible ombré pillows than mine. *You can also buy Rit dye made for synthetic materials if that’s something you are interested in!*
Things You’ll Need:
-
- Rit Dye – Charcoal Grey or Black
- Rit ColorStay Dye Fixative
- Plastic Bin
- Clothes Pins
- Clothes Line
- Drop Cloth
- Pillowcases (100% Cotton)
- Pillows
- Chalk Pencil
- Old Wooden Spoon or Stick (for mixing dye with water)
Step One:
Lay out your drop cloth so you can ensure a safe place to start working on your ombré pillows. I actually dyed in my garage and just covered the floor with an old tablecloth so I didn’t stain the pavement.
Pre-soak, or wash your 100% cotton pillowcases so make sure they are clean and ready to accept dye. I dyed my pillowcases while the material was still damp because I wanted there to be some dye bleeds. To achieve this cool watercolor appearance, I let the pillowcases soak for 5 minutes.
Step Two:
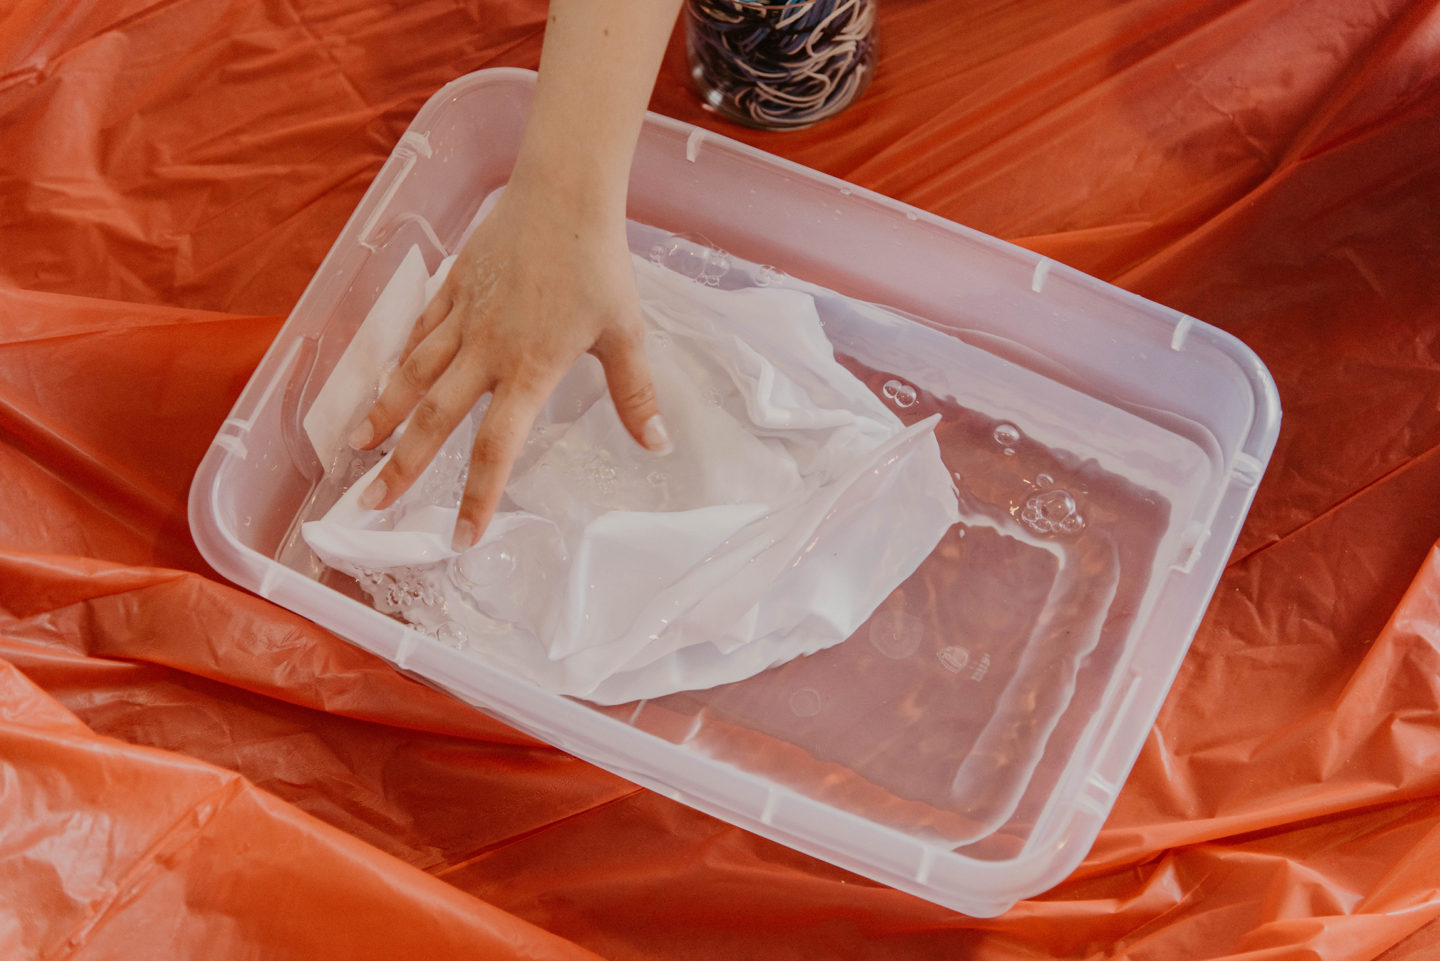
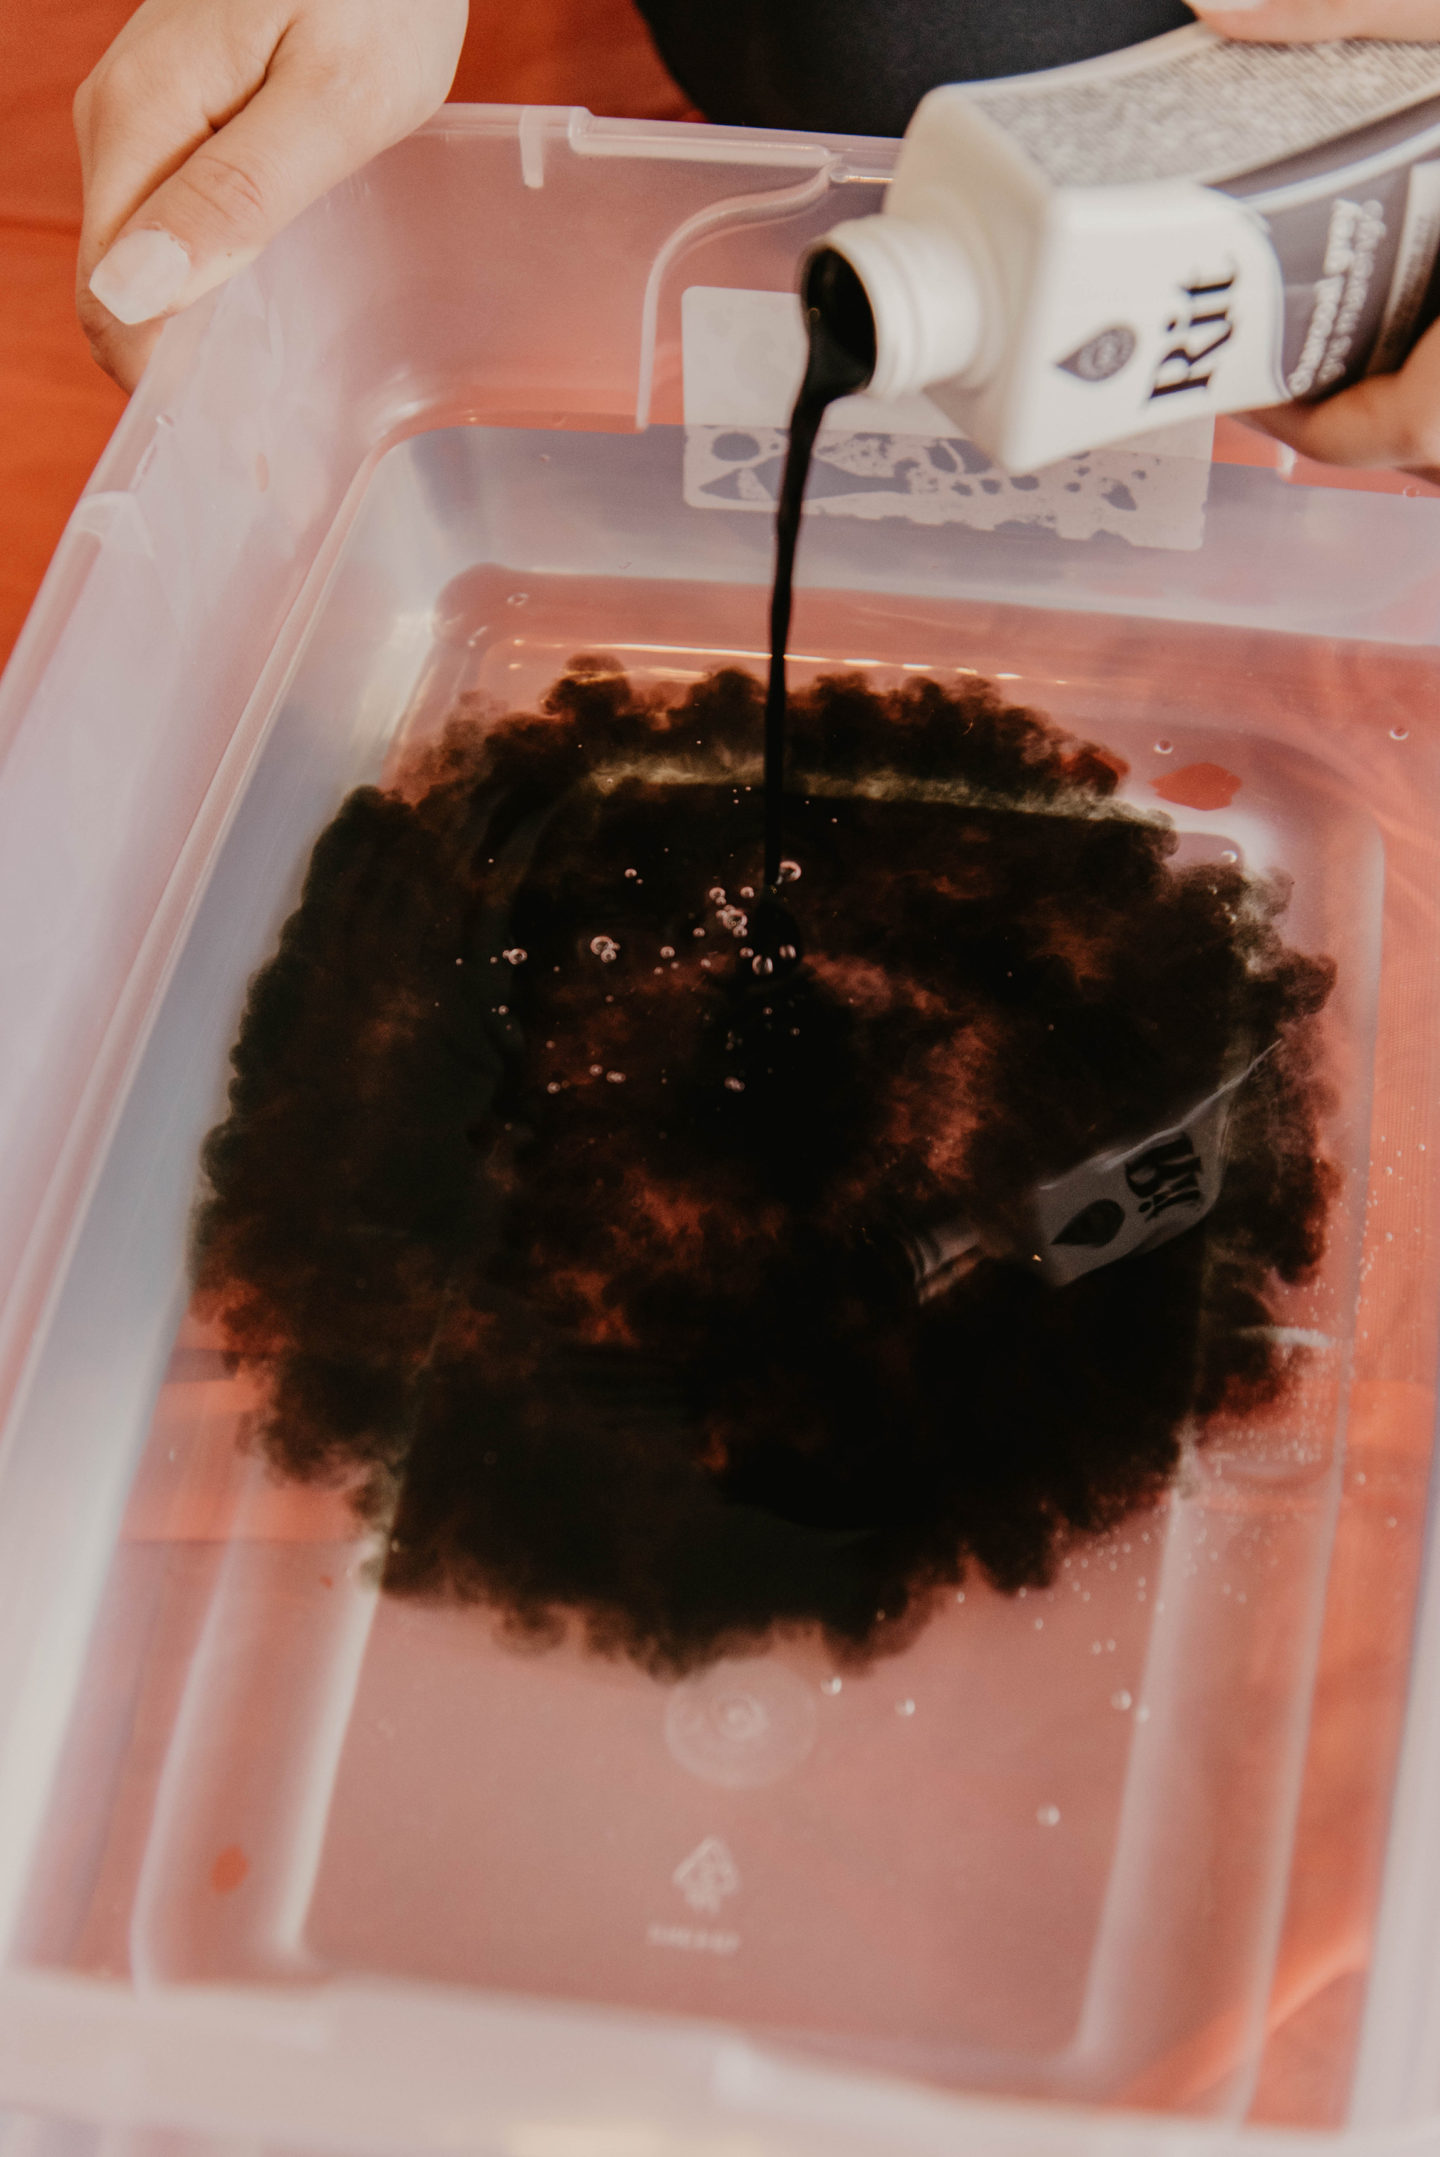
I filled my plastic bin about half way with hot water and poured out half a bottle of dye. I used an old spoon to mix the dye and water together. You can also follow the color mixing instructions on the bottle if you prefer.
After the dye was well mixed, I took my pillowcases out of the water and wrung them out. The material should still be damped, but not soaked. Take your clothes pins and clamp them on the top section of your pillowcase (this will be the white area that will not be dyed.) My bin was pretty narrow so I folded my material in half when adding the clothes pins. I also added a bit of rope/twine to my clothes pins so I could comfortably stand while dyeing my materials.
Step Three:
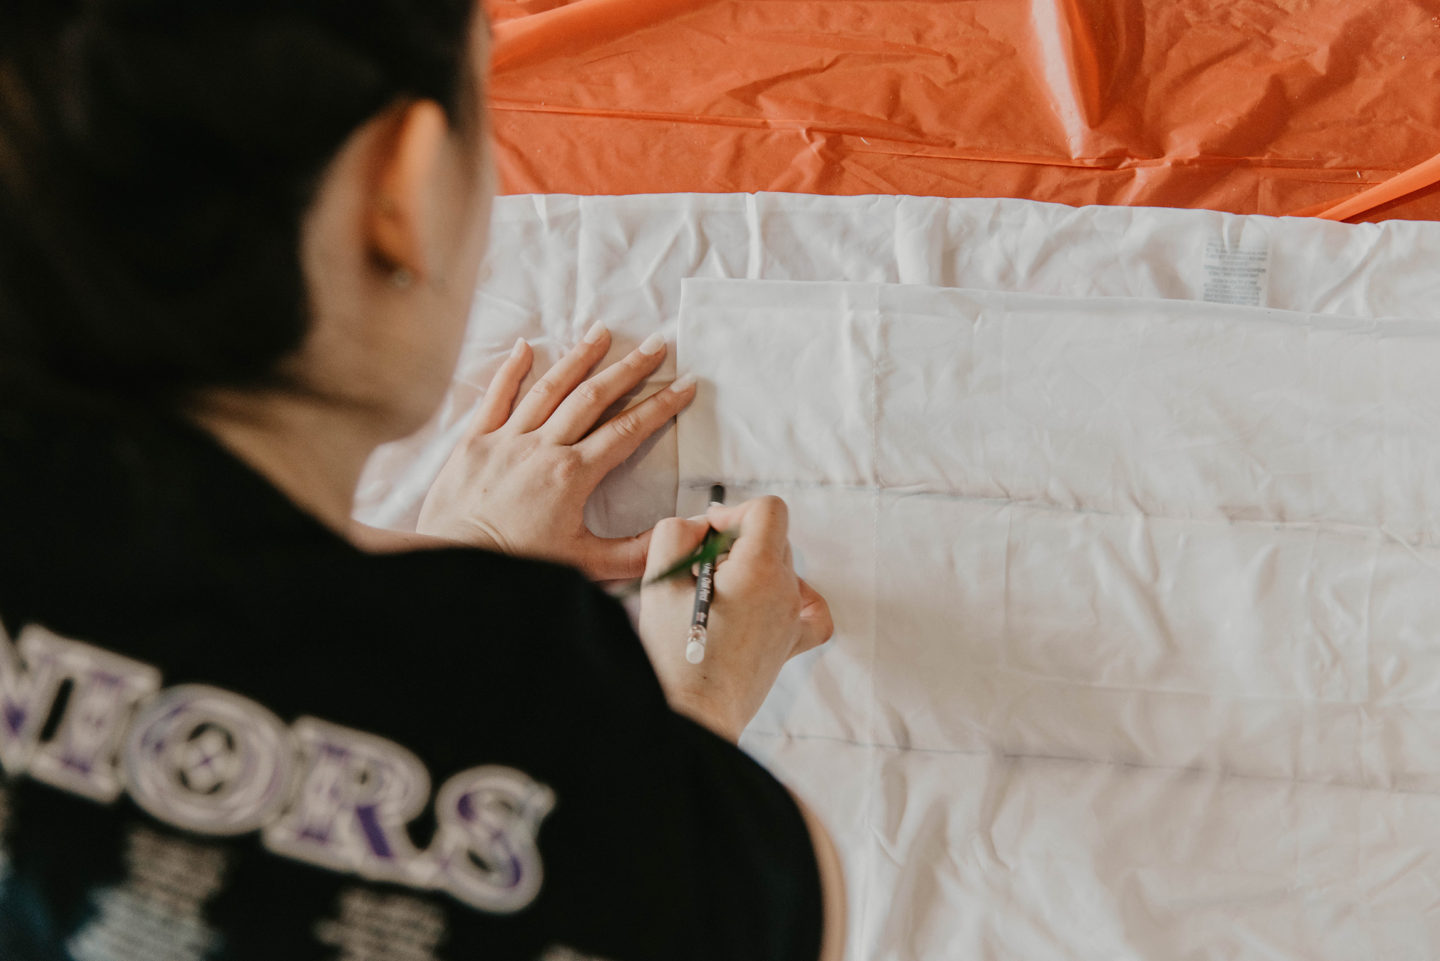
Using your chalk pencil, you can section off areas of the pillow so you know where to leave the material in the dye. It also helps you gauge if your lines are straight. You can always skip this step if you feeling like a baller and just want to go with the flow on your ombré pillows.
Step Four:
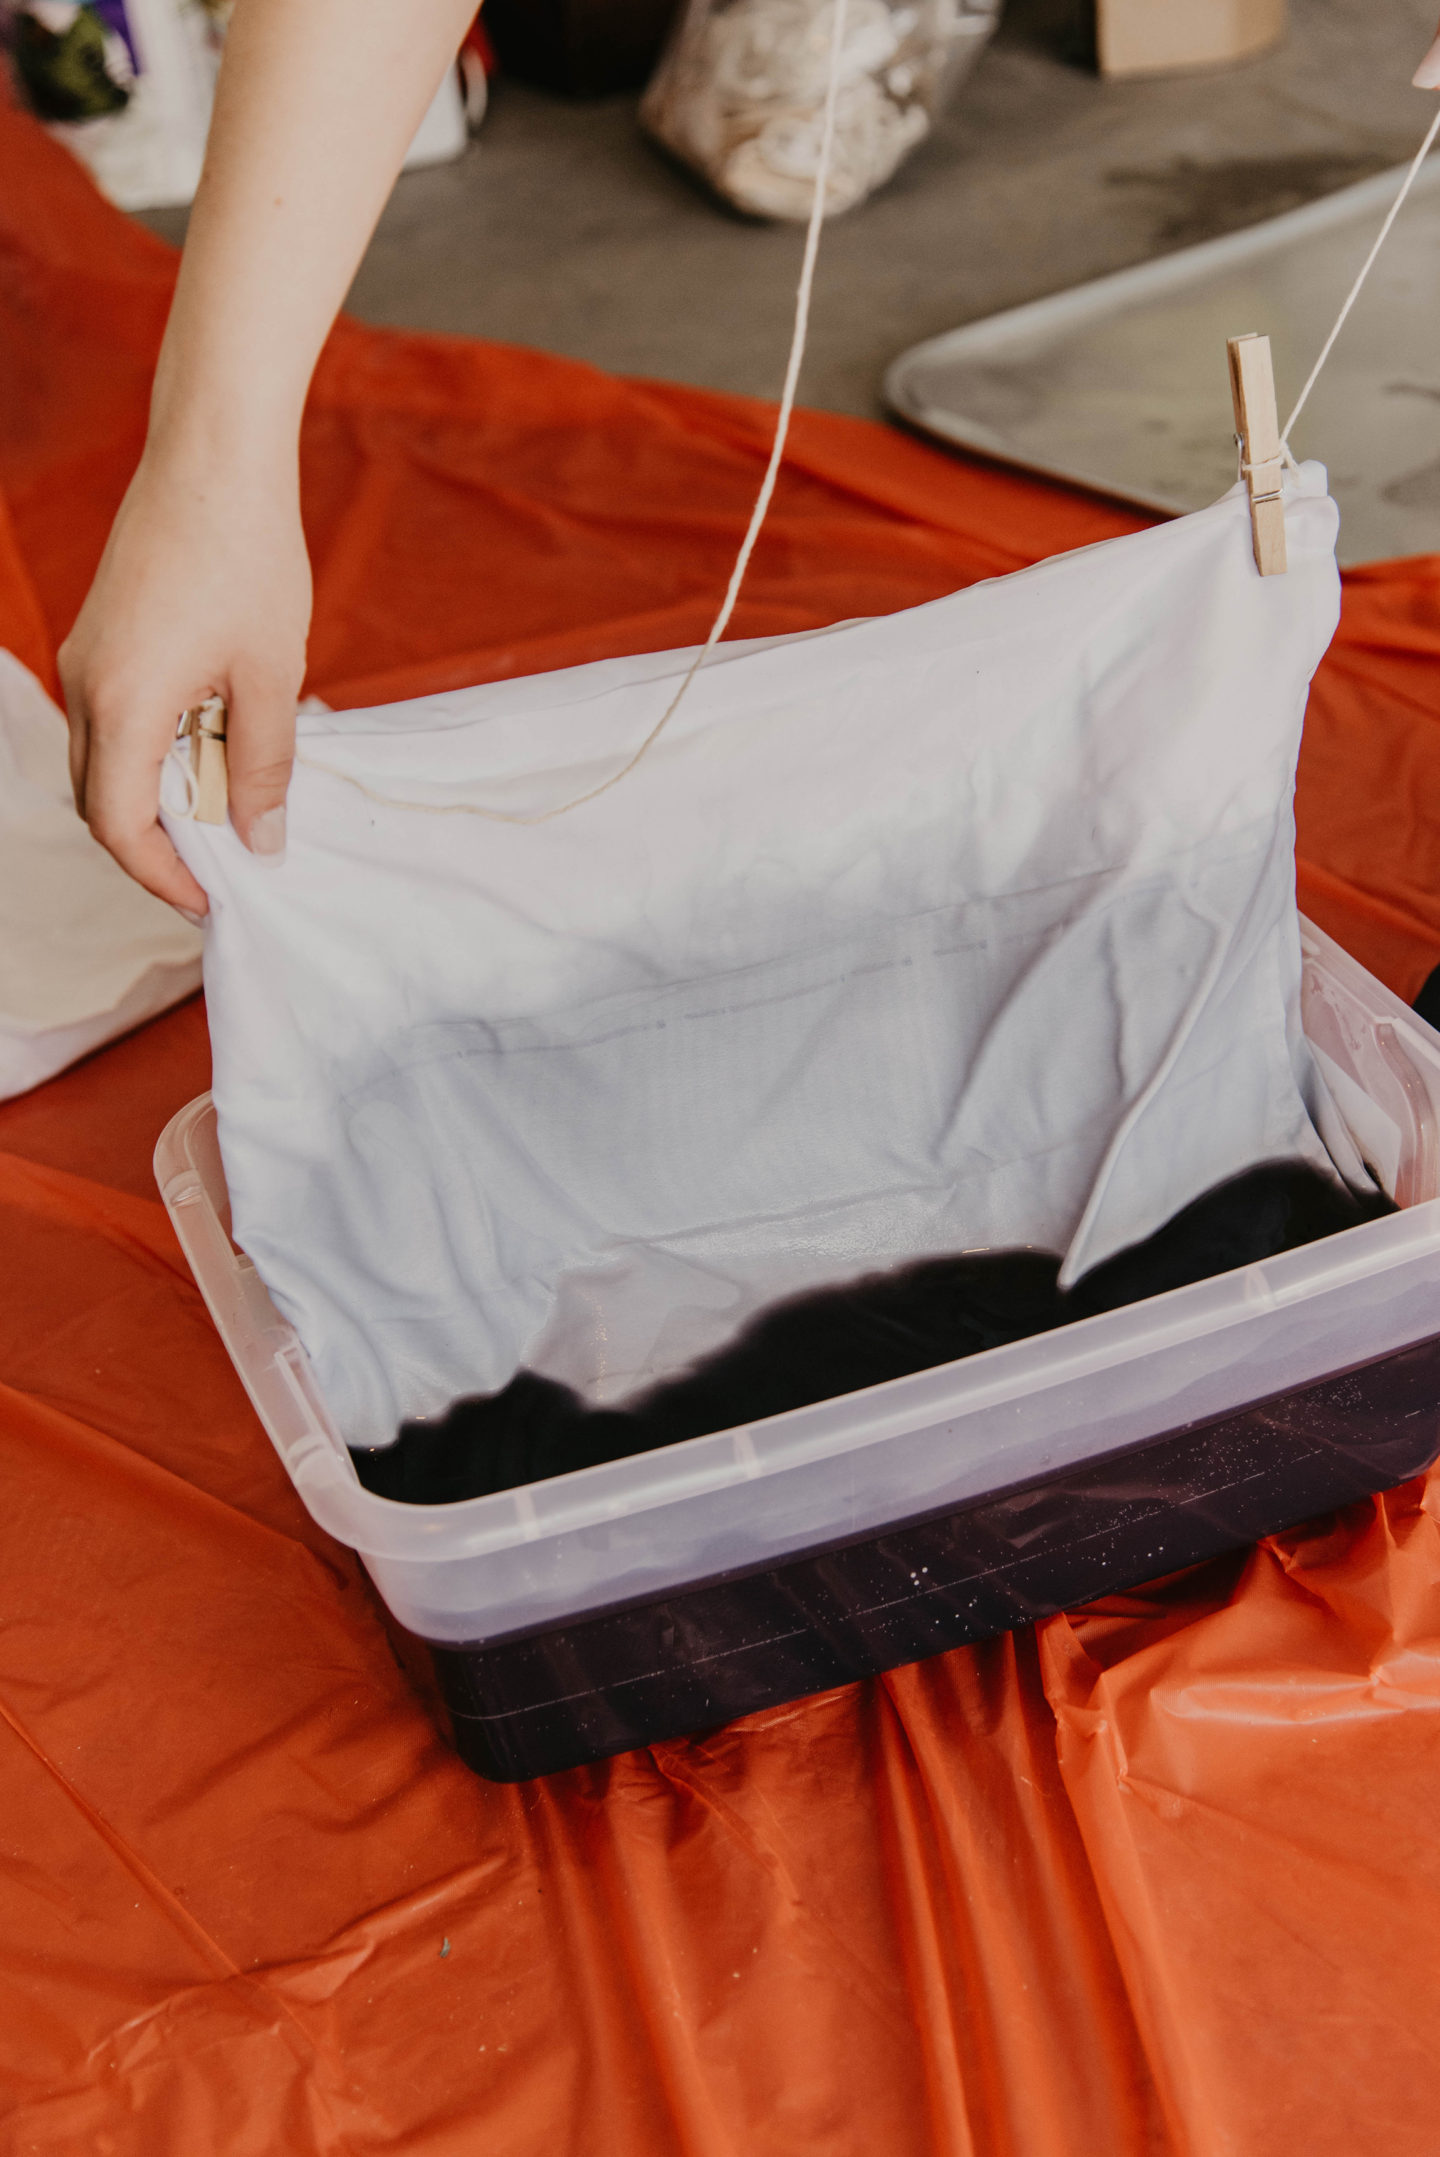
I dip-dyed my pillows in four sections, one of which was kept the original white color. I did my first soak up for about a minute. Then I pulled the pillow up so the next section could soak for about 5 minutes. The last section soaked for 10 minutes.
By the time your’ve finished, the second section will have soaked for 1 minute, third section for 6 minutes, and the last for 16 minutes. This is what gives you the ombré effect. Unfold the material and let this dry on a clothesline for about 6 hours so the dye has time to sit and marinate. *You may want to clothes pin the bottom of the pillowcases to a second clothes line in case the wind whips the pillowcase around. This way you avoid any random dye drops or splashes.*
Step Five:
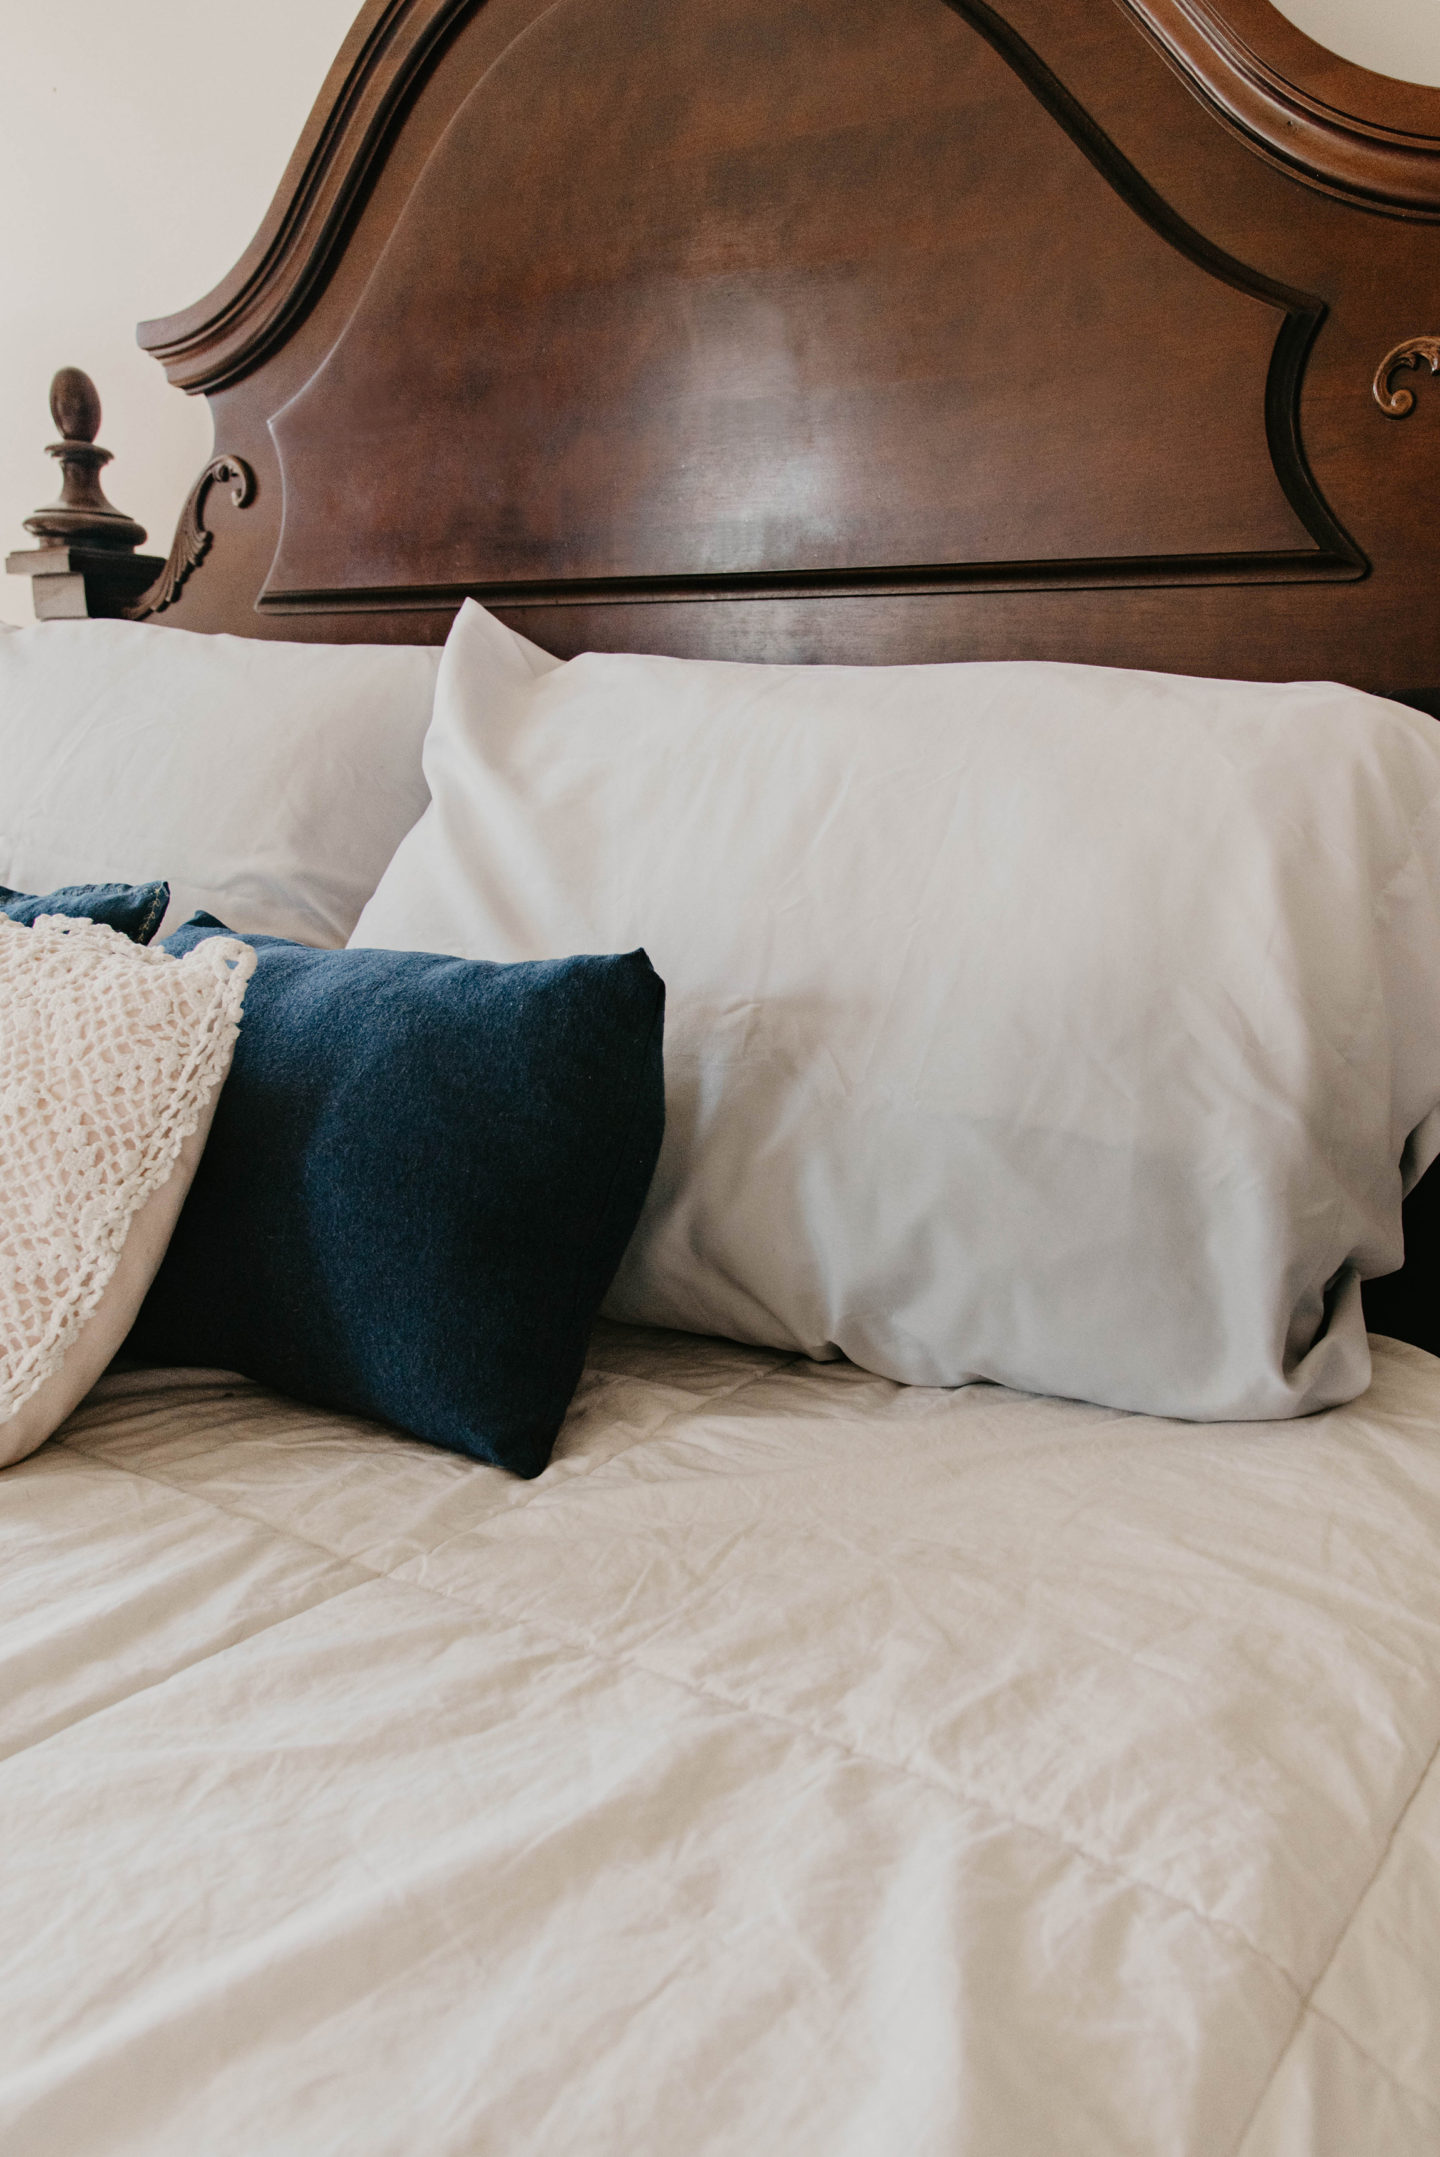
Rise the dye out of the pillowcases with water until the water runs clear. Then stick it in the washing machine with a splash of detergent, on cold. You can use your dryer or air dry the pillowcases. Once it’s completely dry, throw these beauties over a pillow.
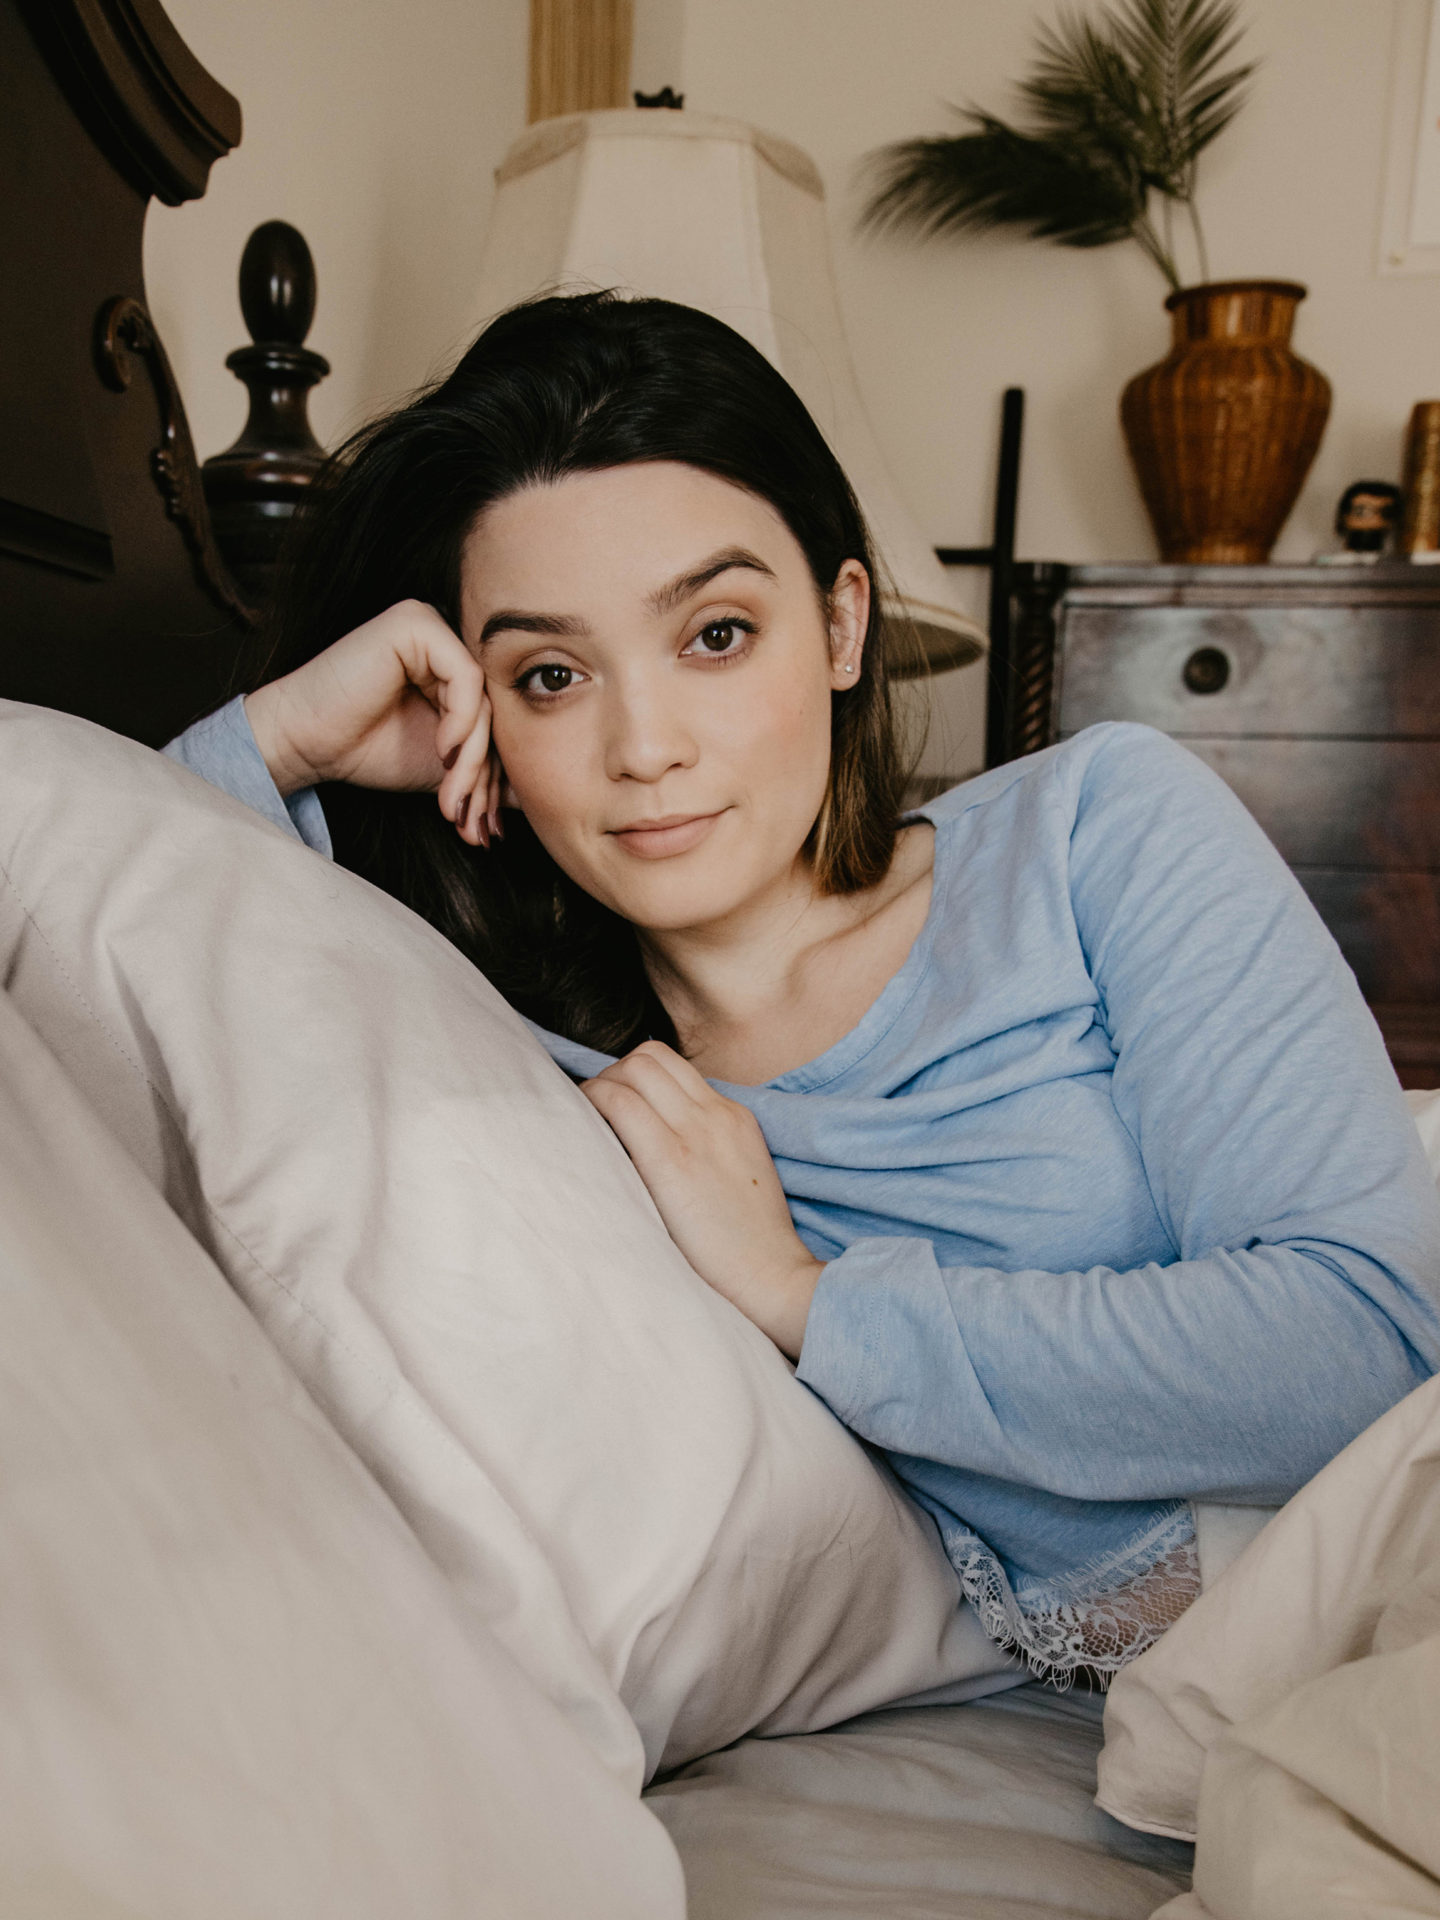
Now kick back and get a good night’s rest on your new ombré pillows!
Let me know if you have any dyeing tips or if you decide to give this DIY a try!