Who doesn’t love a rope basket?
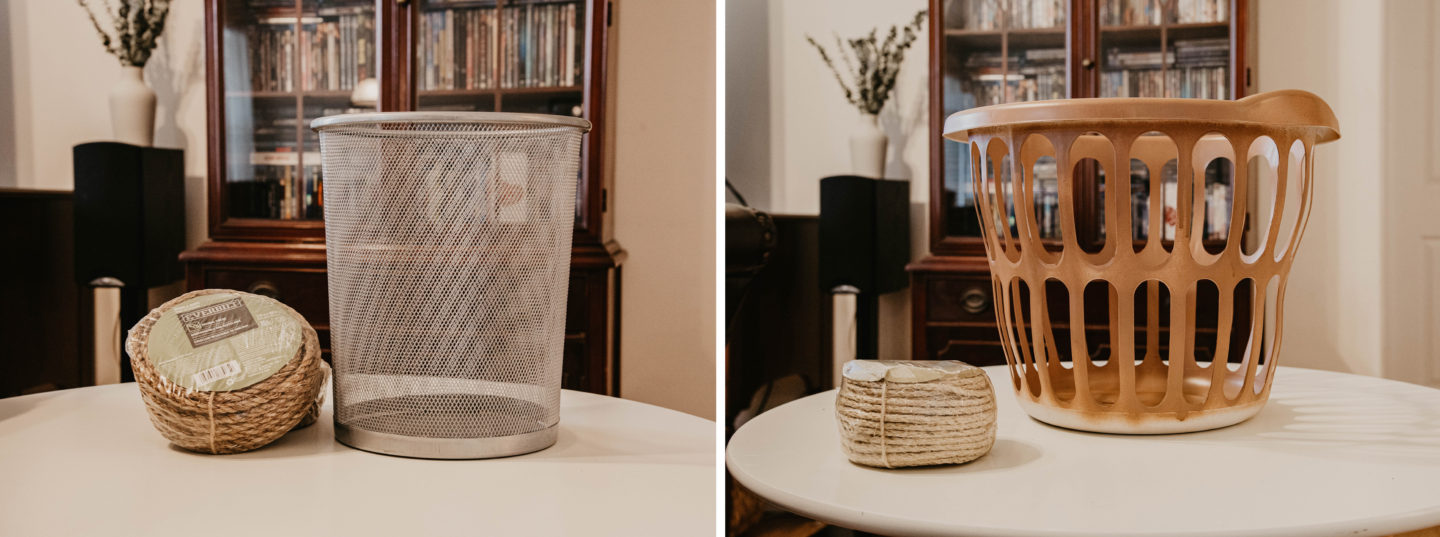
Woven and rope baskets have been taking interior design by storm. People everywhere are styling these beauties in creative and unique ways – but they have one thing in common: price. Sure, you can probably find a rope basket for a cheap-ish price at Home Goods or TJ Maxx, but you can ultimately save on the cost by turning your old, ugly, or thrifted bins and baskets into hand-made rope baskets.
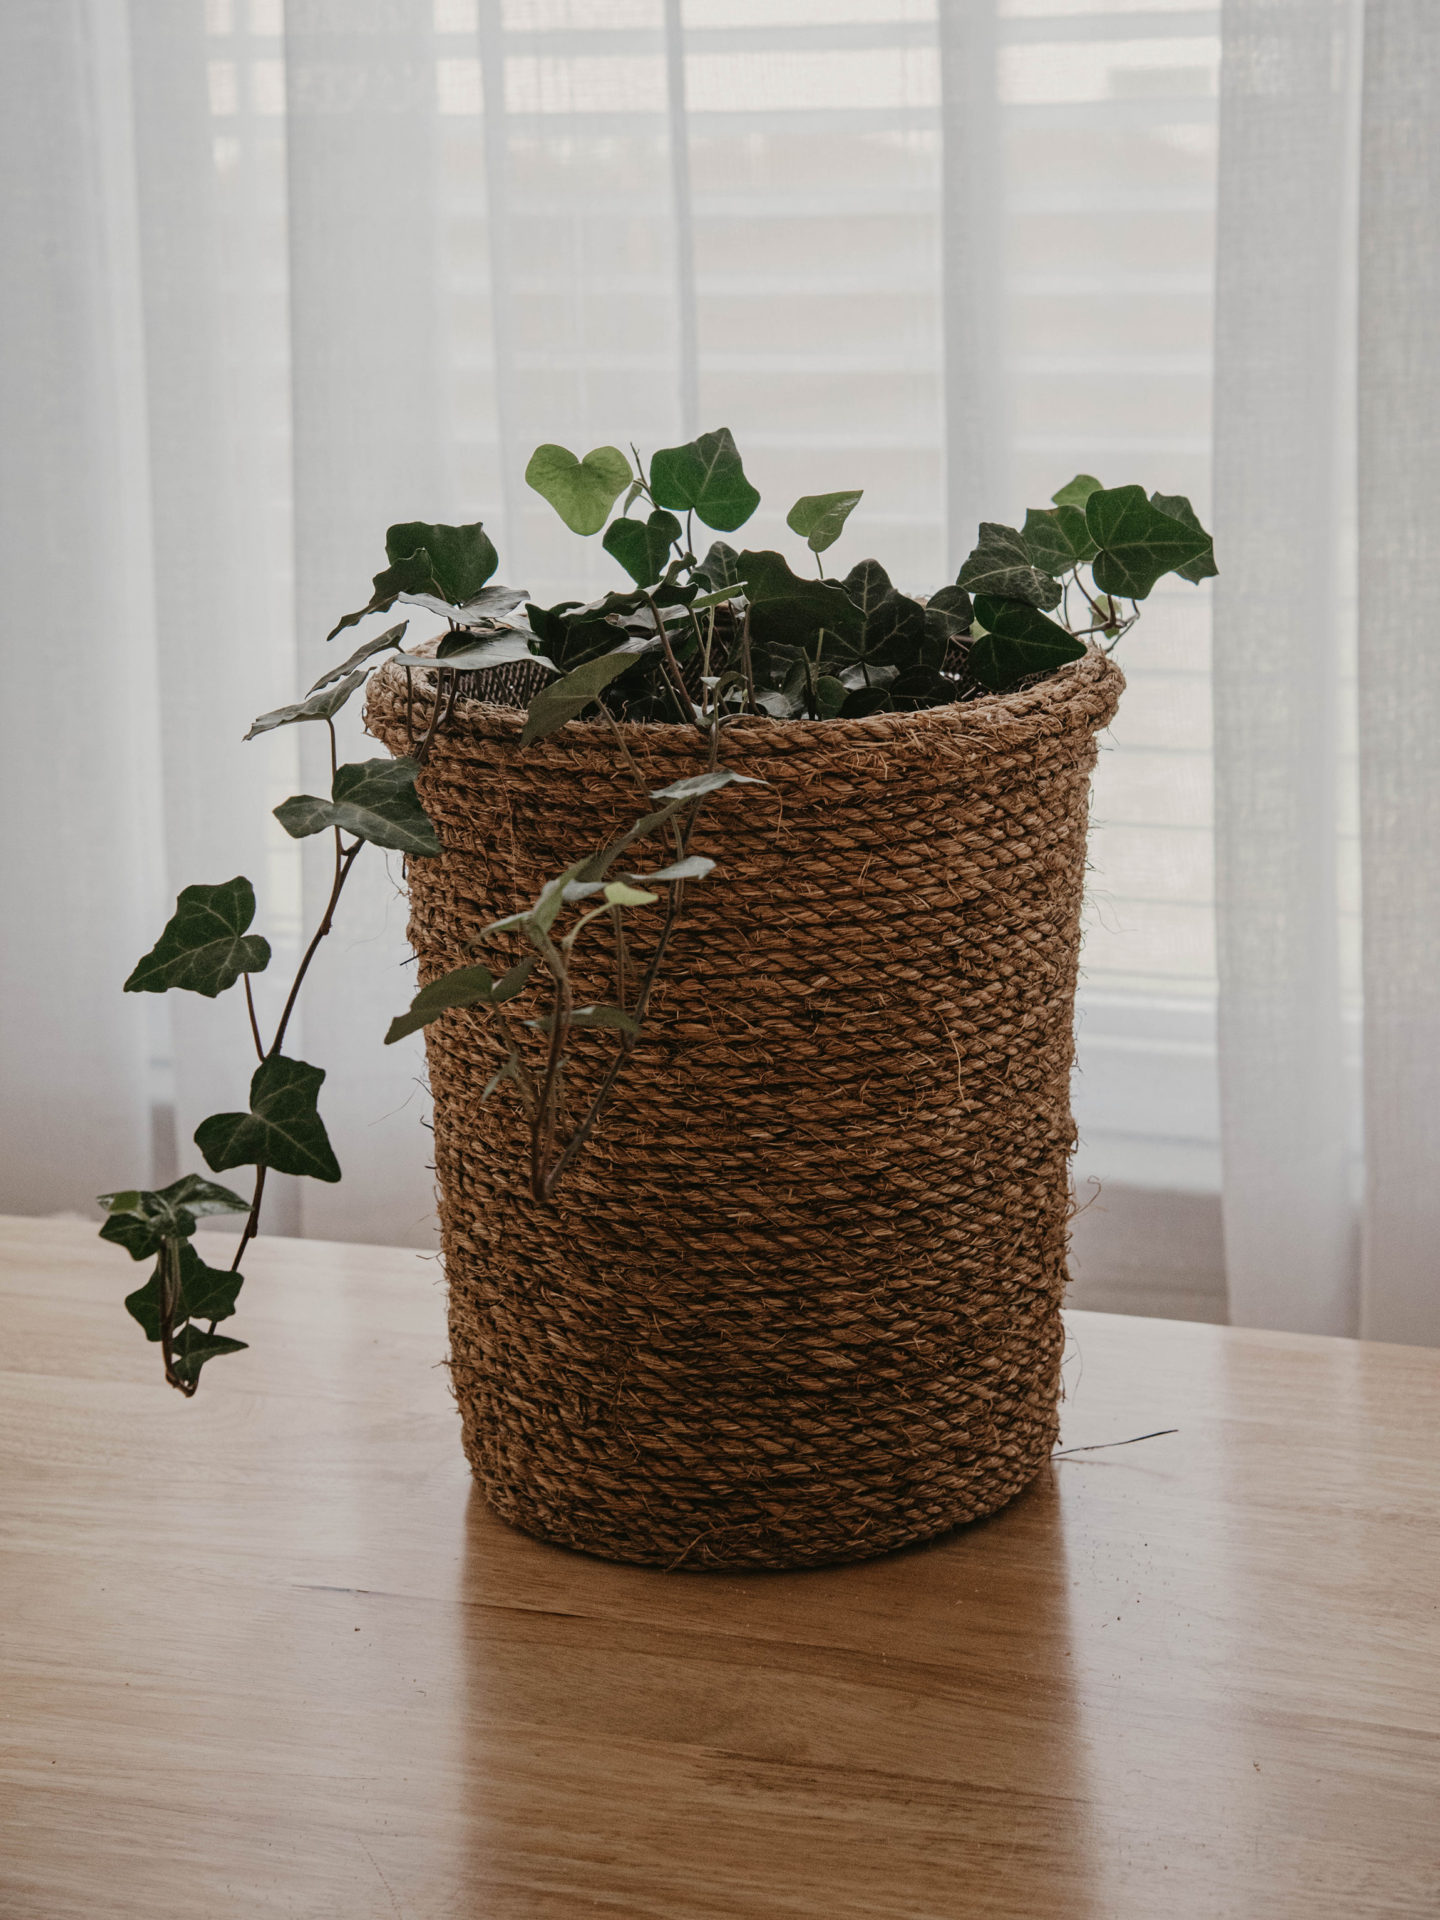
Personally, I think these look great year-round, both indoors and outdoors. You can style this on an outdoor porch with a fruit tree or use it for a small indoor tree. Right now, I have it in my home, with a poinsettia inside and it looks so cute! Imagine one of these with an artificial Christmas tree or fresh cut pines for the holidays.
What You’ll Need:
Step One:
Make sure you clean your baskets so the surfaces are able to take the glue. You can also use spray-paint to prep your baskets if you’d like. Keep in mind, anywhere you apply the glue, the paint will likely be removed. I sprayed my laundry basket because I didn’t want any white to peek through the rope. I used Krylon Satin Brown Boots spray paint.
Step Two:
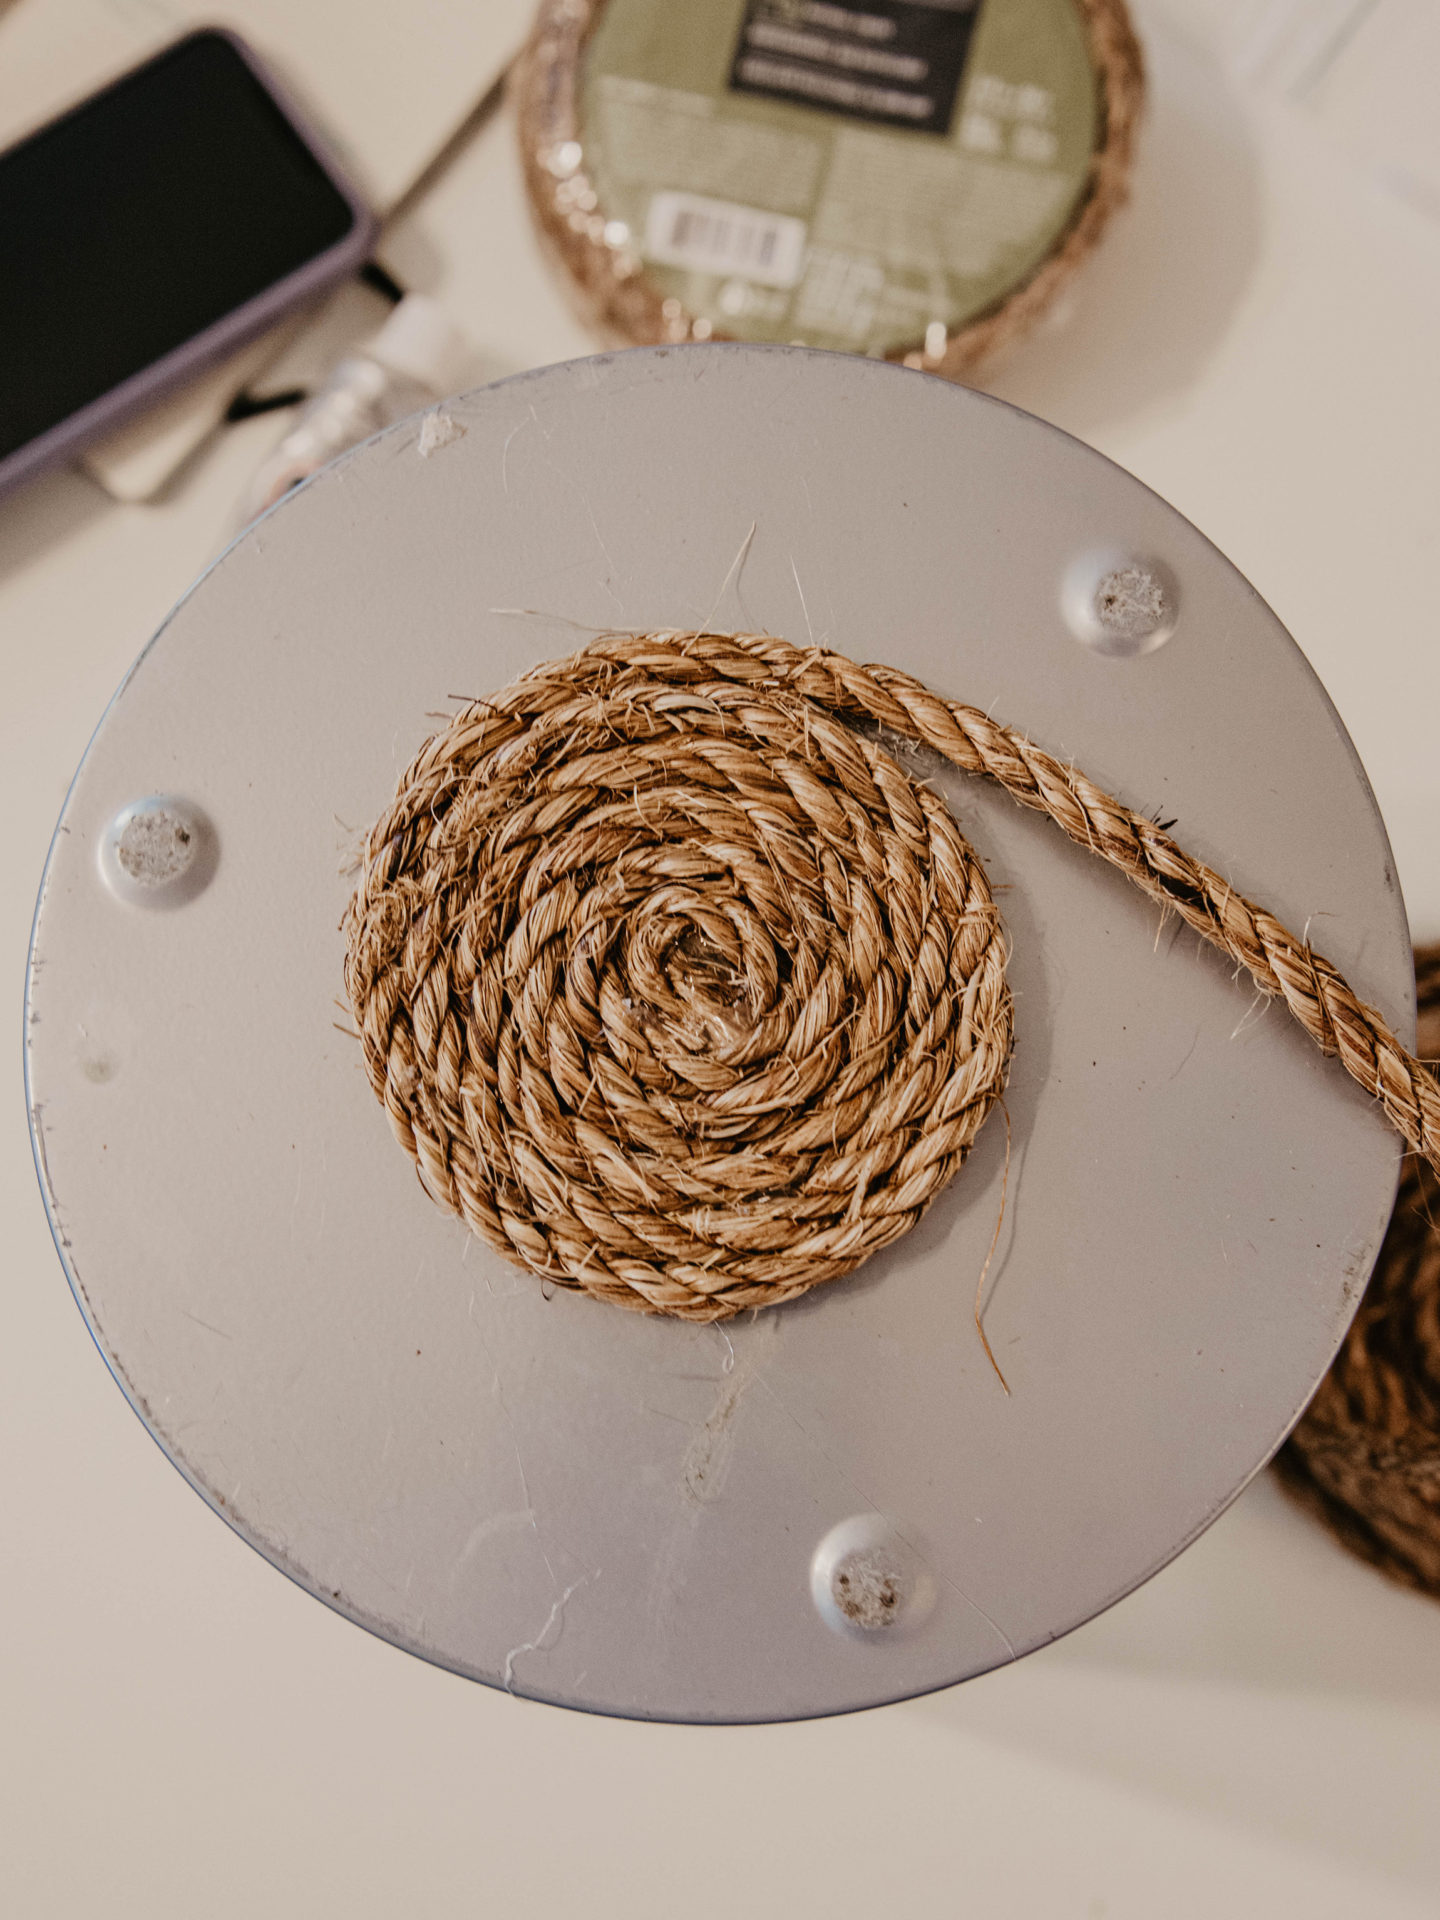
If you want to cover the bottom of your basket and work your way to the top, start by creating a small spiral loop at the center and apply a generous amount of hot glue to make sure it doesn’t move. If the start of the spiral loosens, you will be scrambling to fix it and will likely have to start over. You can also start at the base of your basket if you don’t want to worry about using materials on the bottom that no one will see.
From here, just keep spiraling and gluing as you work your way to the top of the basket. It’s so easy, but it takes time. I actually ran out of hot glue half-way through my laundry basket so make sure you have back up materials.
Step Three:
Once you are all finished spiraling the rope, take your scissors and cut the rope in the desired place. Secure the end of the rope with the hot glue to ensure it does not unravel all your hard work.
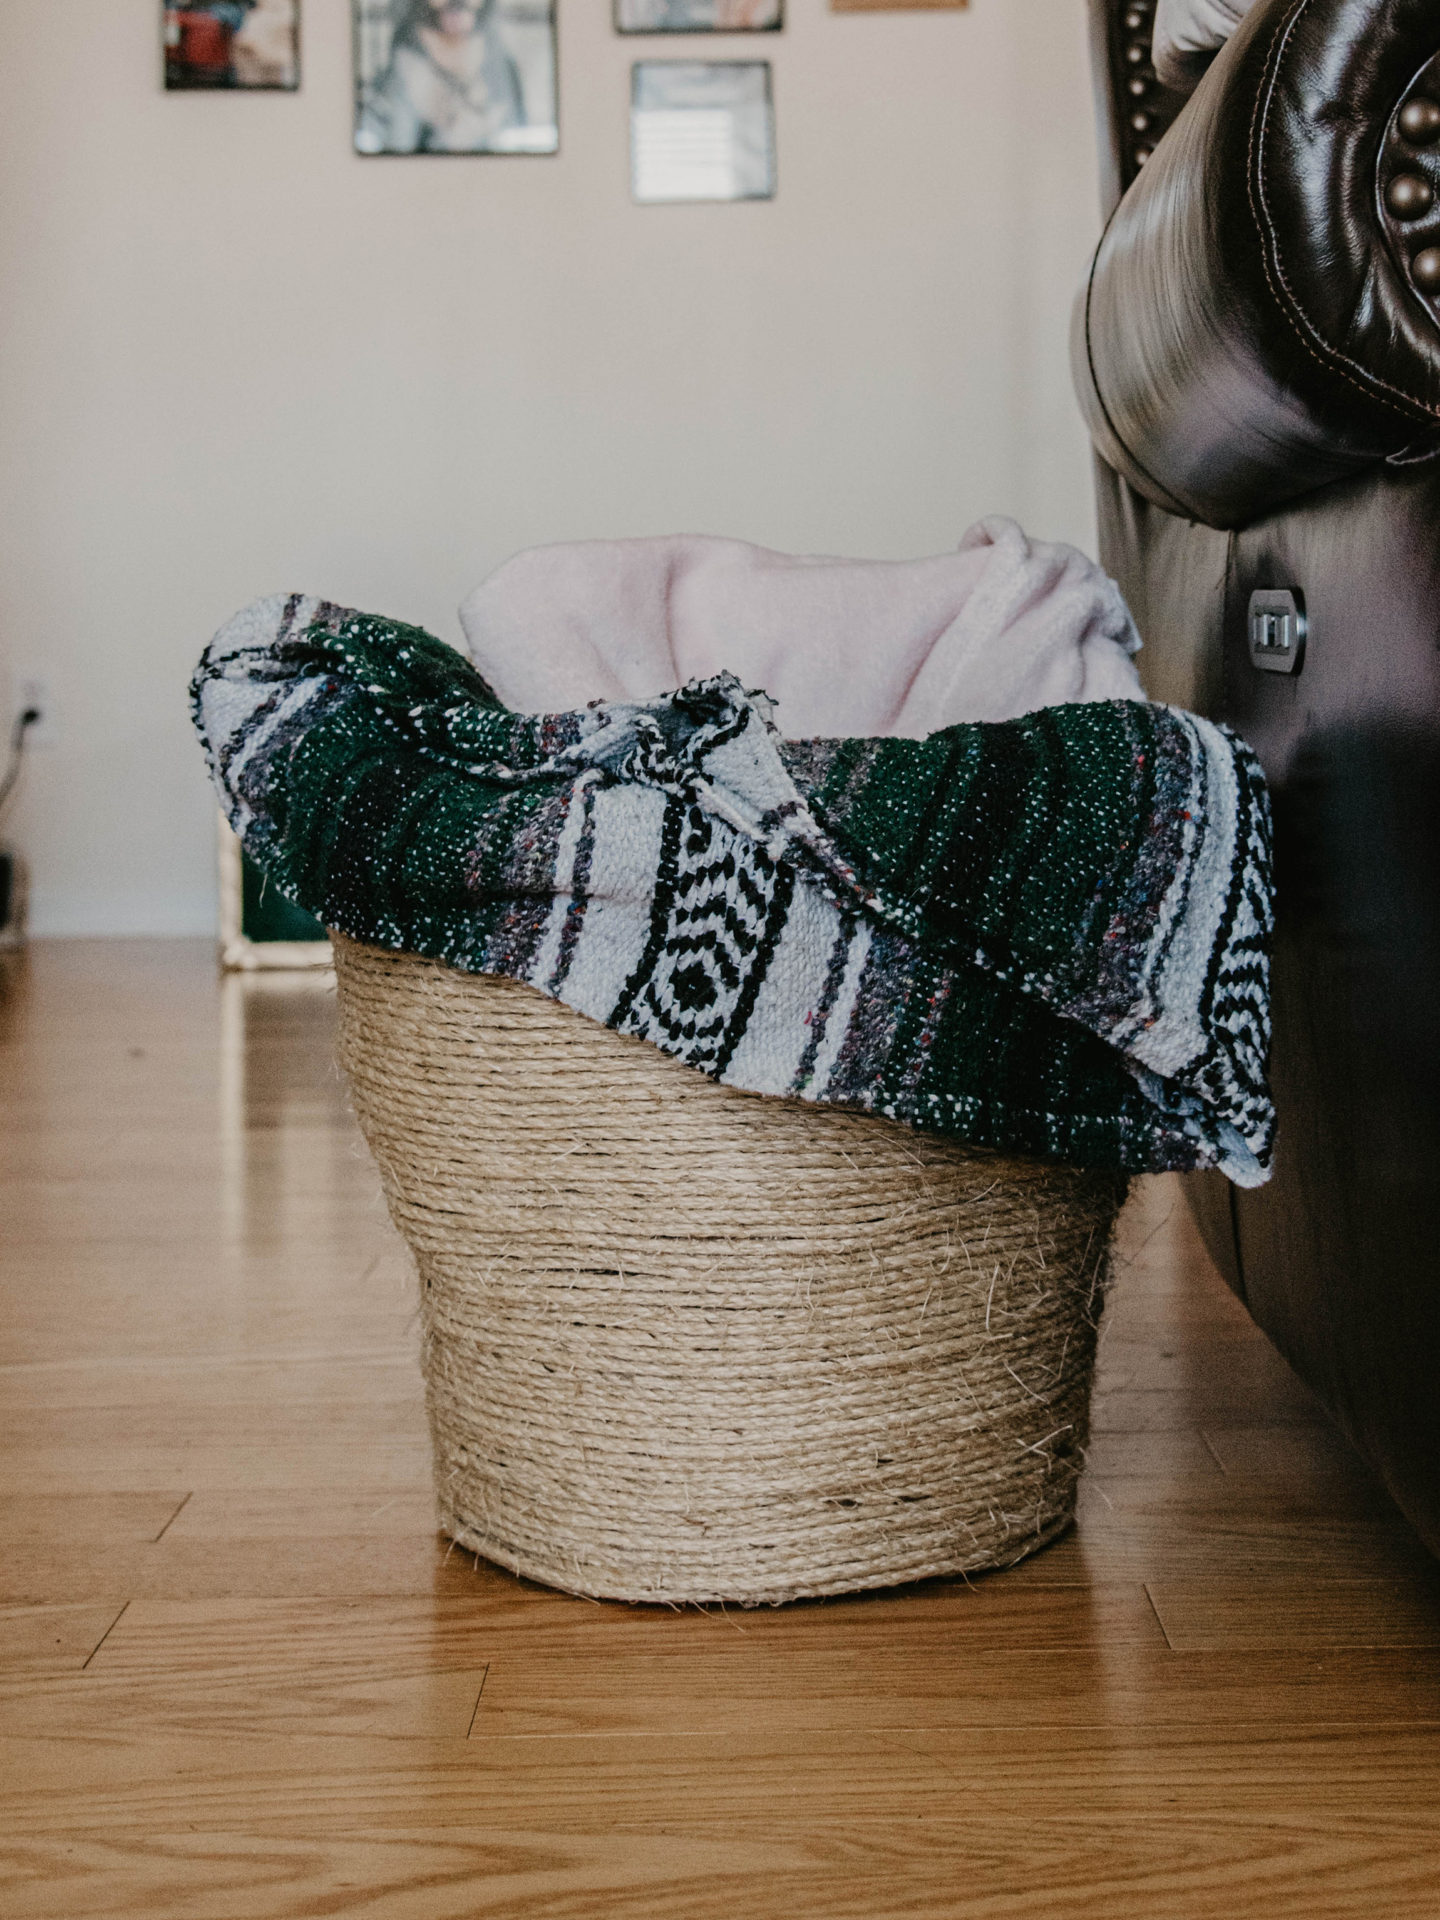
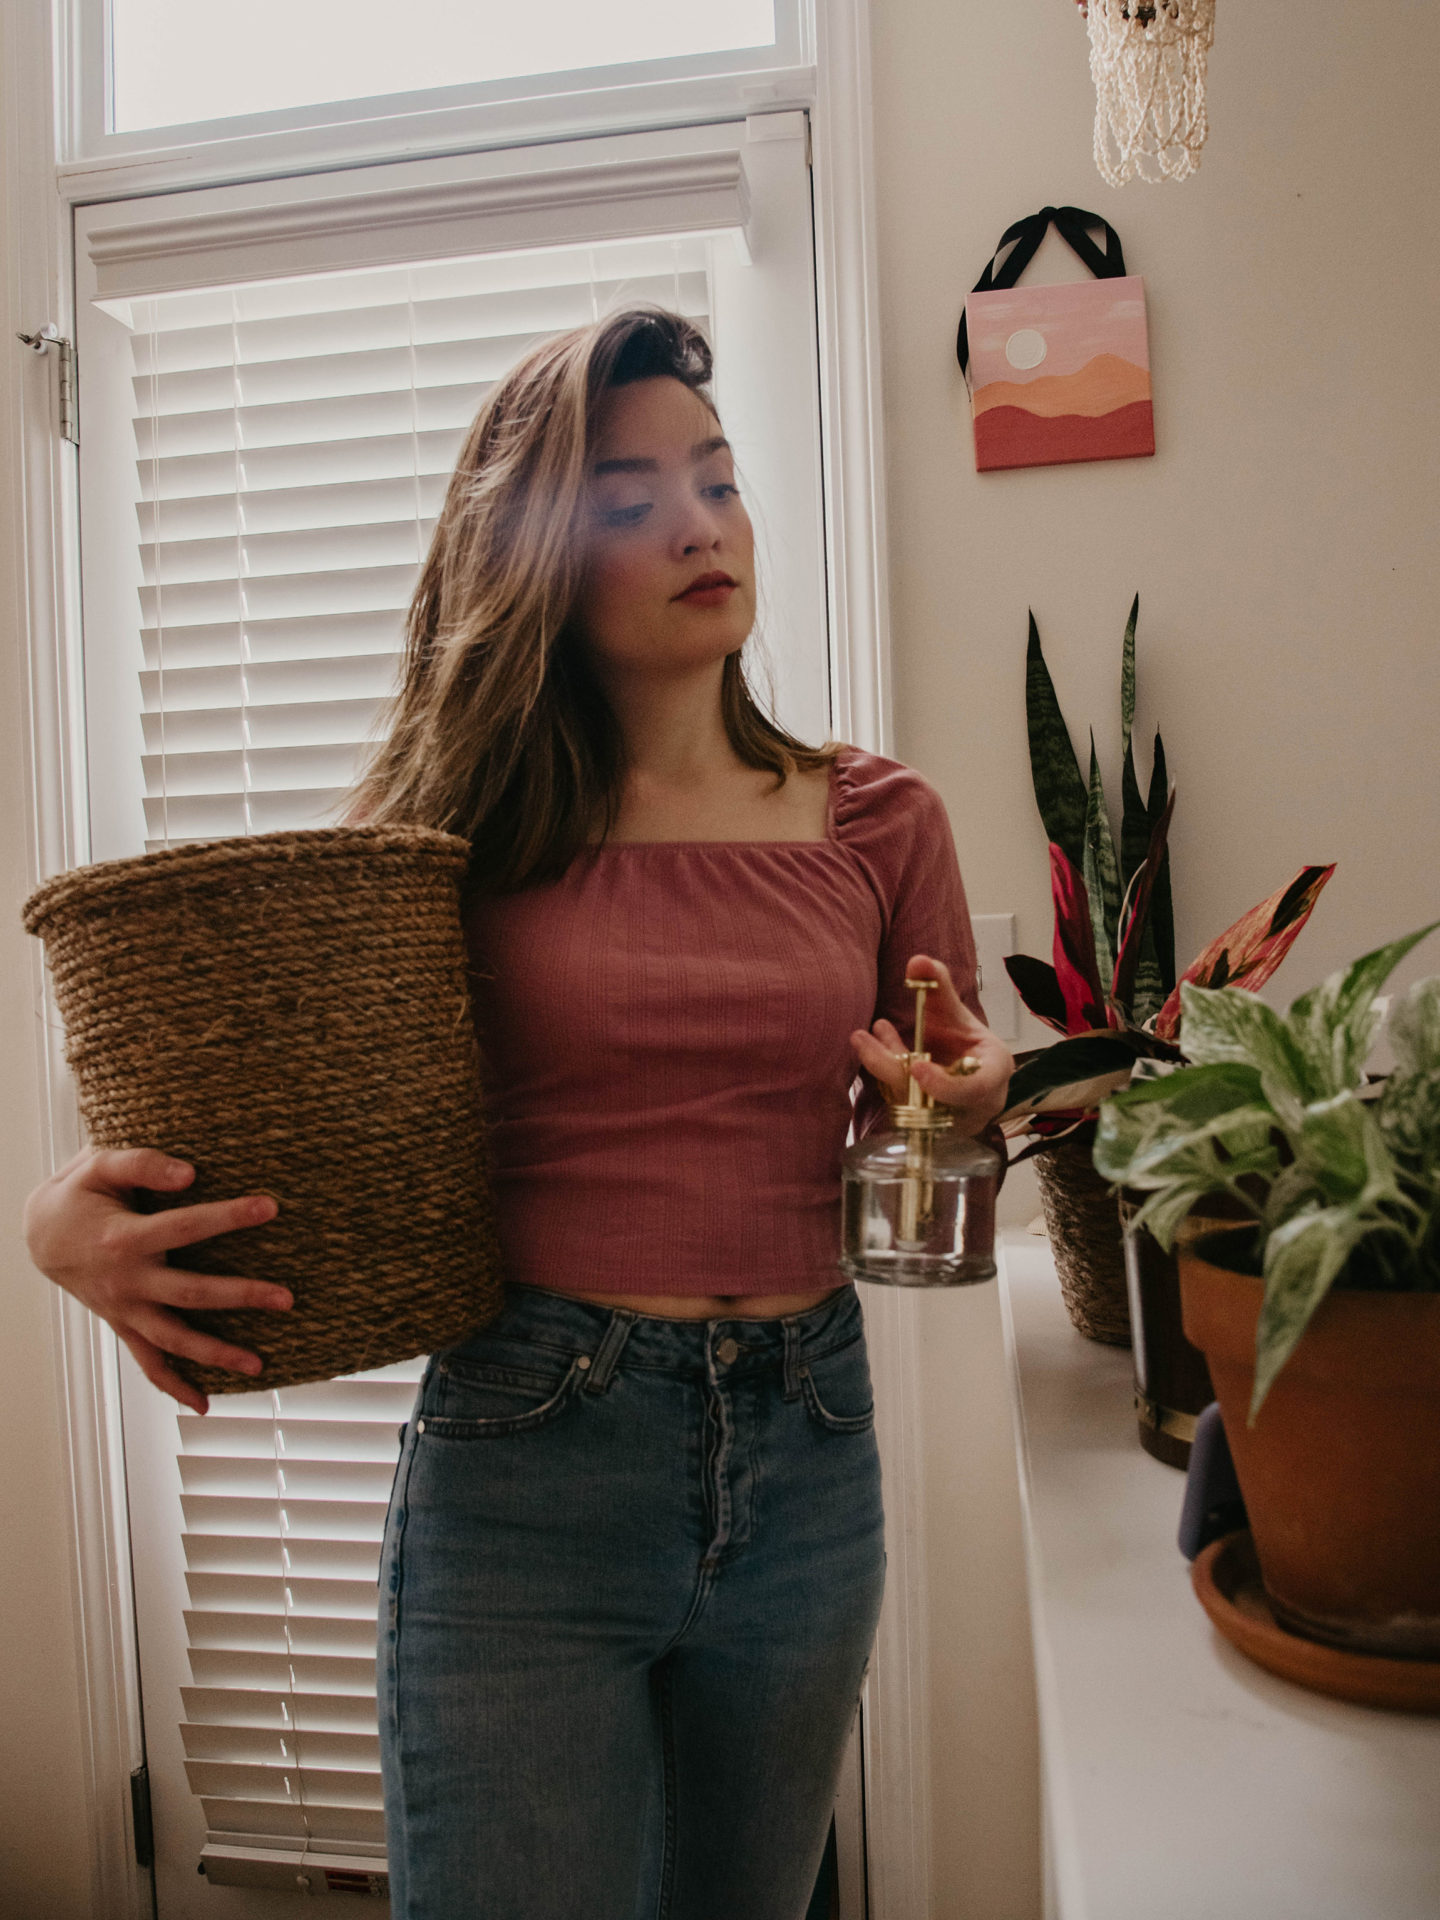
Now you have a rope basket that you can use as a decorative planter, dog toy basket, or throw blankets in! I’m probably going to use both of mine as planters when my other plants outgrow their current pots. For now, they’ll be great additions to my extensive throw blanket and pillow collection.
If you have other ideas I should make, or if you gave this DIY a try, let me know below!
This post was originally published on April 2nd and updated on October 27th.