I’ve been working on my home’s curb appeal.
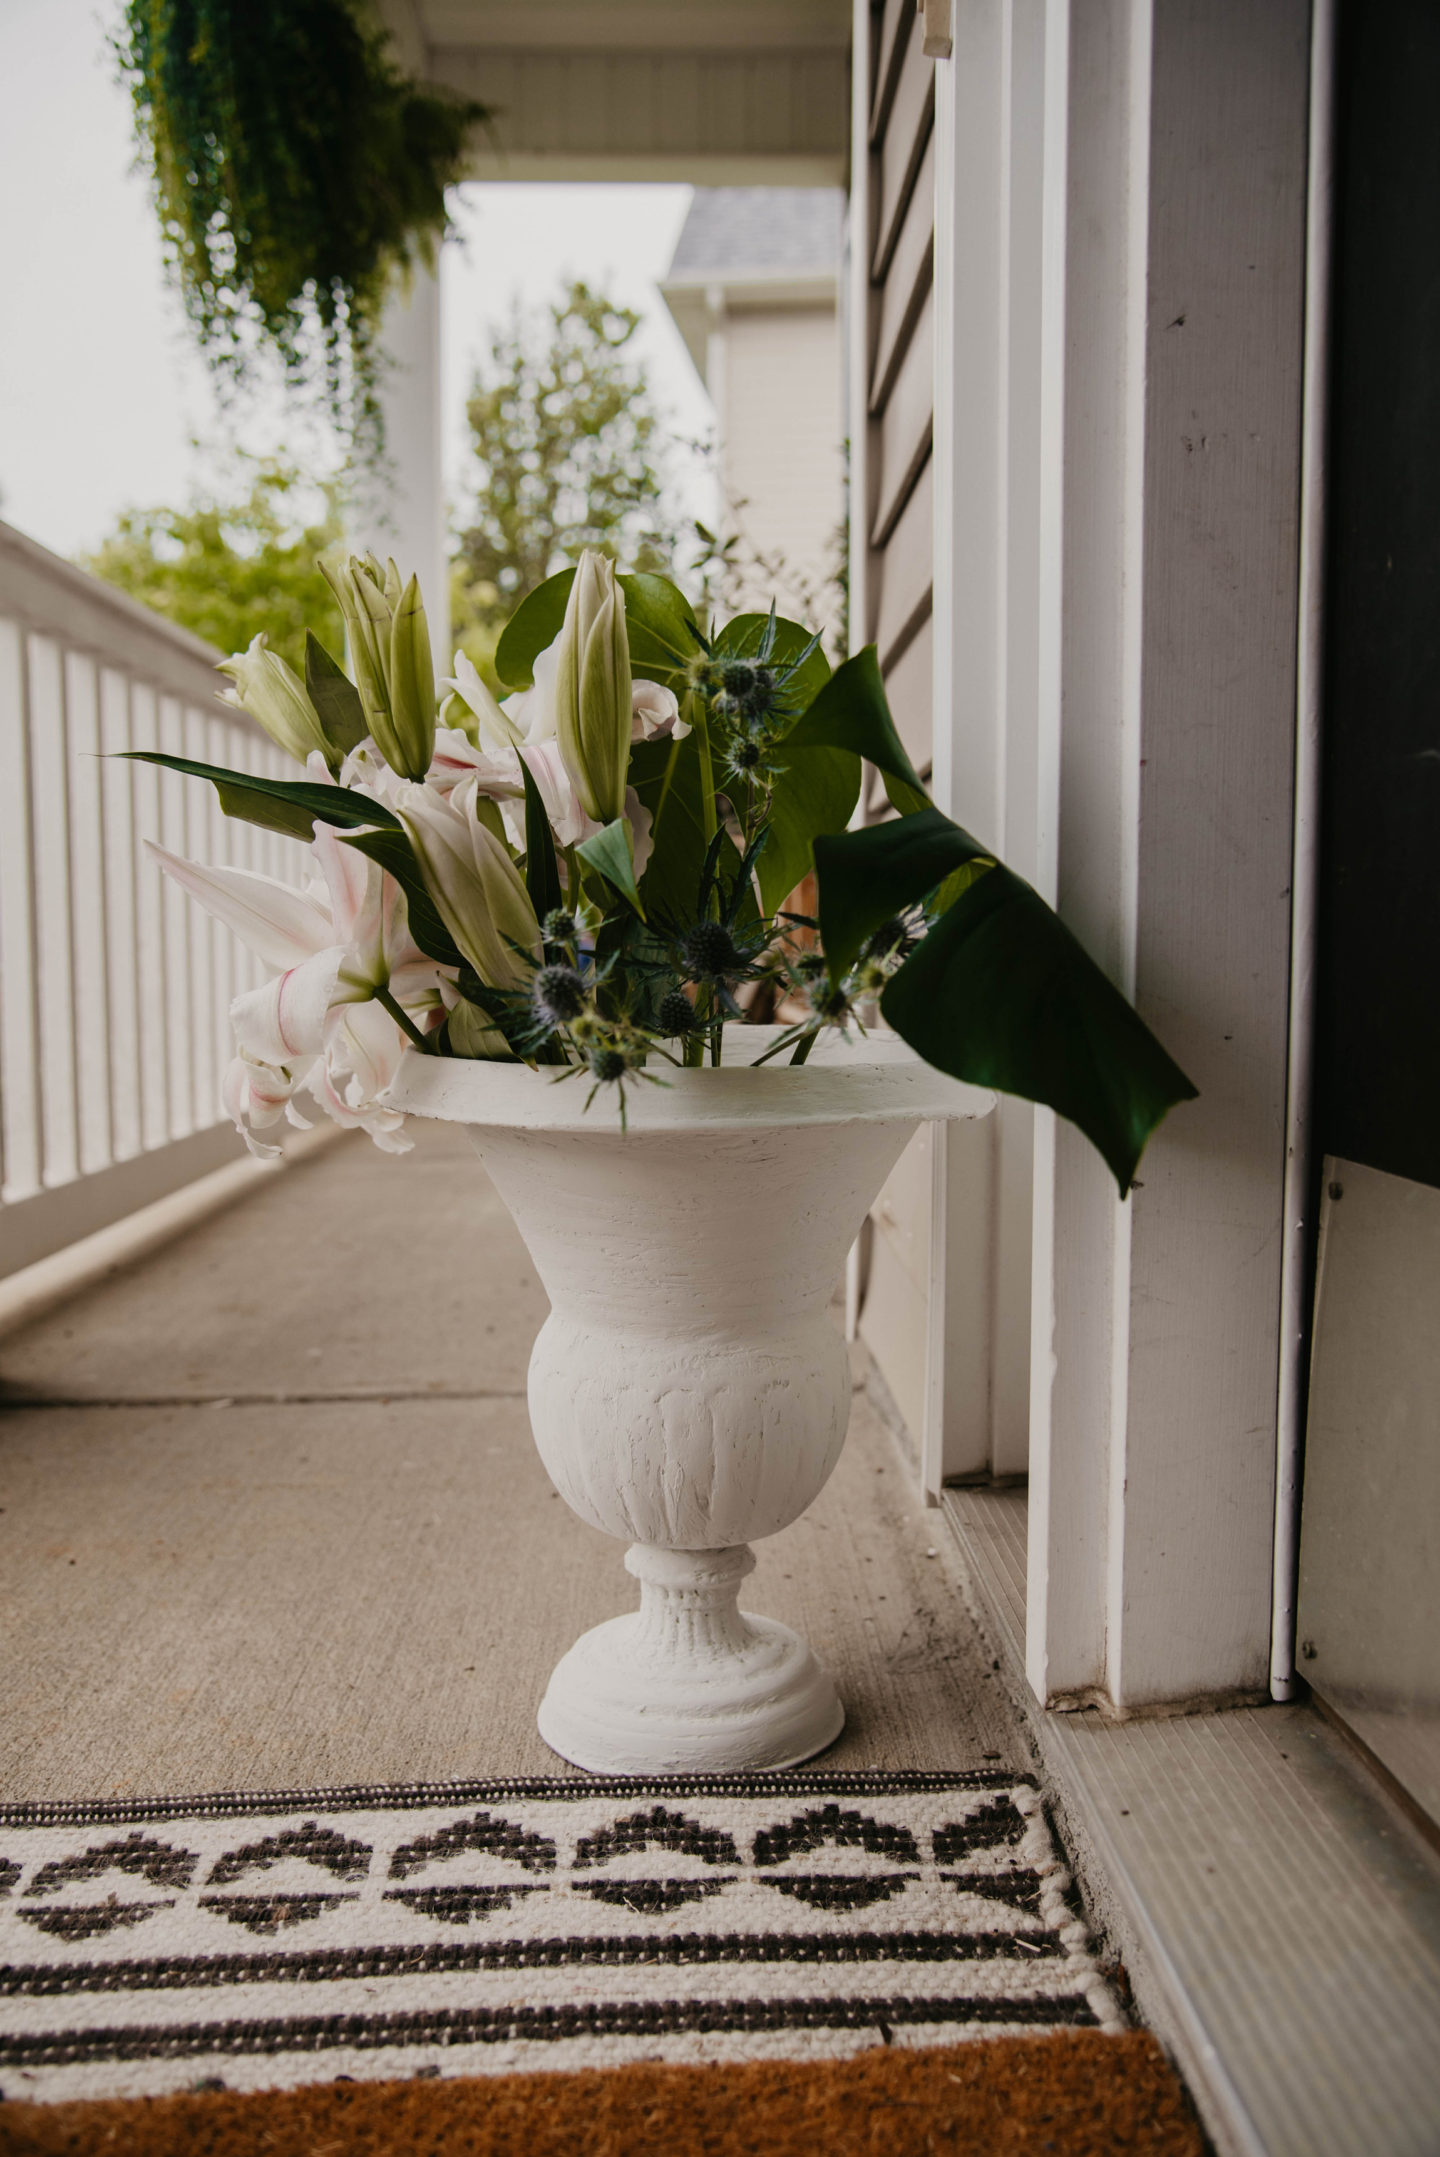
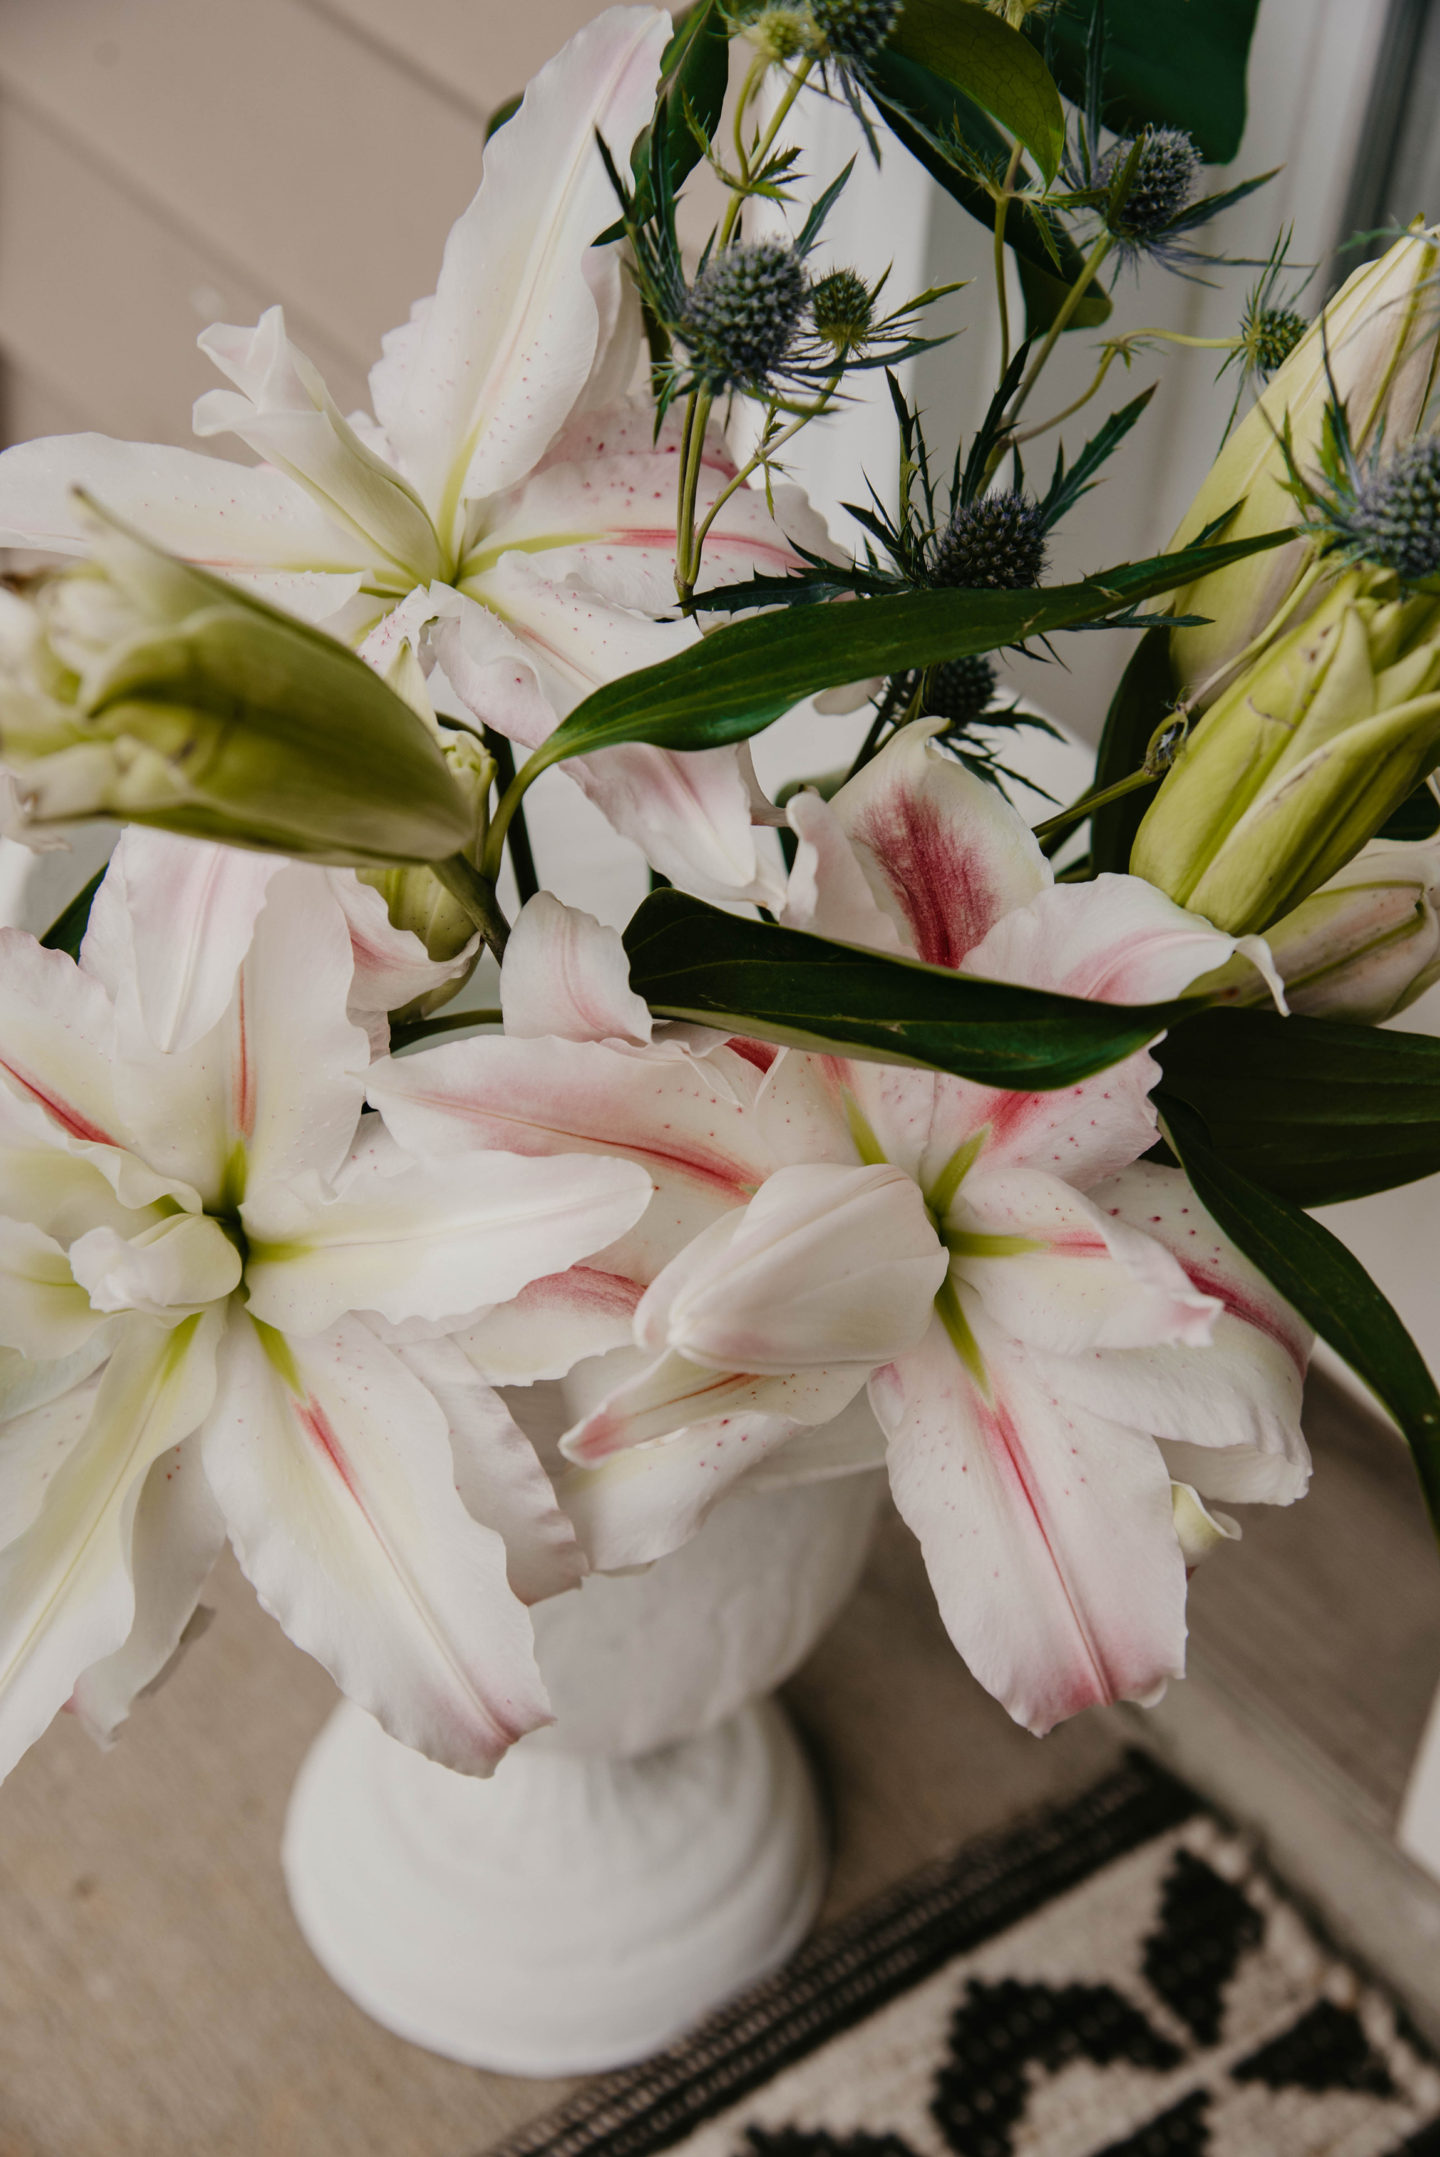
It’s one thing I have been meaning to do, but never really got around to it. In the last few months, I’ve been working really hard to improve my lawn and add new plants to replace some old ones. I hung some beautiful hanging vines and ferns, and updated my mini veggie/herb garden. Most recently, I added some hydrangeas, climbing rose, and peonies to my property. But I want the walk up to my door to be beautiful and lively, which is why I wanted to give this thrifted metal planter a makeover and turn it into a beautiful faux concrete planter.
Things You’ll Need:
-
- Thrifted Planter
- Joint Compound
- Disposable Gloves
- Sandpaper
- N95 Mask
- Paint Brush
- Drop Cloth
CLEAN
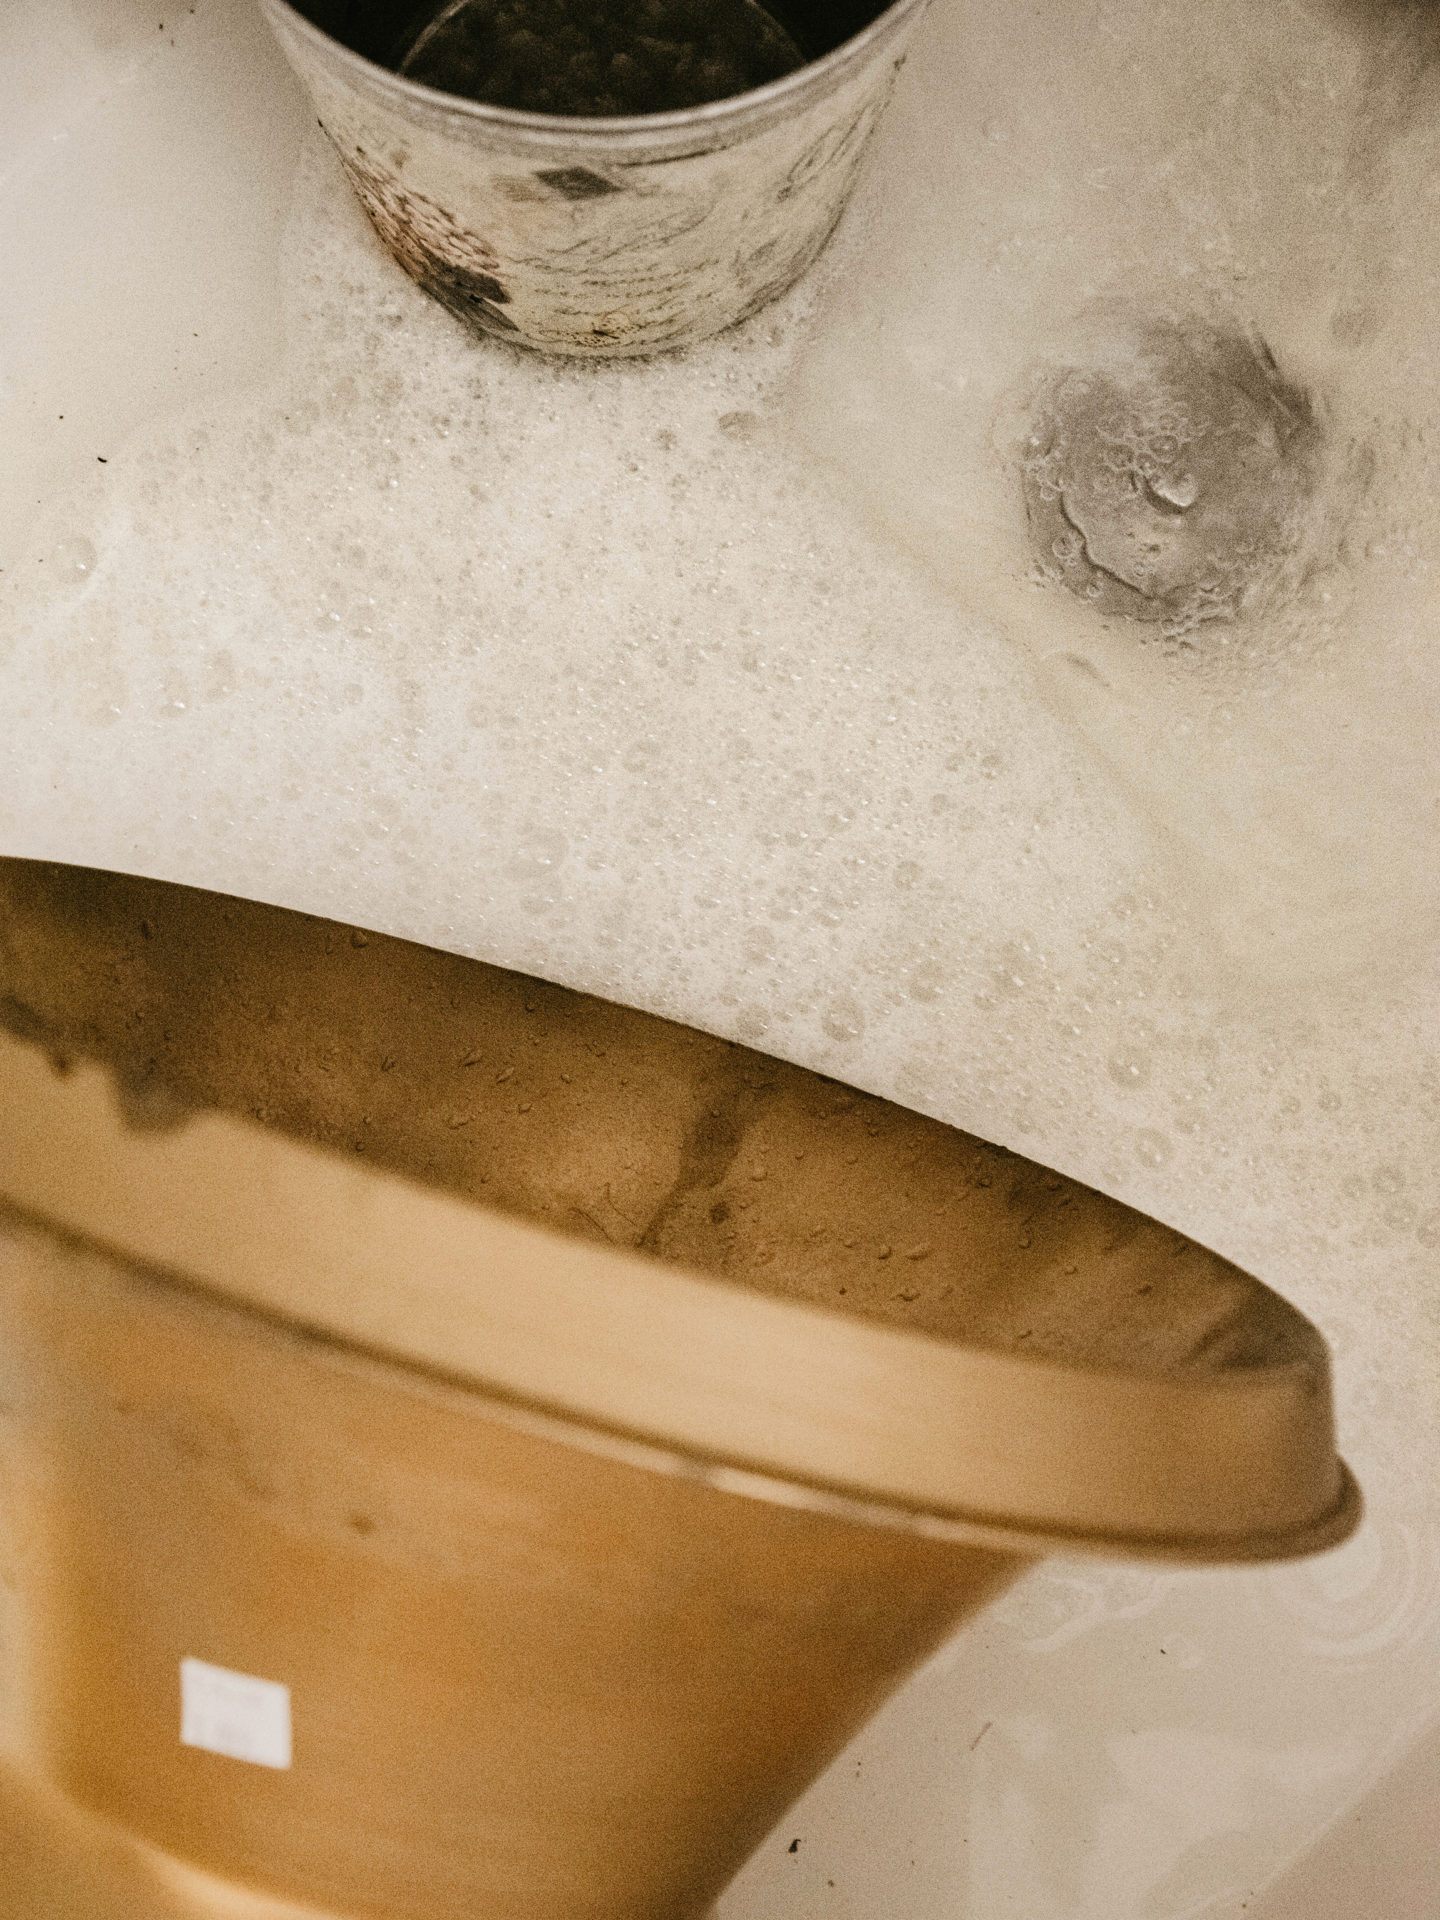
The first thing I did was clean the planter, inside and out with warm soapy water. Even though I am applying joint compound to the surface, I want to make sure it’s clean so there aren’t clumps of dust or debris mix into the compound that may potentially show. Once I thoroughly gave the planter a rinse, I dried it with a towel.
APPLY JOINT COMPOUND
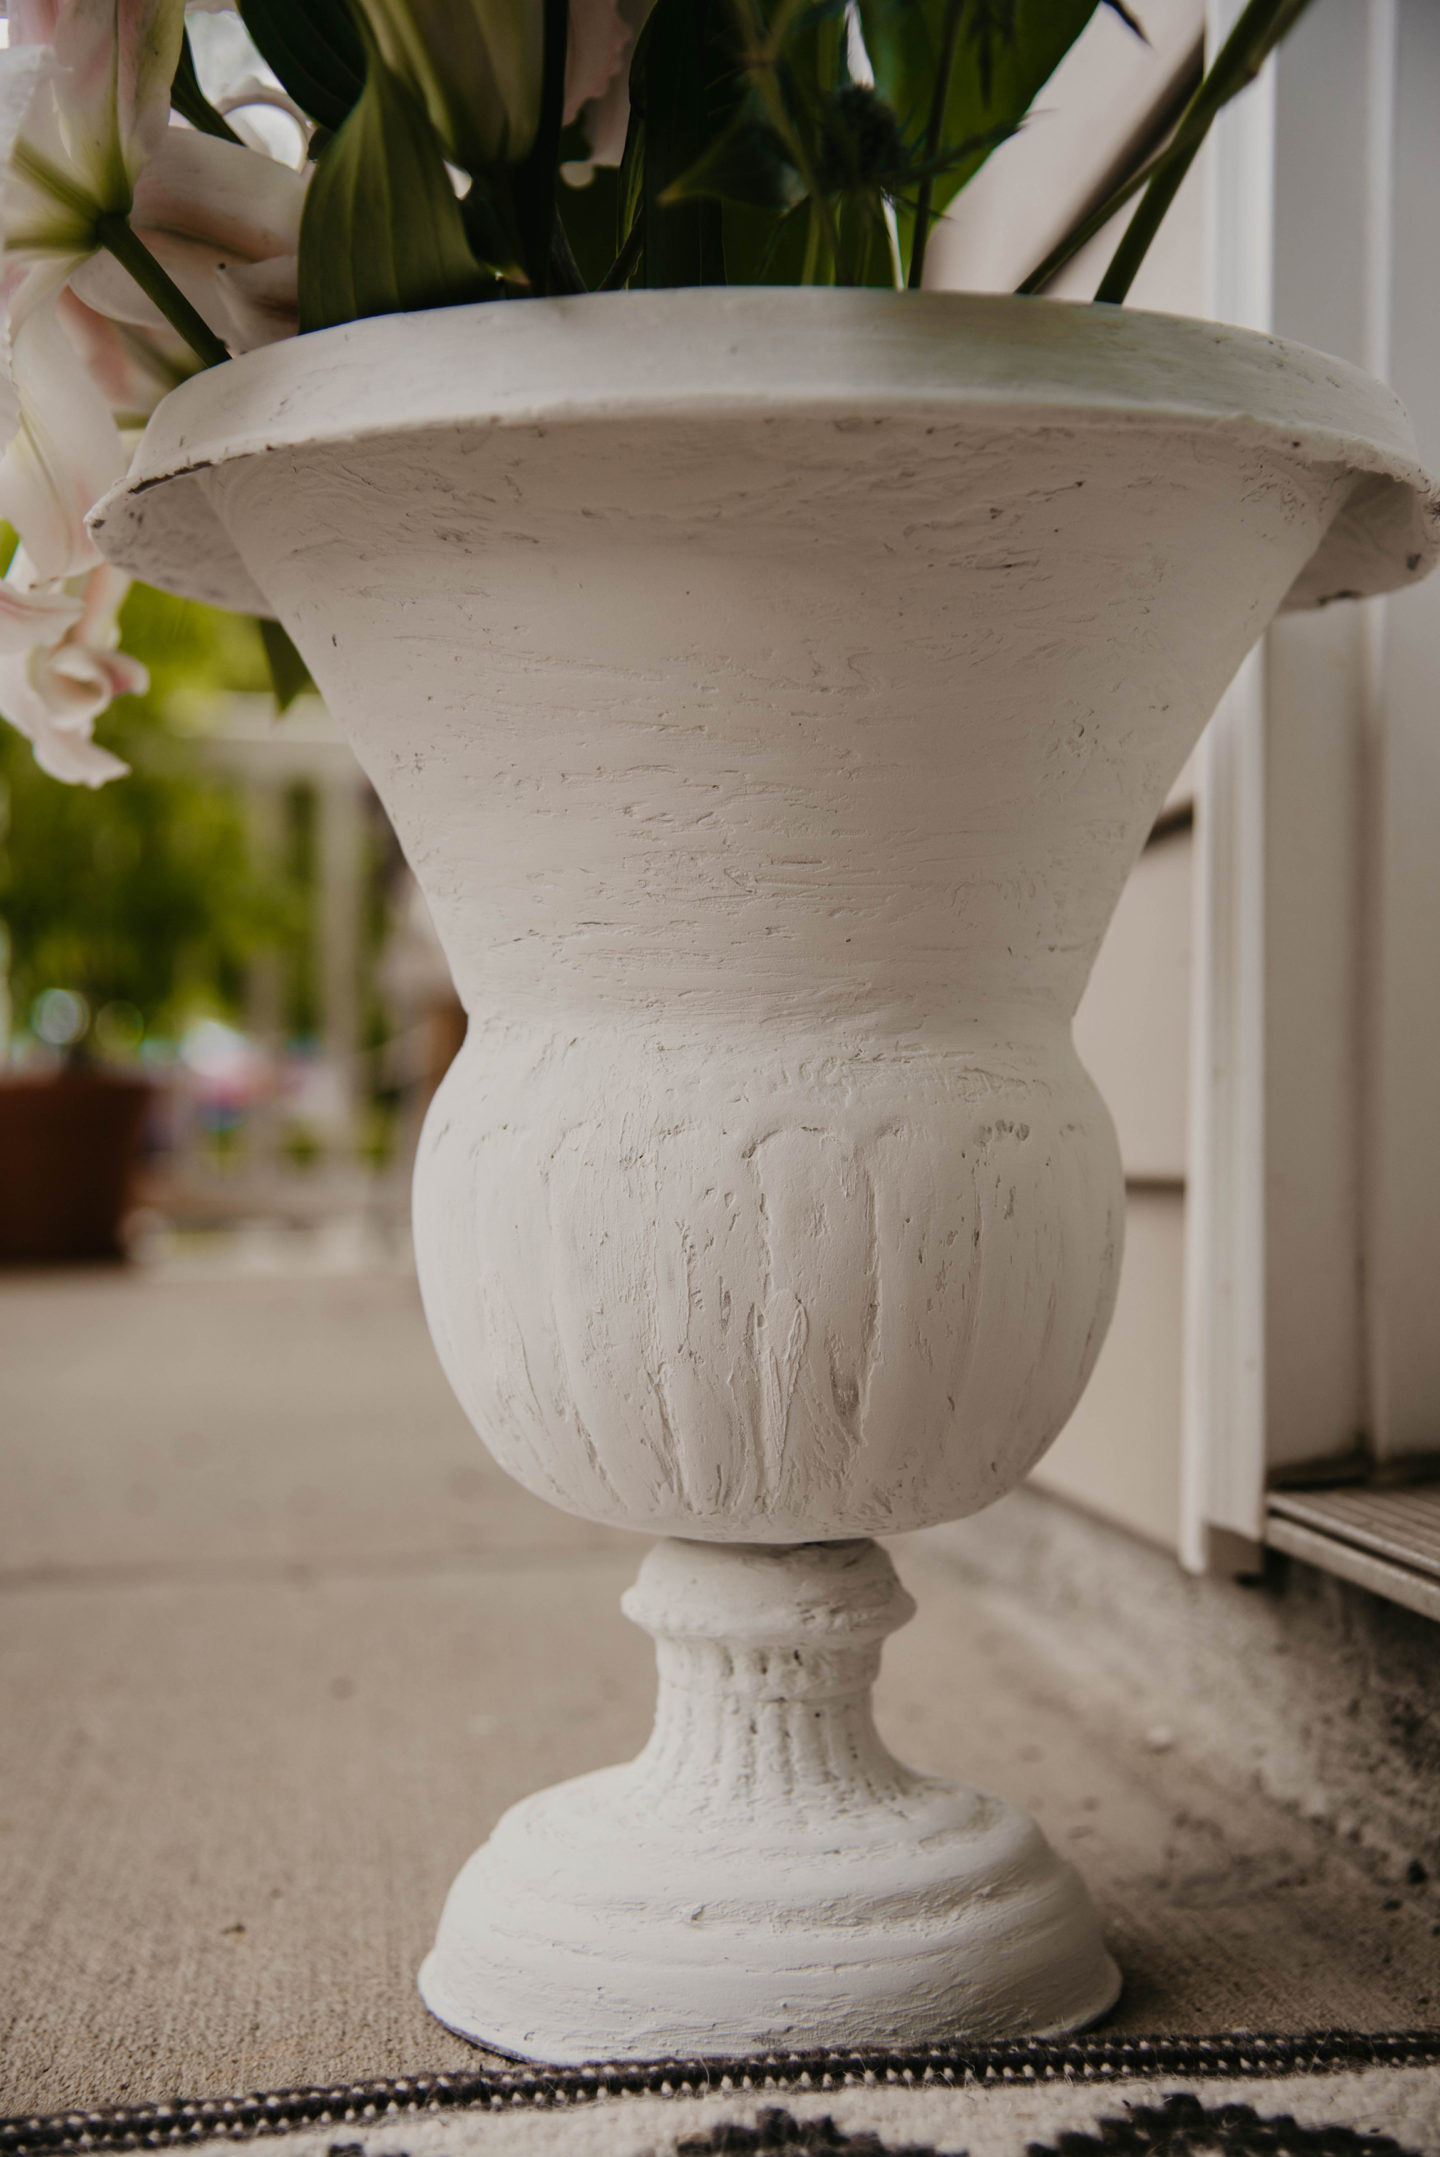
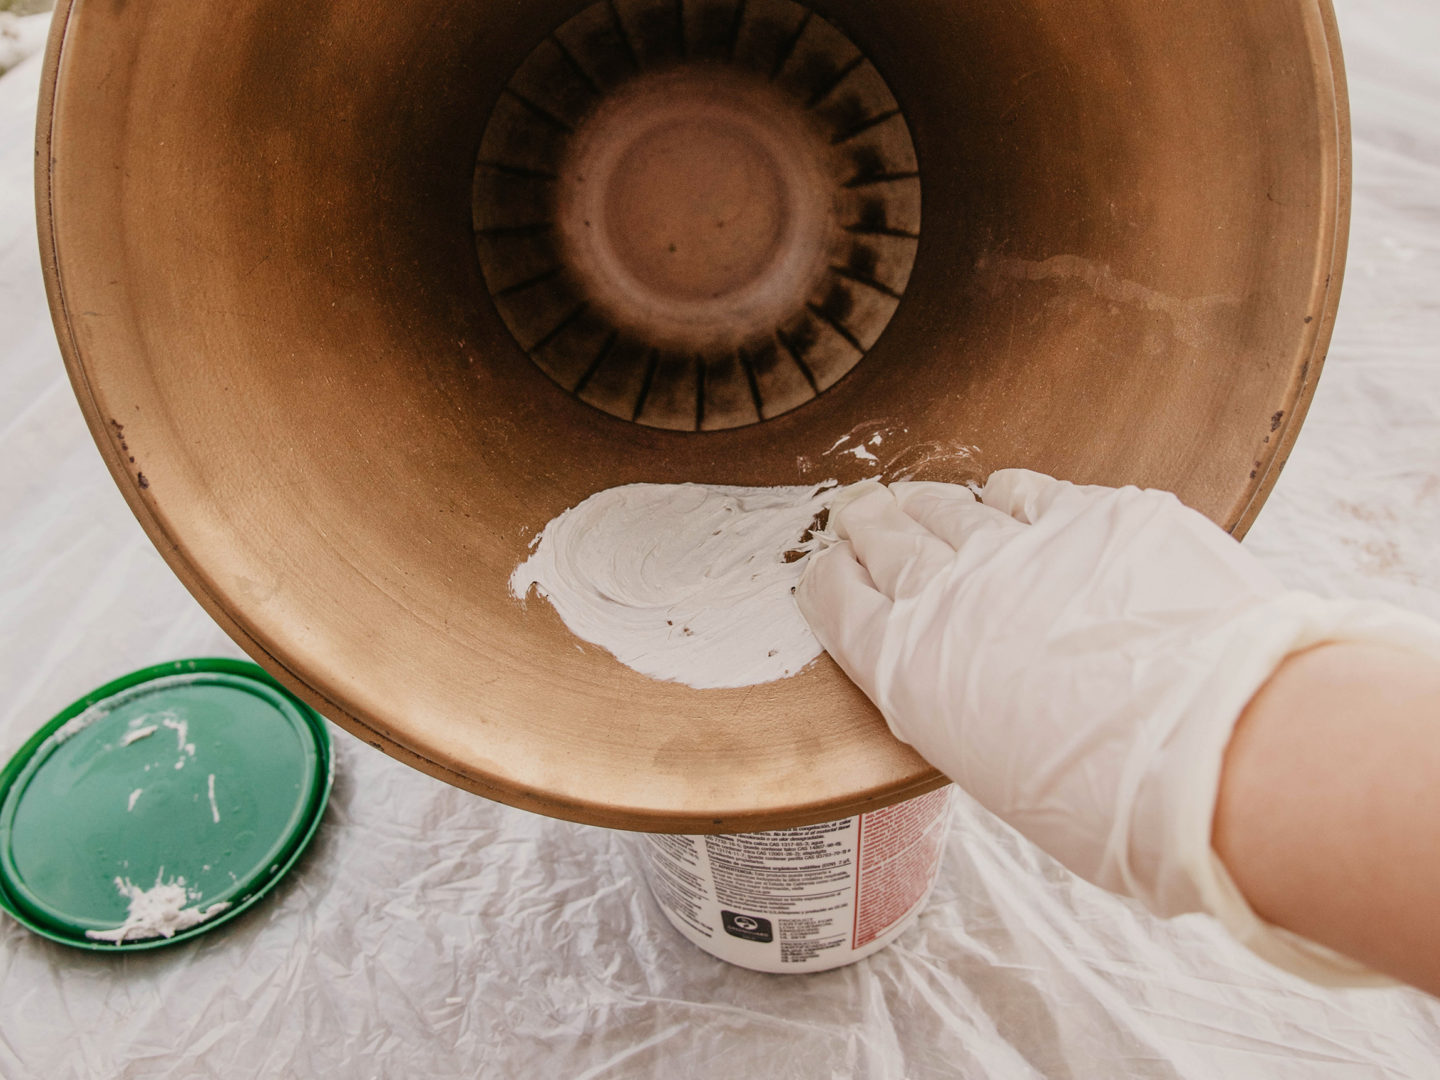
Using my hands, I smeared join compound all over the planter, making it as even as possible. I chose to do this with my hands because the gloves create an organic texture on the planter unlike a brush. I covered part of the inside of the planter since there’s a possibility that may show through floral or plants that I will place inside.

LET IT DRY
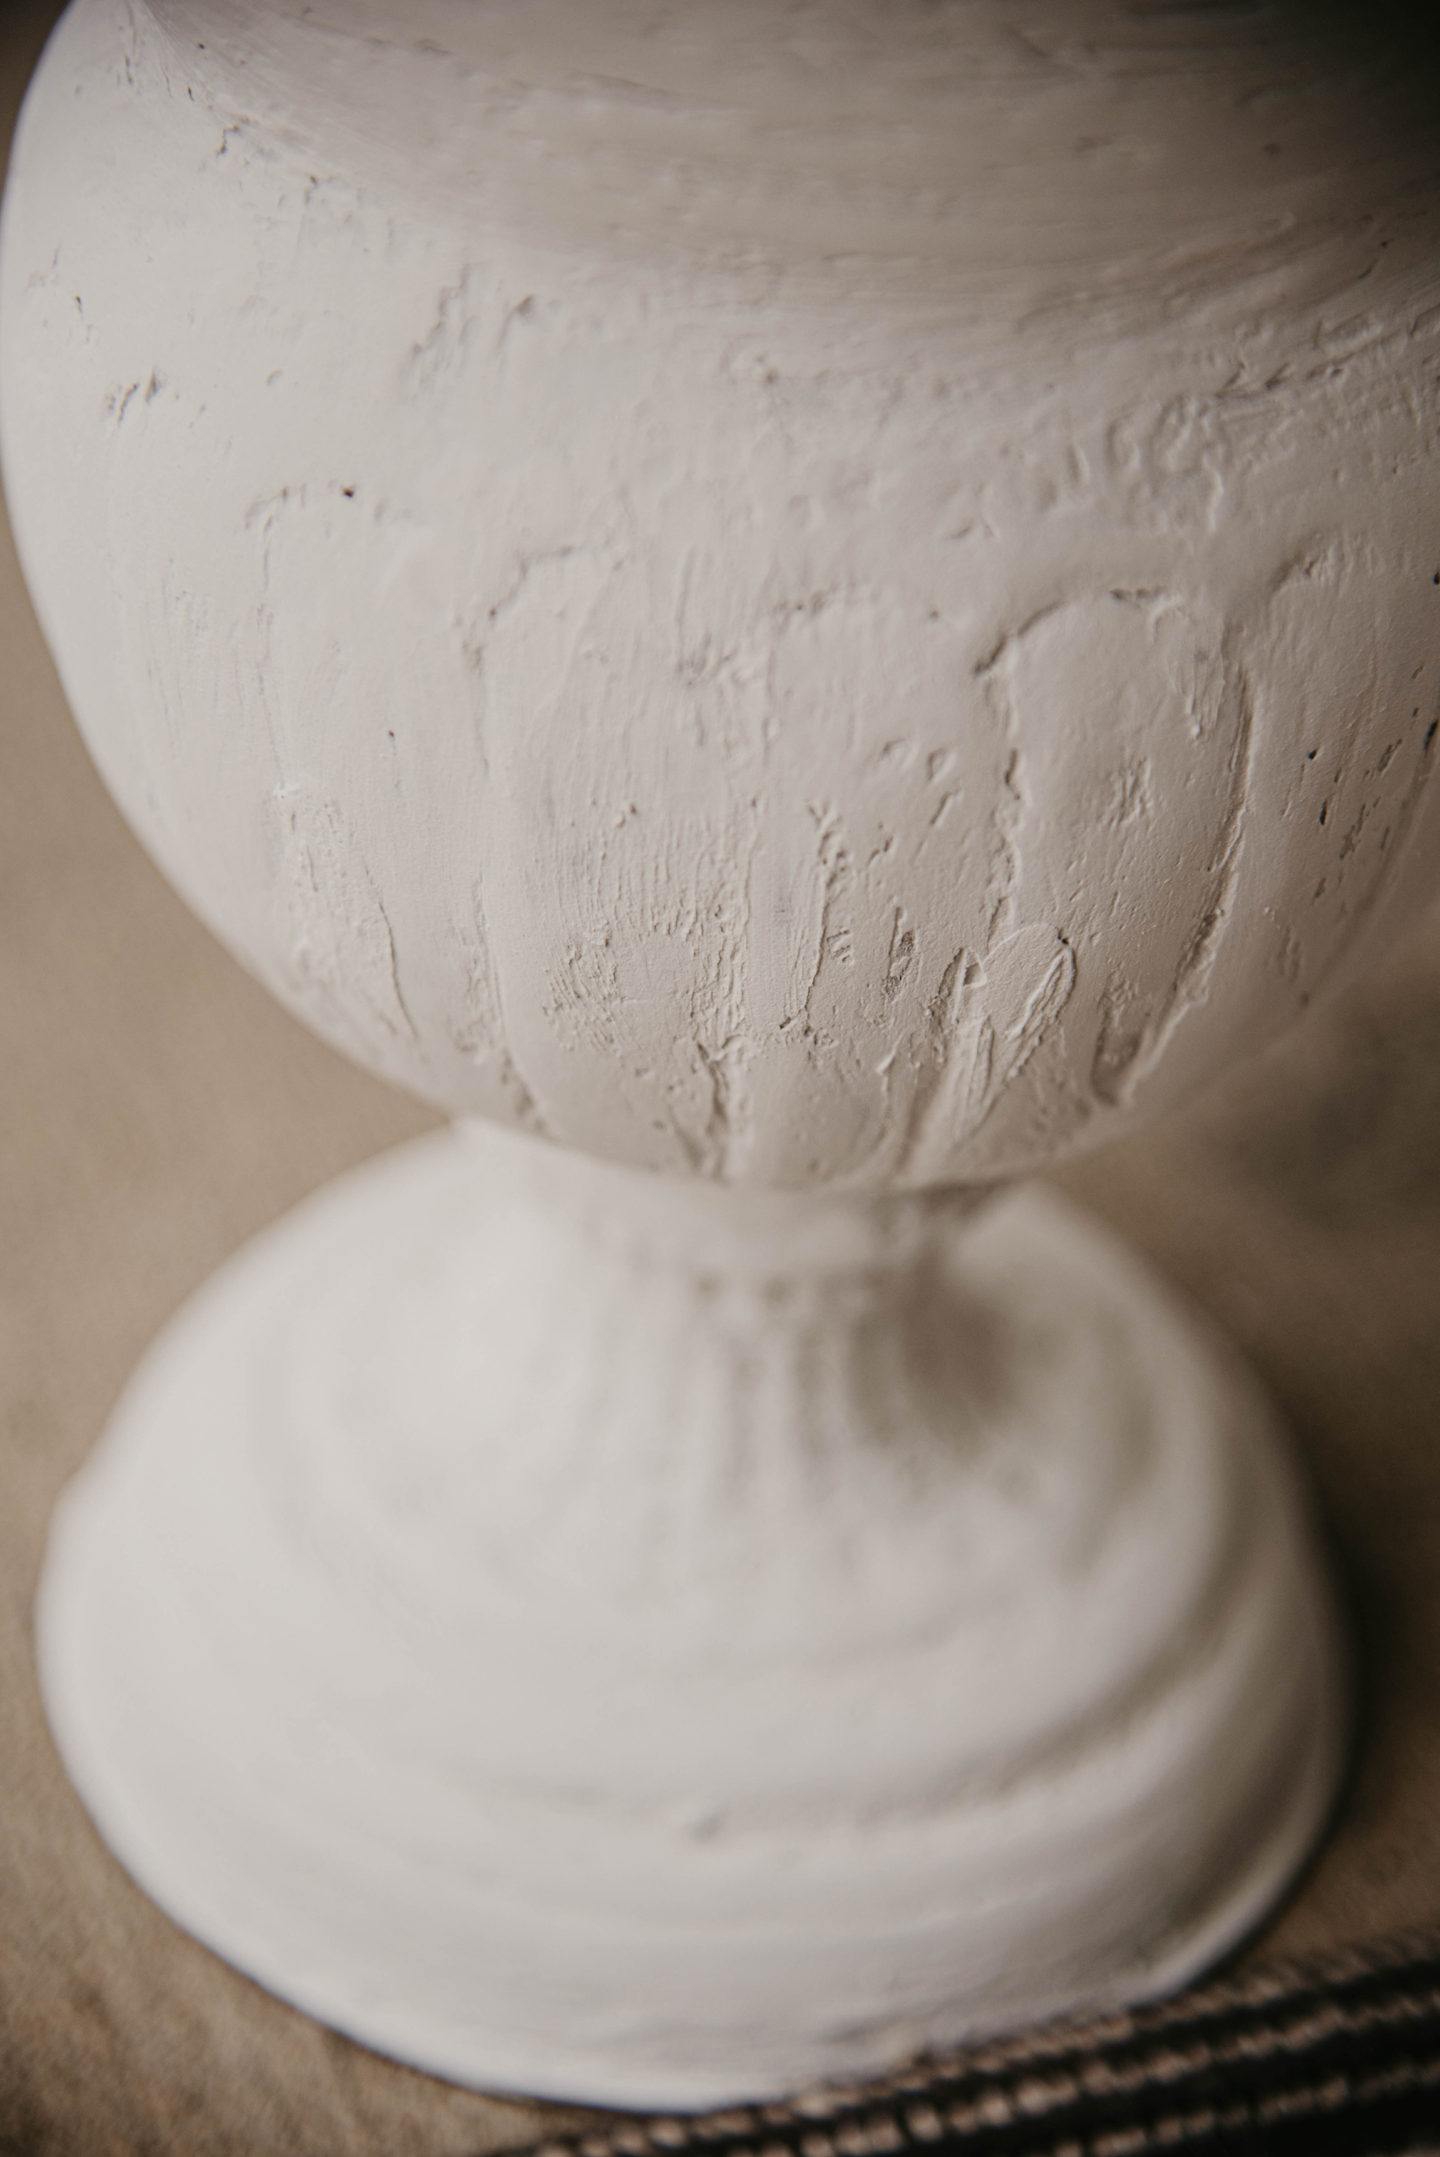
I let it dry for about an hour and went in with a second coat, this time using an old paint brush. The brush allowed me to get into places I couldn’t reach with my hands, and also helped to create a balance between textured surfaces and more “smooth” areas of join compound. After applying the second coat, I let this dry for 4 hours in the sun. Now it looked a lot more like the faux concrete planter I wanted.
SANDING
Put on that mask! Sanding is a key step to making this faux concrete planter look legit. Concrete planters are very textural but there are rough and smooth areas. I tried to create spots like this by using two separate methods of application, but sanding some of the rough areas down will really sell the faux look. It’s also quite chic to have some of the original material show through the sanding. It gives it an antiqued look.
After you sanded the planter to your desired texture, take an old dry towel and wipe away excess dust from the planter. Do not dampen the cloth – moisture will soften the joint compound and it will come off with each wipe. If you have a particular color planter in mind, this would be the perfect time to add some paint. I would recommend a flat or semi-gloss finish to keep it as close to “faux concrete” as possible.
I’m really excited about this look. I think these faux concrete planters will look great both inside and outside of my home. I plan to do this to some galvanized tins for my wedding, too. The project took just a few hours and was very easy and relaxing. I’m thinking of doing some textural artwork for my Etsy store too!