Wedding season is a little funky this year.
COVID-19 threw a wrench in so many wedding plans but I have a few friends who pushed their wedding to the end of the year. Some of them lost money during the cancellation and rescheduling process and are looking for ways to save money. With that said, today I’m going to show you how to make your own DIY Cake Plates!
I promise, it’s super easy. It just involves spending some time thrifting for glassware you love. Great stores to check out are: Goodwill, Salvation Army, and Value Village. Sometimes you’ll get lucky at Antique stores. If you are in the greater-Charlotte area, check out The Depot at Gibson Mill or Sleepy Poet.
Things You’ll Need:
-
- Dollar Store Candle Holders or Thrifted Candle Holder
- Thrifted Glass Plates
- E6000 glue

Wash
Once you have all your candlesticks and plates picked out, give them a thorough wash. Thrifted items can sometimes have a build-up of gunk and sticker residue that comes off with a good wash. Plus, once the DIY Cake Plates are assembled, you will not get to wash the parts that are now glued together.
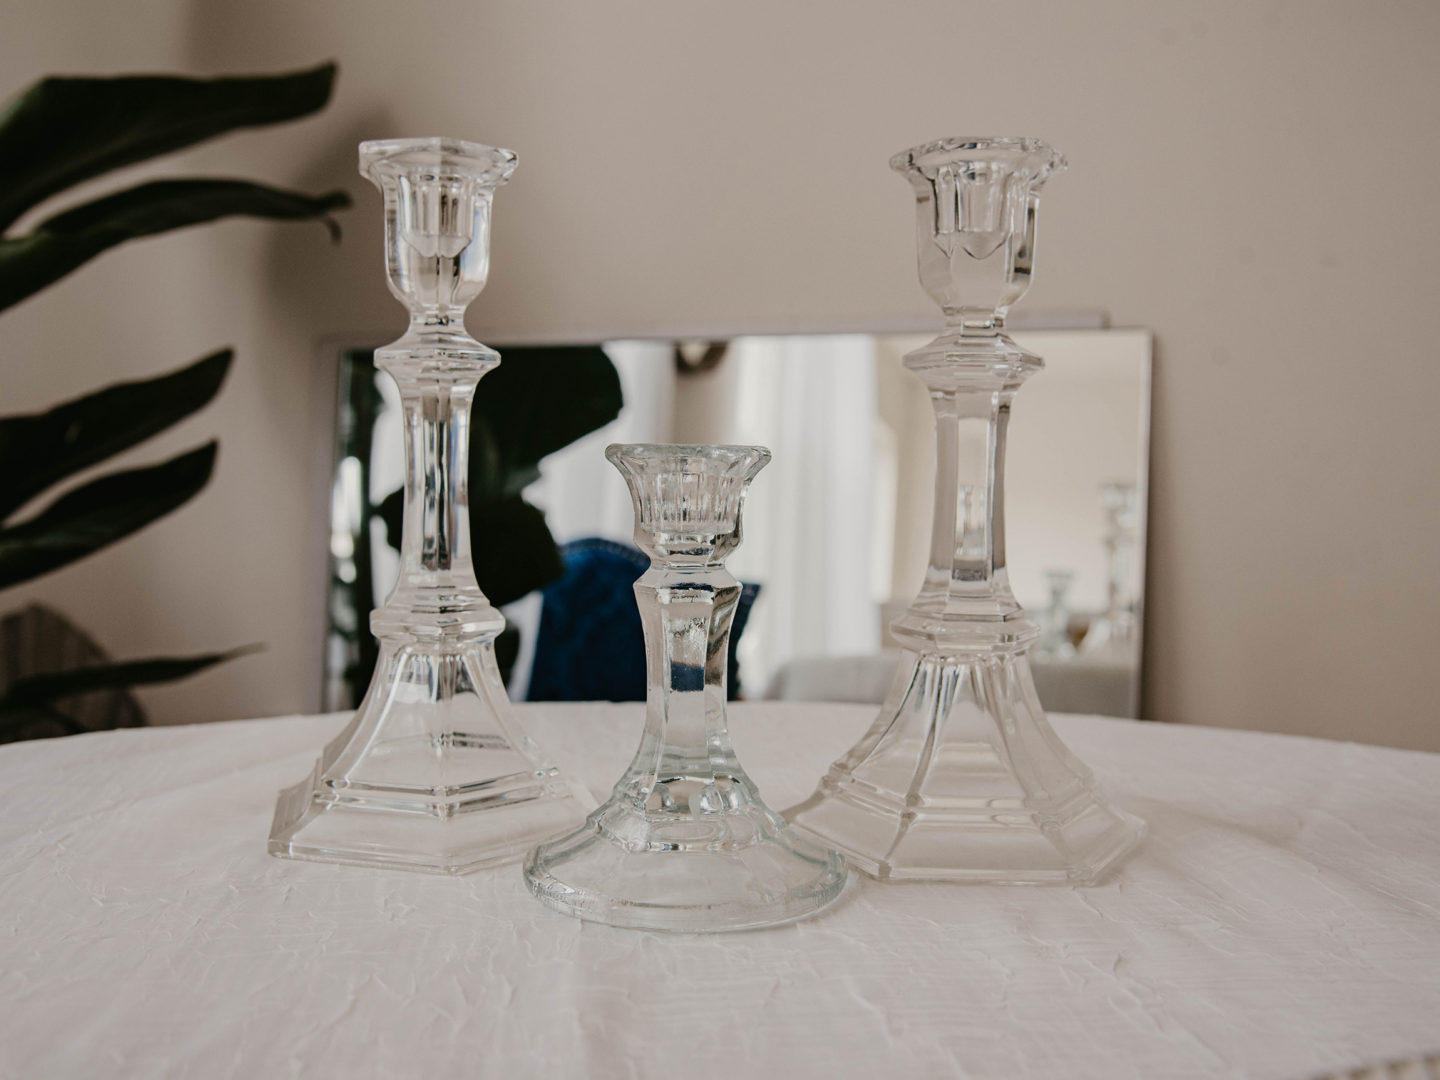
Plan
Before you do anything permanent, plan which plate will go on which “stand”. Sometimes you’ll find that the combination you had in mind isn’t going to work. Tip: Smaller glass plates should go with shorter candlesticks. Larger plates look great with taller candlesticks but can work with shorter ones.
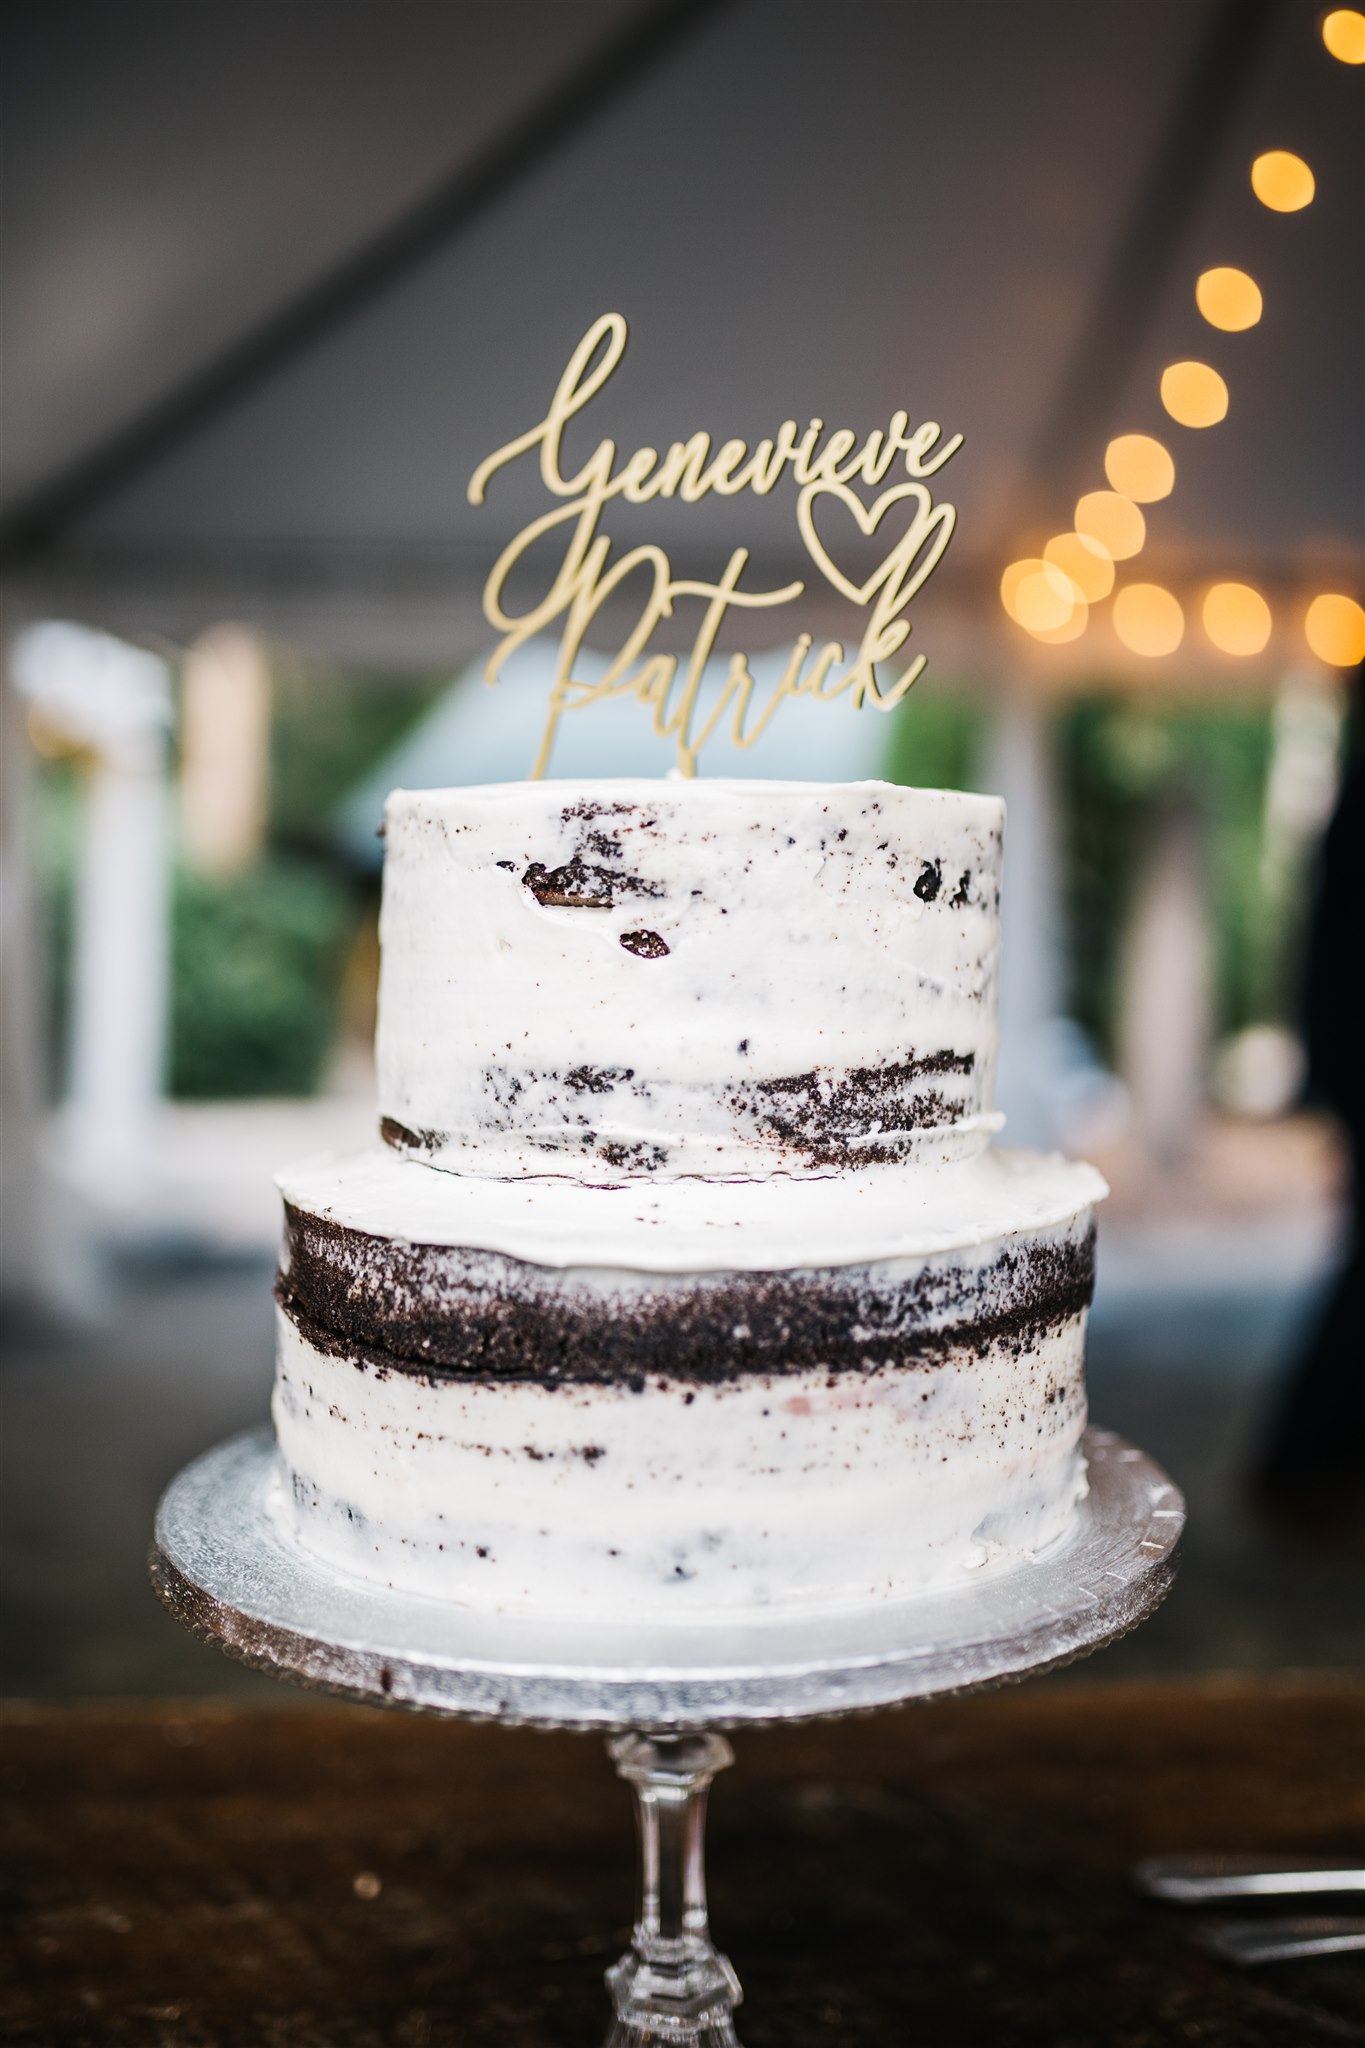
If you are thinking of creating tiered DIY Cake Plates, keep it balanced. The bottom-most plate should be the largest one you have.
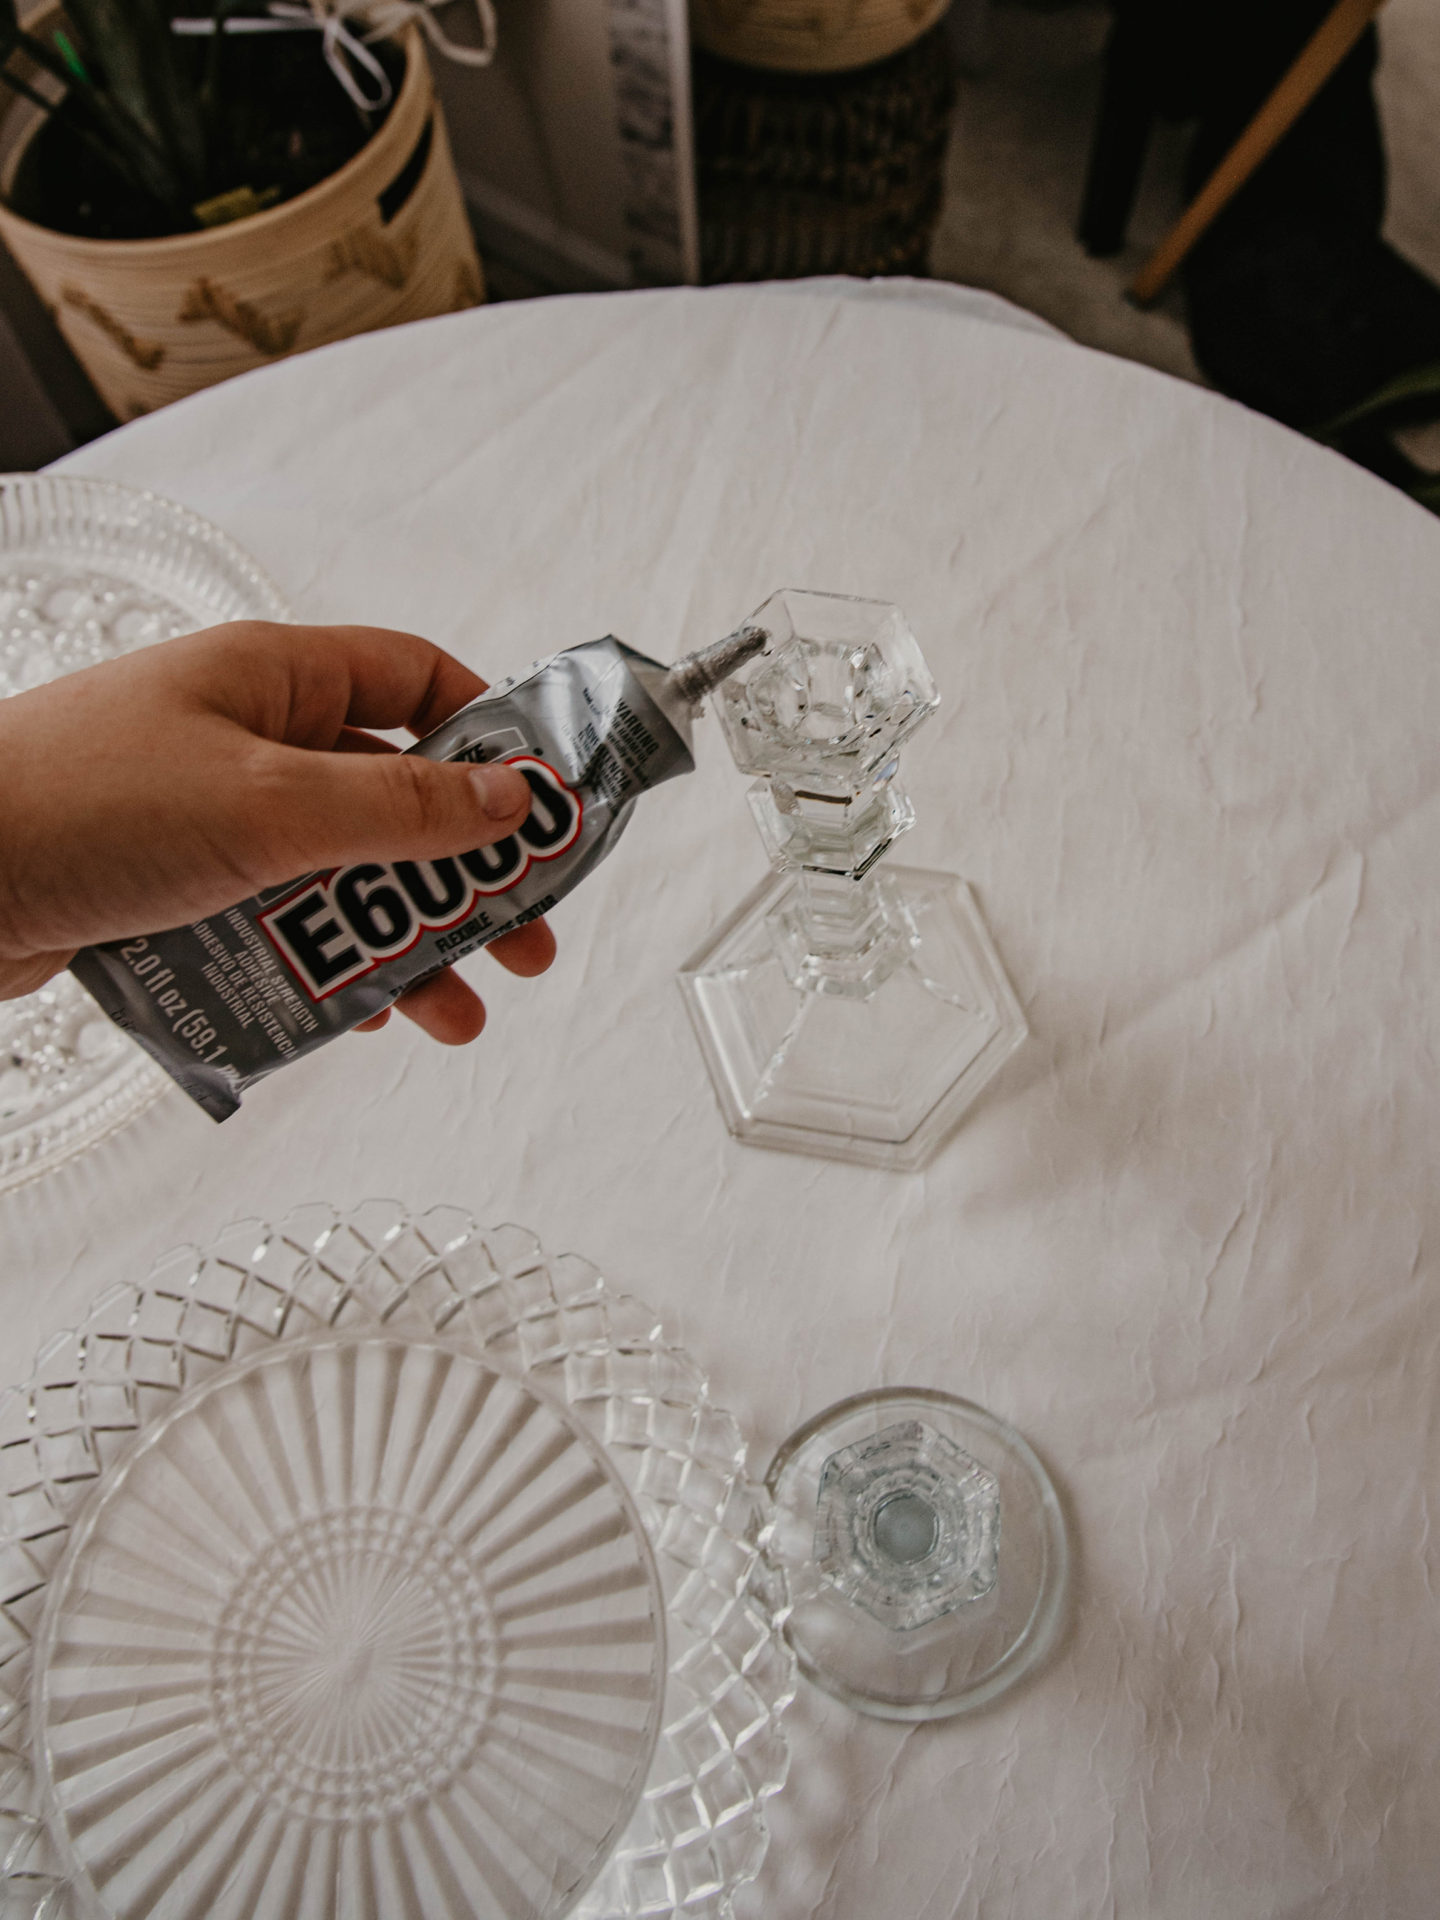
Glue
Now that you have everything picked out, apply a generous amount of E6000 glue to the rim of the candlestick. This glue dries pretty clear so if it gets a tiny bit messy, that’s okay.

Place + Dry
It’s time to place your plate on the candlestick. You’ll want to make sure you get it in the center so make sure you look from above as you are placing. Both of my plates had a clear central point so I was able to eyeball where the center was as I was lowering the plates. If you have to move it around a little, that’s okay. Do not lift the plate off, otherwise you’ll make a mess and spend some time scraping the E6000 off.
E6000 takes about 24 hours to completely dry, so leave it aside and do not touch them. After 24 hours, you’ll be able to pick it up and see that it’s fused together. Now you have yourself DIY Cake Plates, perfect for your wedding day treats!
Note: If you are doing a tiered cake plate, glue and set the tiers individually. Once each section is totally dried, glue them together carefully. Wait another 24 hours for the glue to cure and set.
–––
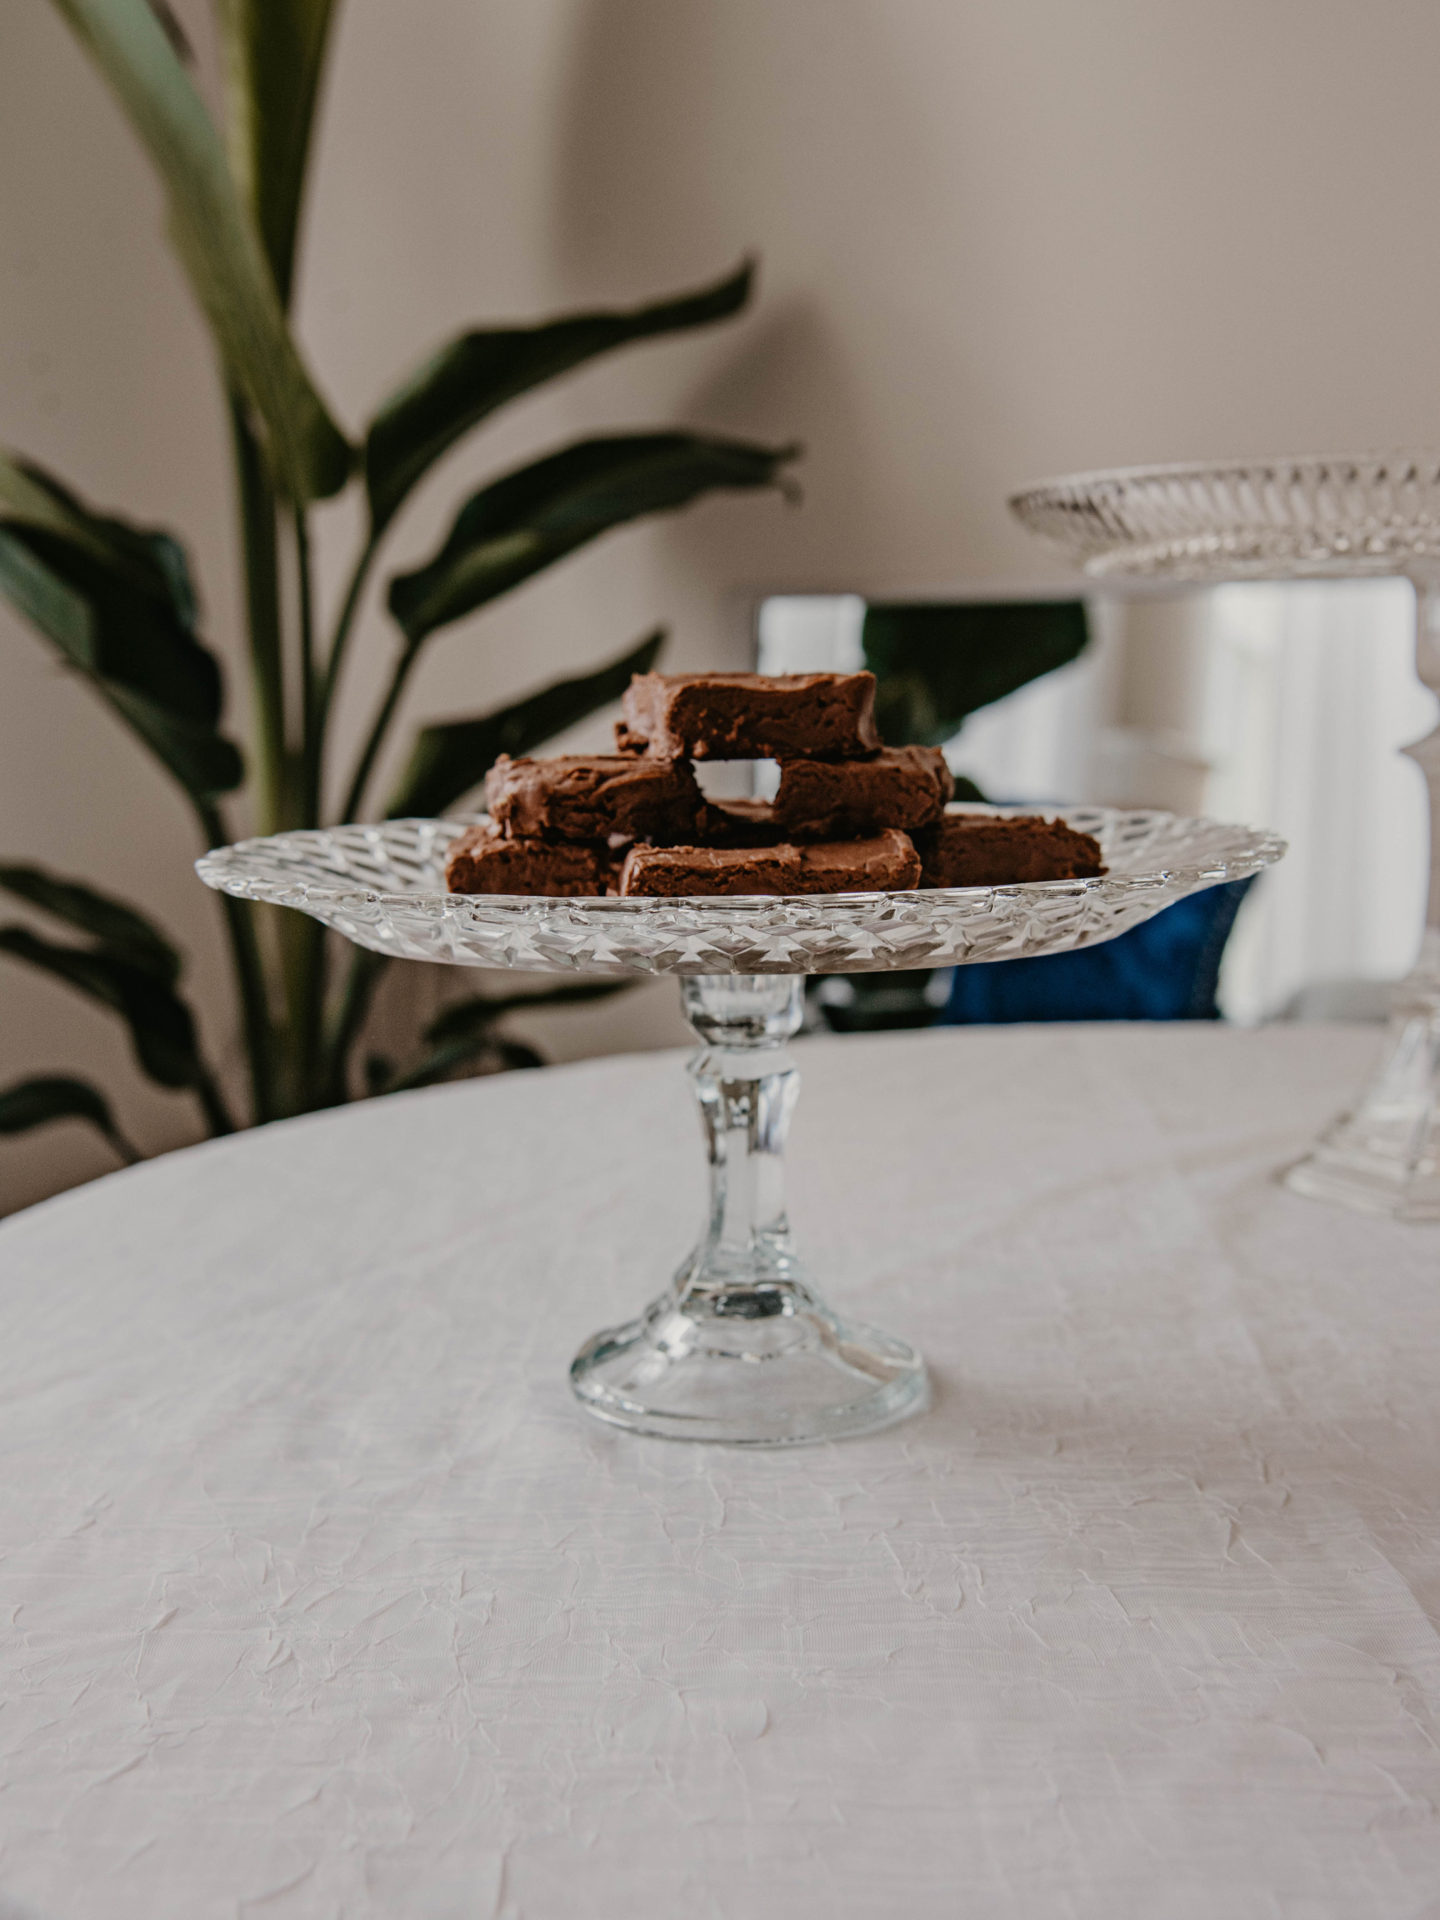
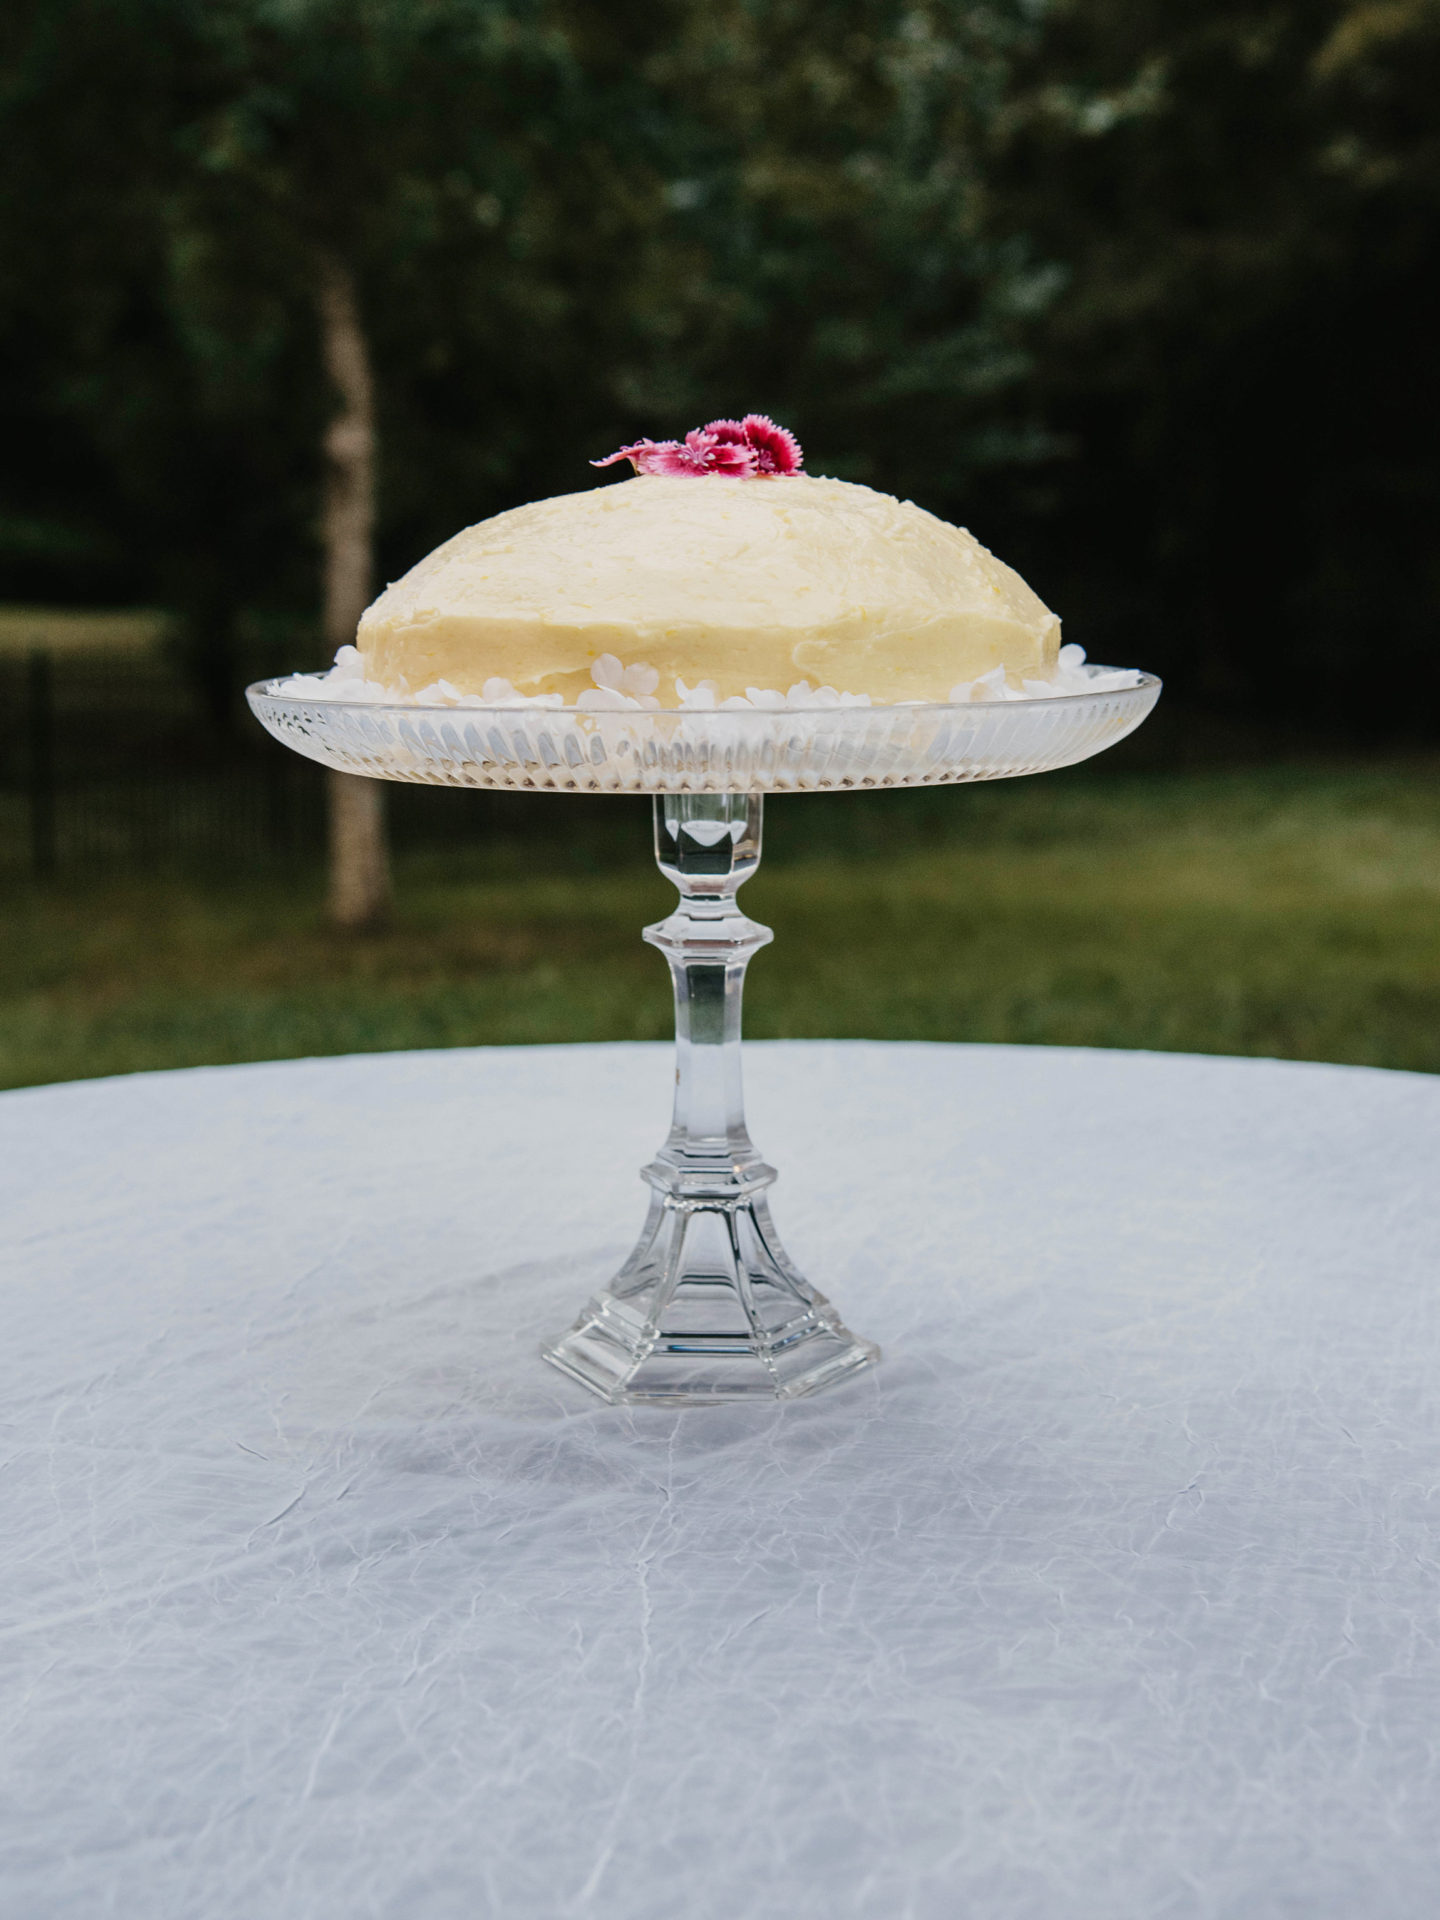
I can picture these DIY Cake Plates adorned with cupcakes, brownies, fudge, and slices of cake. I’m no bride, but I needed a cake plate for my home and these are perfect. If you decide to give this DIY a try, let me know how it turned out!
What other DIYs do you guys want to see me make?
![]()
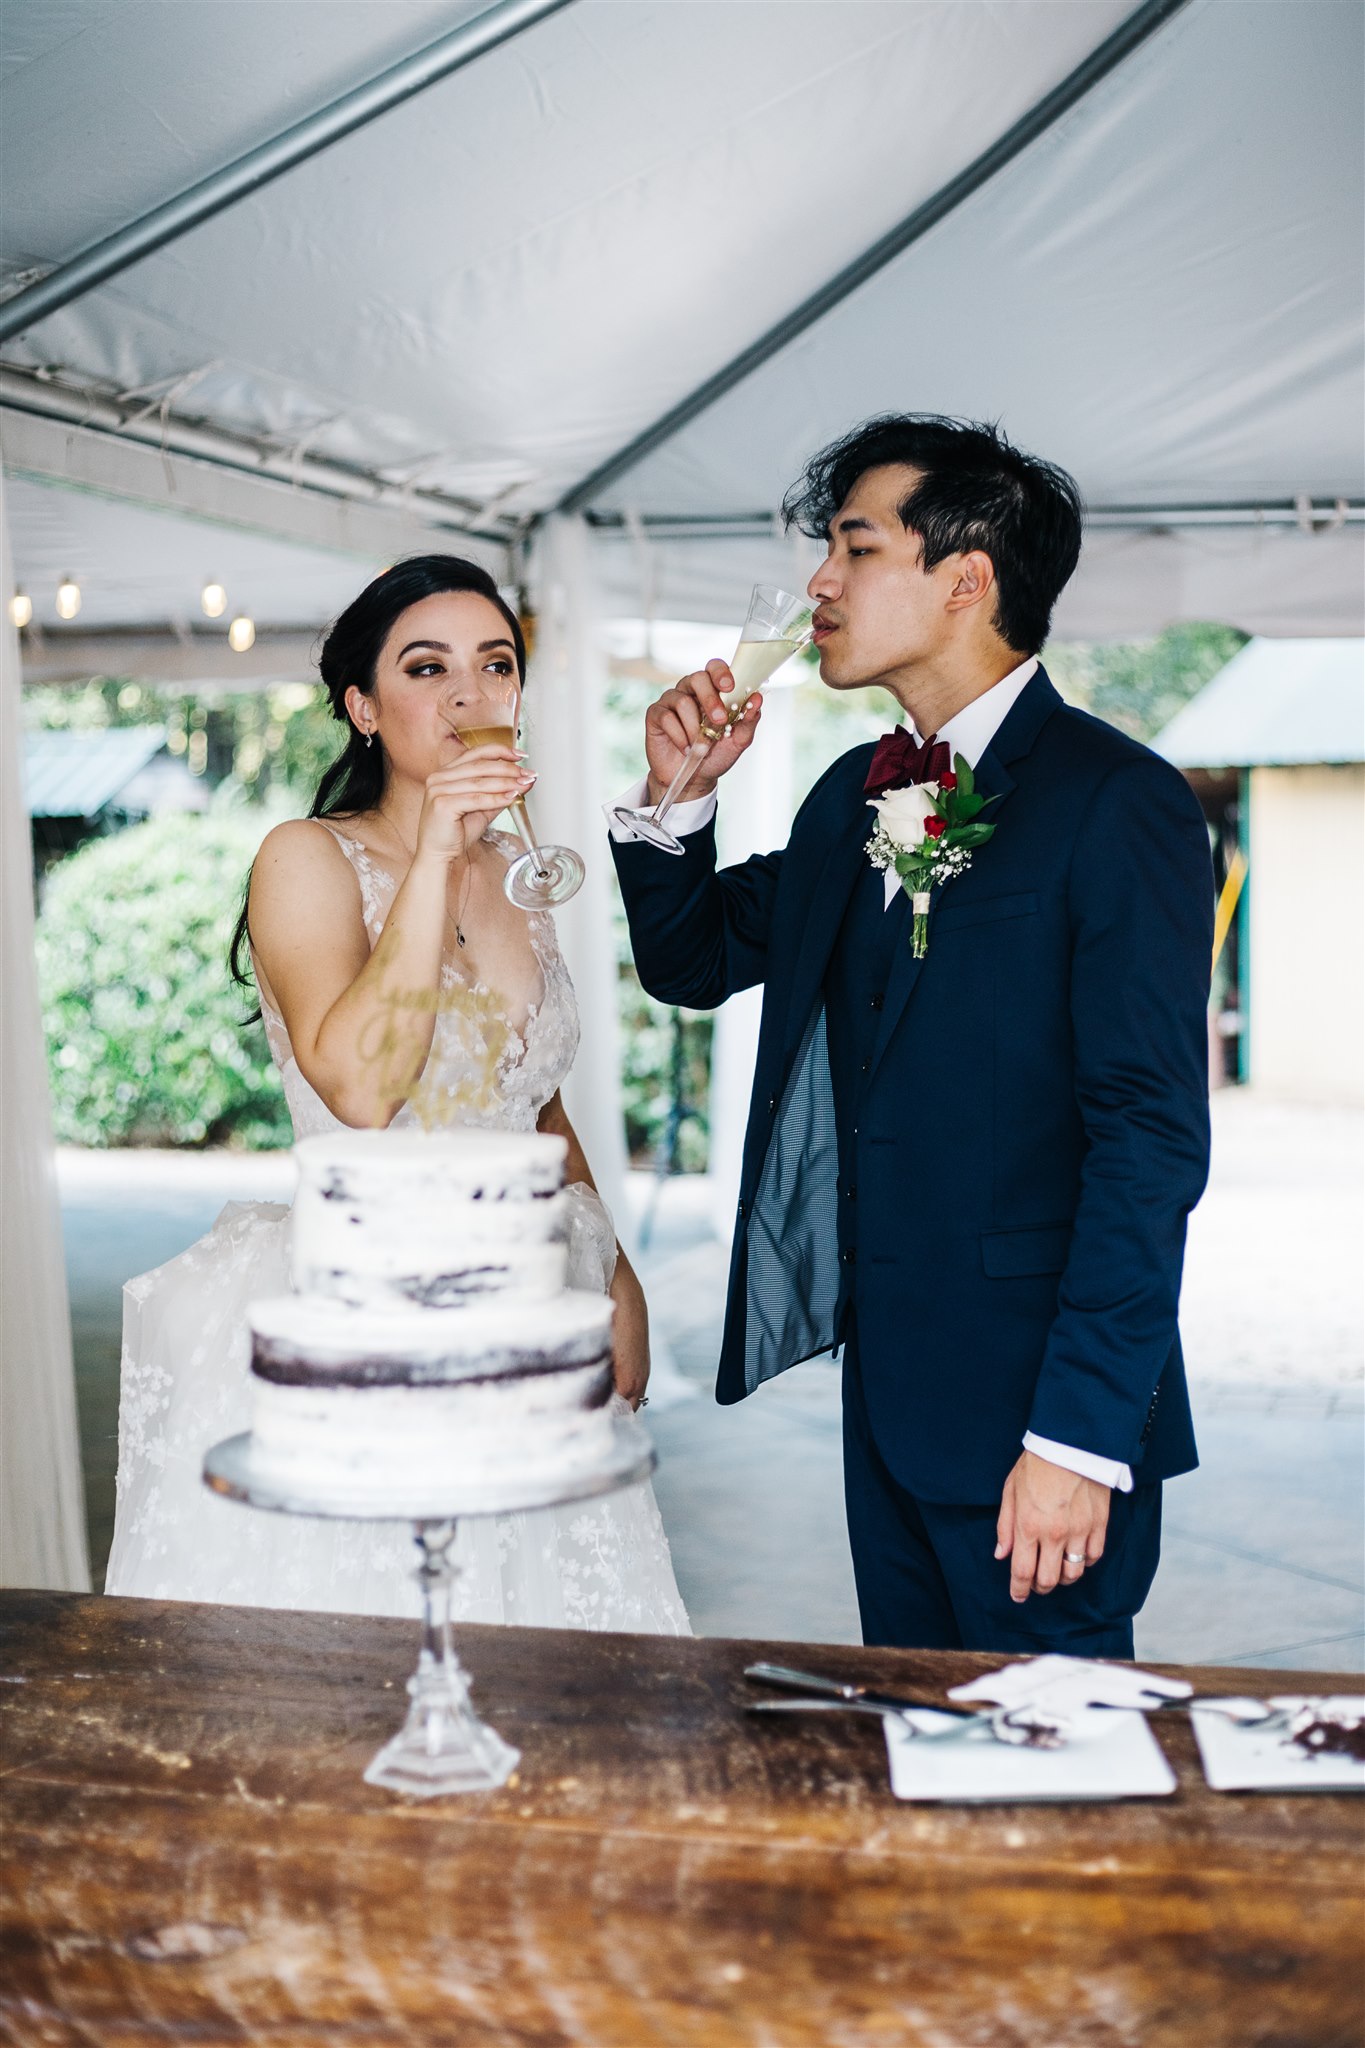
Wedding Photos by: @Noir9Creatives | DIY Images by Genevieve Cordery