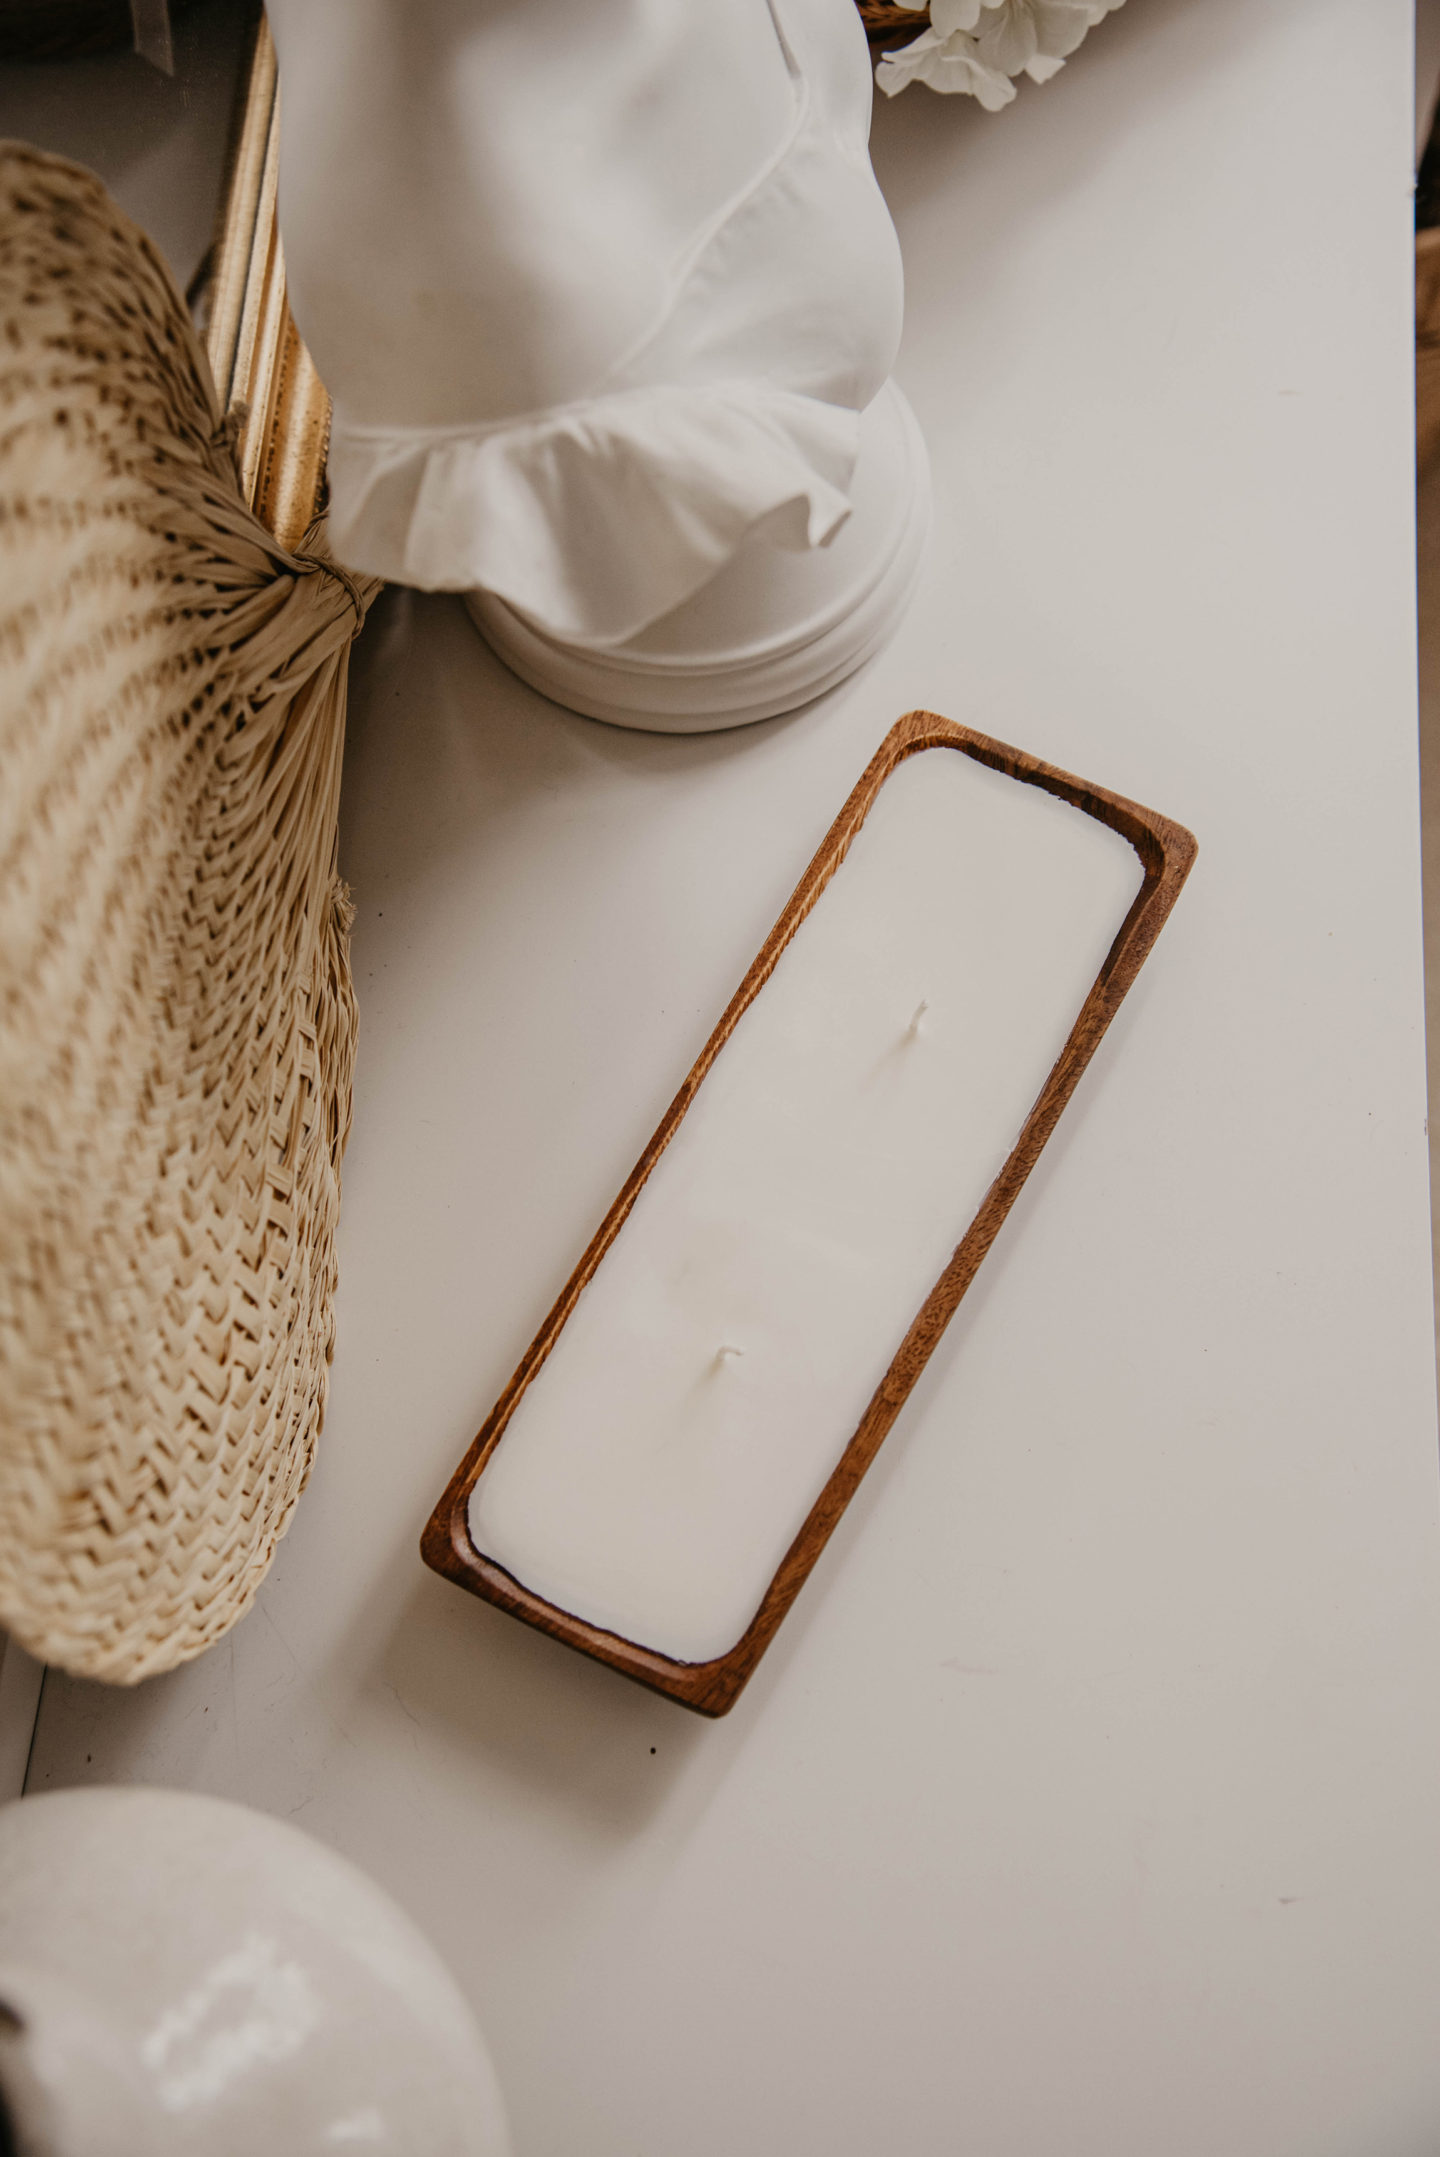
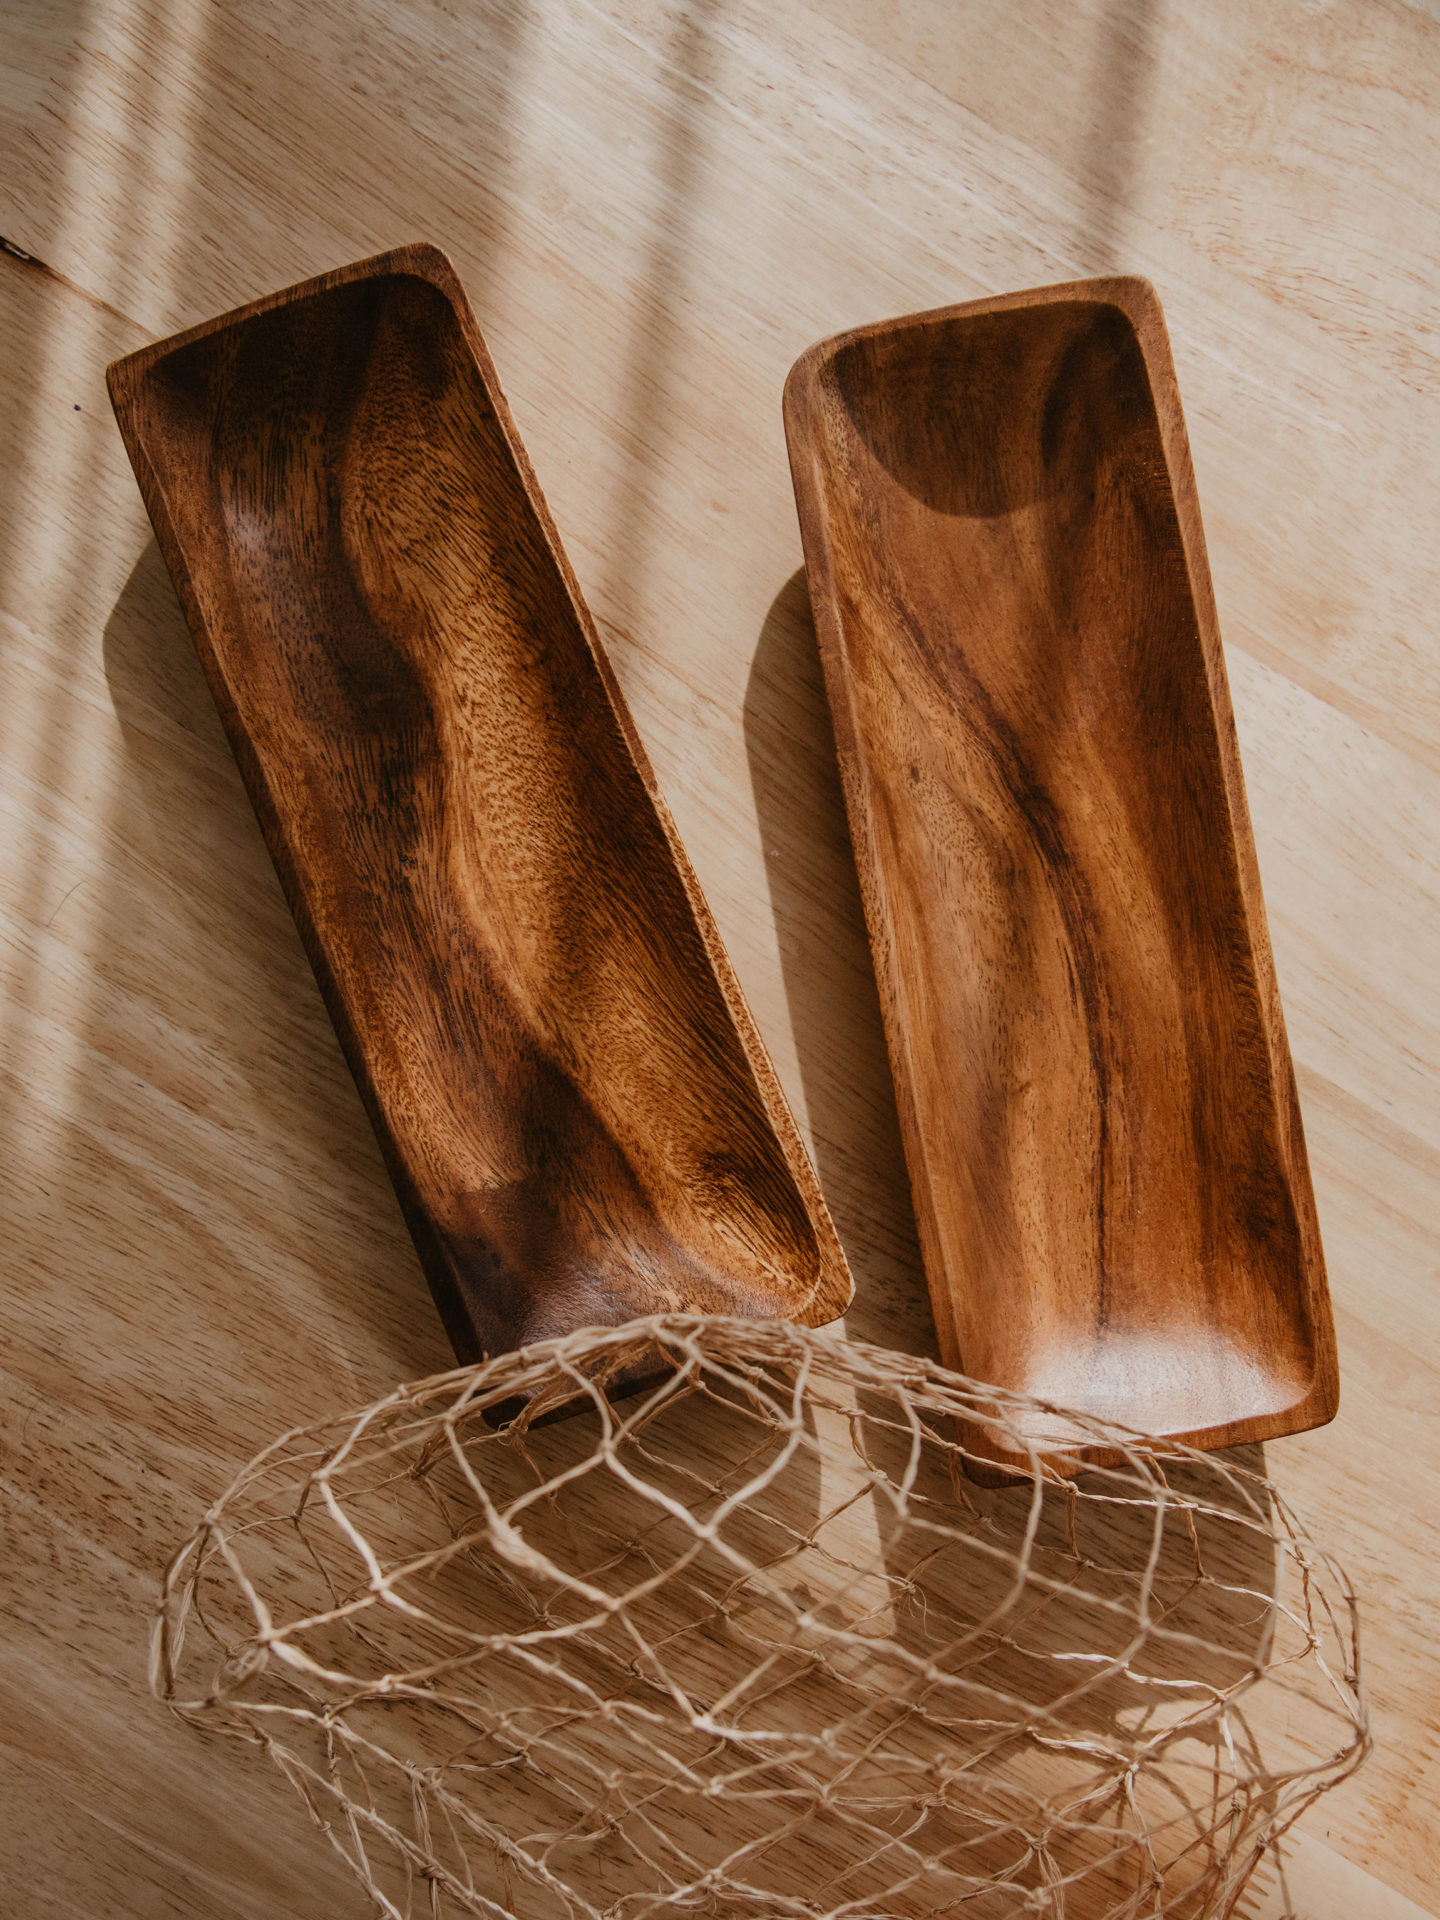
I stumbled across these two hand-carved petite wood bowls from the Philippines.
They were too beautiful to pass up and I knew I wanted to do something special with them. I’ve been seeing dough bowl candles styled in home decor and decided I’d try my hand at my own mini version. I am really happy with how each wood bowl candle turned out – but I also learned a little along the way.
Things You’ll Need:
-
- Wood Bowls (amazon)
- Soy Candle Kit (with fragrance) // (without fragrance)
- Wick Trimmer / Scissors
- Skewers
- Fragrance Oil (optional) | fun fragrances here, here, and here
- Heat Gun (optional)
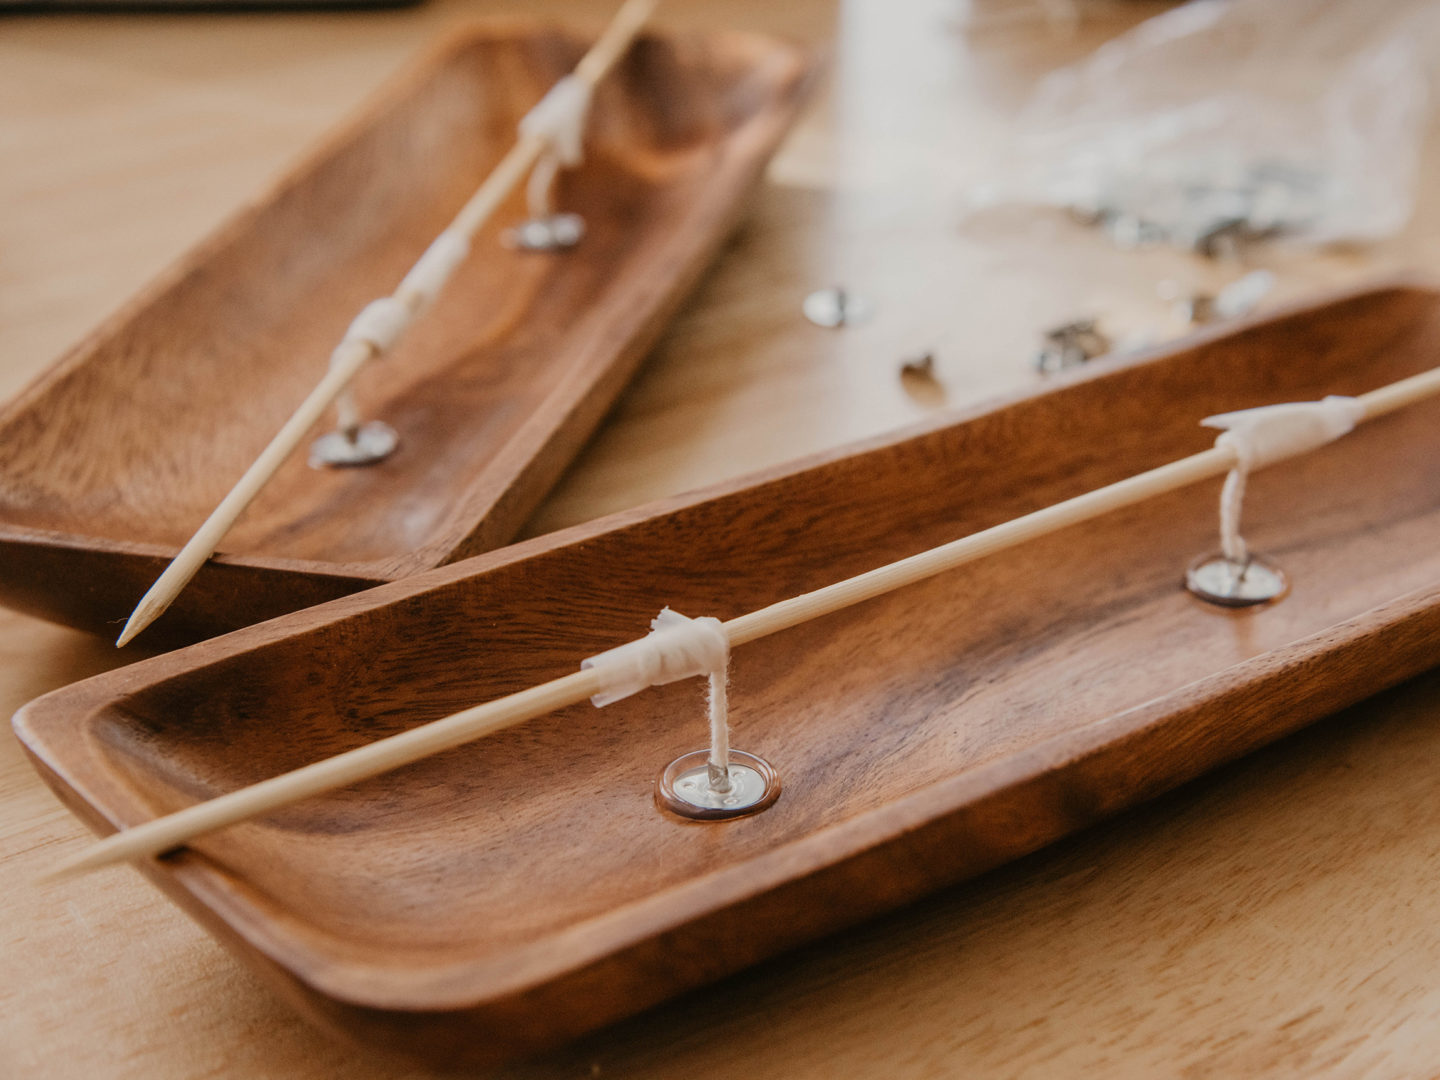
Add Wicks
Start by gluing two wicks down into both bowls. I wasn’t sure if I wanted to add two or three wicks, but these candles are meant to be decorative, so I only added two. Next, wrap the excess wick around a skewer and tape it to prevent it from falling into the wax.
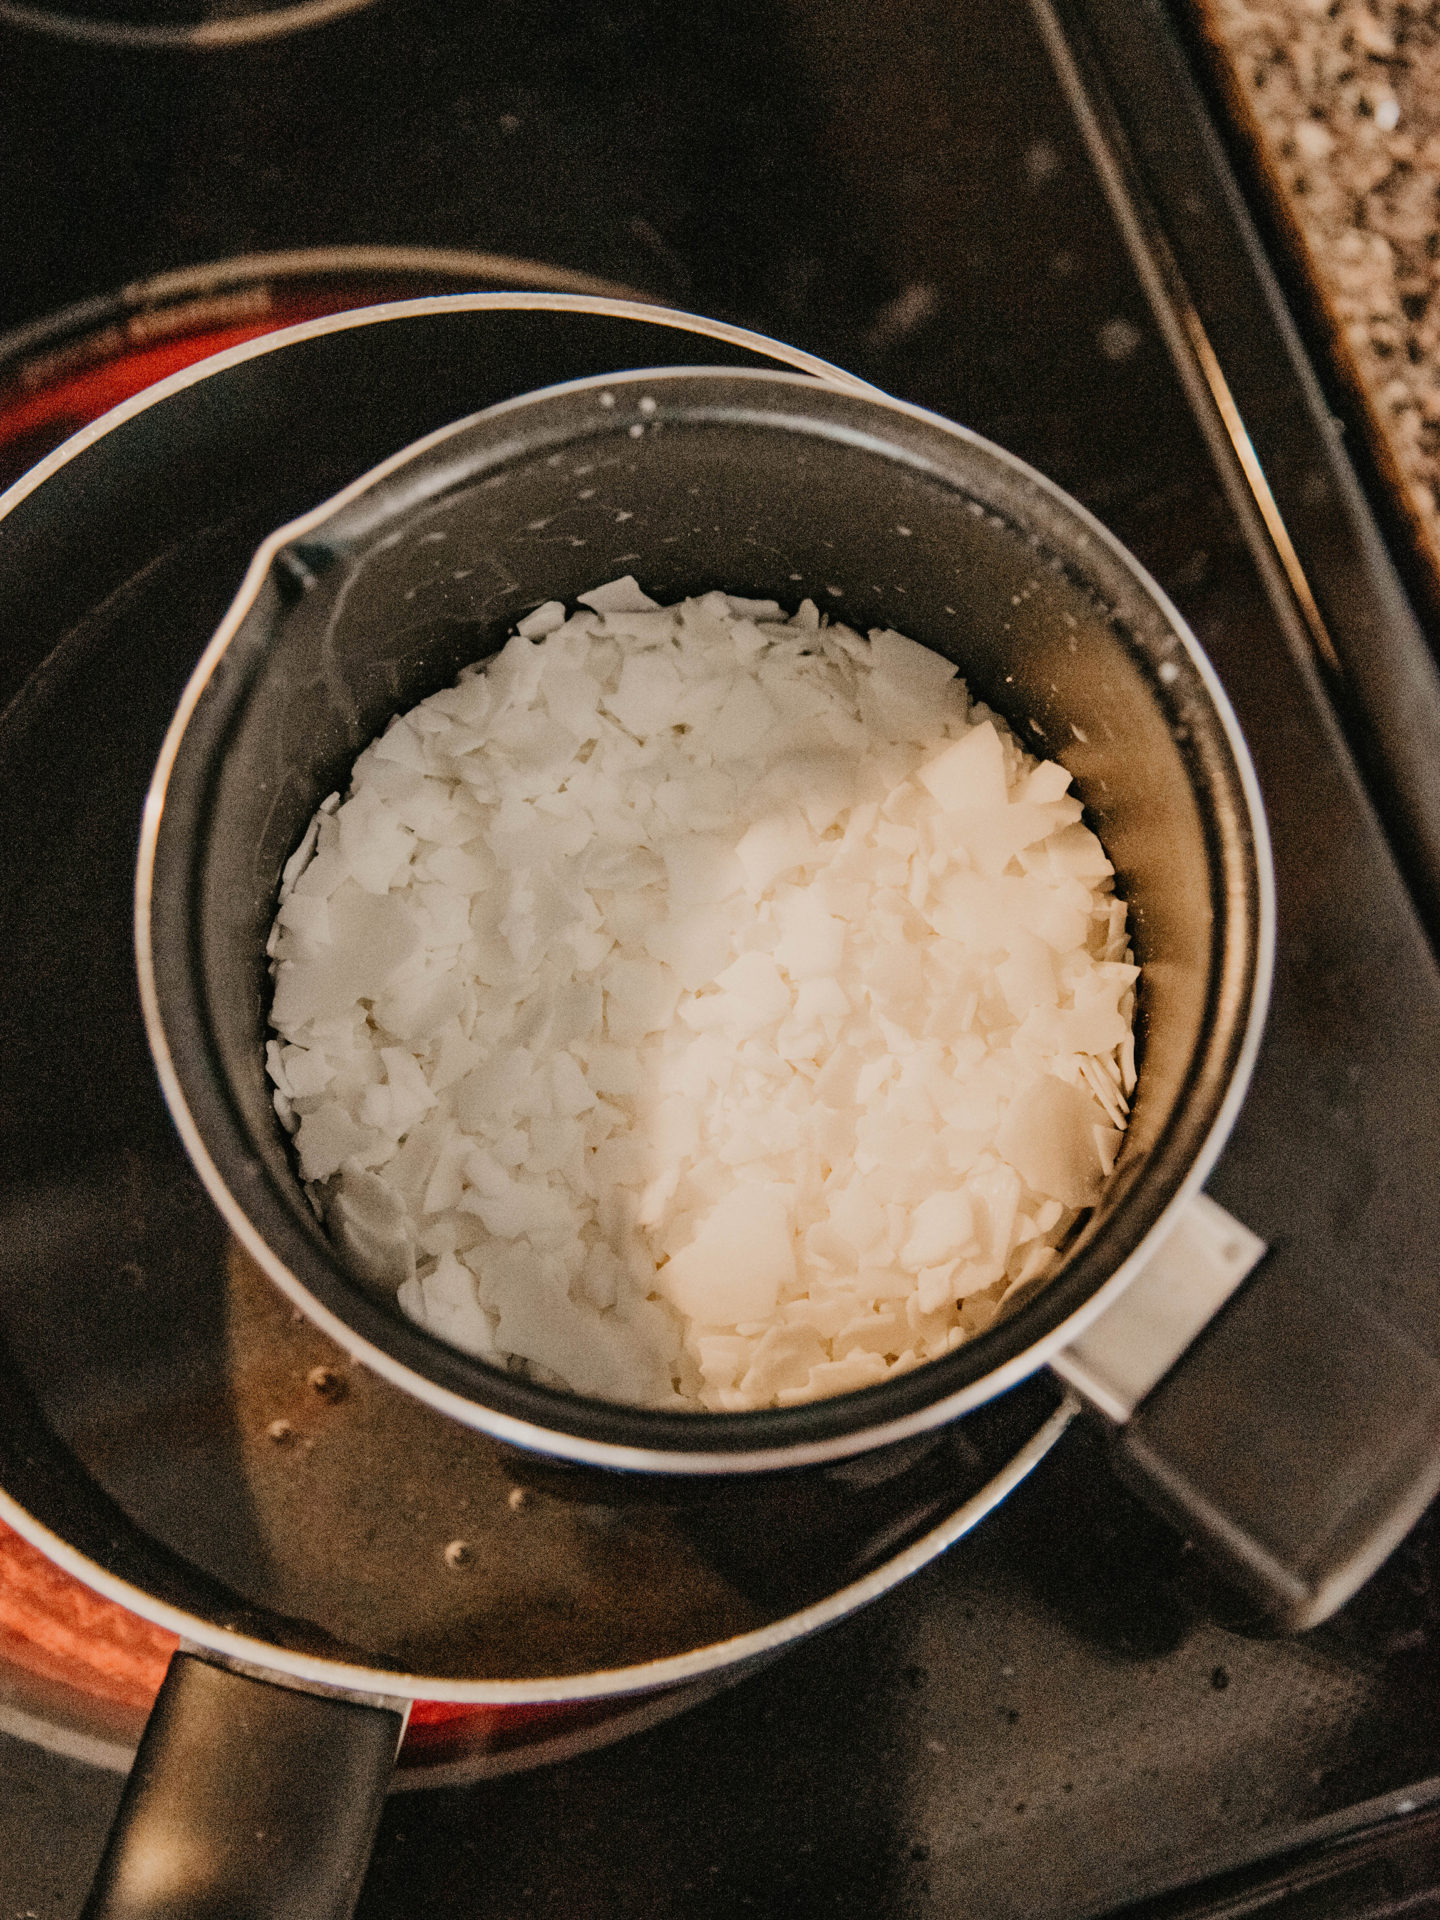
Melt Wax, Pour + Cool
Next, I melt your wax. You’ll want to make sure you melt enough wax to fill your bowl. Keep in mind that solid wax and melted wax are not going to weigh the same so it’s better to melt extra and have some left over.
If you want to add scents, this is the step to do it. Once the wax is melted, remove it from the heat. I usually wait until the wax has cooled a bit before adding in my fragrance oil. This helps prevent the oil from evaporating and the scent disappearing from the candle. You can also pour the wax into the bowl, then add your fragrance oil. That way, any remaining wax can remain pure in case you want to make another candle with a different scent. If you chose to add your oil into the bowl, make sure you use a skewer and mix it thoroughly.
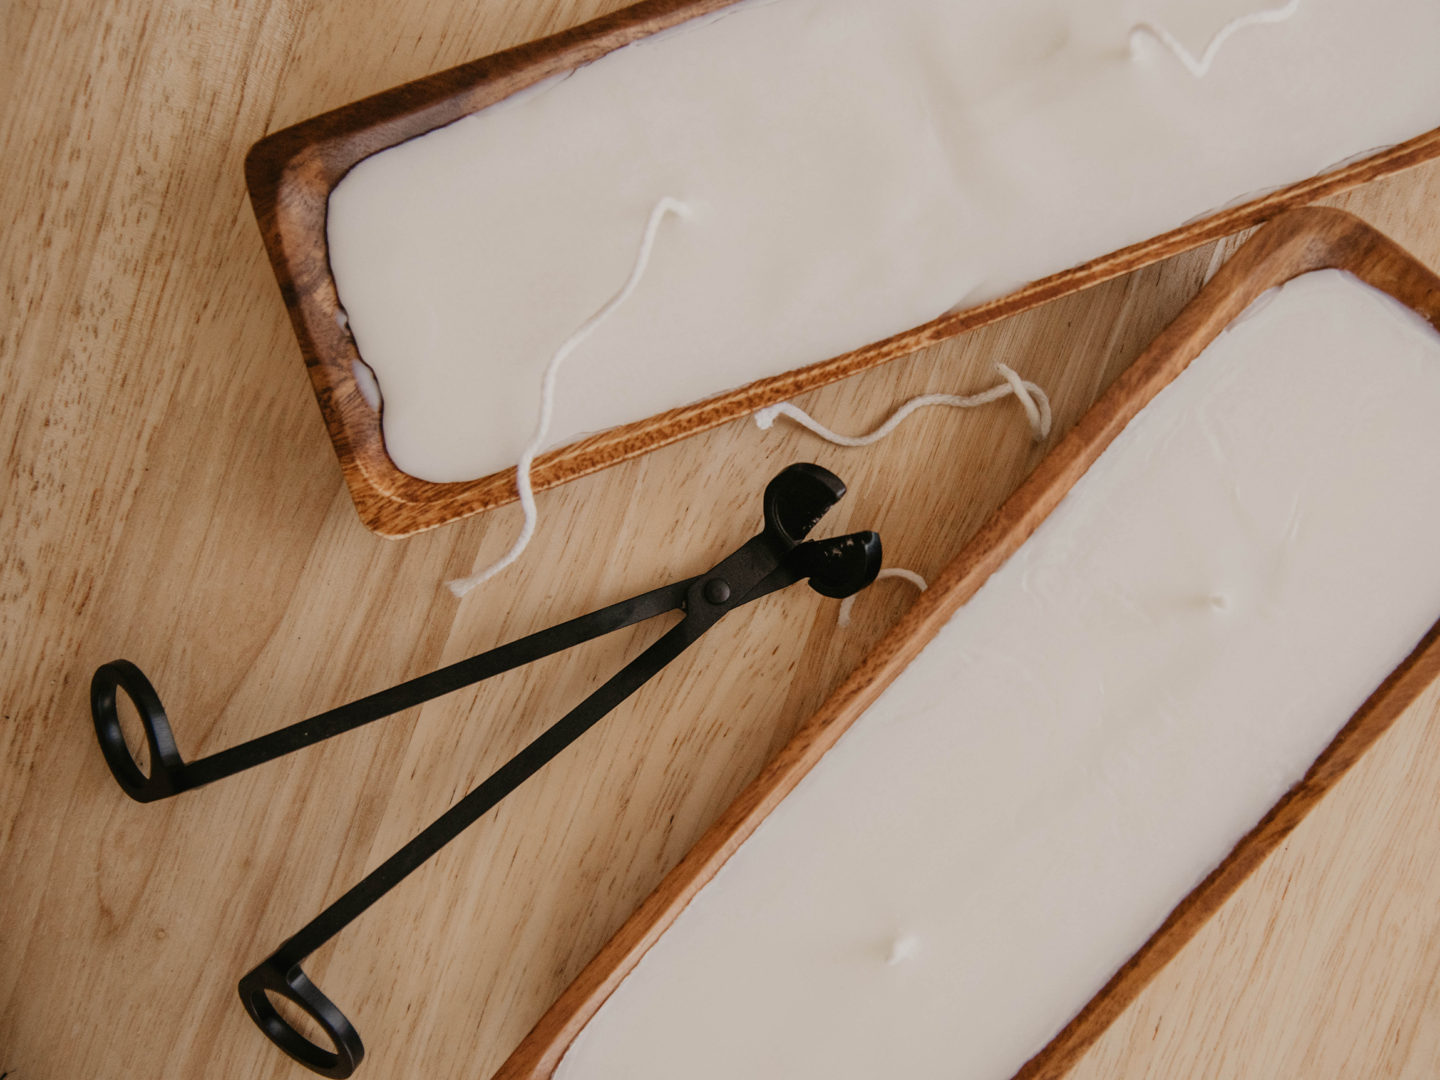
Trim the wick
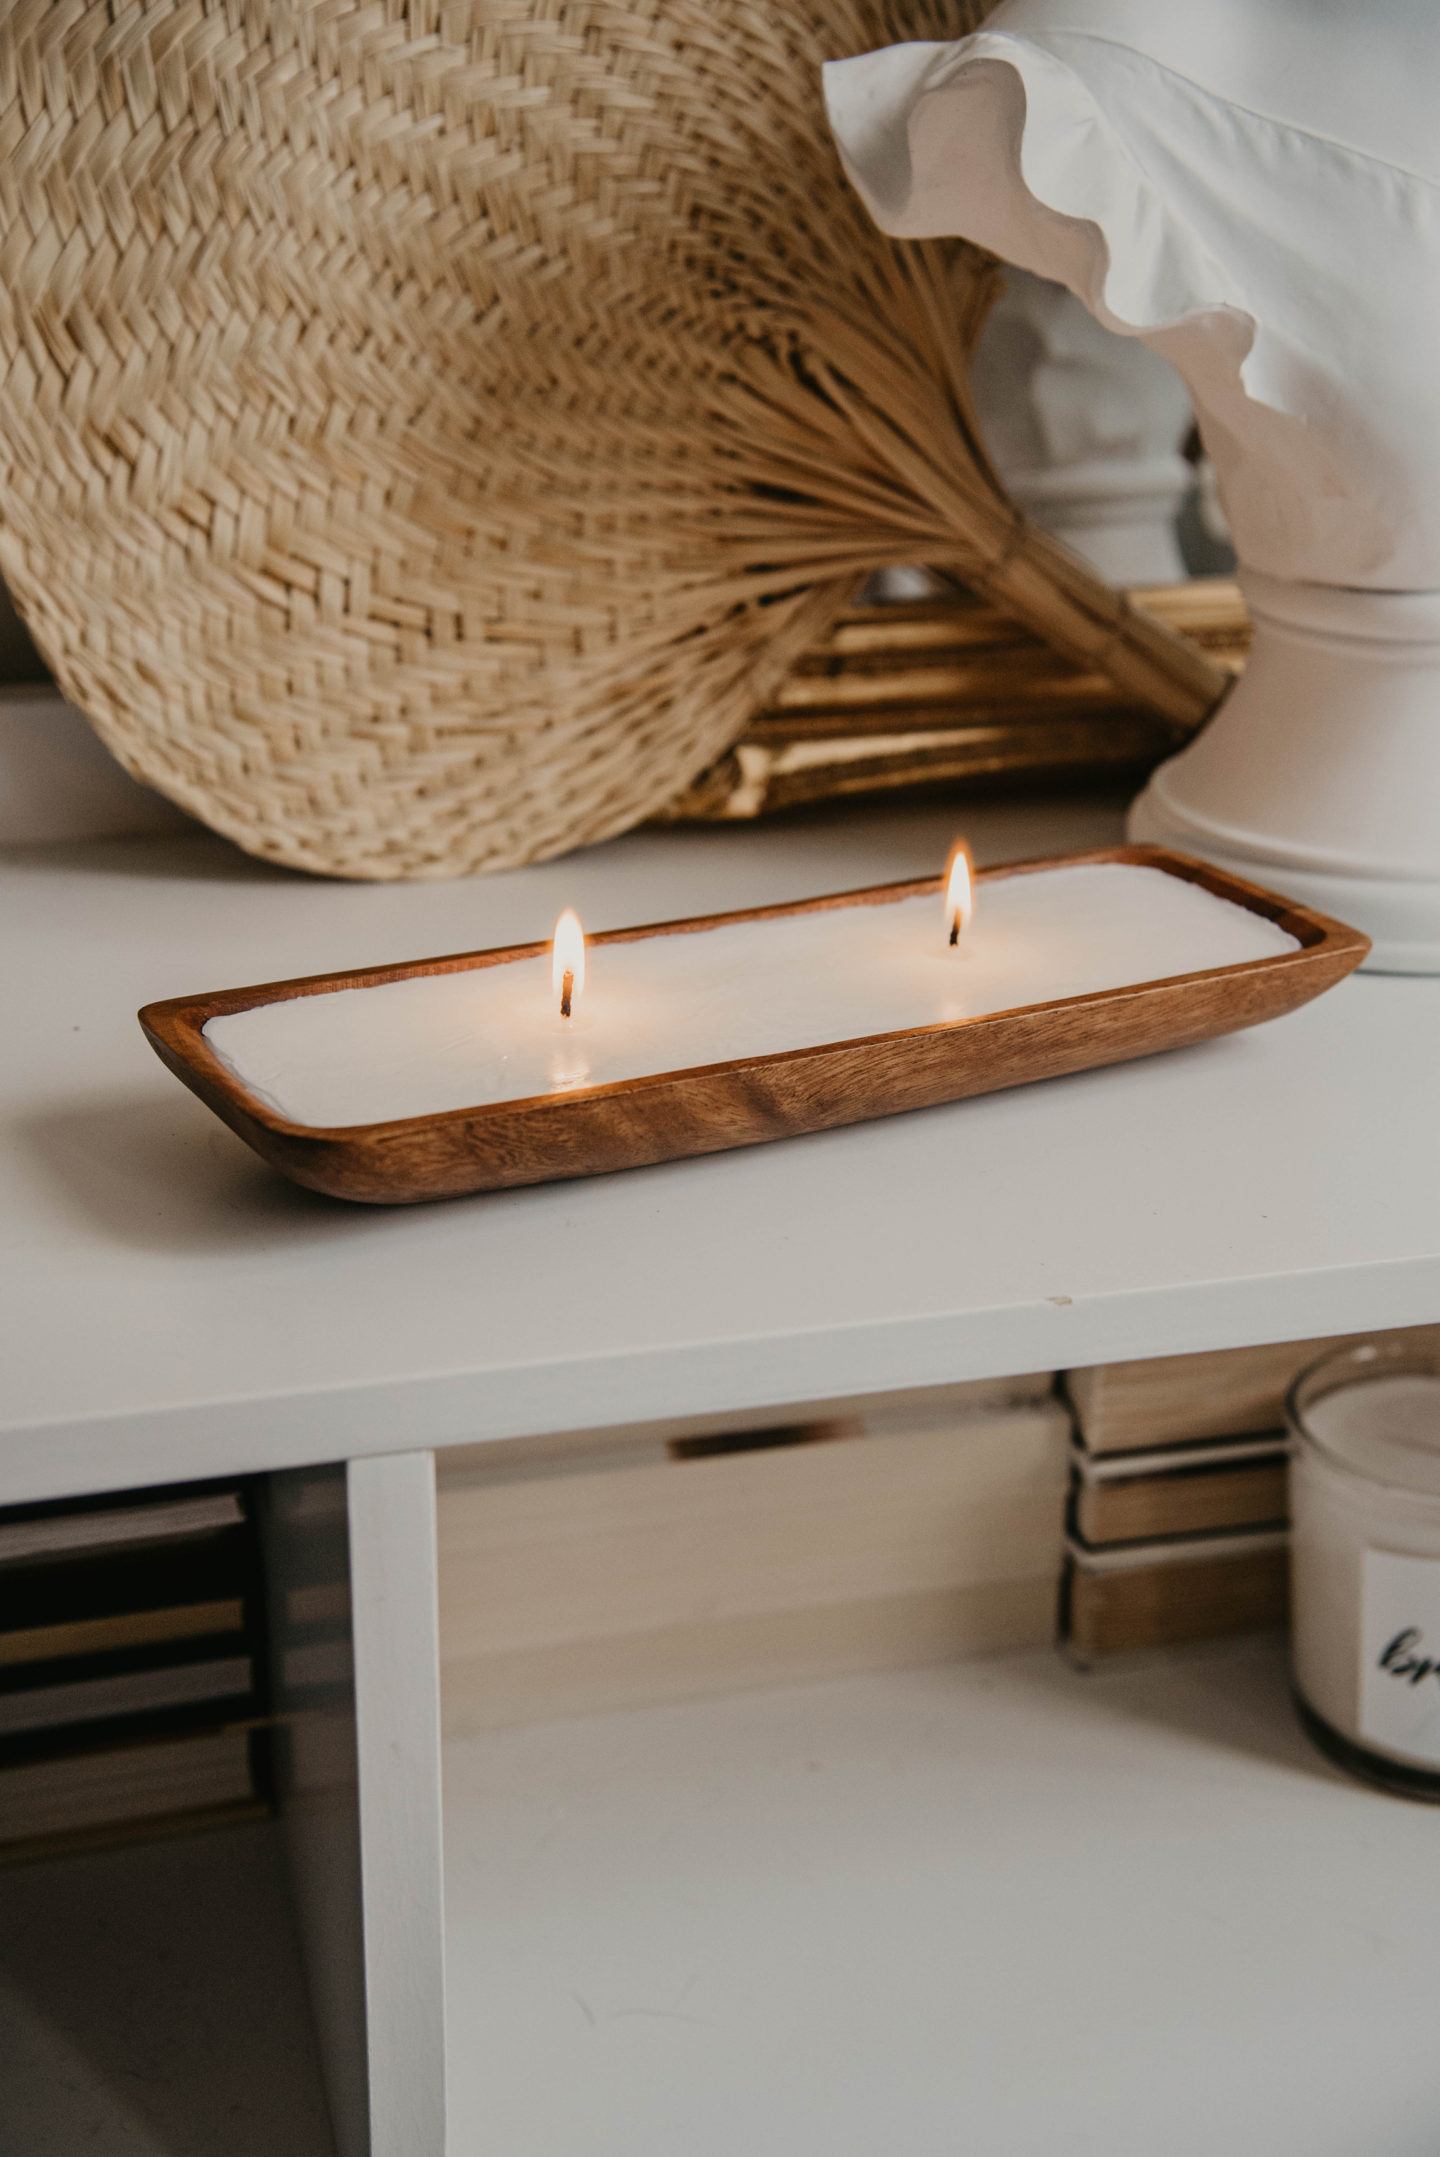
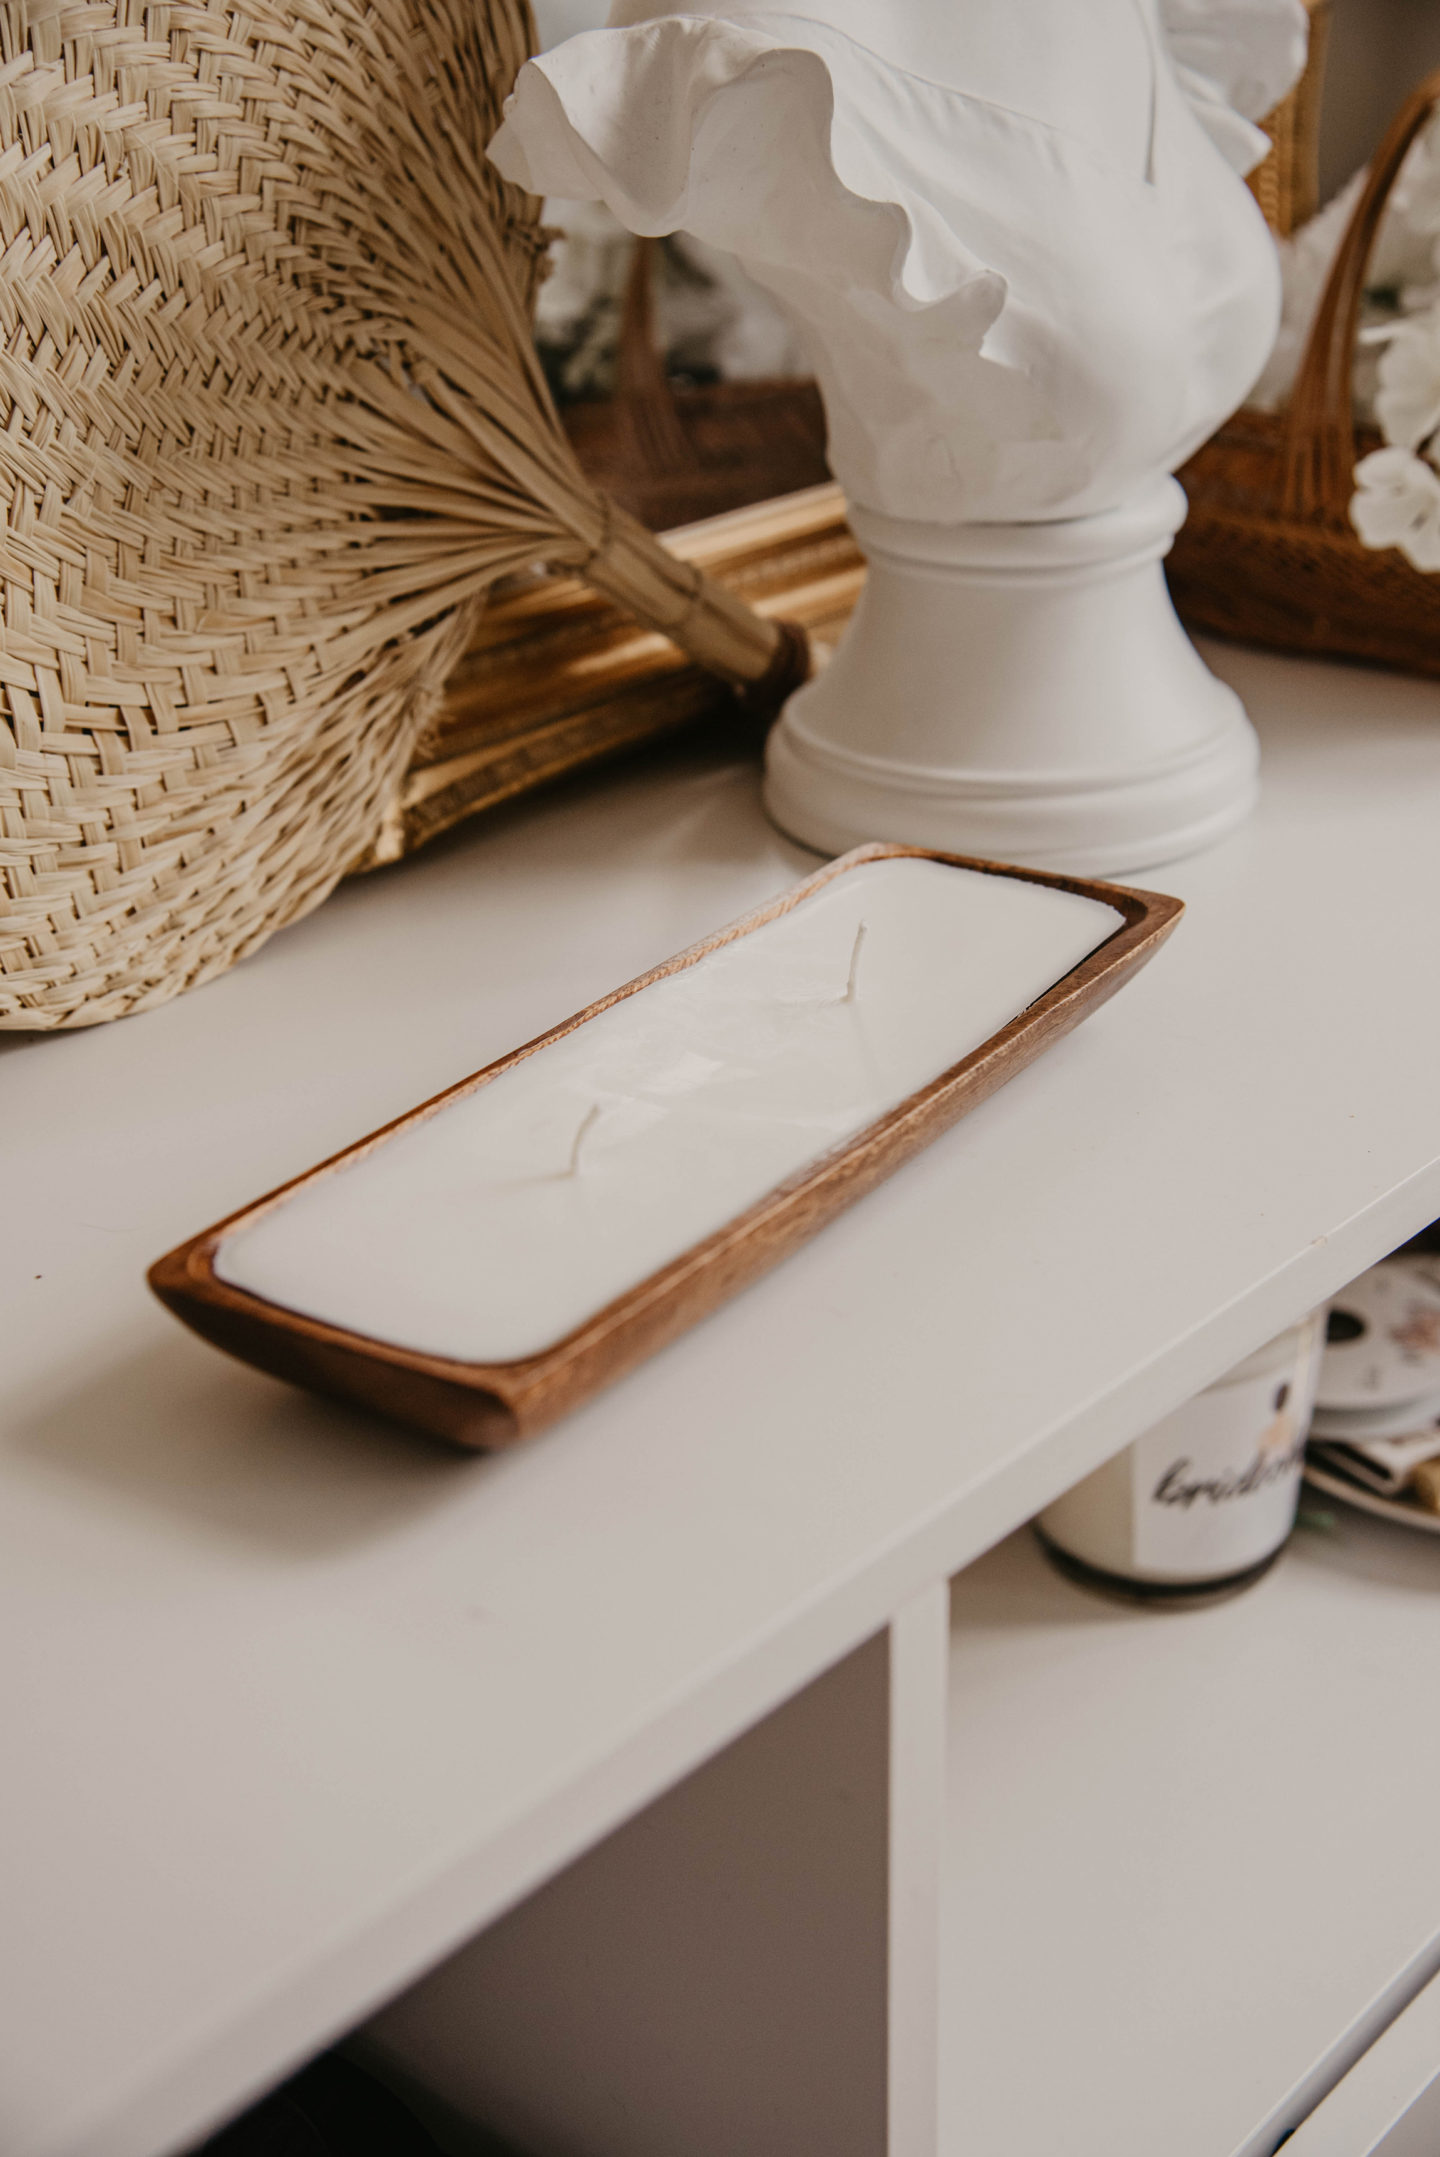
Using a wick trimmer, cut off the excess wick. Wax tends to pull away from whatever votive it’s in once it’s cooled off. Use a heat gun, to repair any surface cracks but don’t sweat it if you see some minor splits. Soy wax is known to ‘frost’ and pull away on the edges – it’s completely natural.
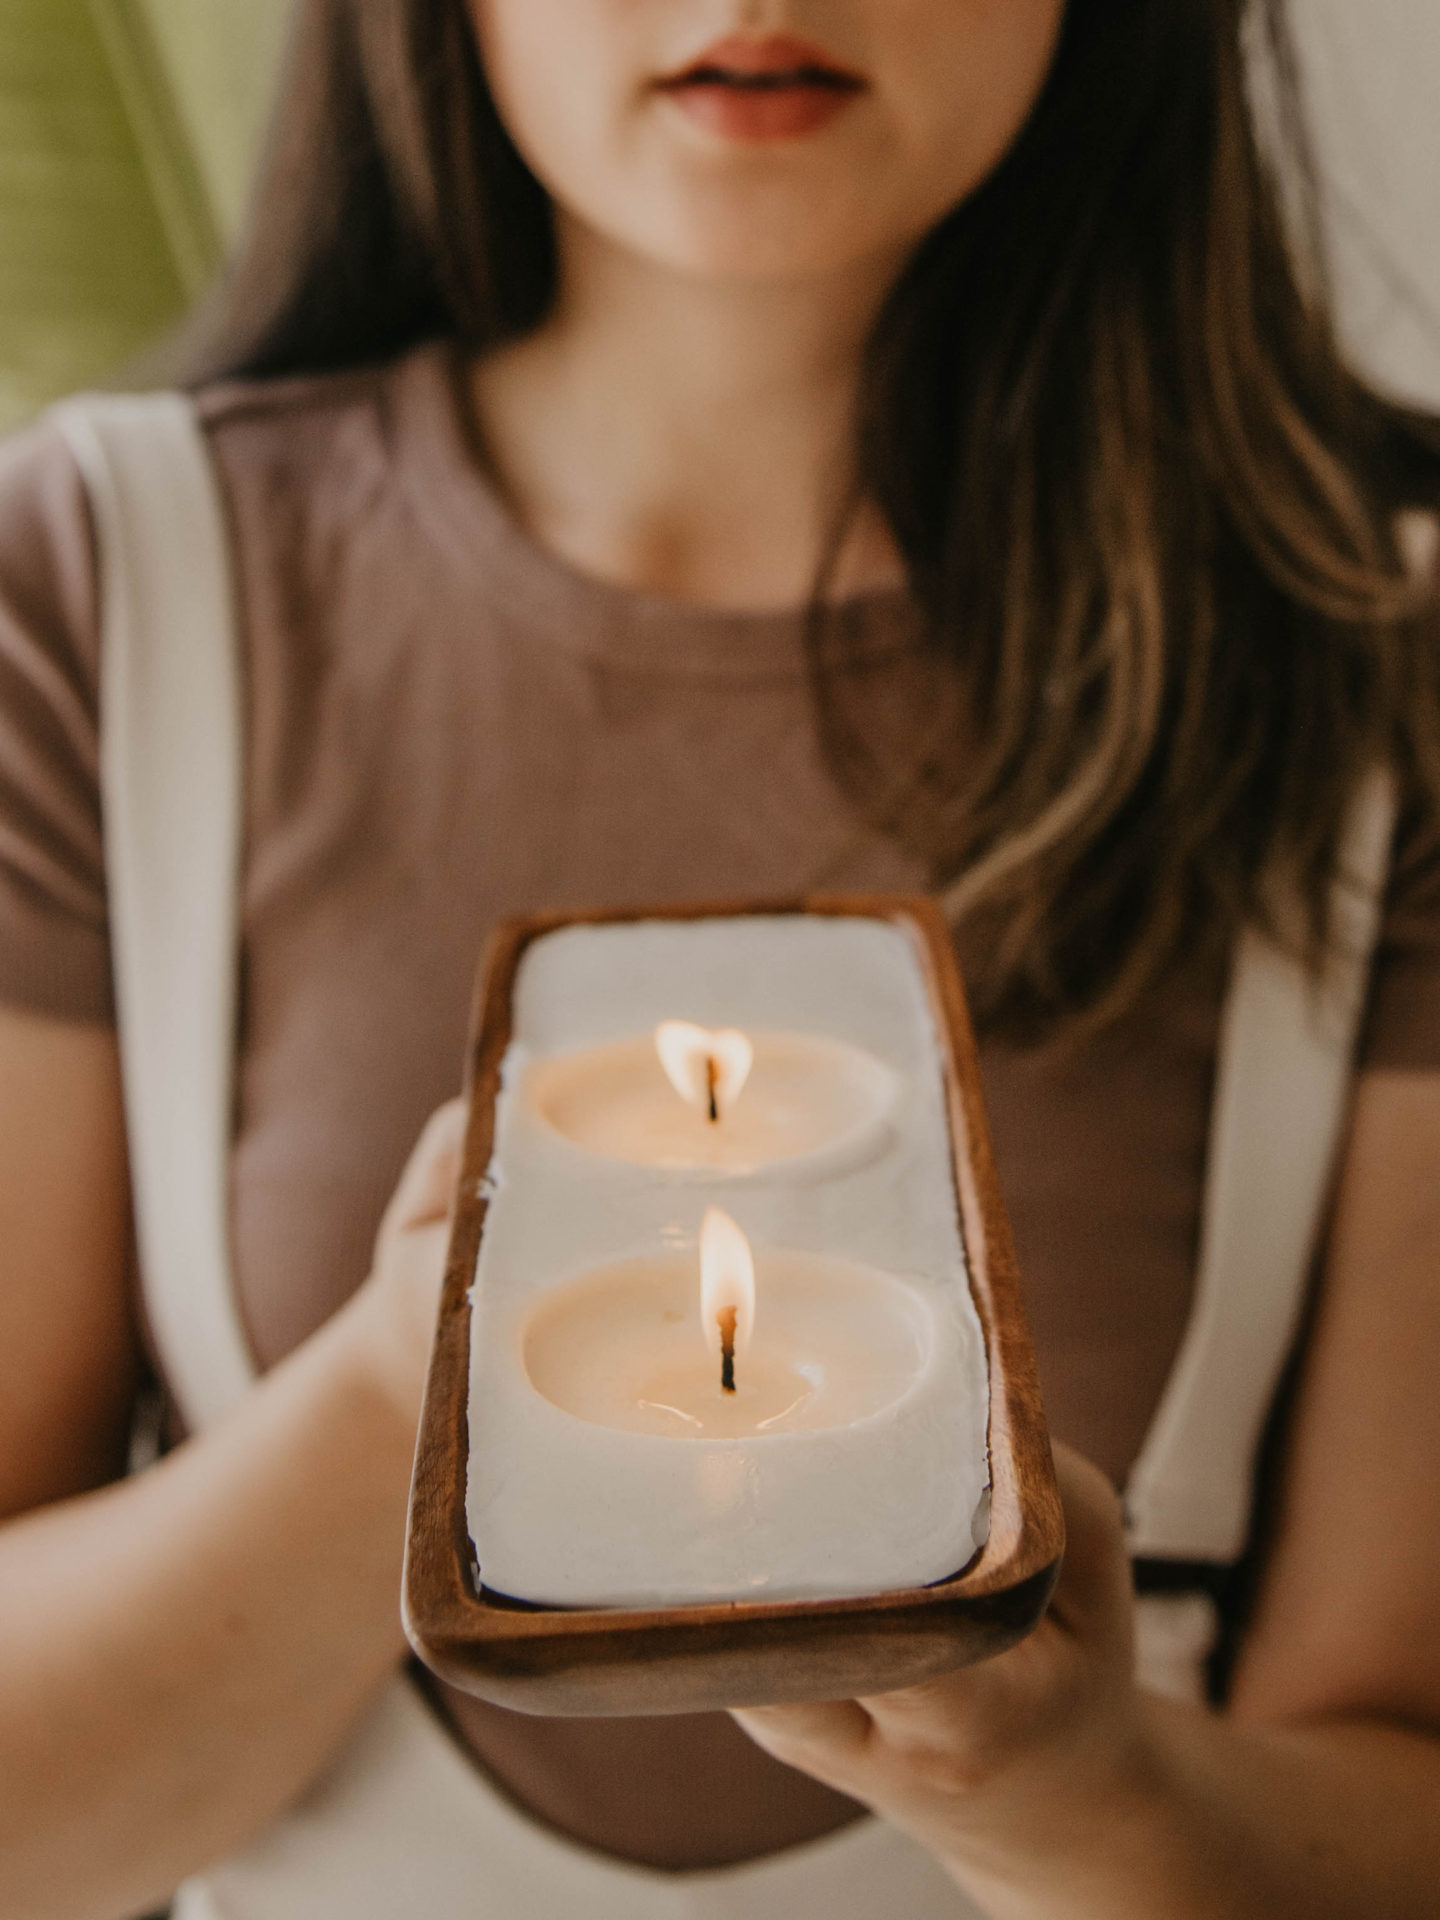
There is one thing I would do differently next time. Because I intended to use this candle as decor, I did not add enough wicks. For the purposes of this blog, I chose to burn one and you can see that it did not burn evenly, creating rings around the cotton wicks. If you plan to use these as pure decor, I would recommend not burning them. But if you want this wood bowl candle to be burned, definitely think about adding more wicks!
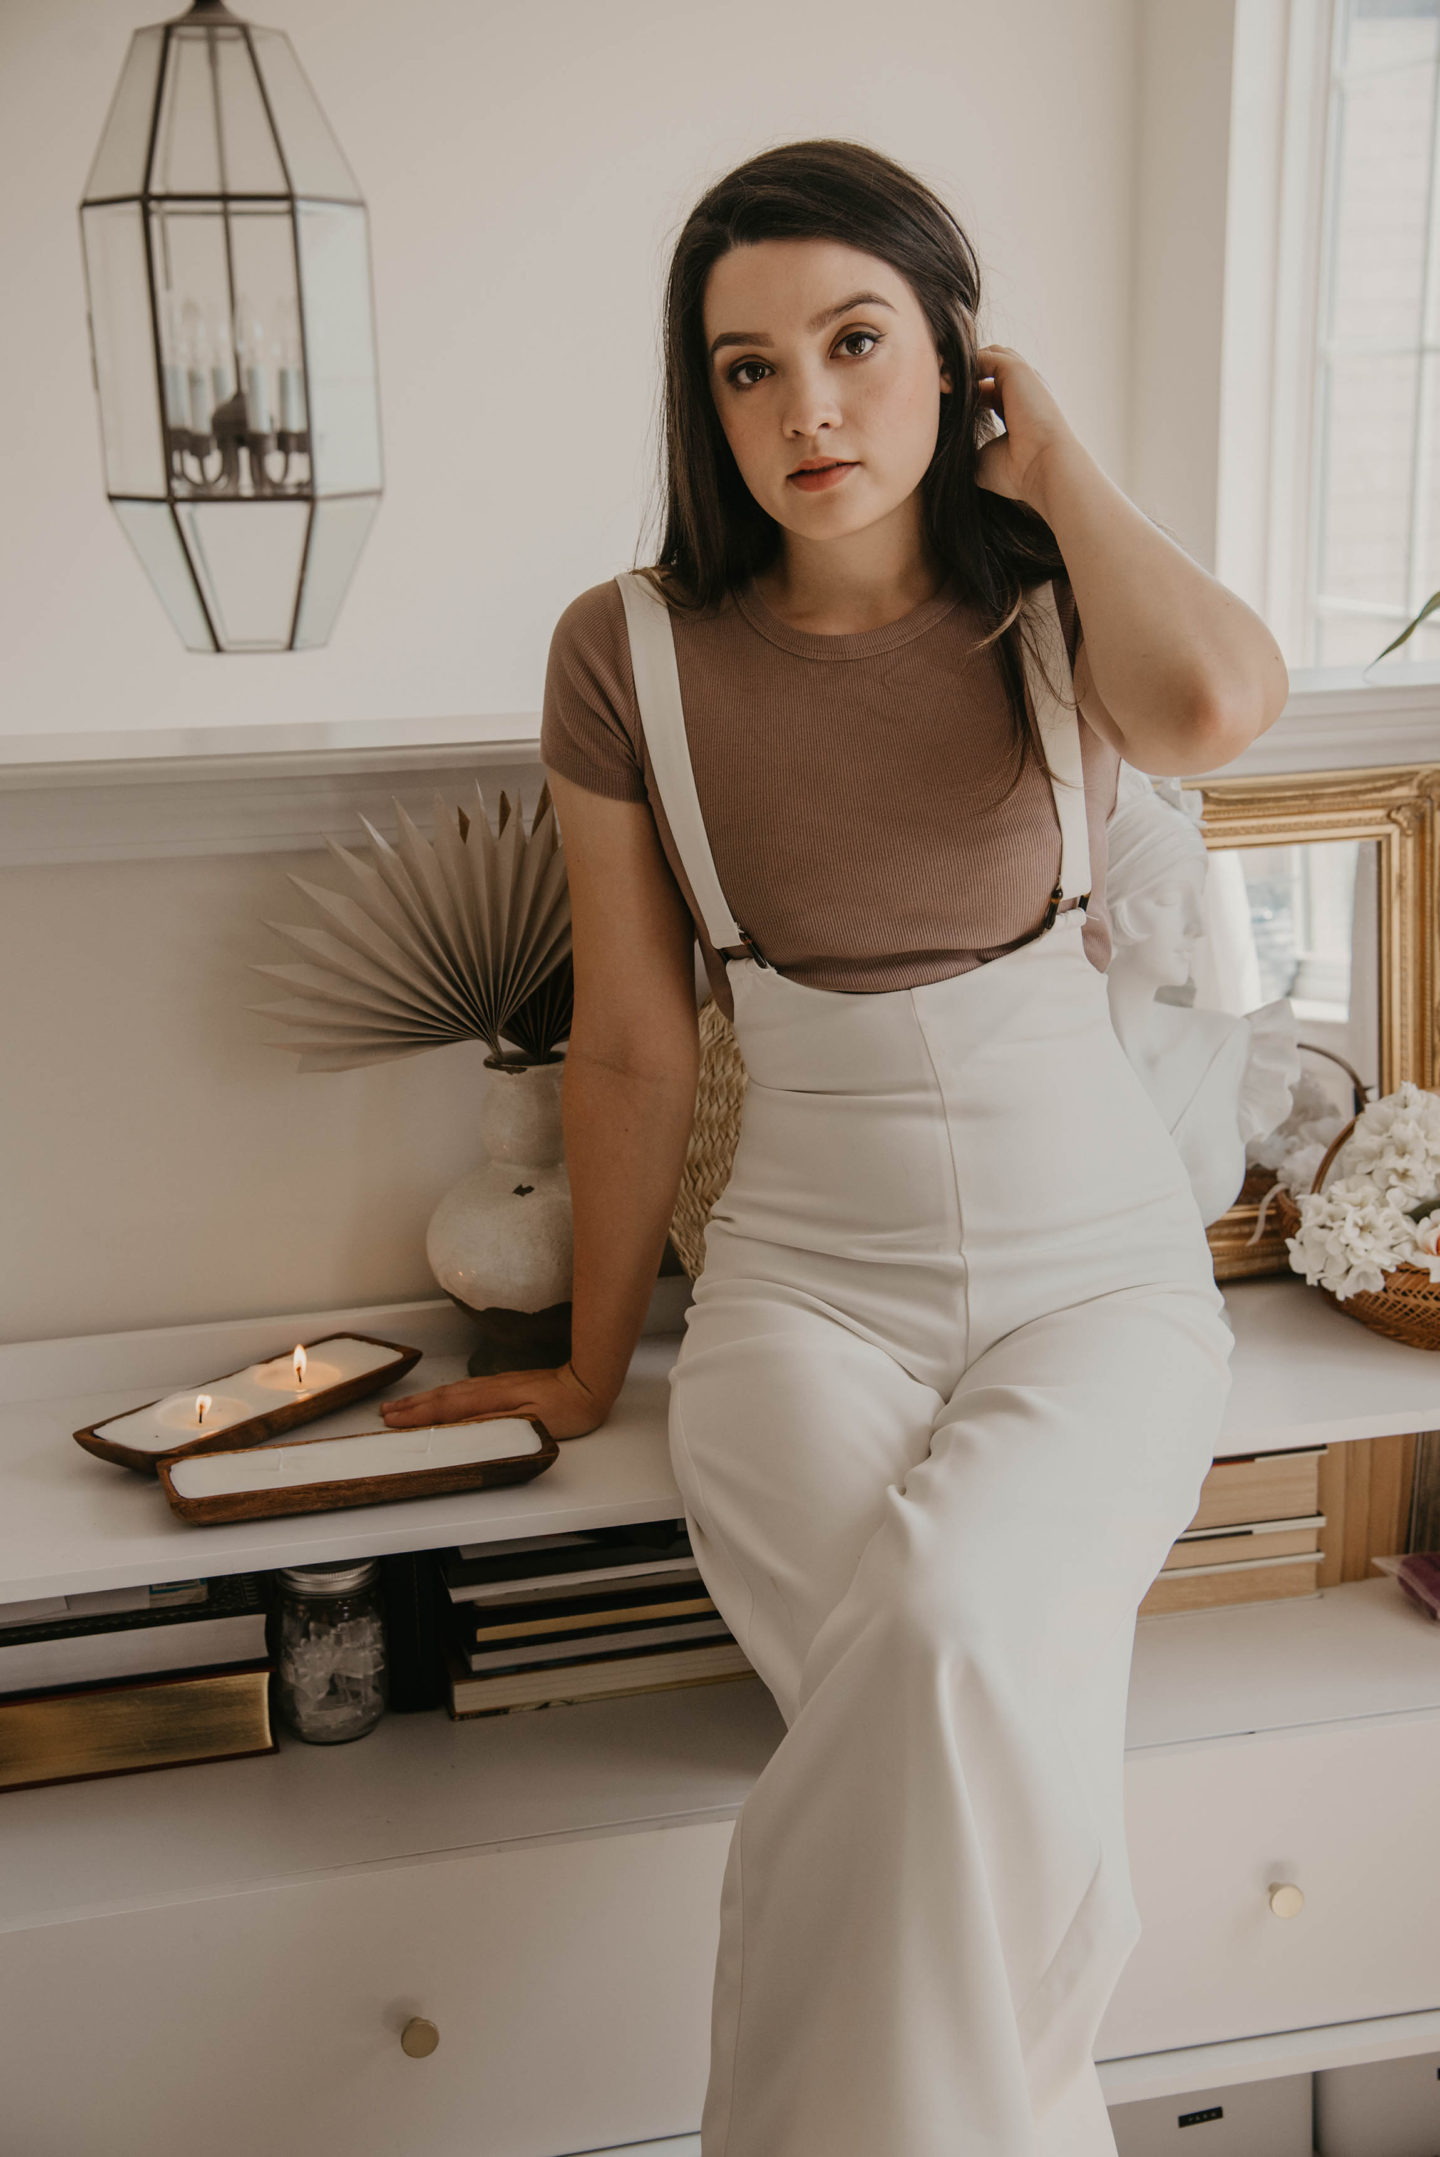
I love how this wood bowl candle turned out. I think it would look great in every home. This piece is versatile and would match well with almost every home decor style. If you love the look of the ones I’ve made, I am selling the one on my Etsy store.!
What do you think of this wood bowl candle?
![]()
Candle Care + Warnings: If you do decide to burn these, place it on a heat-resistance pad or table because the bowl will likely heat up as the candle continues to burn. Always trim your wick to 1/8” – 1/4″ inch each time before you light your candle. This prevents the flame from getting too big & keeps your candle burning at its best! Never leave your burning candle unattended. Keep lit candles away from drafts, ceiling fans & any air currents to avoid accidental fires from sparks. Make sure it is sitting on a flat surface to ensure an even burn. Do not place your burning candle near curtains, books, clothing, or anything that may be flammable. Keep your candle out of reach of pets & infants. For Decorative Use: Do not leave it under direct heat or sunlight since it might lose its shape and melt.