I think we’ve all reached the ‘Grow Your Own Veggies’ stage of quarantine.
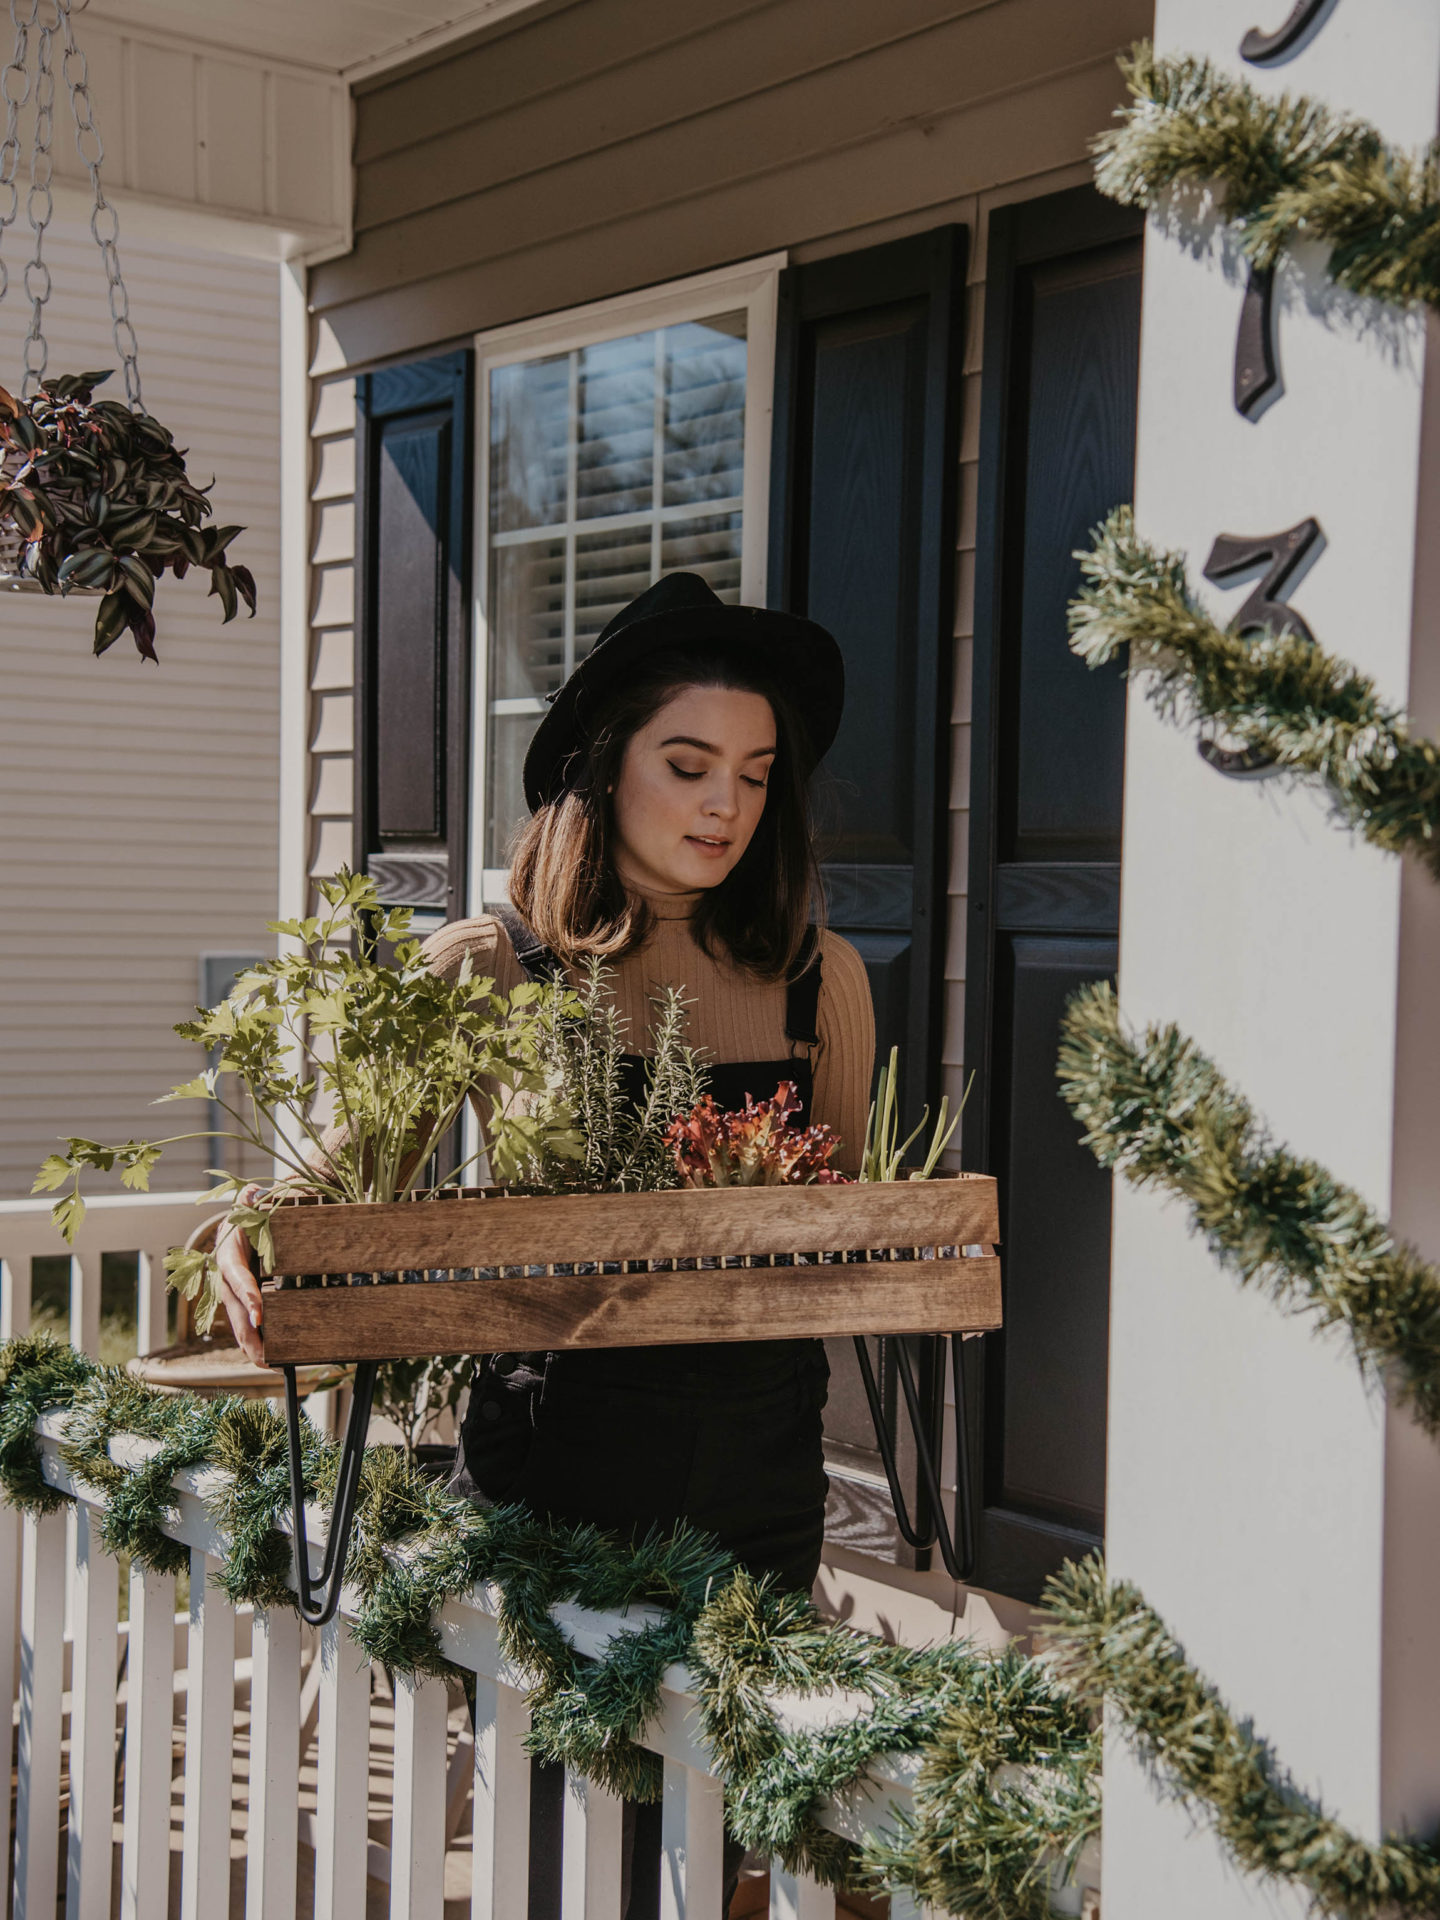
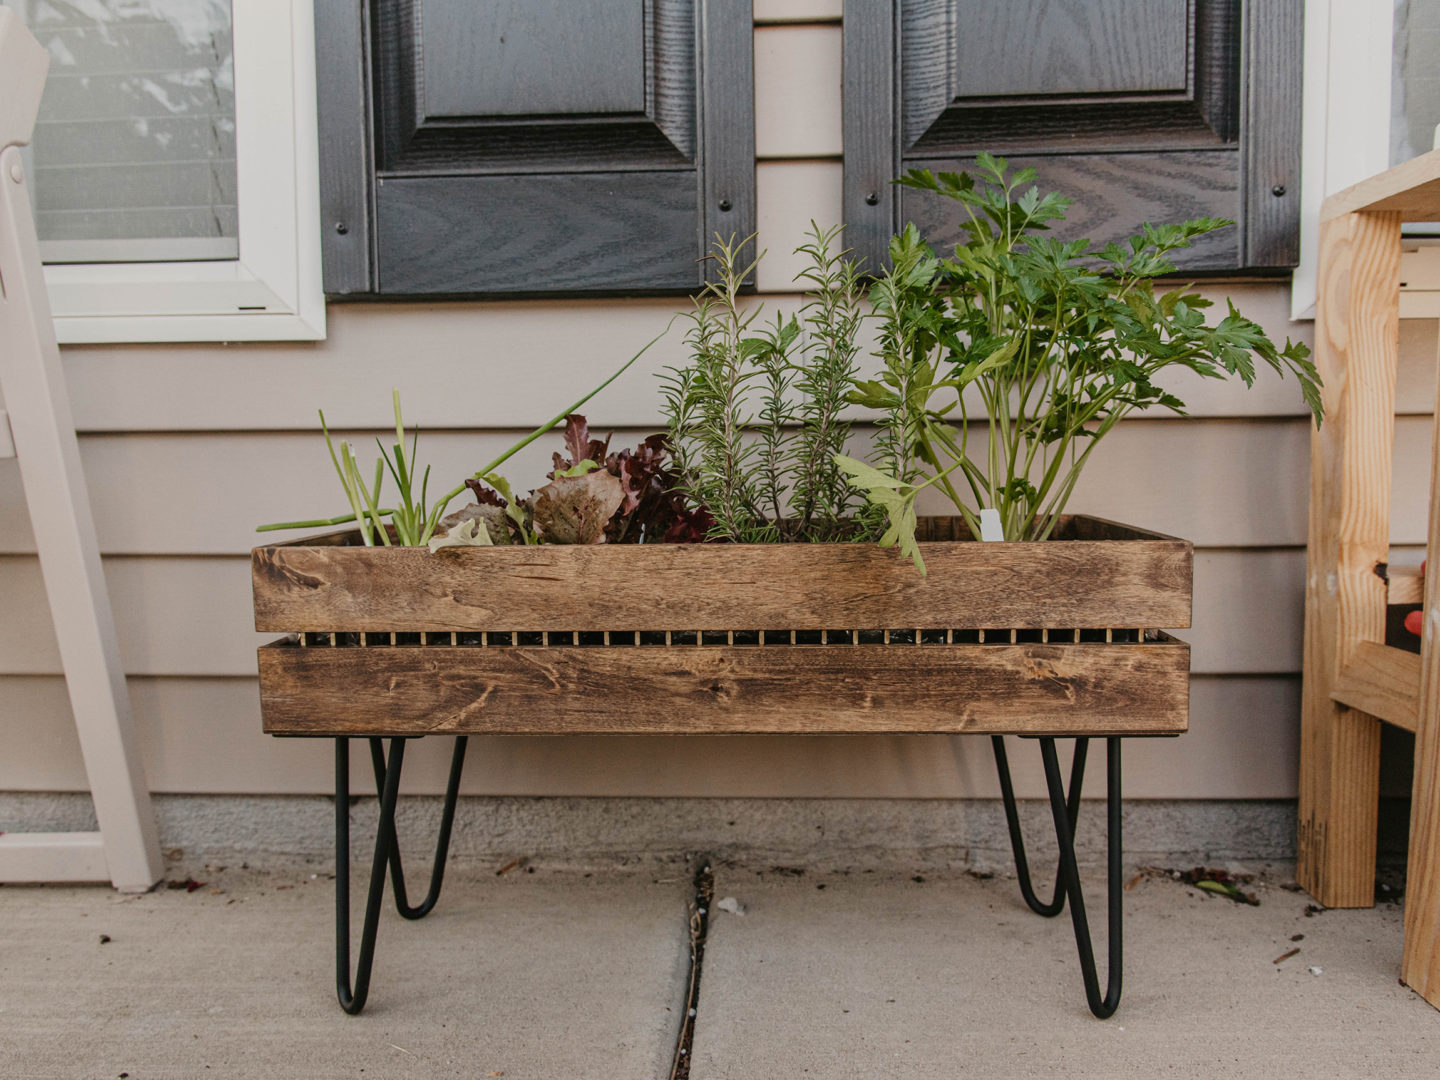
I’ve been growing a few veggies inside my house but I’m running out of plant space– Plus, I want to expand my garden. Back in May, I found this IKEA CD holder at Goodwill I knew I wanted to turn it into a mini vegetable garden. But I spent forever obsessing over what type of furniture legs to buy. Finally, months later, I settled on metal hairpin legs.
This IKEA hack is perfect for covered patio/porch gardens and indoor gardens but I would not recommend leaving it exposed to the elements. You may find yourself with a moldy or rotten box…eek! I planned to keep the vegetable garden on my covered porch to protect it from the elements while providing my veggies with full sun. Now that the days are officially shorter, my little veggies need all the sun they can get.
Things You’ll Need:
-
- Boalt CD Storage (No longer sold on IKEA’s website)
- Dollar Store Clear Shower Curtain
- Special Walnut Interior Stain
- 8-inch Hairpin Table Legs
- E6000 Glue
- Metallic Gold Acrylic Paint Pen
- Hot Glue & Glue Gun
- Drill & 3/8 Drill Bit
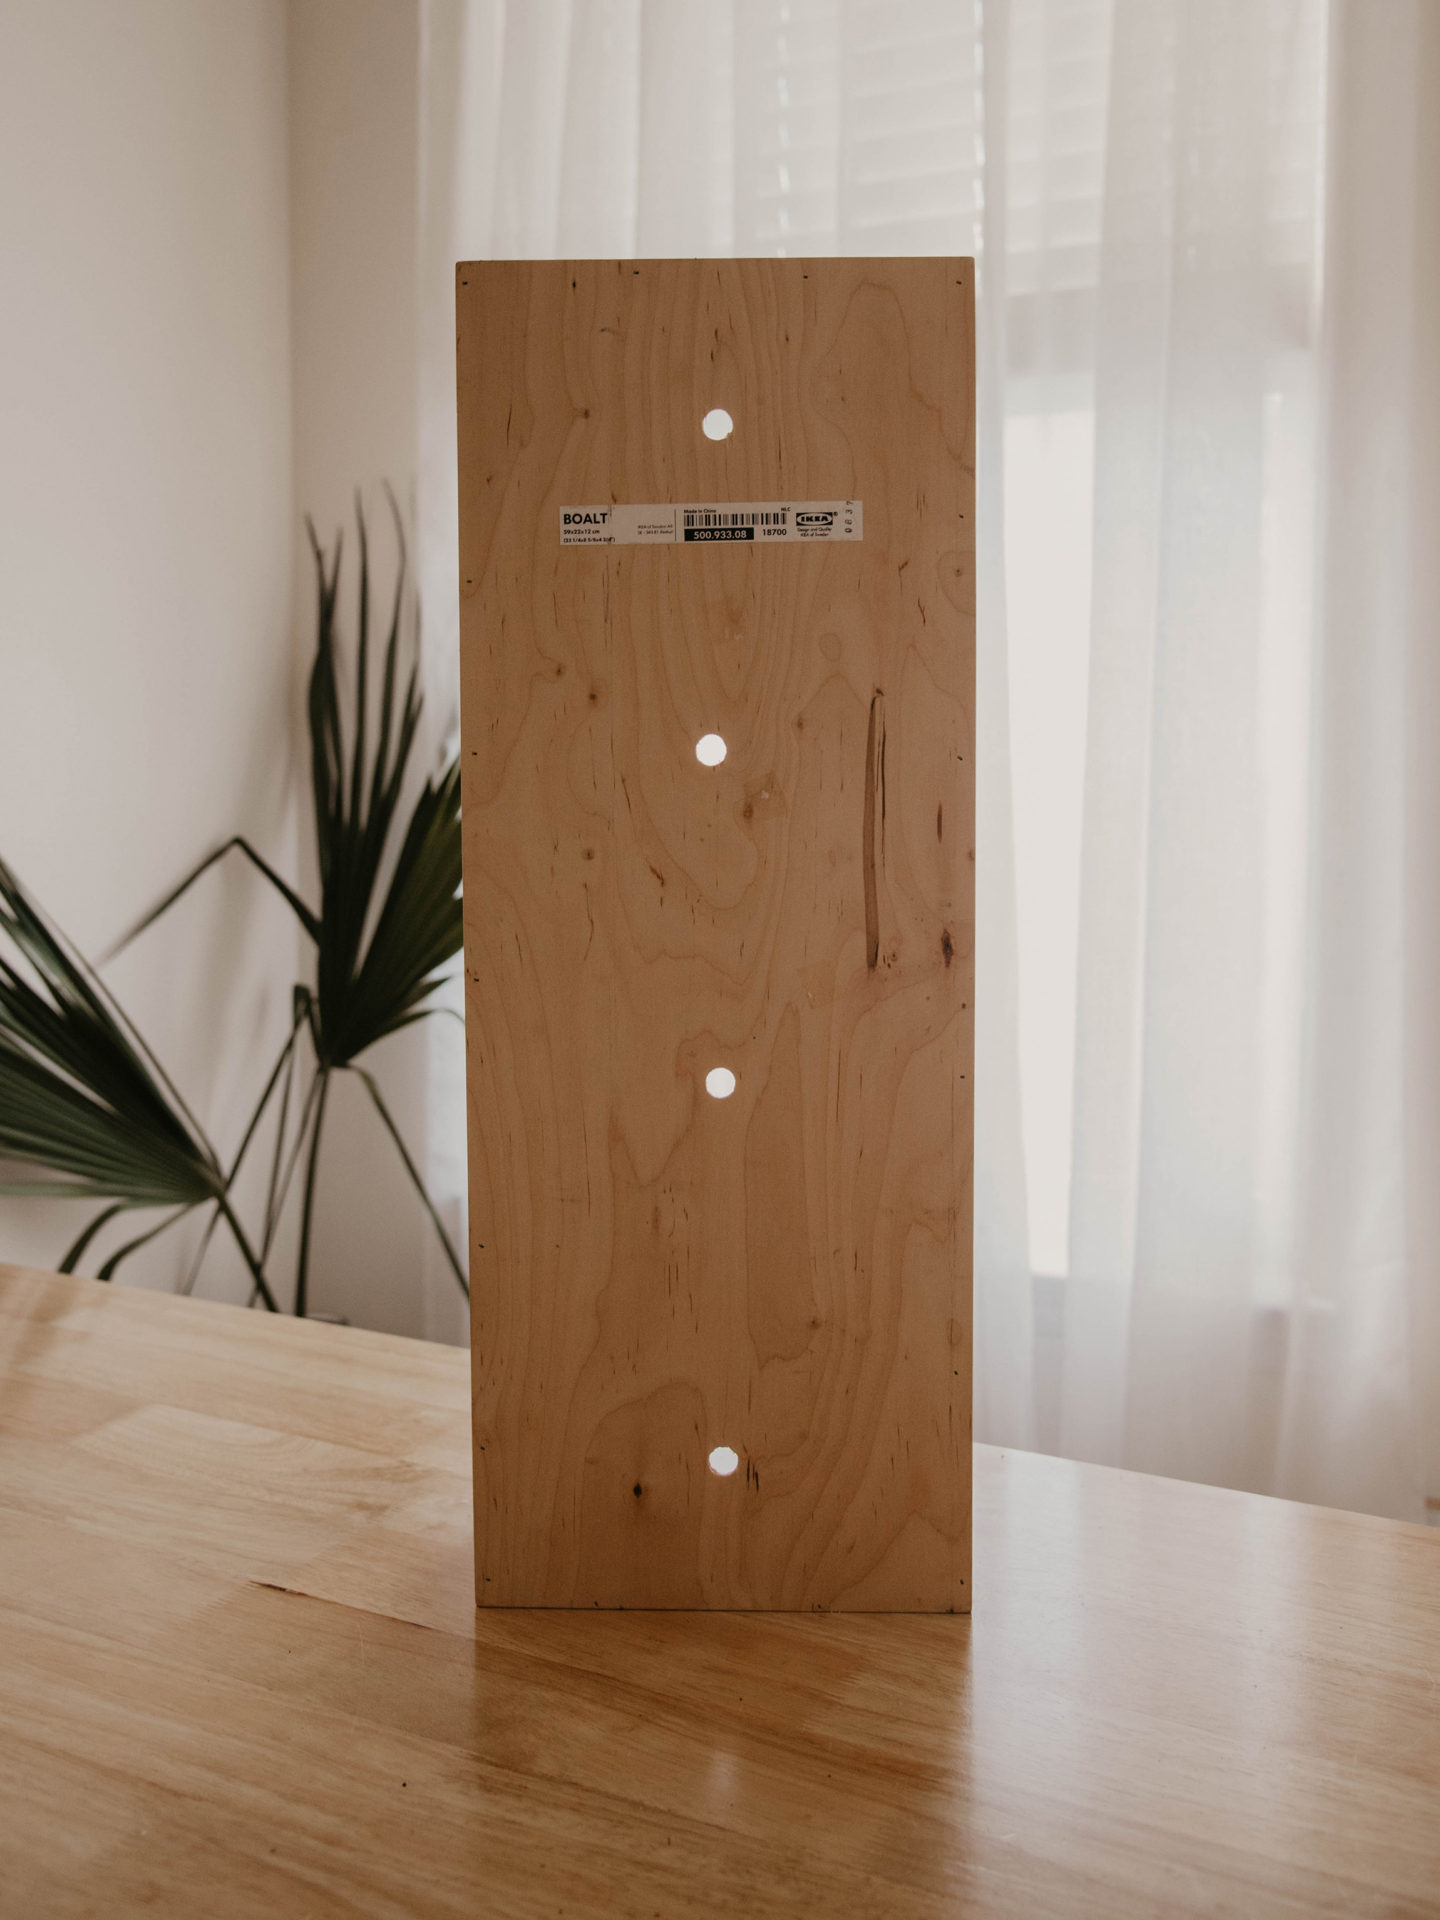
(Optional) Drill Holes
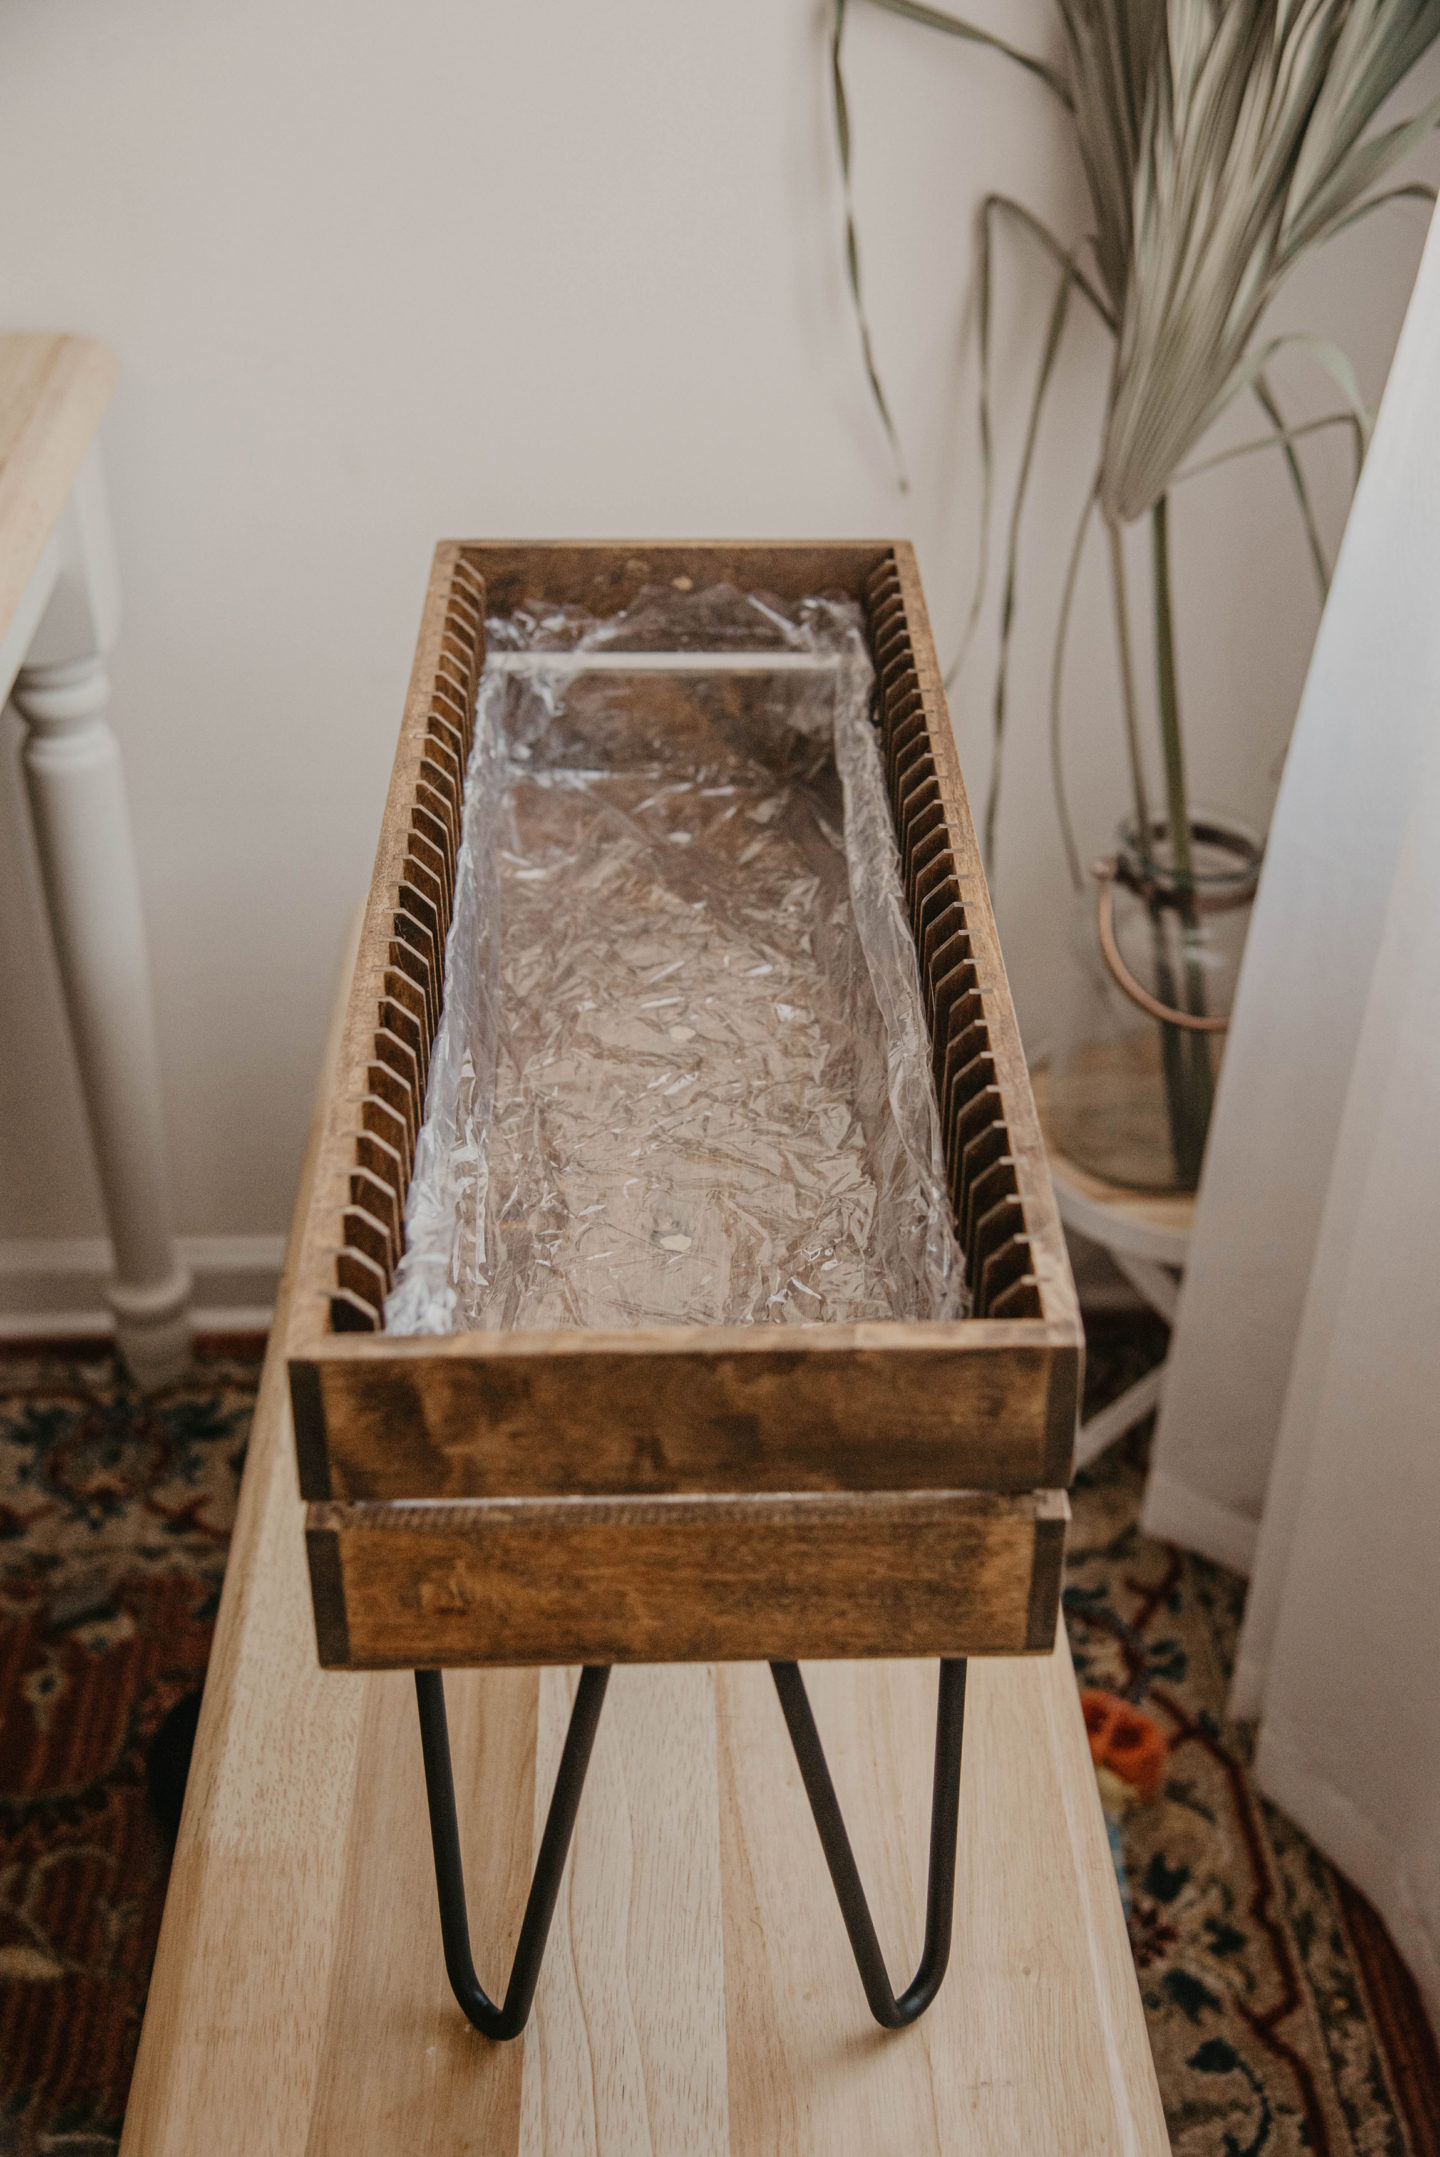
If you don’t plan to line the bottom with plastic, you may want to consider drainage holes. You should also consider finding a way to waterproof the interior to prevent rot or mold. Using my 3/8 drill bit, I made 4 large holes for drainage. The wood may splinter, so consider drilling a smaller pilot hole first, then use the 3/8 drill bit. Use some sand paper to smooth out and splintering.
Apply the Stain
I chose to apply the stain all over the wooden box because I planned to line the inside of my box with plastic. I wanted to make sure that the vegetable had one cohesive look, so I used a paint brush to get into all the nooks and crannies. Once all the stain has been applied, I wiped off the excess with a paper towel and let it dry completely for 2-3 hours.
(Optional) Add Gold Accents
If you want to add gold accents to the grooves of the Boalt CD holder, use the paint pen! You can also paint a fun design over the stain if you want to. Get creative. Maybe draw a sun and moon, or some stars.
Attach the Legs
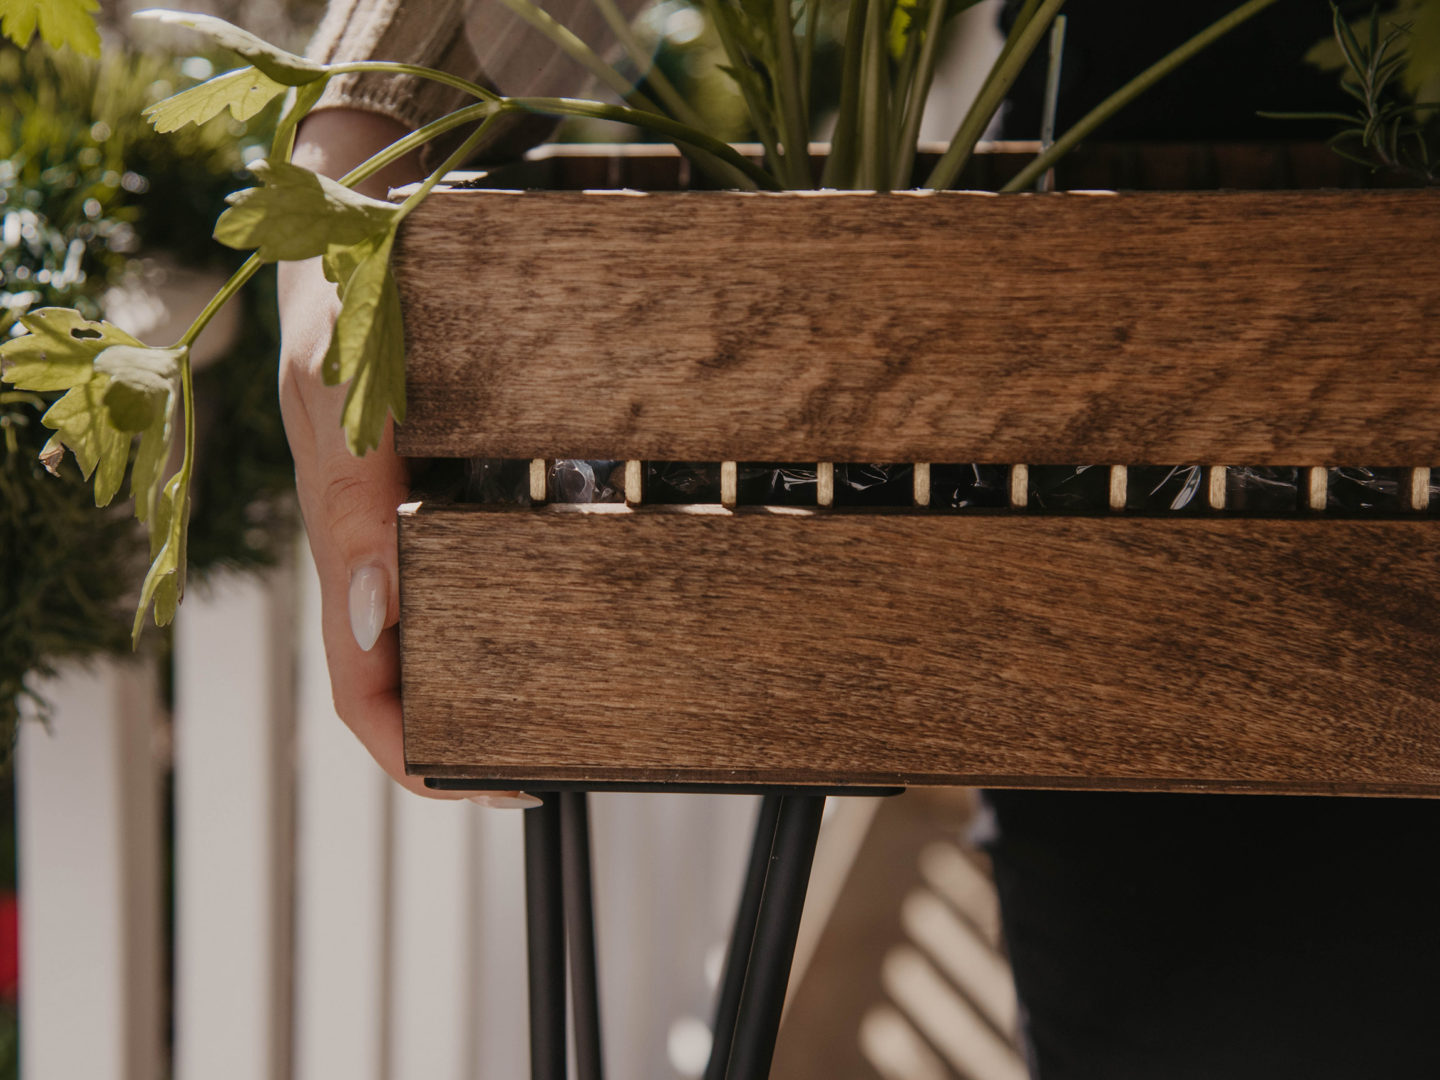
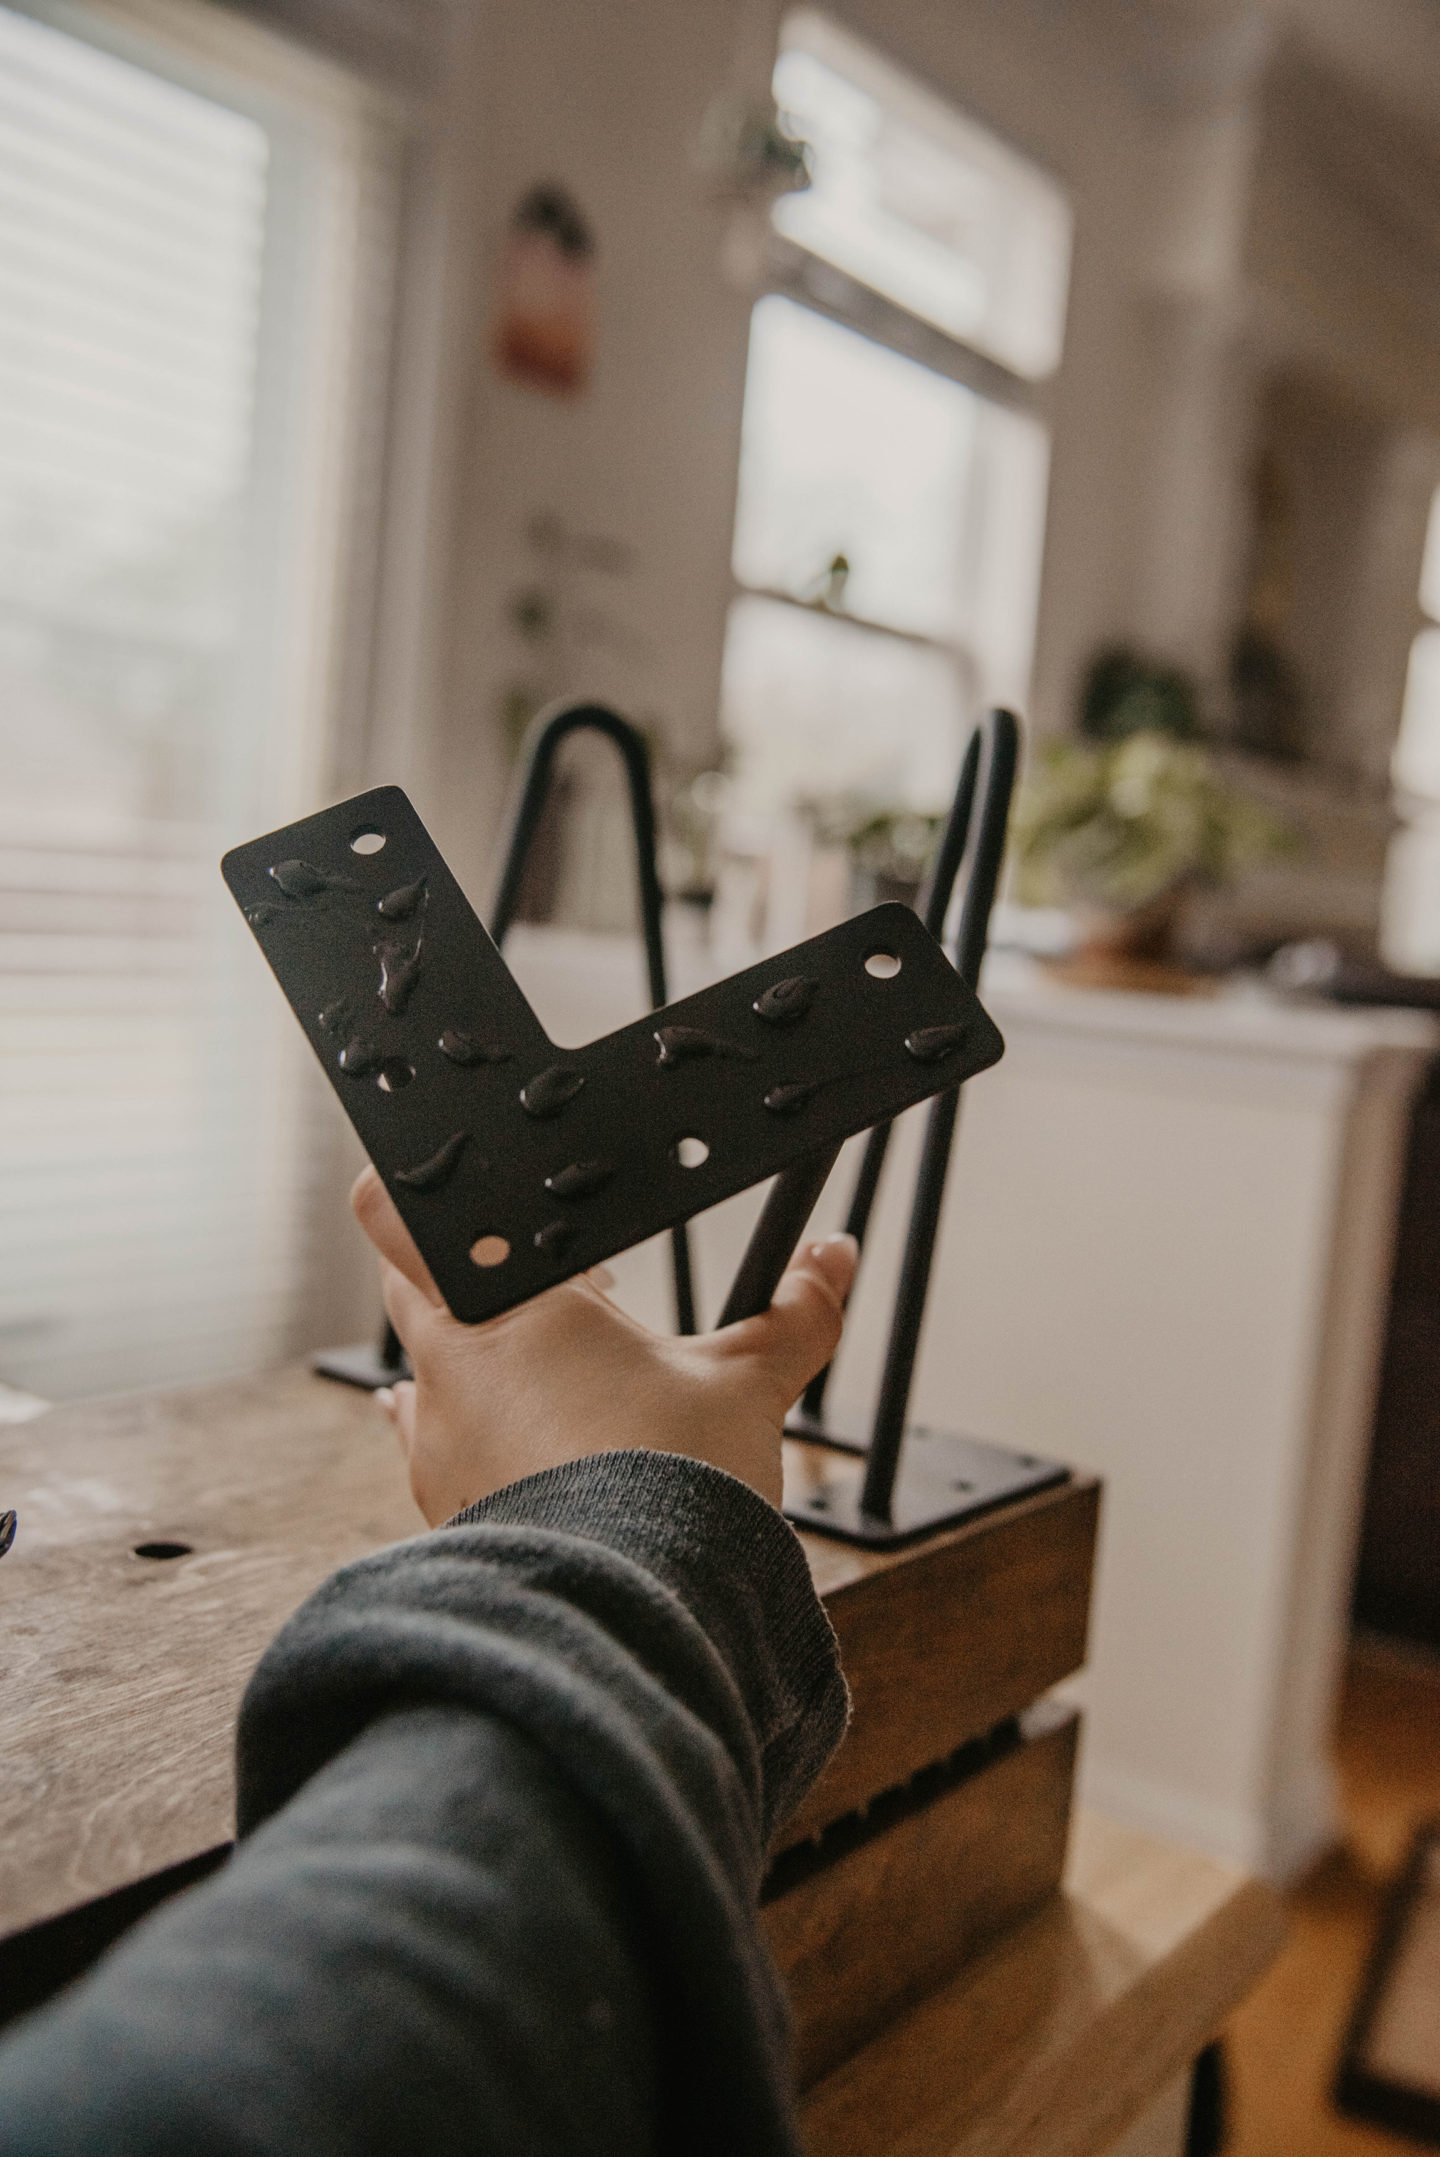
The wooden box is super thin, so I wasn’t able to use the screws that were included in the kit. Instead, I applied a generous amount of E6000 glue and carefully placed the legs on the corners leaving about 1/4-in space from the edge of the legs to the edges of the box. Let this dry, legs up, for 24 hours to ensure a strong bond.
Attach Plastic Liner
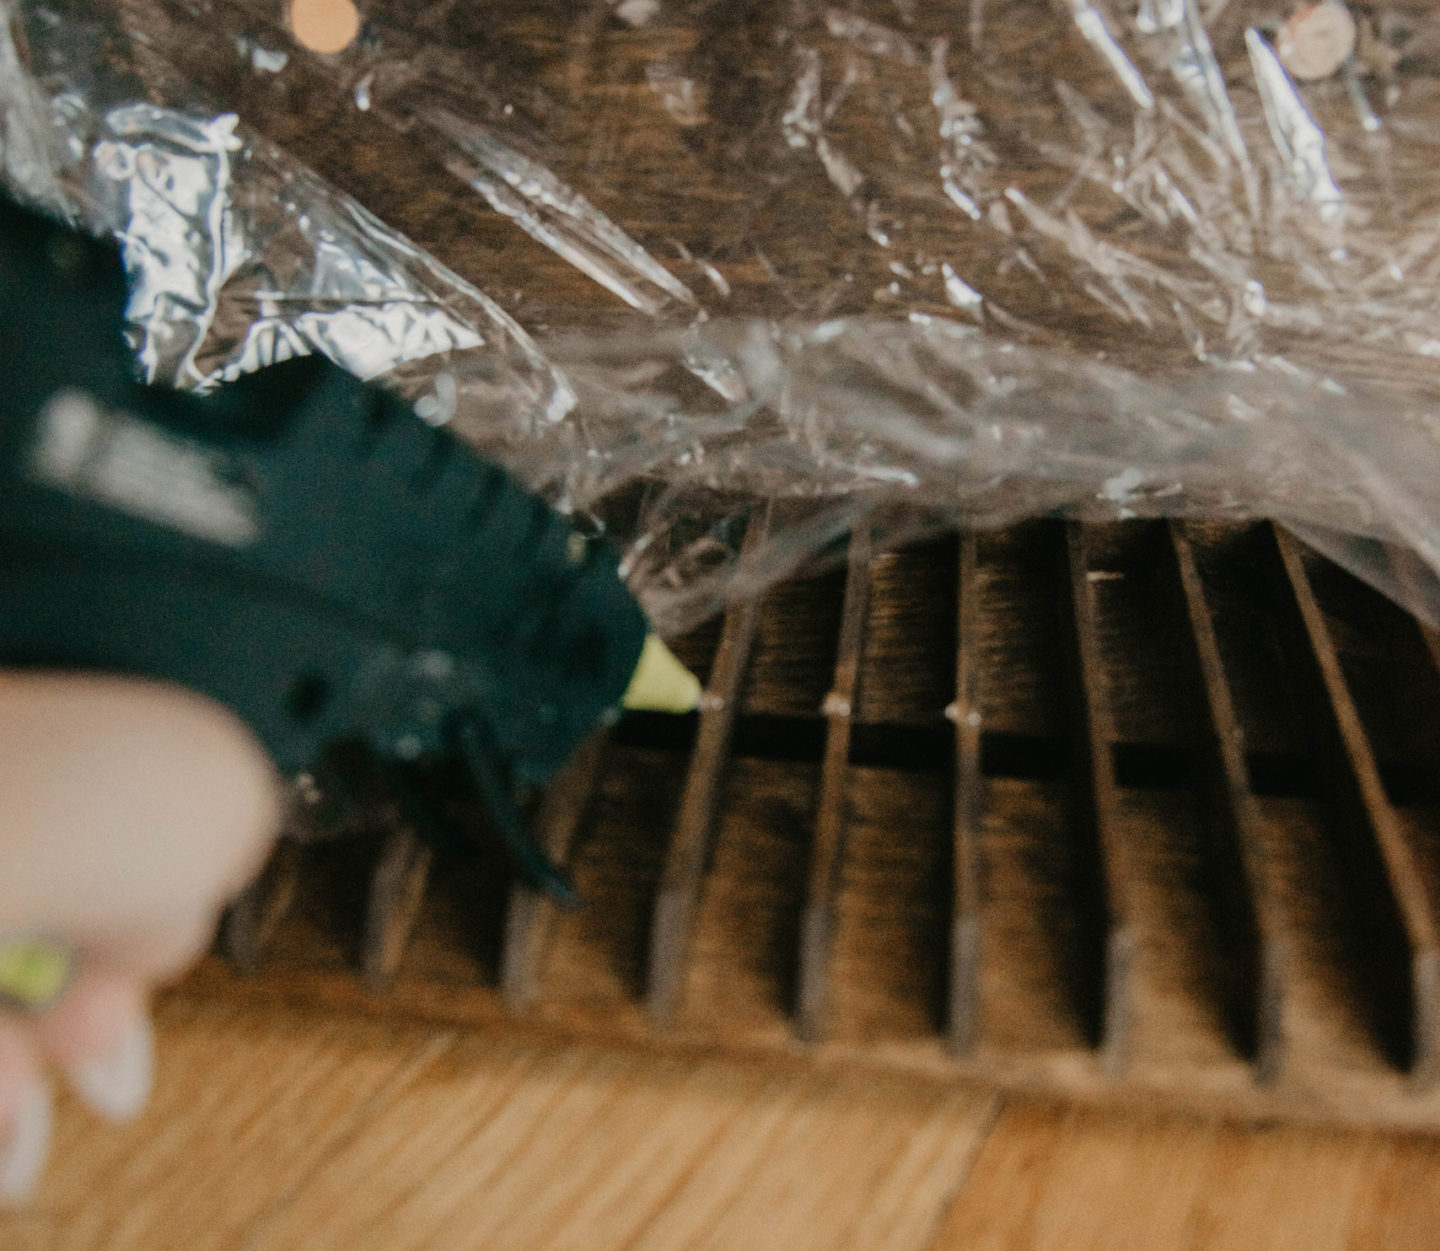
If you are going to use a plastic liner and you want something more “permanent” consider gluing the liner to the inside of the box. I used hot glue and put dots of glue on every divider and pressed the liner into the glue. Careful you don’t burn yourself! Once every side is securely glued, trim off the excess.
Add Your Veggies
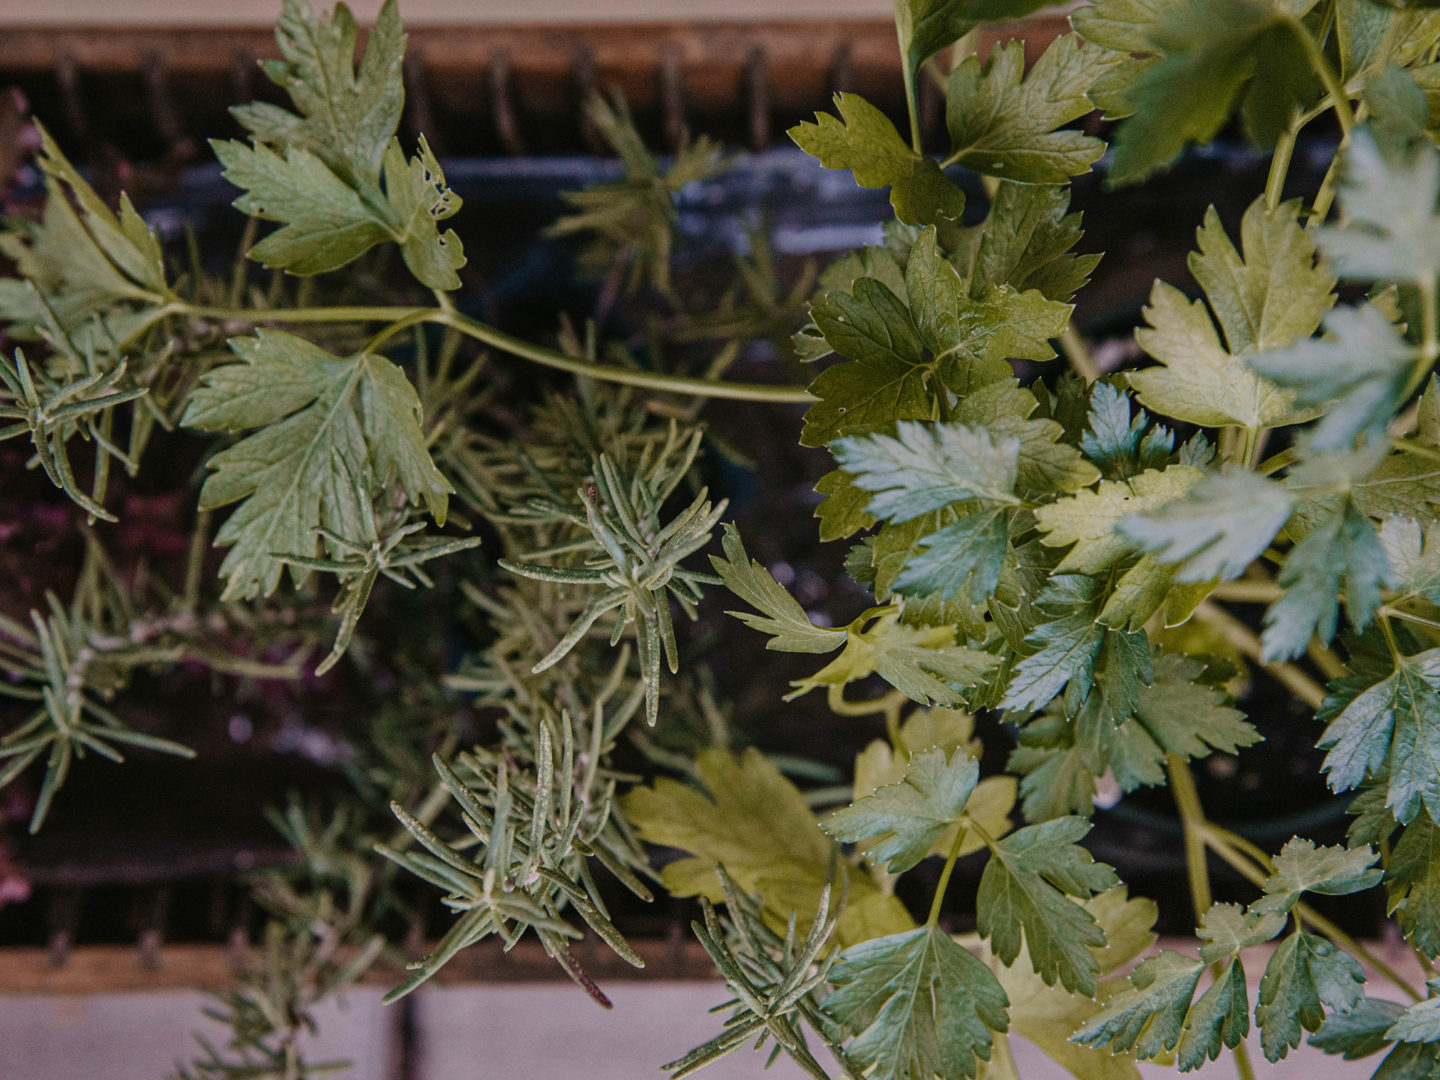
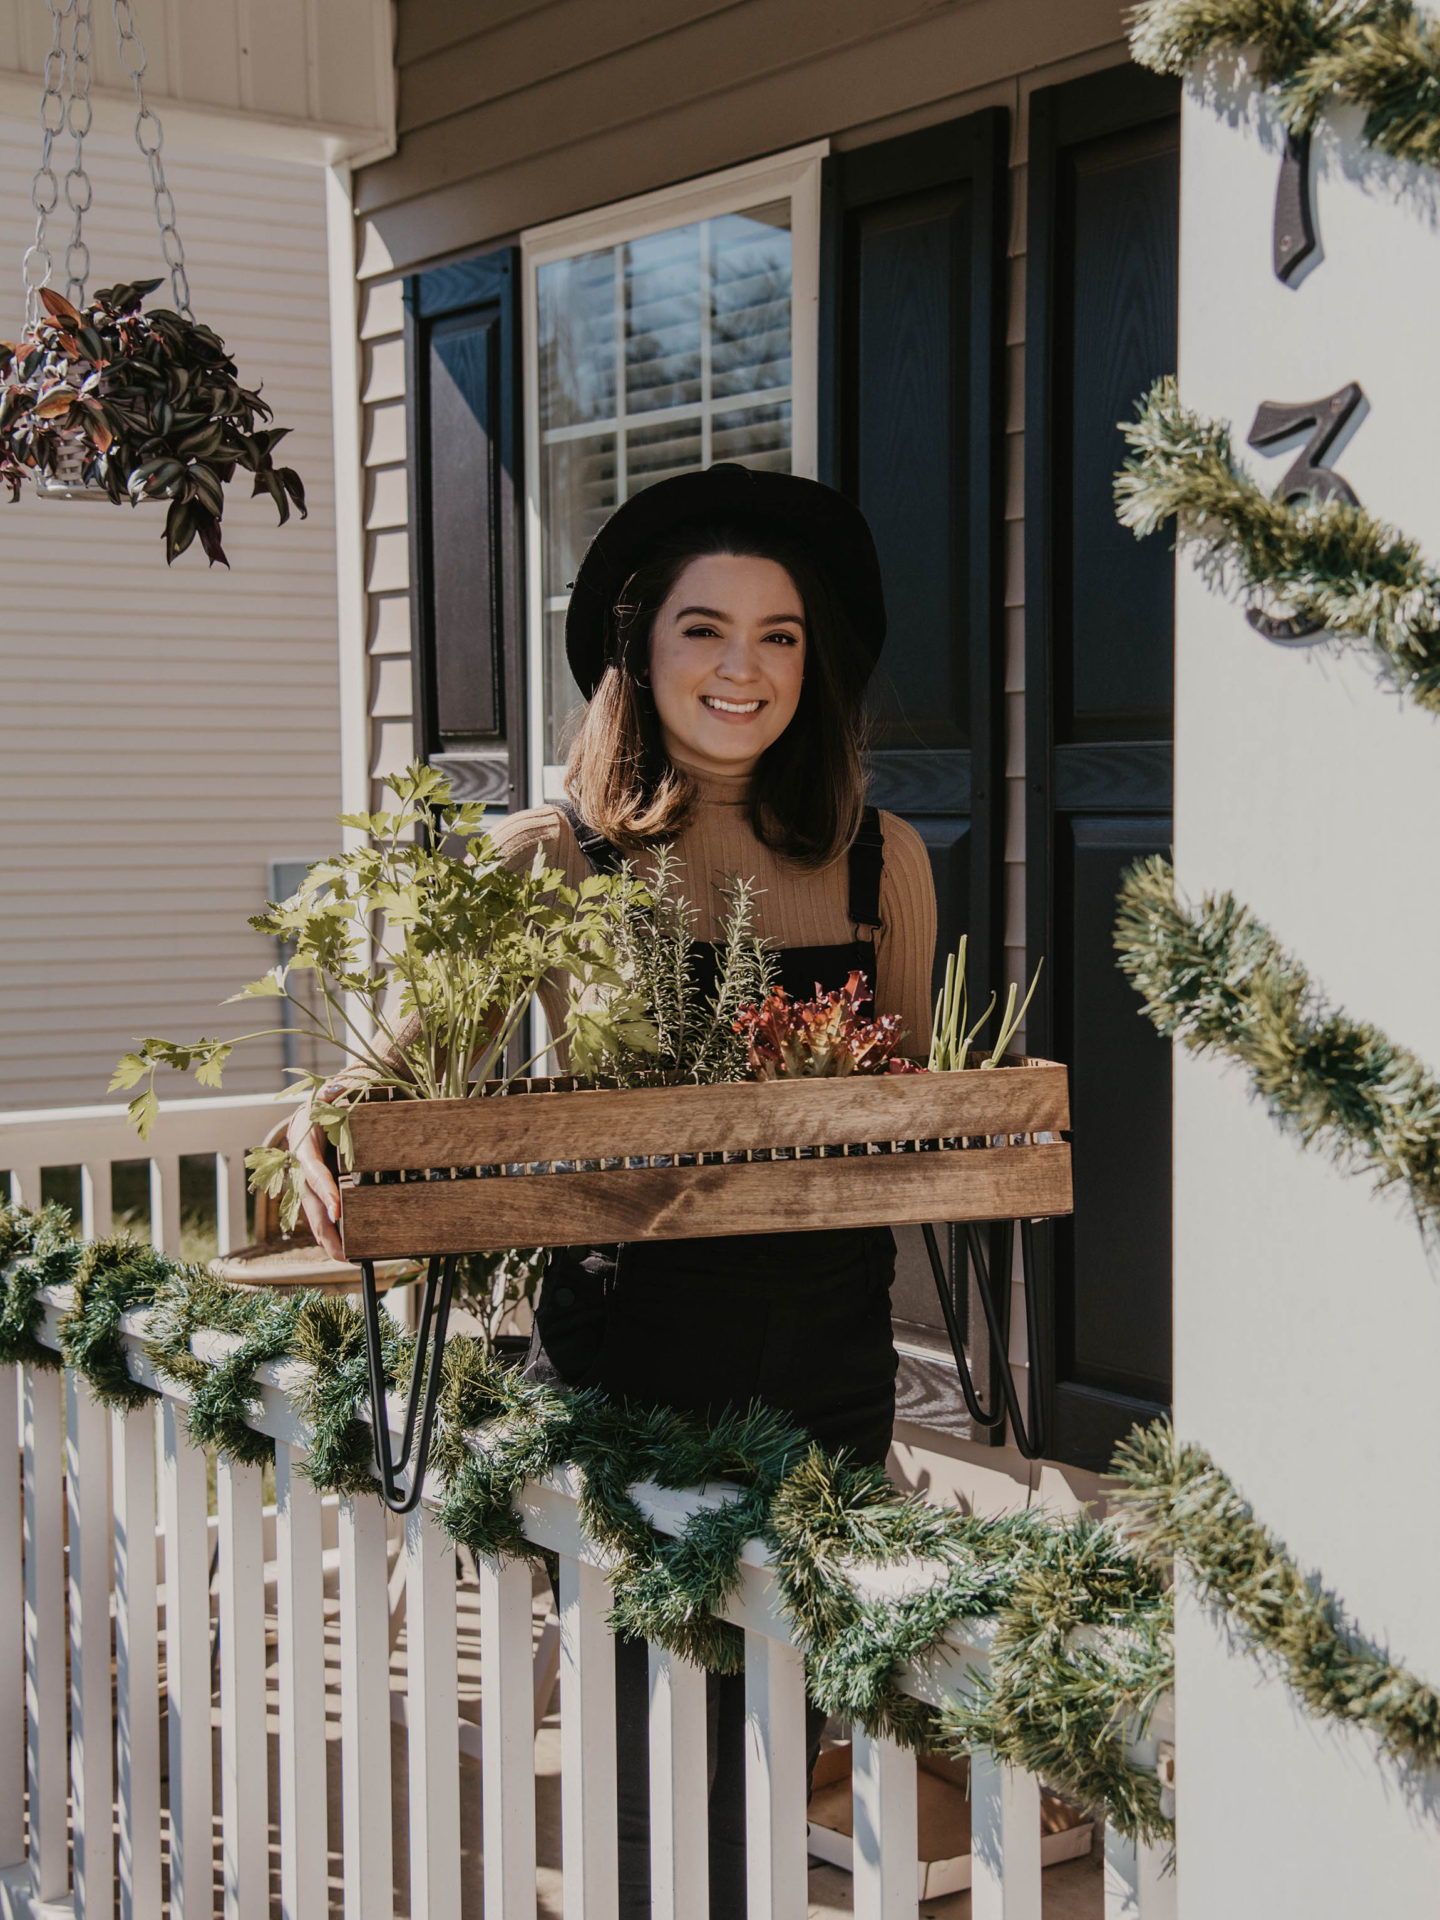
In my vegetable garden, I am growing spring onions, lettuce mix, rosemary, and Italian parsley. I was hoping to find some non-GMO brussels sprouts and okra but I didn’t have luck at my local nursery. I may have better luck starting with seeds, but I’m pretty sure we are too far into Fall/Winter for seeds to germinate outdoors.
What veggies are you growing in your vegetable garden?
