
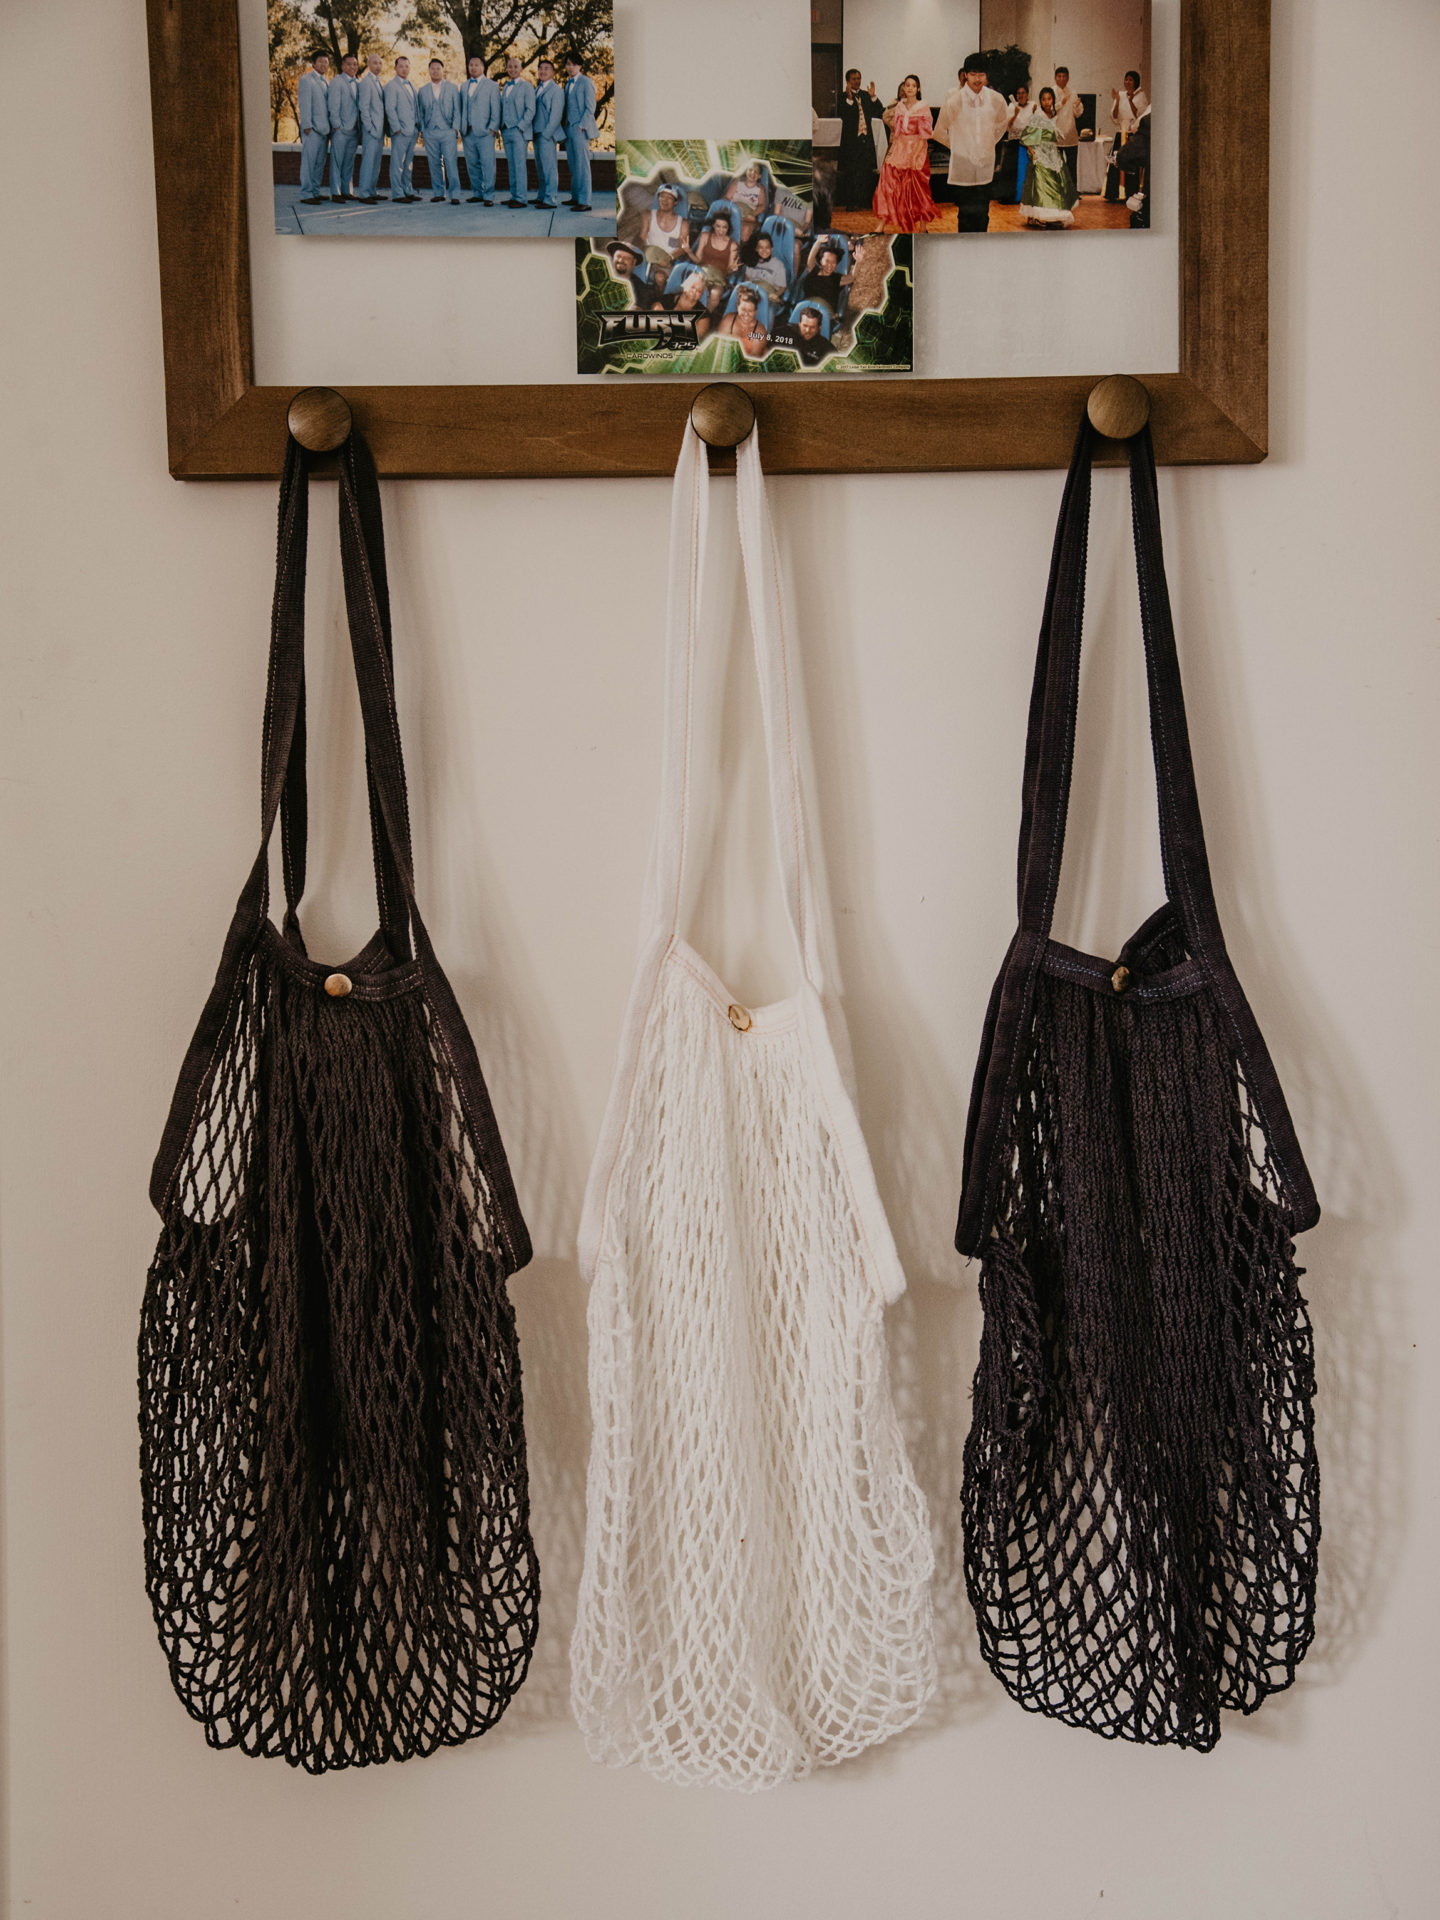

I’ve been on a bag binge lately.
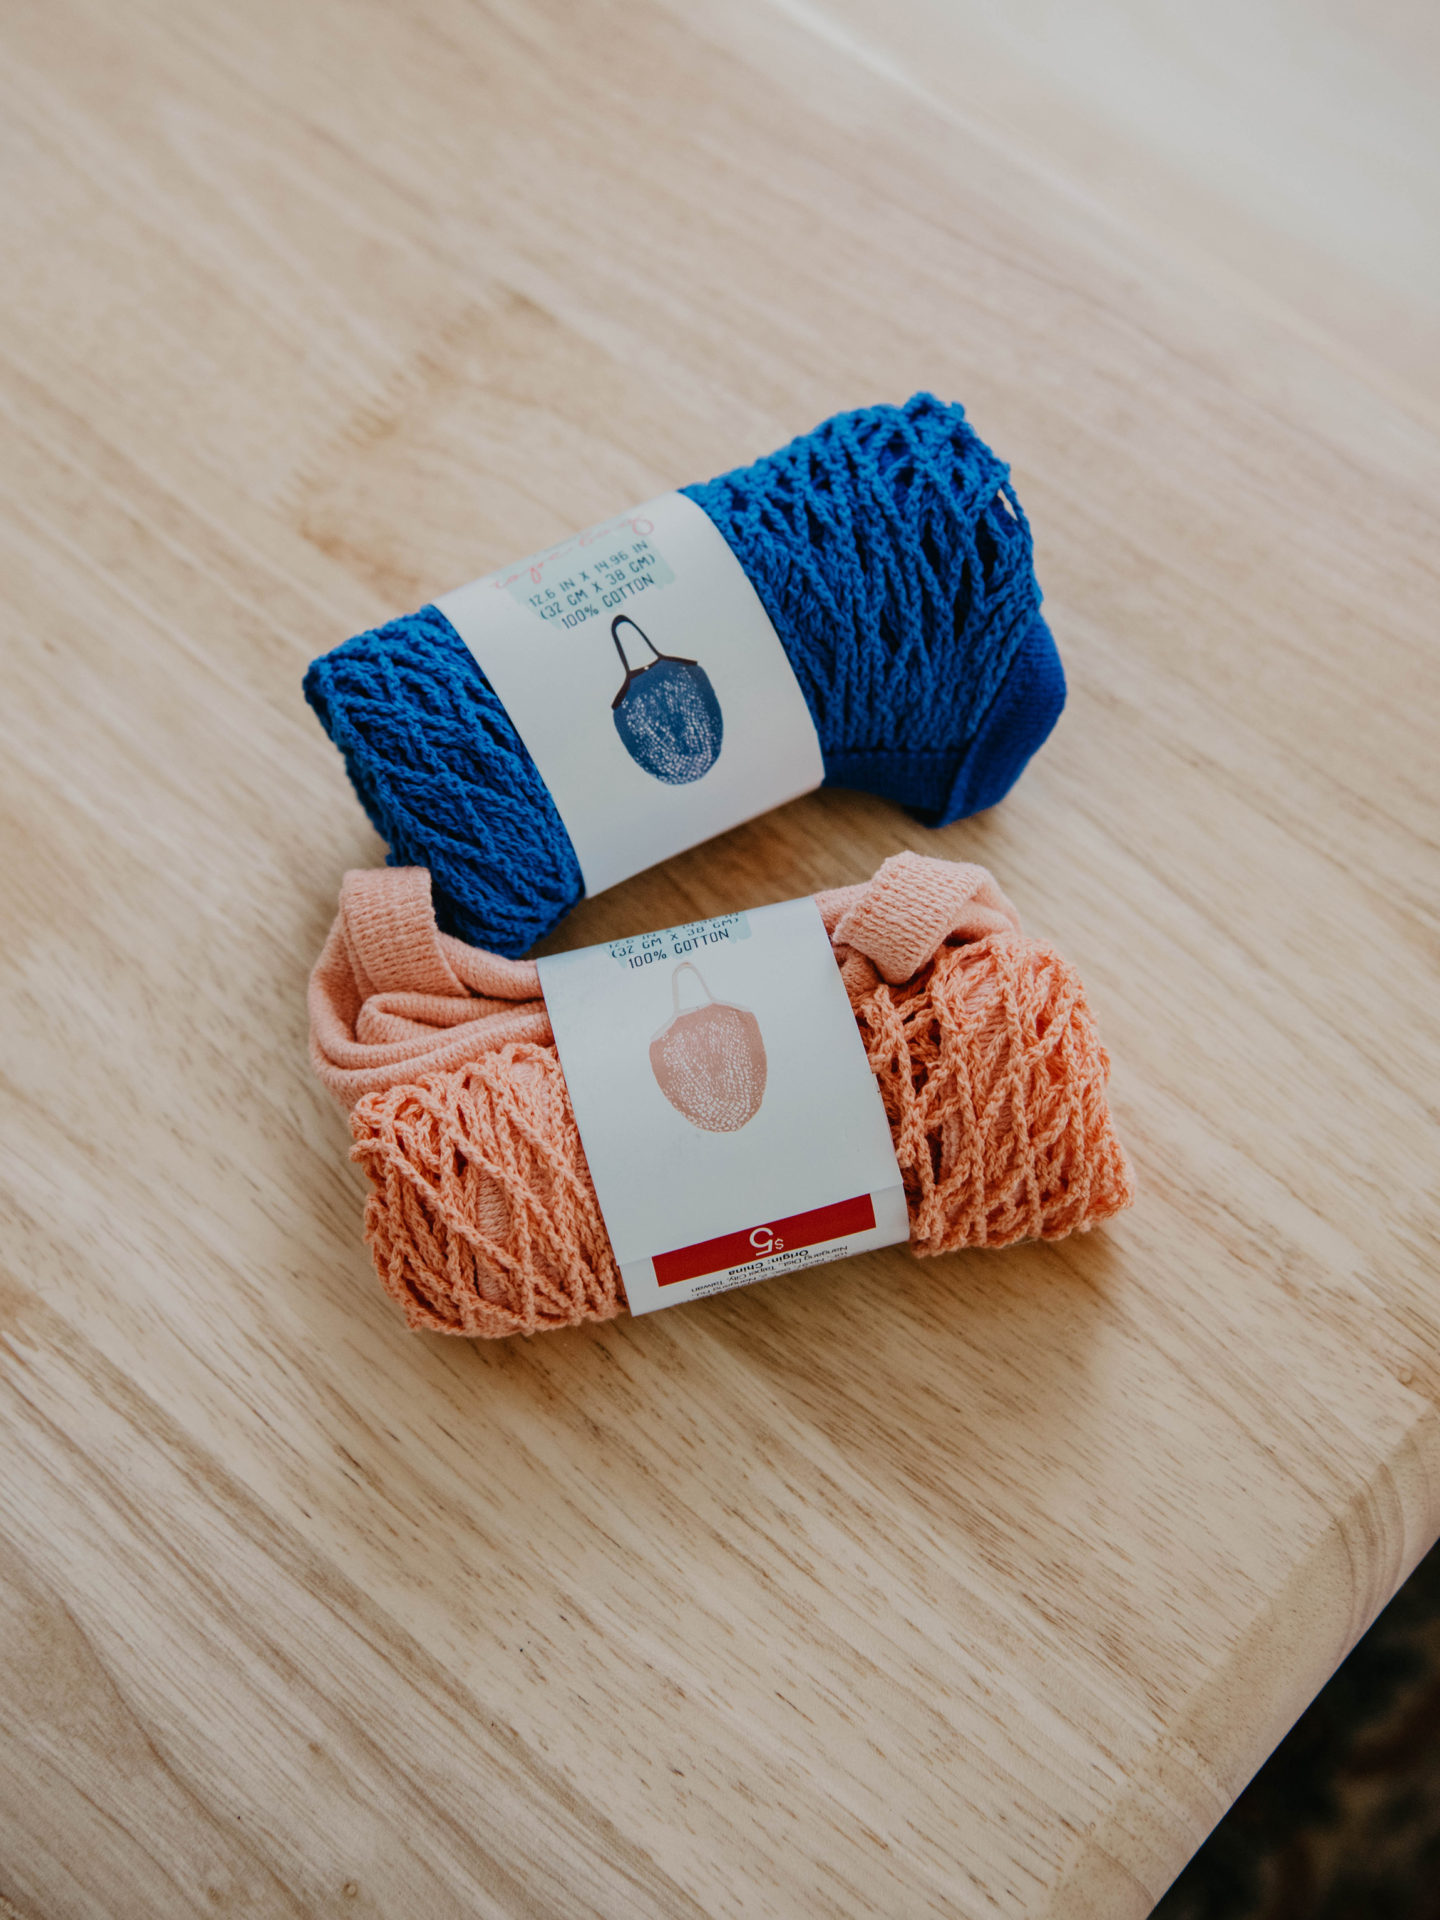
Probably because I’ve been itching to go to the farmer’s market. Target’s Dollar Spot just introduced a cotton net bag in three intense colors. I loved the bags but not the colors and wanted them to have a more neutral color palette. Initially, I planned to only bleach my bags but I wanted to change it up a bit and dye one of them black! Due to the pandemic, liquid bleach wasn’t available at the time I was at the store, so I improvised with a bleach tablet instead.
Things You’ll Need:
-
- Rit 8 oz. Black Dye
- Bleach
- Target Cotton Net Bag
- Plastic Wrap
- Container/Bucket
Step One:
Pick up cotton net bags of your choosing! Keep in mind that the color of the bag will be bleached out to white or an off-white/tan. The polyester thread used to sew the bag together will not take bleach or dye so you will likely see minute amounts of pink or blue thread peeking through.
The pink looked the most natural so I actually grab two of those. I ended up dying the blue bag black in the end because I didn’t like the blue in contrast with the white bag.

Step Two:
Bleach has not been available at any of my local stores for weeks, but they did have these Clorox bleach tablets. Typically these are used for toilet tanks, but I figured I’d test it out in case you are in the same boat as me. Good new – they work! It just takes a bit longer to get the results you want. You can also use bathroom cleaner spray with bleach or actual bleach for quicker results.
I placed my bags and the bleach tablet in a bowl (you can use your plastic containers) and filled the bowl with water until everything was totally submerged. Parts of the bag will float but I checked on it every few hours to mix things around – this ensured that all parts of the bag would get bleached. I left my bags soaking for about 24 hours, so the tablet process is definitely slow. Note: You might see the button rust a bit. This happened on the two bags that soaked in the tablets, but the dye covered it up! If you want to avoid rust, try to avoid placing any bleach on the button and rise thoroughly.
Once the bags were ready, I rinsed the bleach out and let them air dry to prepare them for the dye.
Step Three:
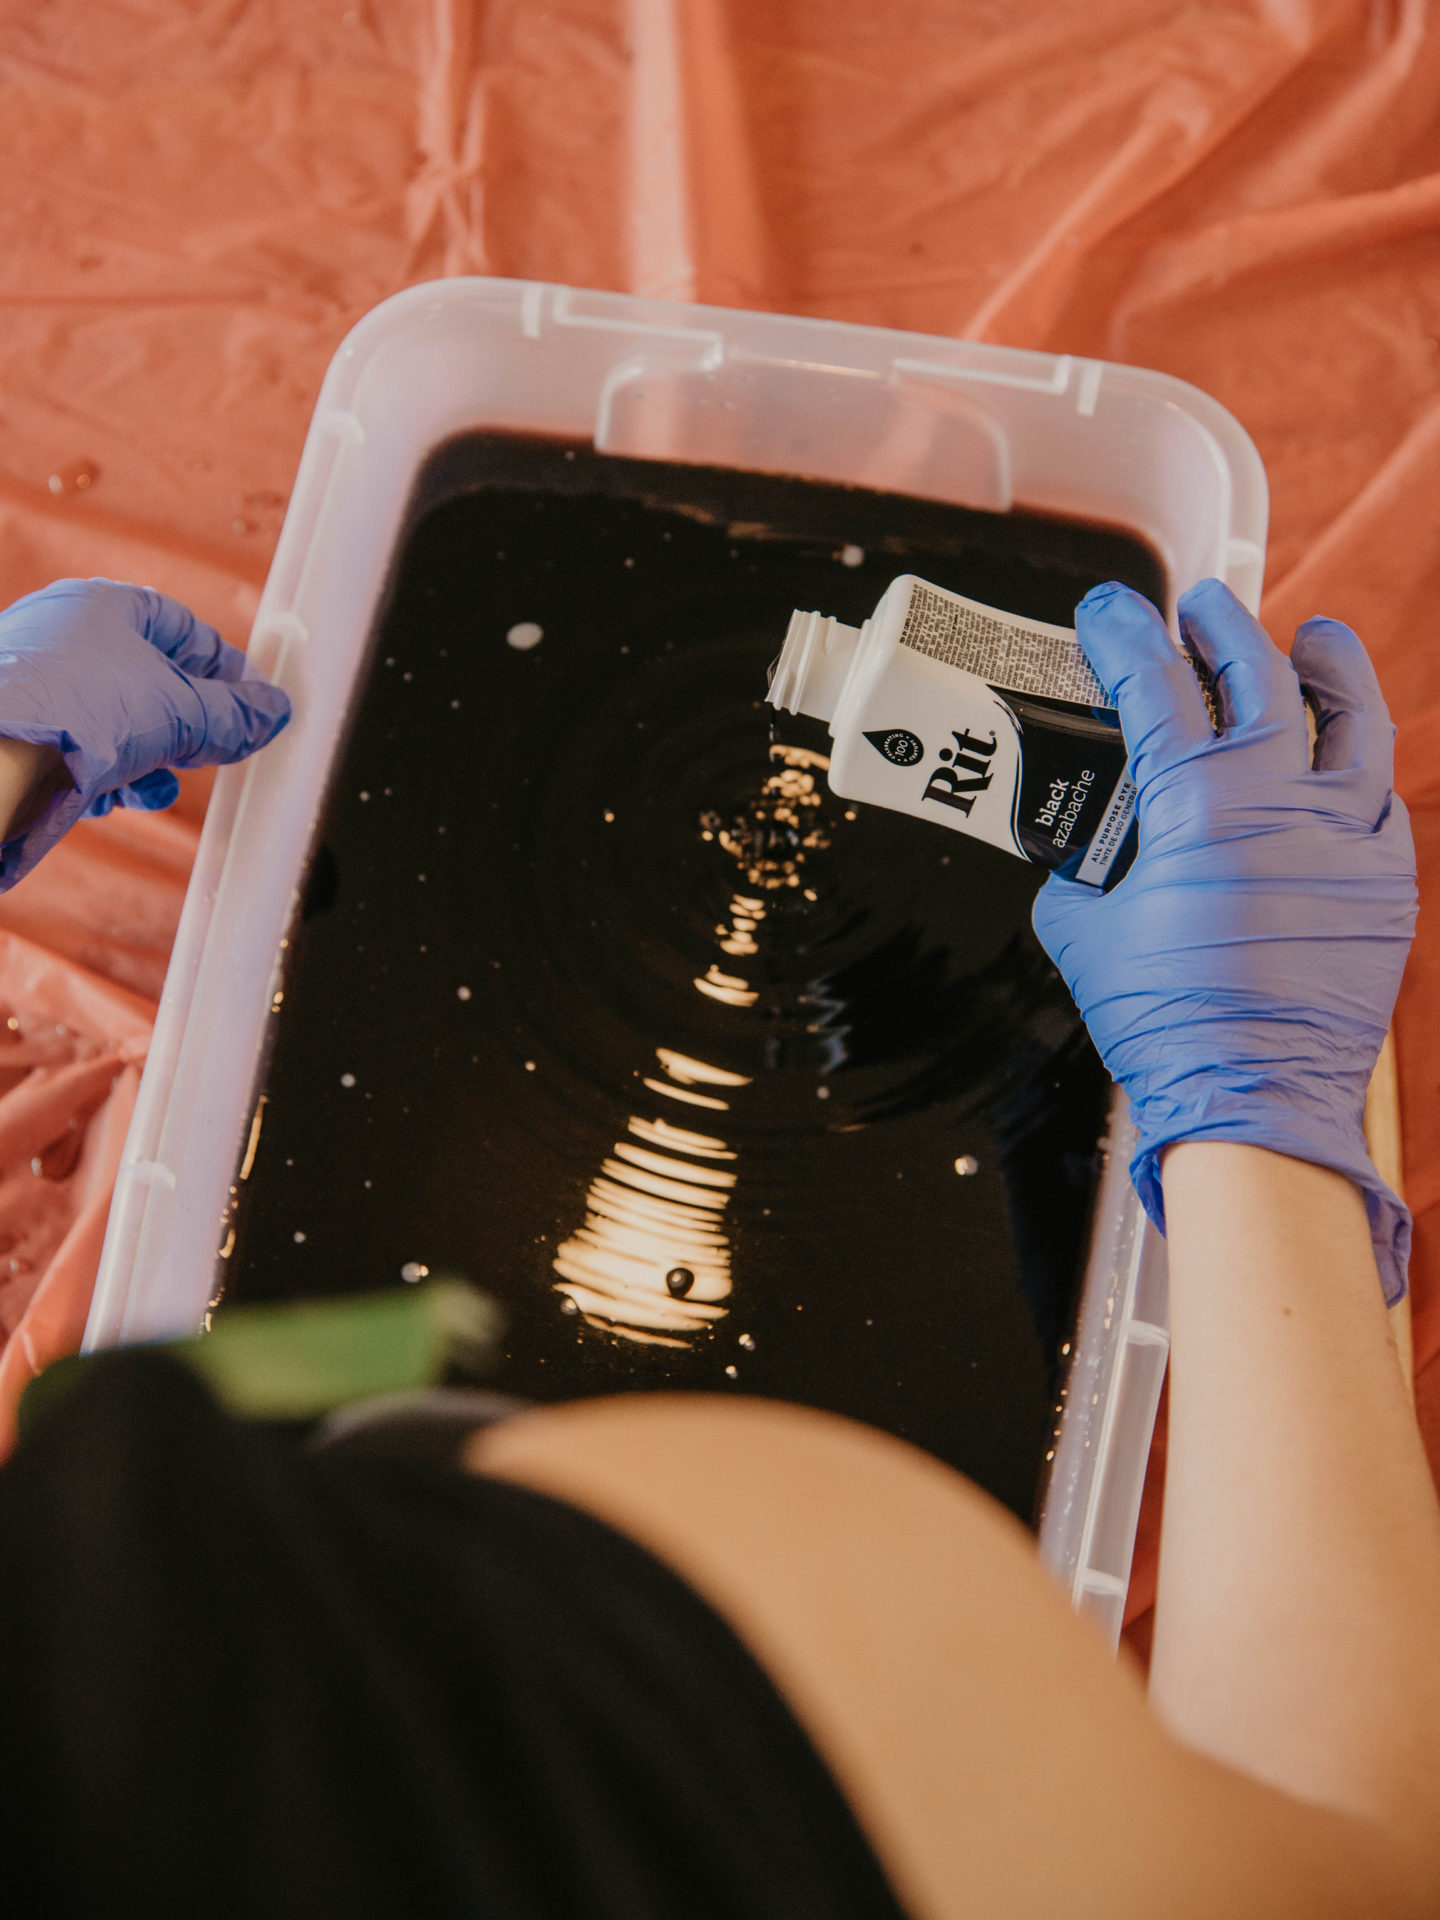
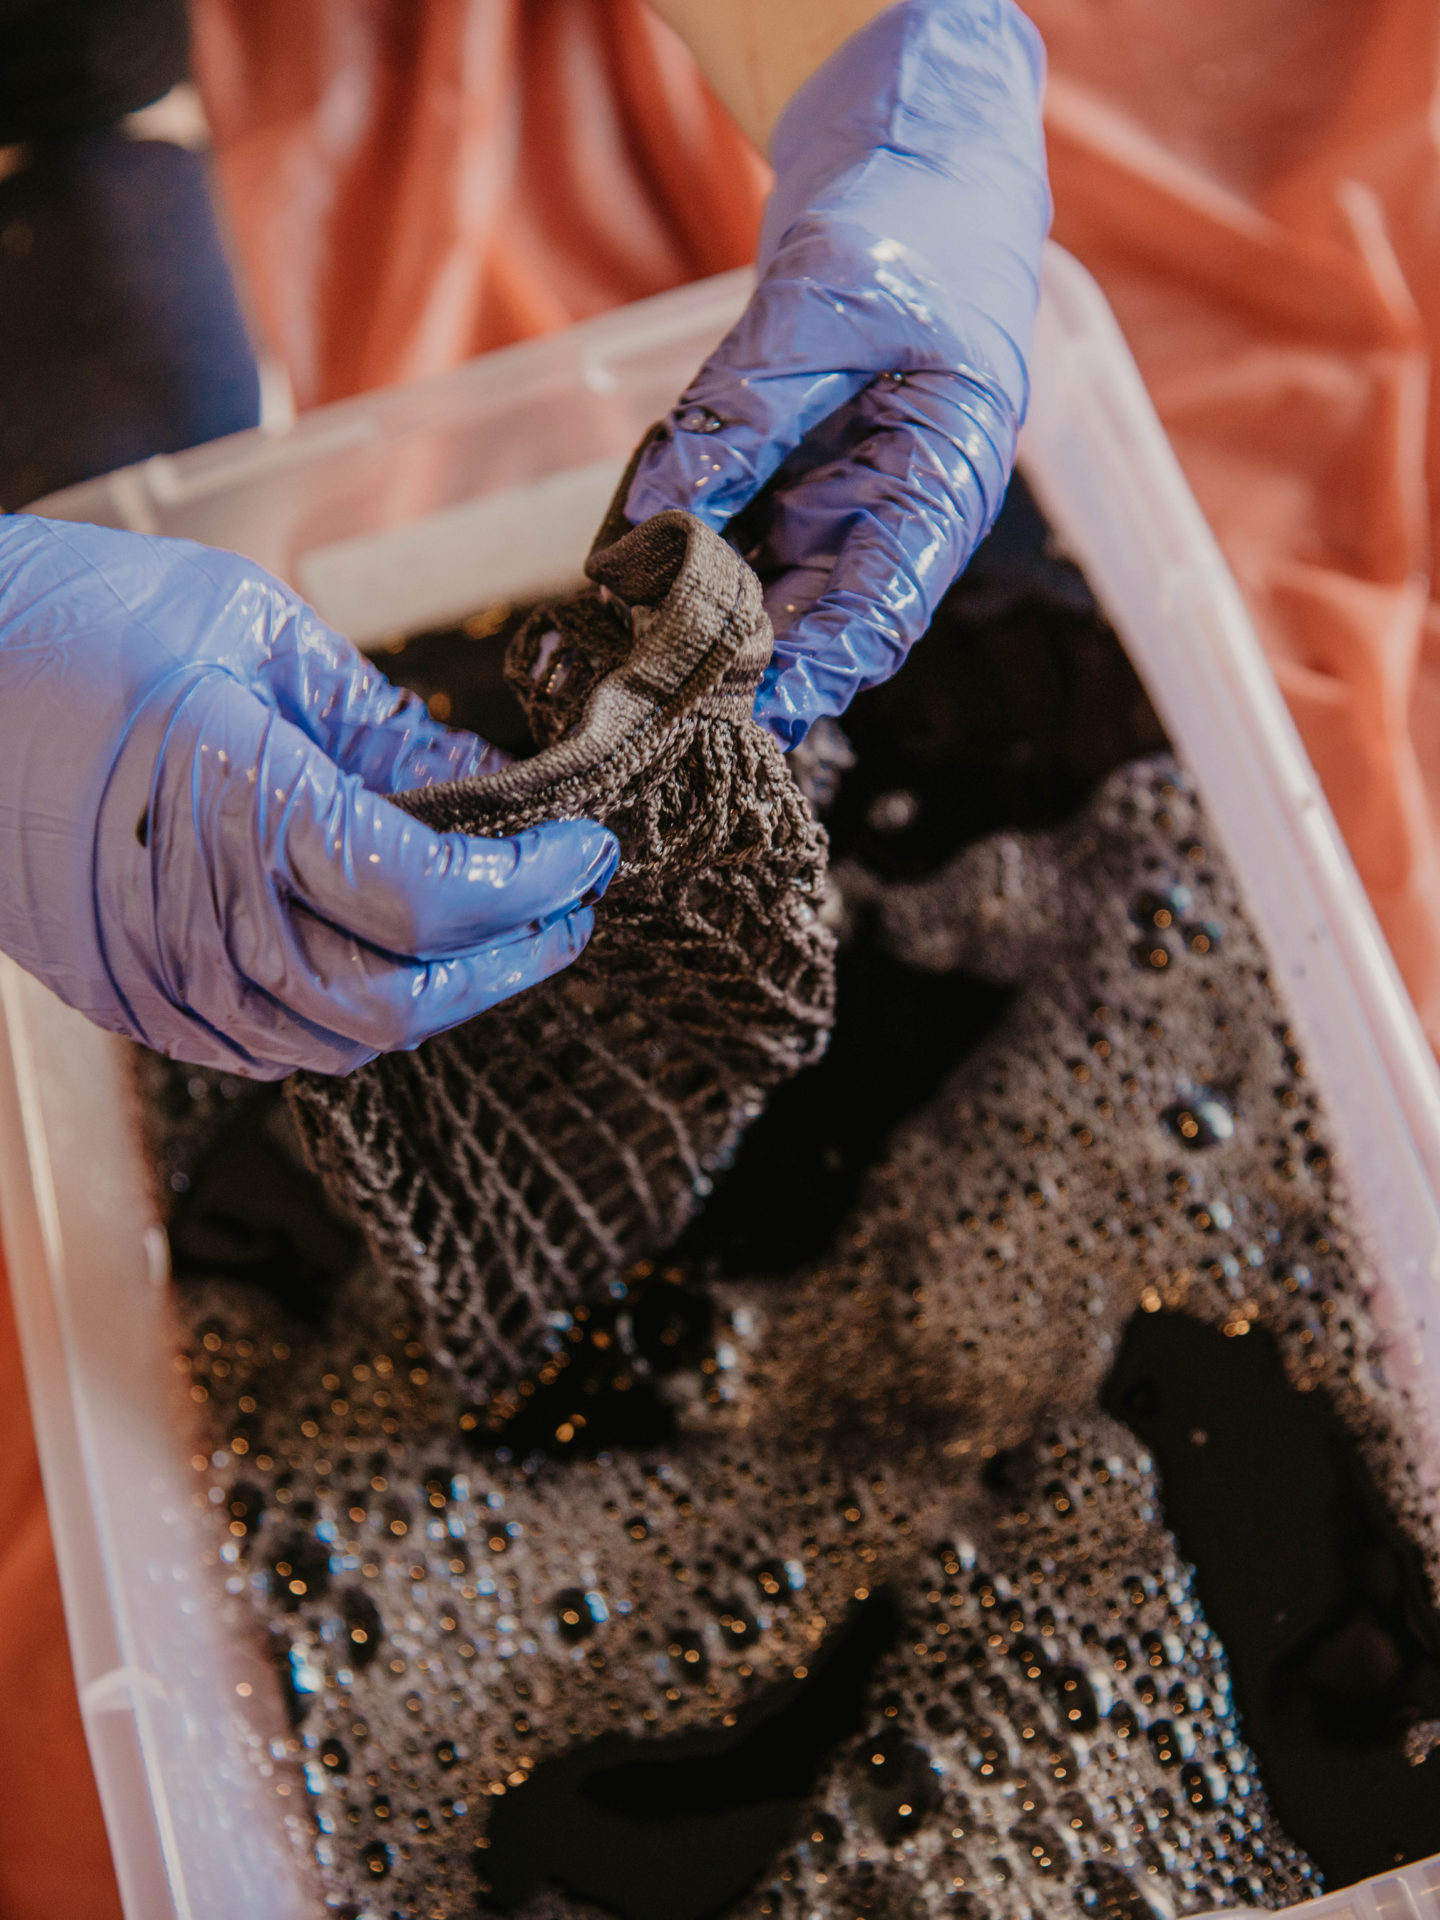
Be sure to wear gloves so you do not stain your hands or skin. In your plastic bin, mix hot water and the dye with a spoon or stick. Note: I filled my plastic bin with water about a quarter of the way. I used the black dye to make both the grey and black bags by adding more black dye to the water to create a more saturated hue. I used about a fifth of the bottle on the first bag and added a bit more on the second bag.
Step Four:
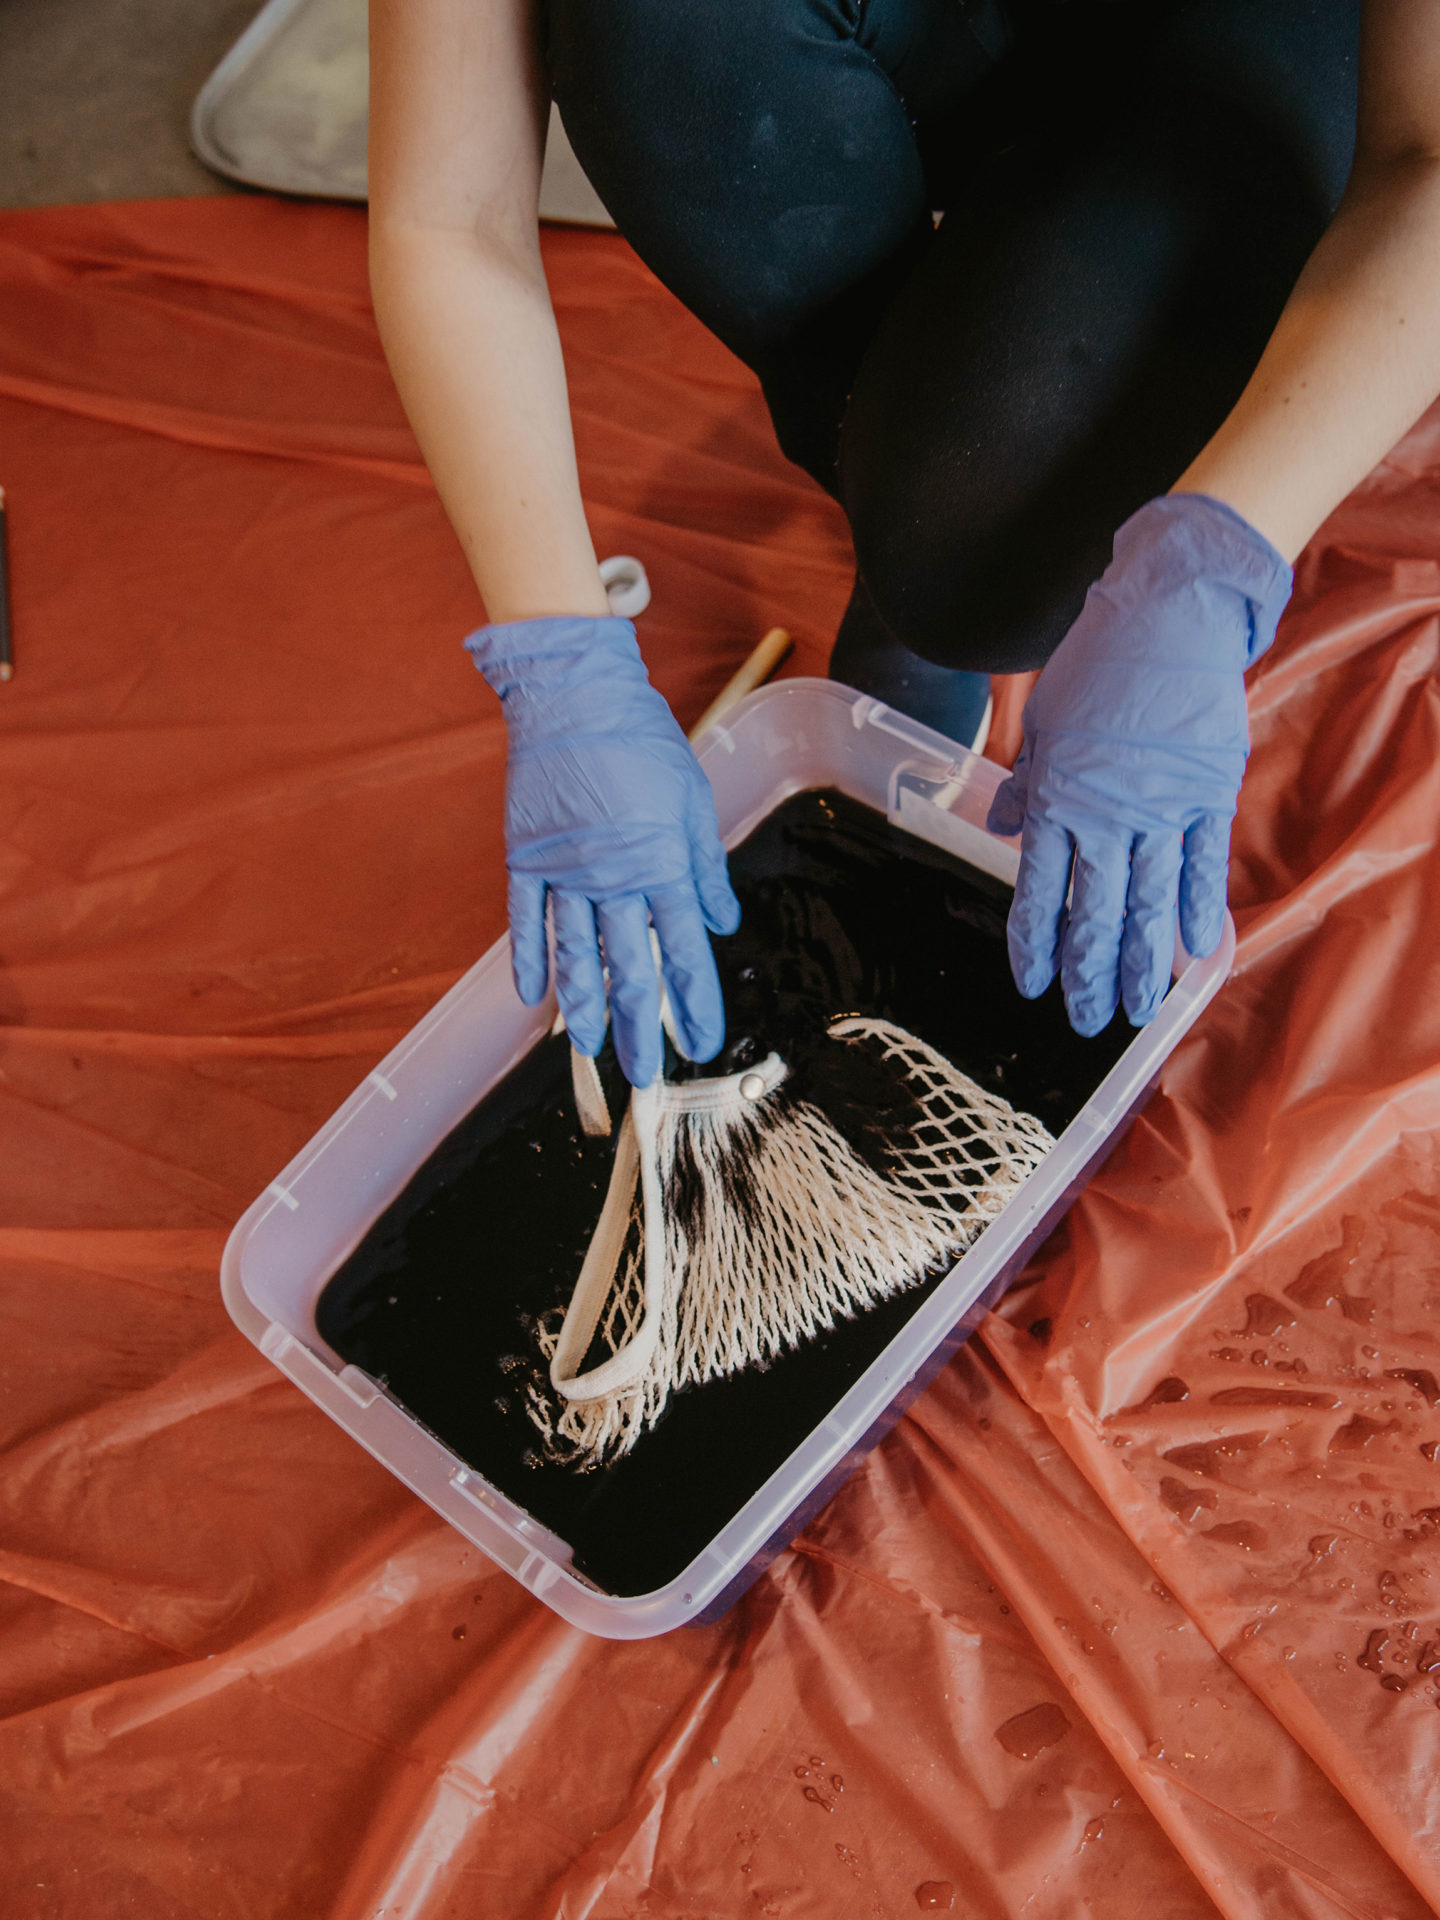
I did not pre-soak these bags because I wanted them to soak in as much dye as possible. I placed the first cotton net bag in the dye and let it soak for about 5 minutes. You can take your mixing spoon or stick and move the bag around in the water to make sure all parts soak up the dye, evenly.
Step Five:
After your bag is done soaking, remove it from the dye and wring it out over the bucket. Then wrap it in plastic wrap and leave it to marinate for 6-24 hours. Repeat step three and four, if you have multiple bags. If you want to achieve a darker color than the first, add more dye to the water!
Rise the bag (or bags) out in water until the water runs clear. Then stick it in the washing machine with a small amount of detergent, on cold. After, you can either air dry or use your dryer on the cotton net bag.
–
In hindsight, probably could have dyed over my bags but my initial project was to strip the color out. After being left with three bags of the same color, I decided to add come contrast back. If you have some dyeing tips or tricks, please let me know in the comments!
Are you going to give this project a try?
