I was always fascinated with cornhole but never knew how to play.
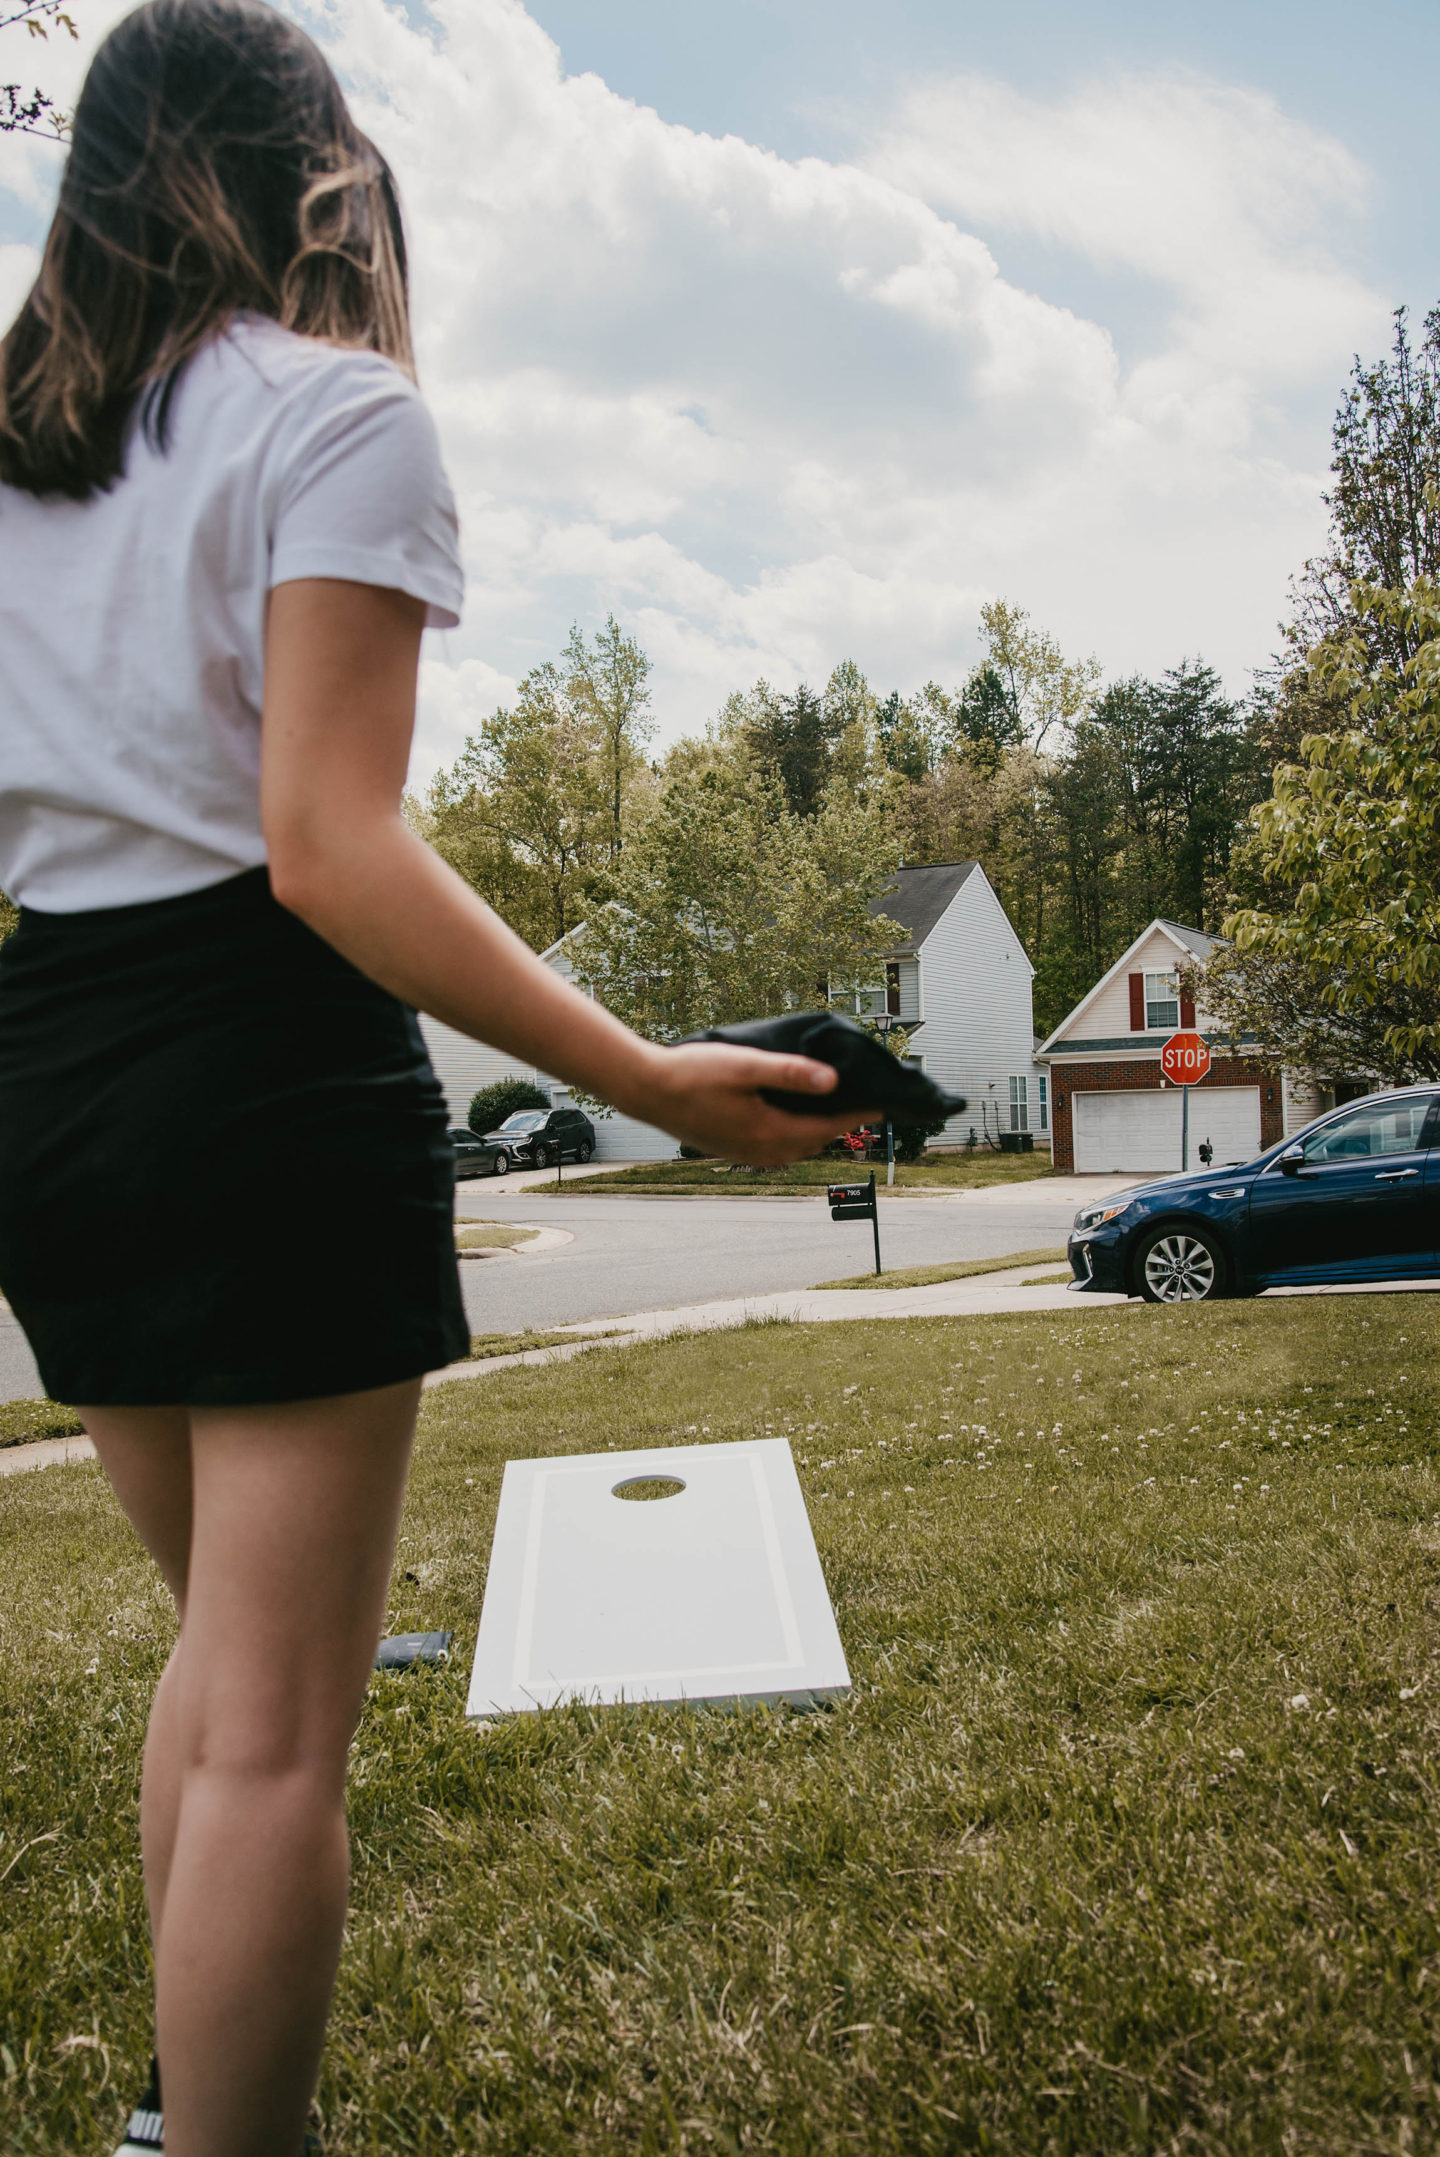
I didn’t start playing cornhole until I went to a wedding in Charleston, SC. In recent years, I started playing at outdoor bars and restaurants with friends. It sort of became my favorite game to play with friends and family.
As much as I would love to build my own cornhole boards from scratch, I don’t have a safe woodworking space for big wood projects. I thought it would be best to buy boards and stain/paint them. Initially, I thought about thrifting used boards and contacted a few people on Facebook Marketplace, but everything fell through. Then I found this regulation sized set on Amazon and it was on sale for only $99. I jumped at it because it came with bags and a carrying bag – whereas most local sellers only give you custom boards for near $200.
Decorating The Boards
At first, I tried to sand and stain the boards but that didn’t work. I didn’t realize they were lightly varnished. When wood is factory varnished it almost impossible to stain it unless you are really willing to sand away a significant layer. I was not willing to do that since I didn’t want to ruin the integrity of the corn hole boards. So the only logical next step was to paint it.
Priming
First, I primed the boards with Zinsser spray paint. This was an important step since the stain can bleed through paint. After the primer was dry, I used a can of white spray paint and painted the edges of the board where I planned to apply painter’s tape to create a border. Using a ruler, I measured three inches in to pinpoint where to lay the painter’s tape. Then, I was careful to lay the tape down in a straight line.
Painting
Using a roller brush, I generously applied the Behr Platinum 8 oz. sample I purchased at Home Depot. I actually bought two because it was cheaper than buying a pint of the same paint. I rolled out some tin foil to use inside an old painting tray, so I don’t have to worry about throwing away the tray. Once I was happy with the coverage, I removed the painter’s tape and used Behr Cameo White paint and a small paint brush to clean up the lines. Lastly, I sealed the board with a light layer of Minwax polyurethane sealer.
Bags
As much as I appreciate that the set came with bags, I want to play this game at my wedding and red and blue don’t exactly fit in with my motif. So I went to Joann’s to buy some outdoor cloth (duck canvas), in black and white, to be a bit more wedding appropriate.
Things You’ll Need
-
- Duck Canvas (any two colors of your choosing) – sold at Joanns or another Fabric Store
- Sewing Machine & color coordinating thread
- Fabric Scissors
- Ruler
- chalk pencil
- corn feed
- kitchen scale
Cut & Sew
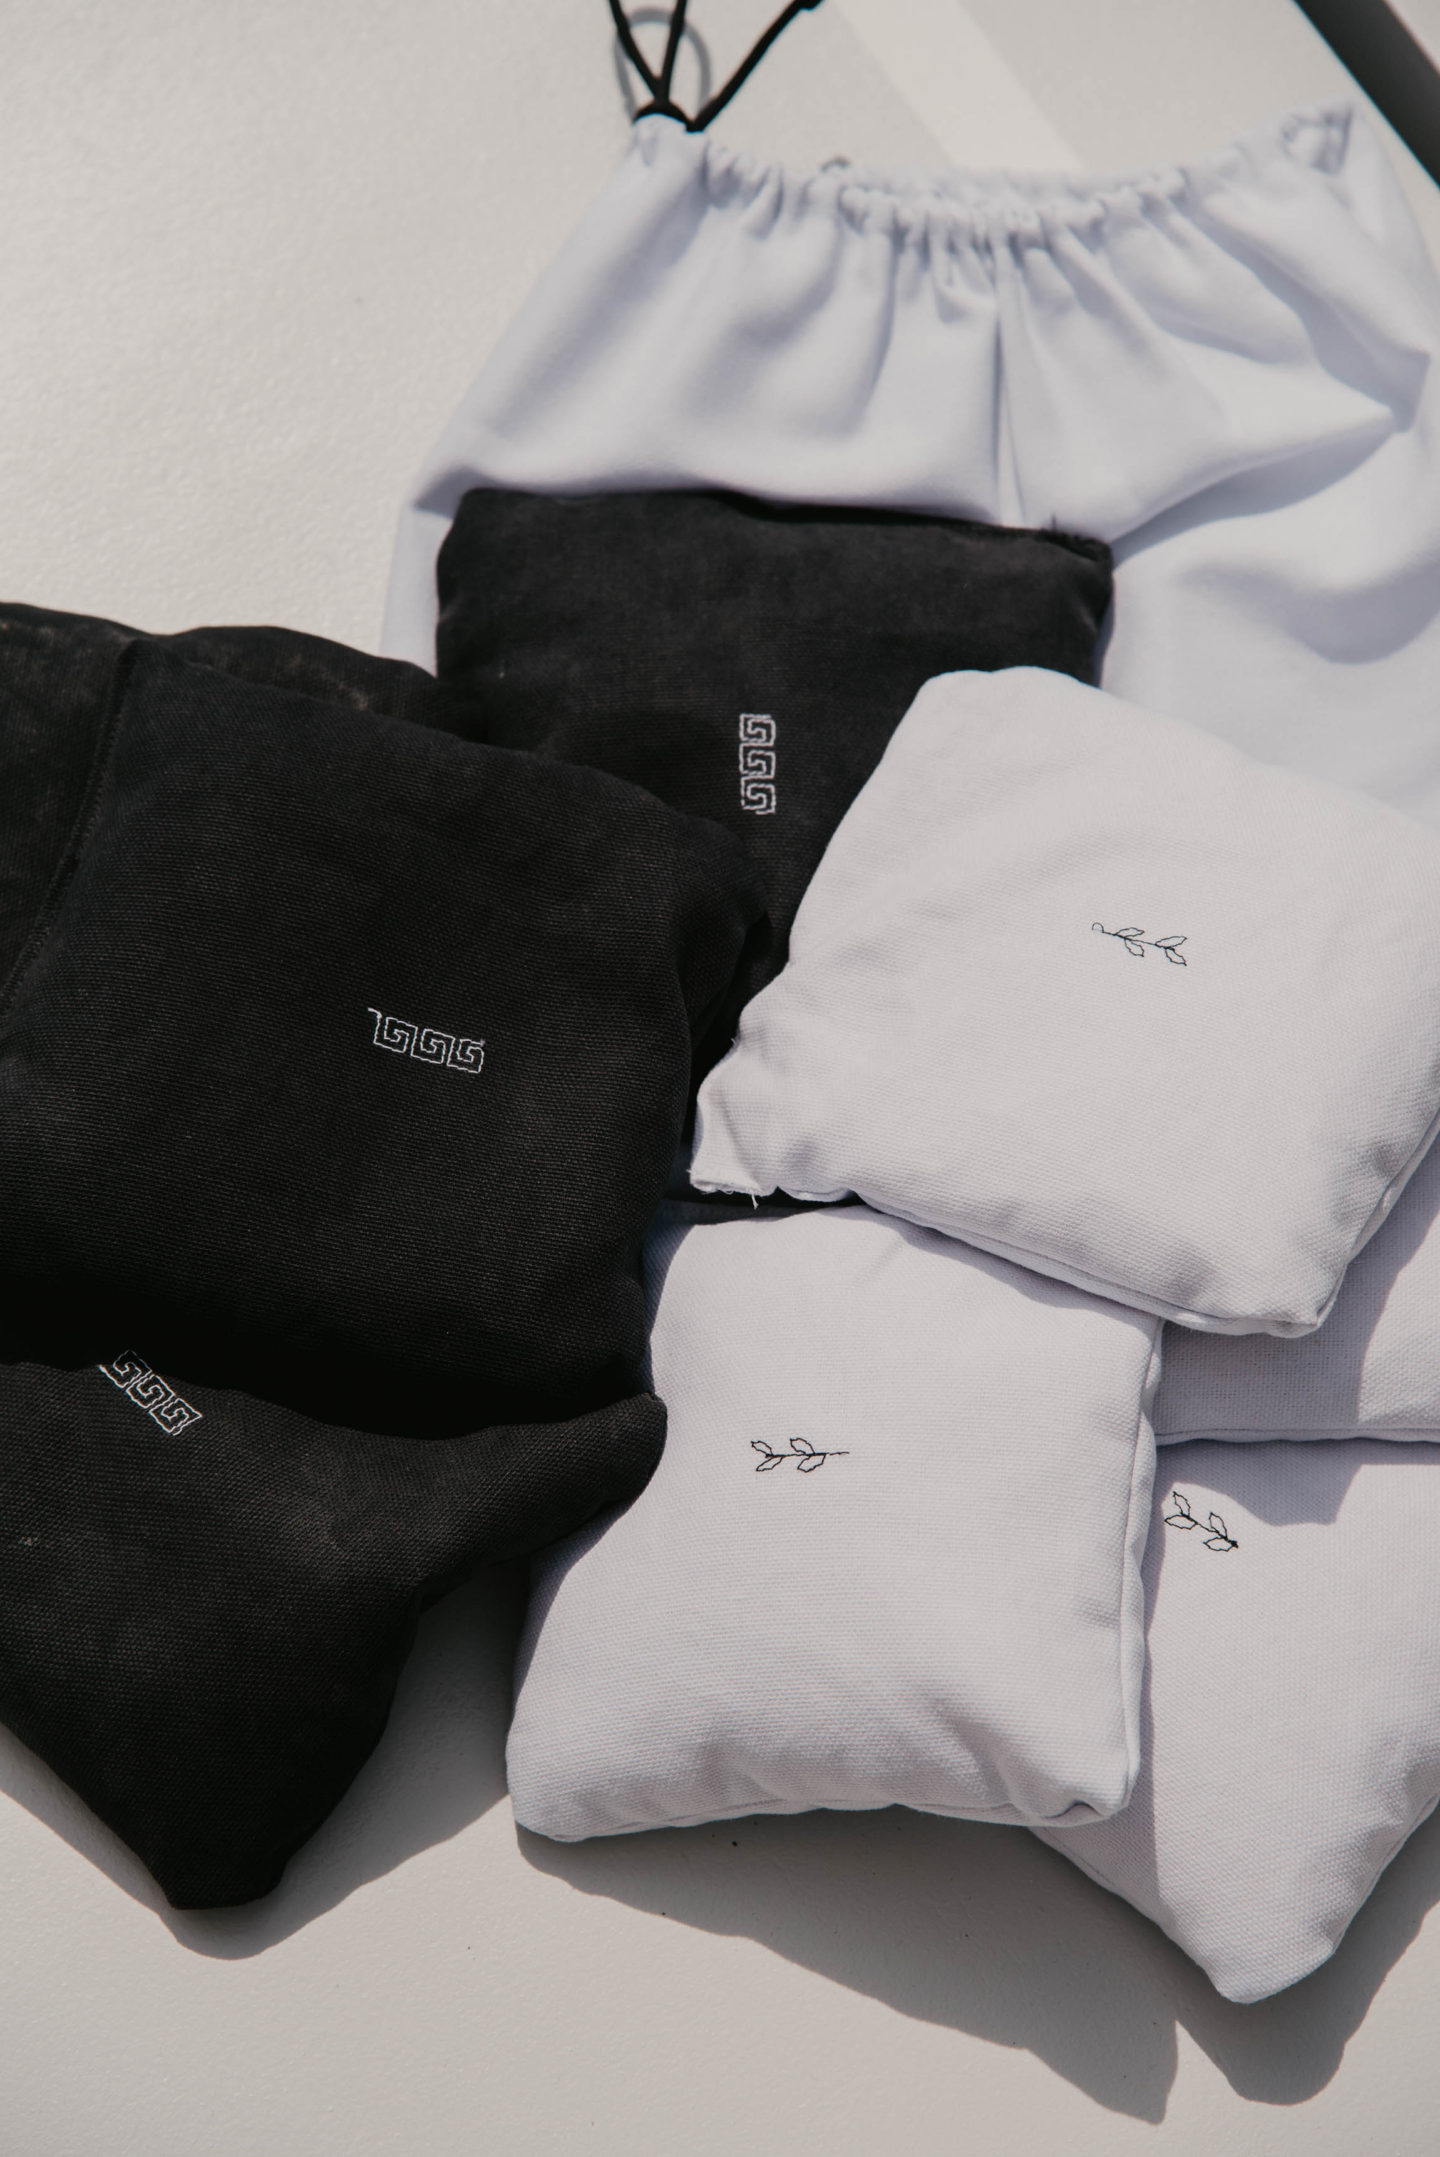
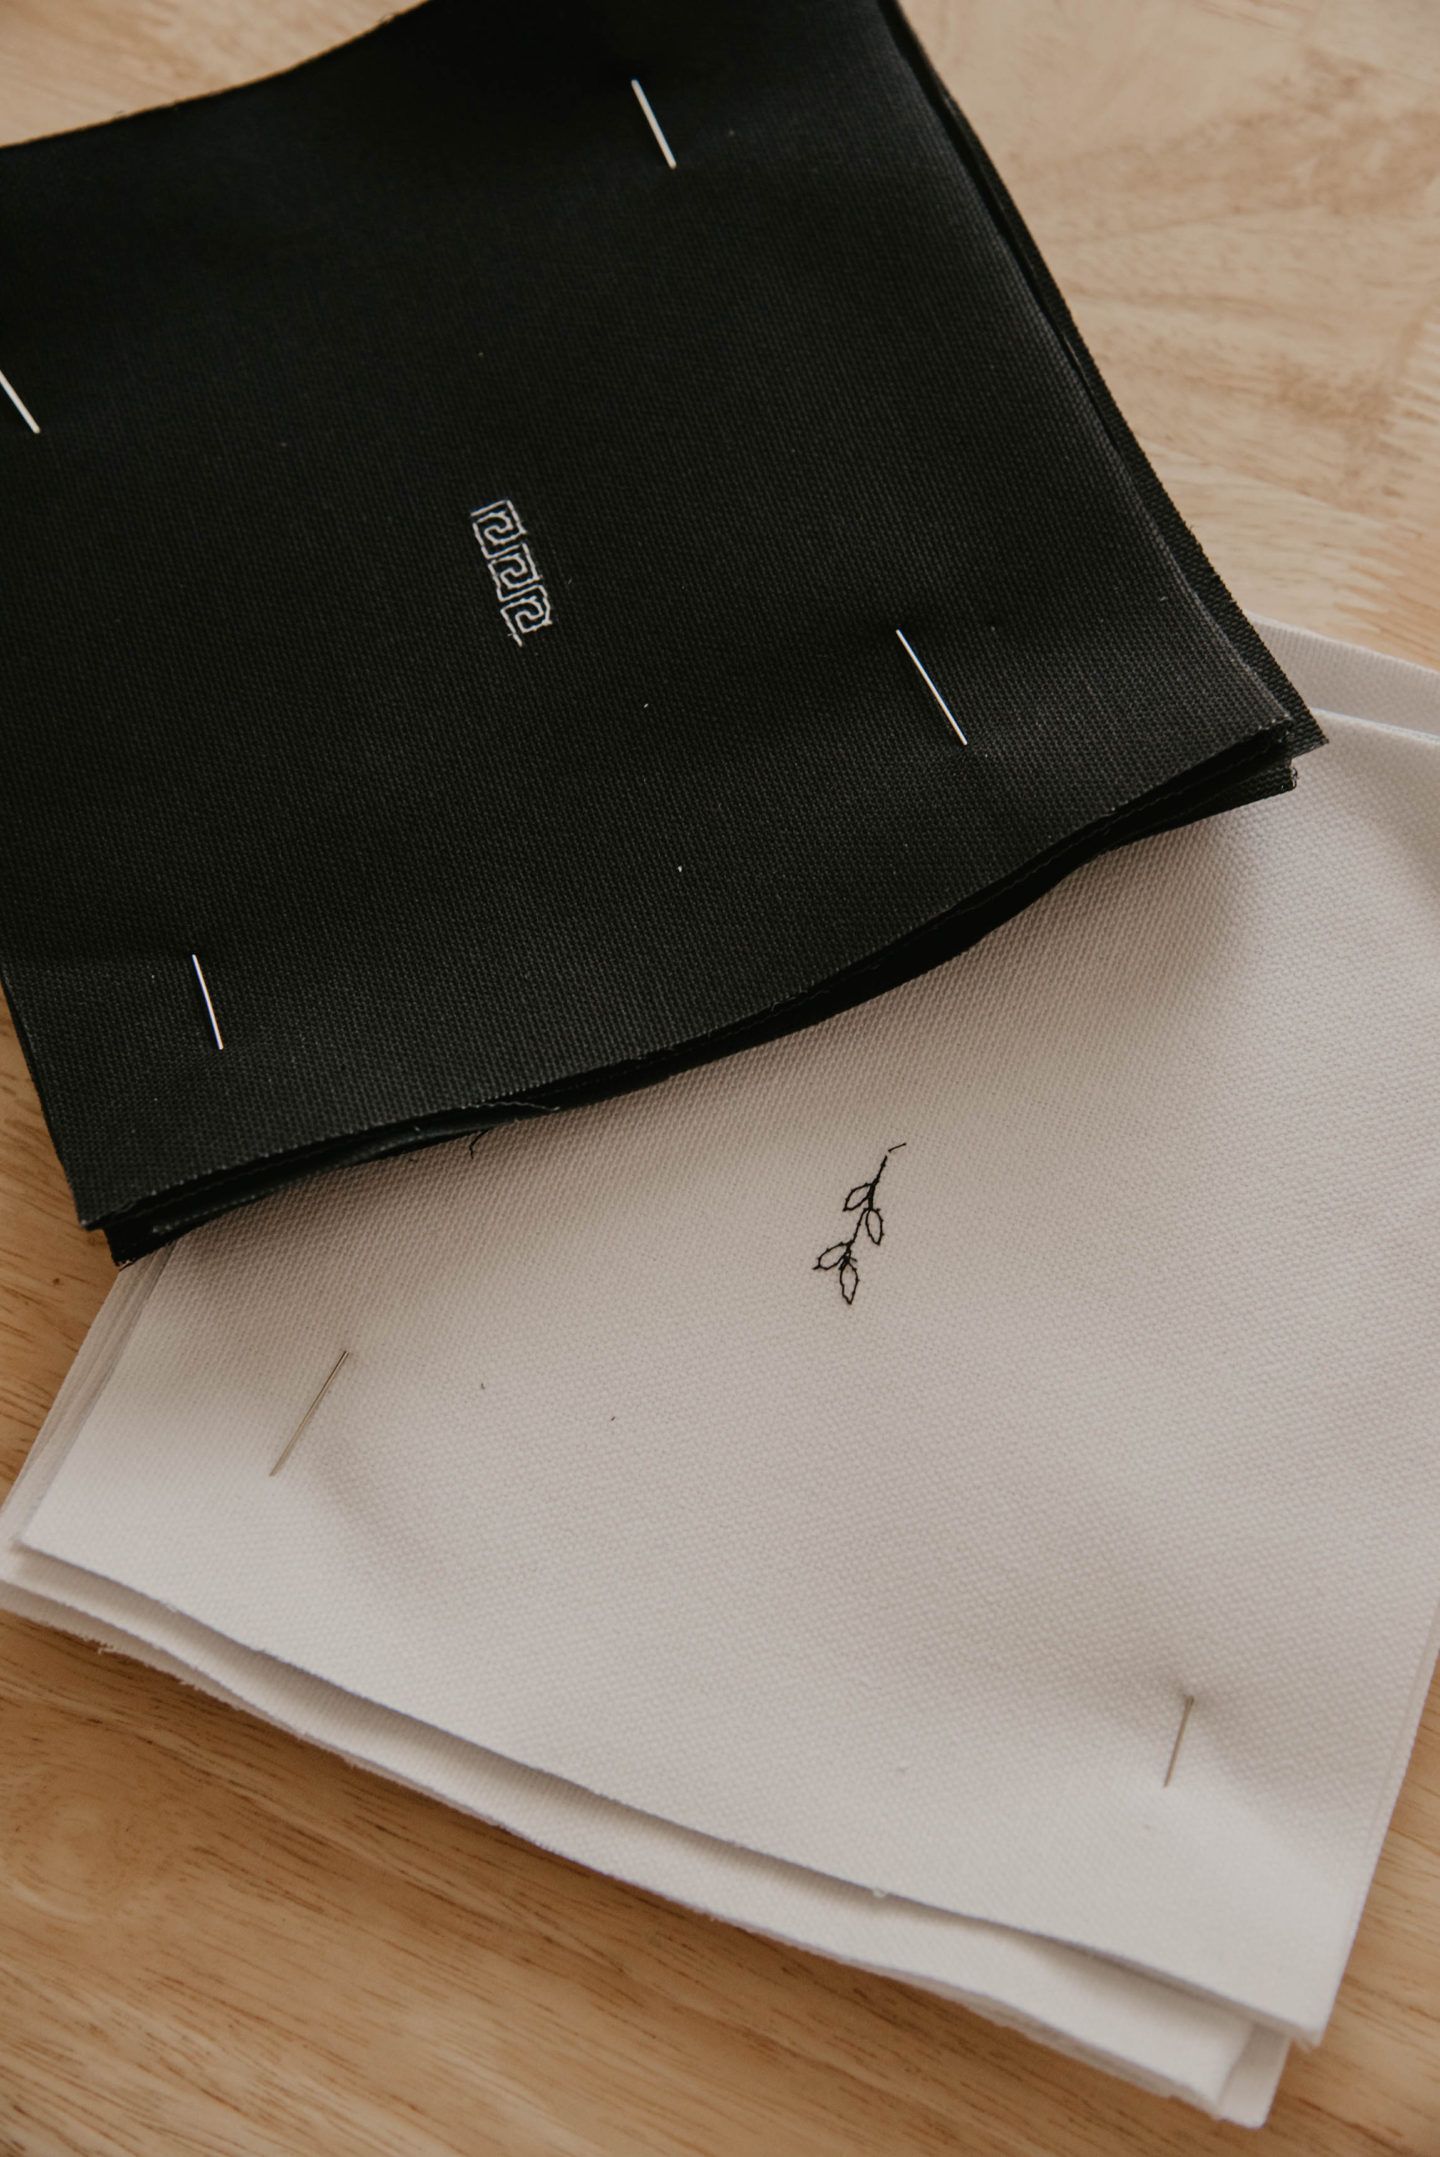
Using a ruler, chalk pencil, and super sharp fabric scissors, I measure out eight 7 x 7 inch squares for each color. You should have eight black squares and eight white squares. For added flare, I took four of each color and stitched little logos at the center using my sewing machine.
Next, I pinned two squares together with the outside of the material facing each other. Using the sewing machine, I sewed up three sides and cut off the corners to be more round. This will help your bag keep its shape with you fold the fabric inside out, so that they outside of the fabric is now on the outside of the bag.
Filling
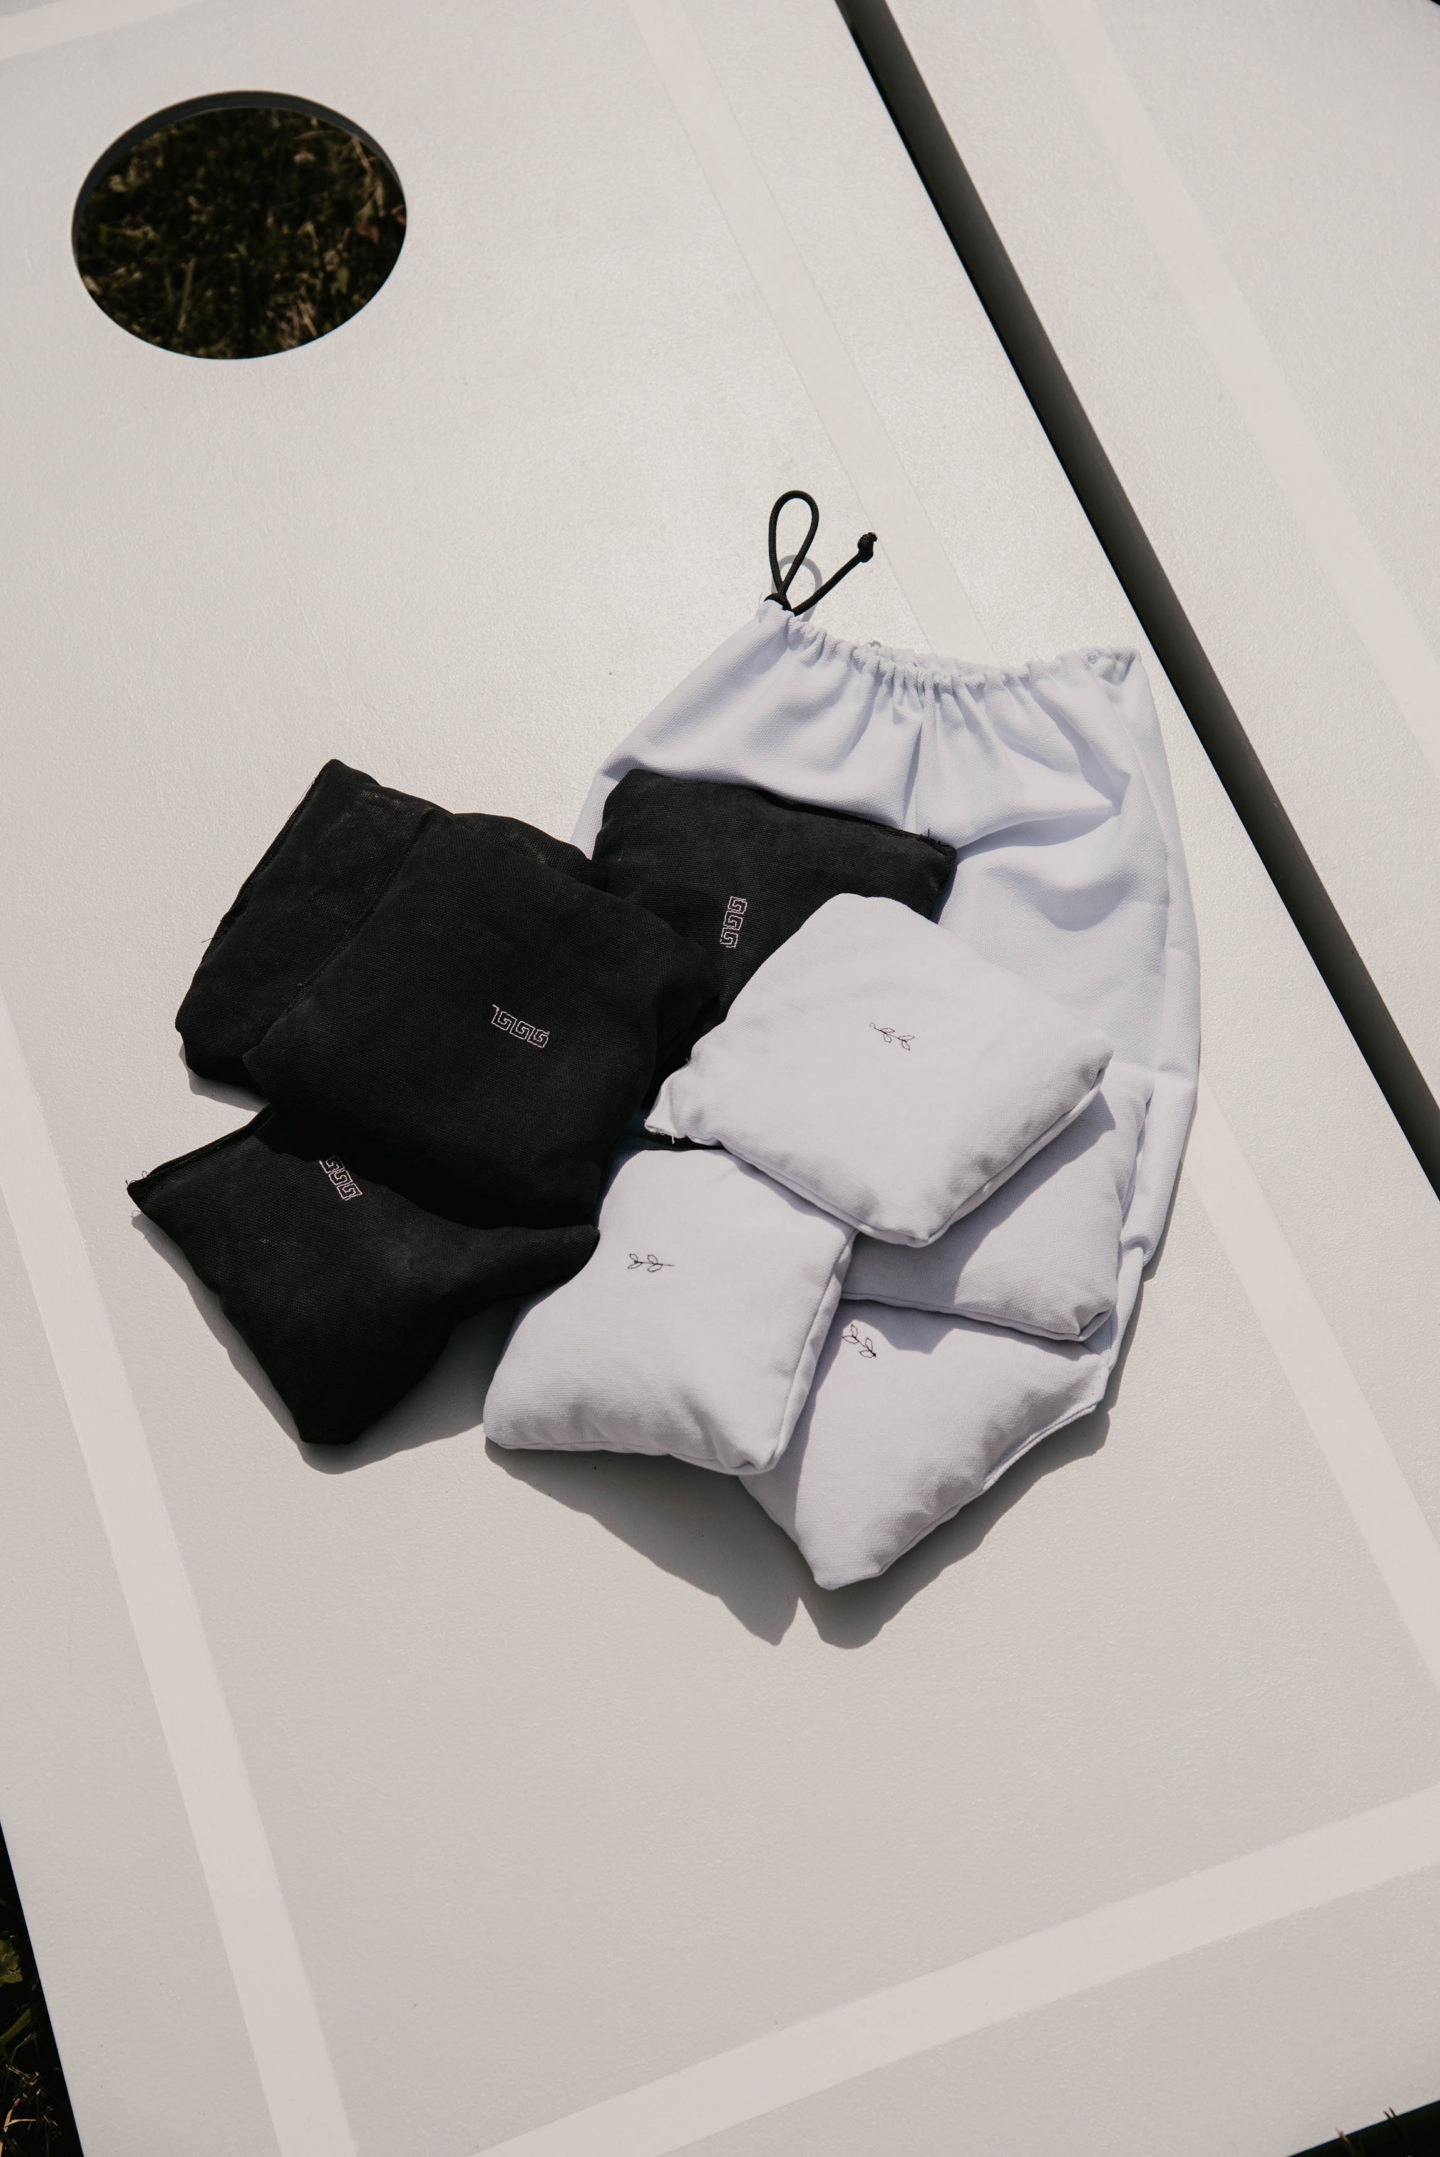
From there, I filled each bag with cracked corn. Using a kitchen scale, I weighed mine to 12 ounces instead of regulation 16 ounces because they turned out much smaller than I had hoped. Oops! I sewed too far in on the bags and wasted a lot of material – I should have tried to sew closer to the edge. To seal the hole on each bag, I pinned the material to close and sewed over the fabric.
–
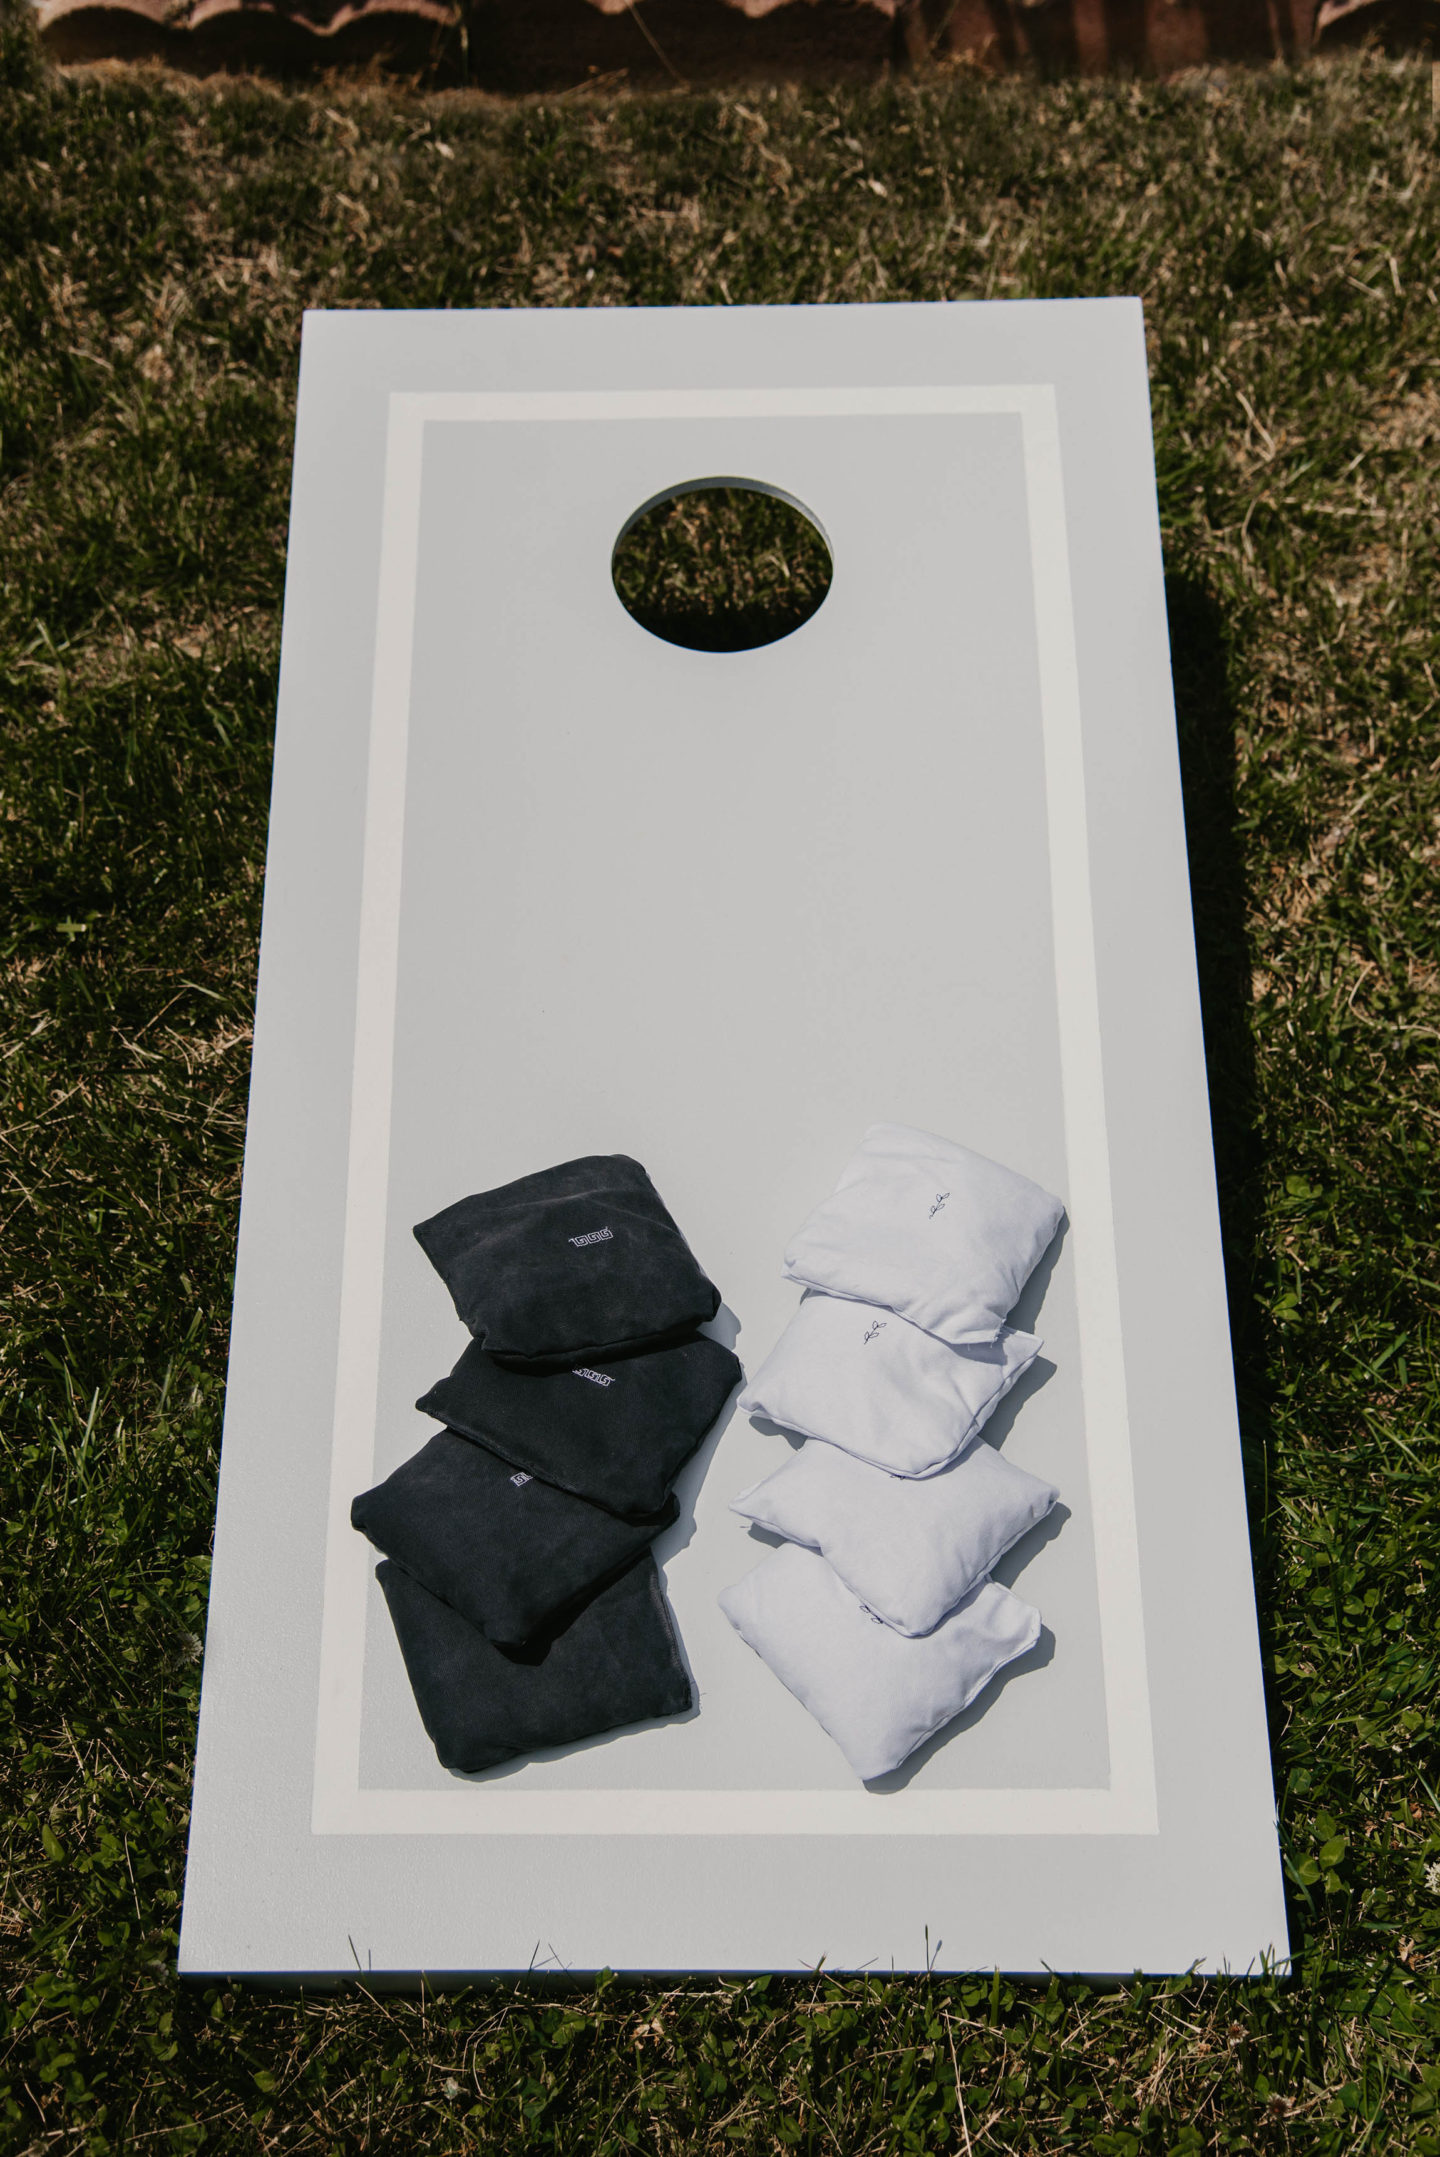
The bags came out pretty cute – but definitely not perfect. But honestly, this is a bag of corn that is going to be thrown at a wood board so perfection isn’t exactly necessary, haha!
What do you think of my painted cornhole boards and home sewn bags?
![]()