I love a good trinket dish to place my jewelry and other baubles.
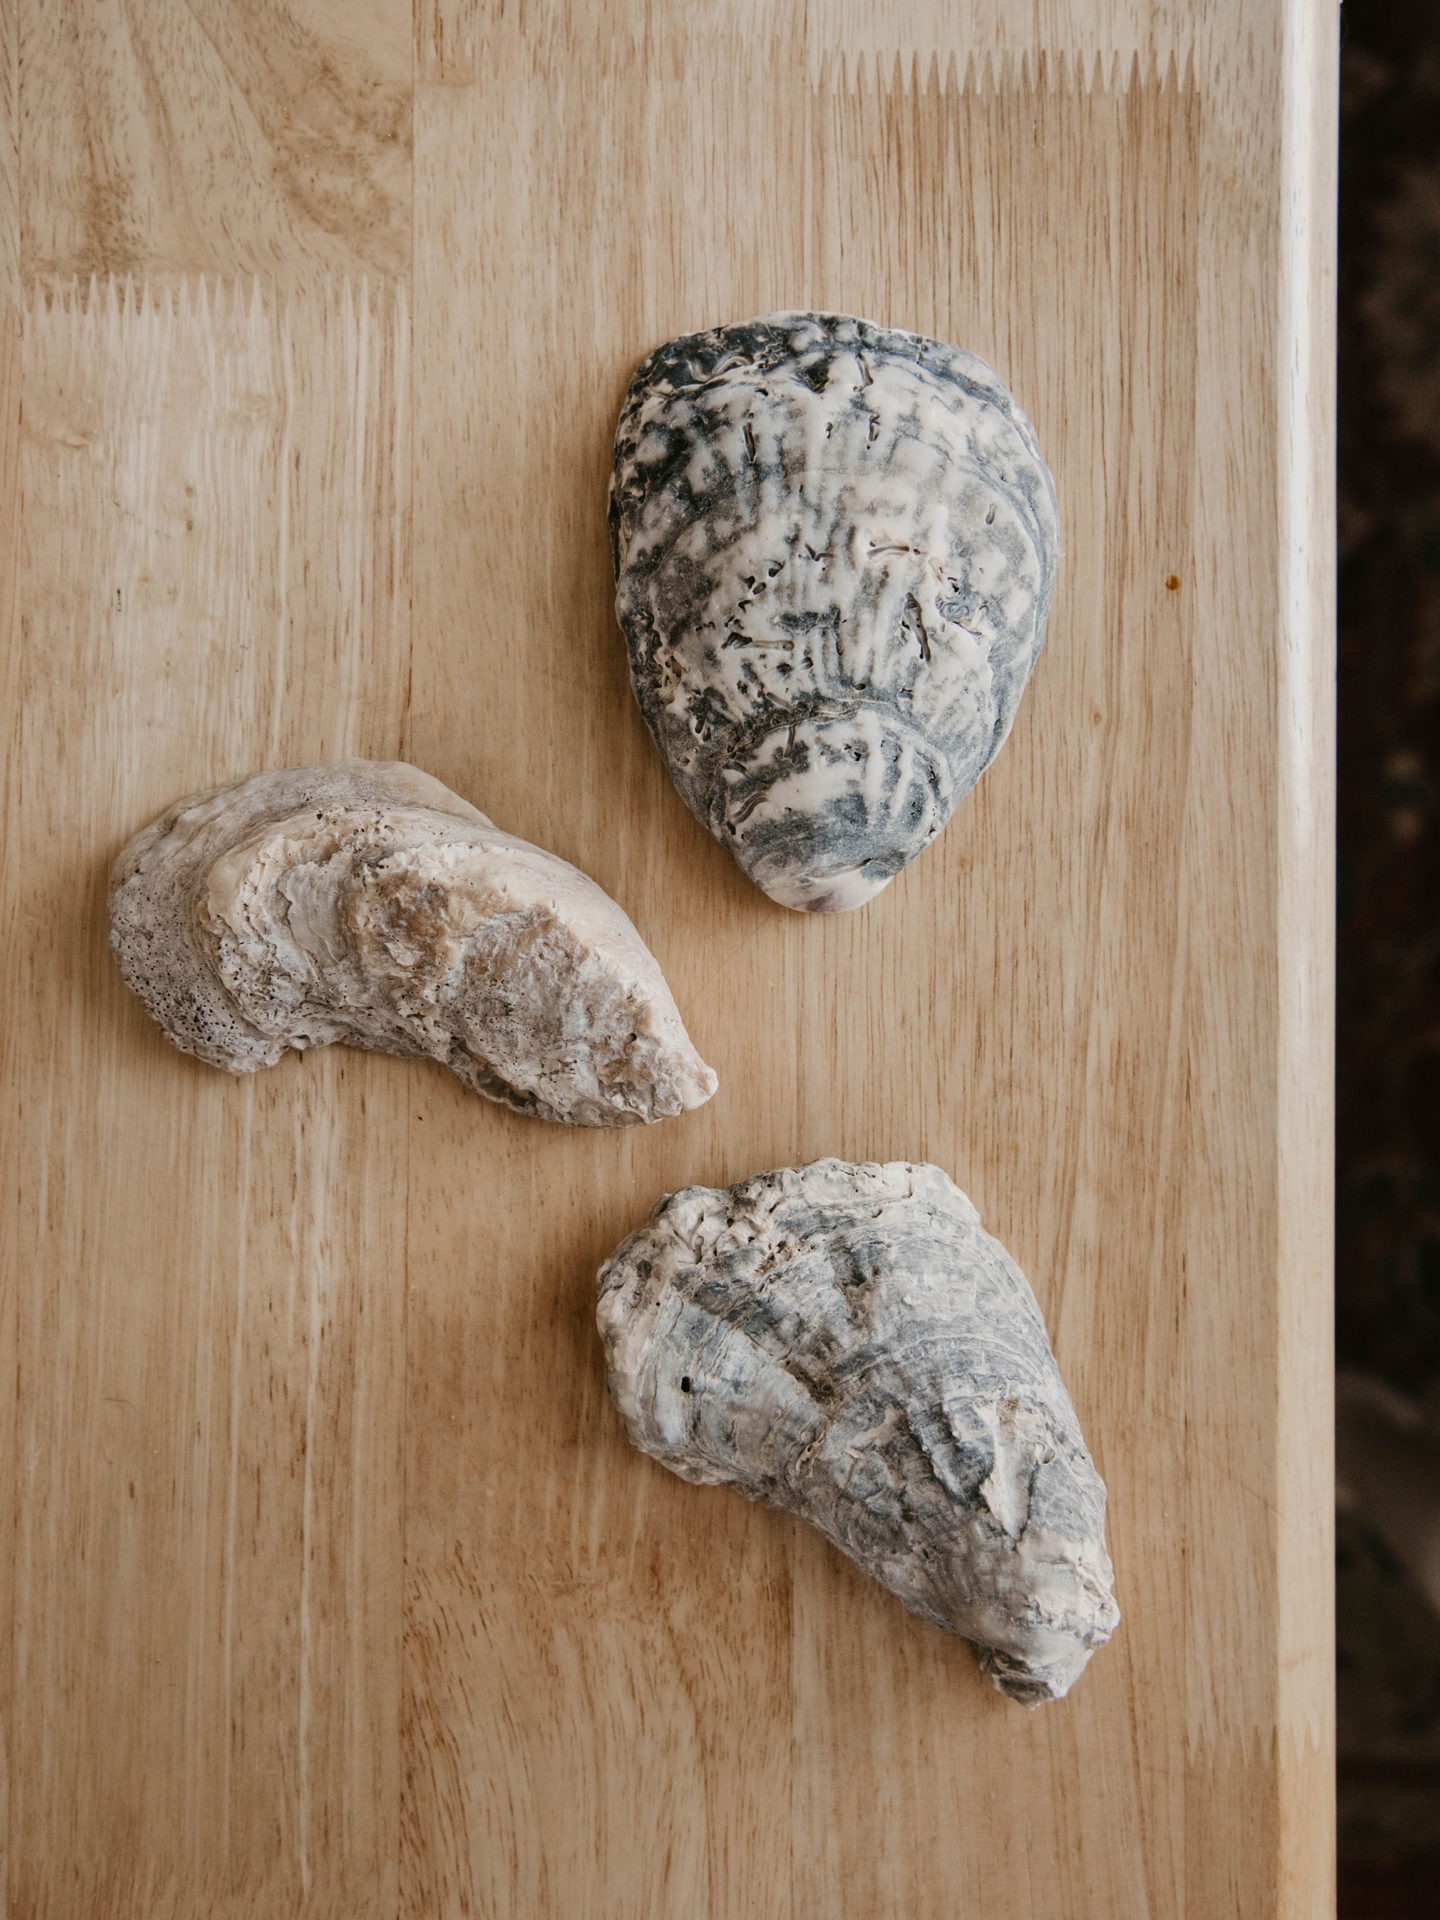
A couple years ago, Anthropologie sold an oyster shell trinket dish and it was gorgeous – but pricey. I don’t have a beach house, but I do have a special place for beach-y decor. On our most recent beach trip, I collected three large oyster shells so that I could make my own.
I’m sure my in-laws thought I was bonkers. I was wading in freezing ocean waters, digging in the sand, looking for the perfect shells. I even carried one of my netted bags and filled it to the max with shells. To be fair, I’ve always loved collecting shells at the beach. I think I have way to many shells as it is, but I can’t help but collect all the beautiful ones I come across.
Things You’ll Need:
-
- Large Oyster Shells (you can buy on Amazon)
- White Acrylic Paint
- Gold Leaf Paint
- Paint Brushes
- Gloss Mod Podge
- optional: Printed Tissue Paper (here) / Printed Napkins (here)
CLEAN
Clean your shells with warm water and remove as much loose debris as possible. I didn’t exactly scrub each one but I rubbed off any sand and debris with my fingers. Once they were clean, I placed them on a plate and let them dry outside.
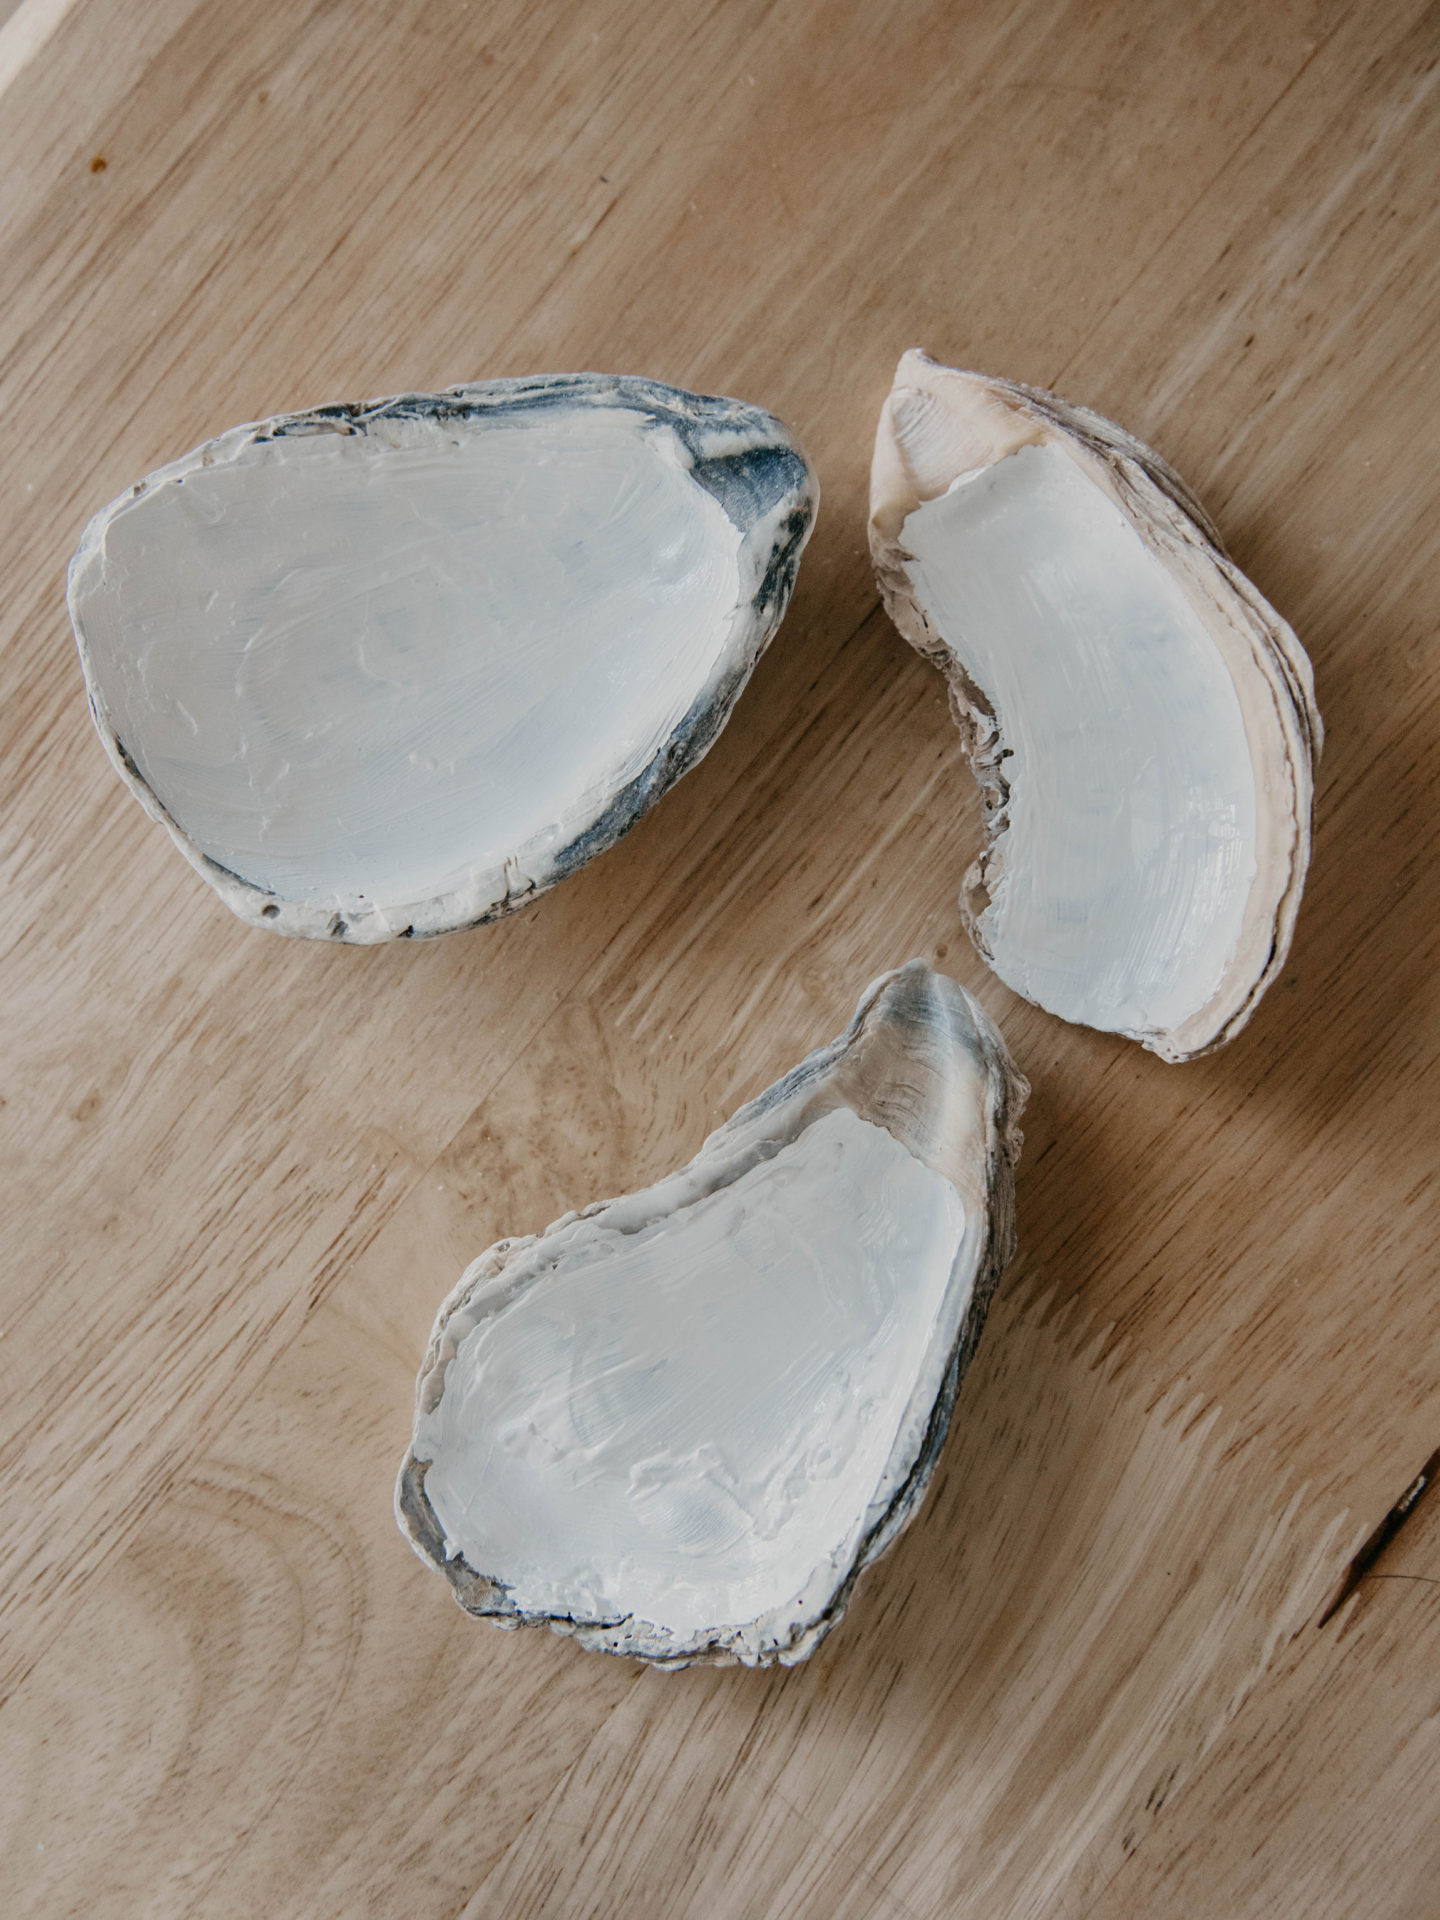
PAINT
Paint the inside of the oyster shells white. You may need to do 2-3 coats to achieve your desired opacity but remember to be patient. Let each coat dry before you apply the next.
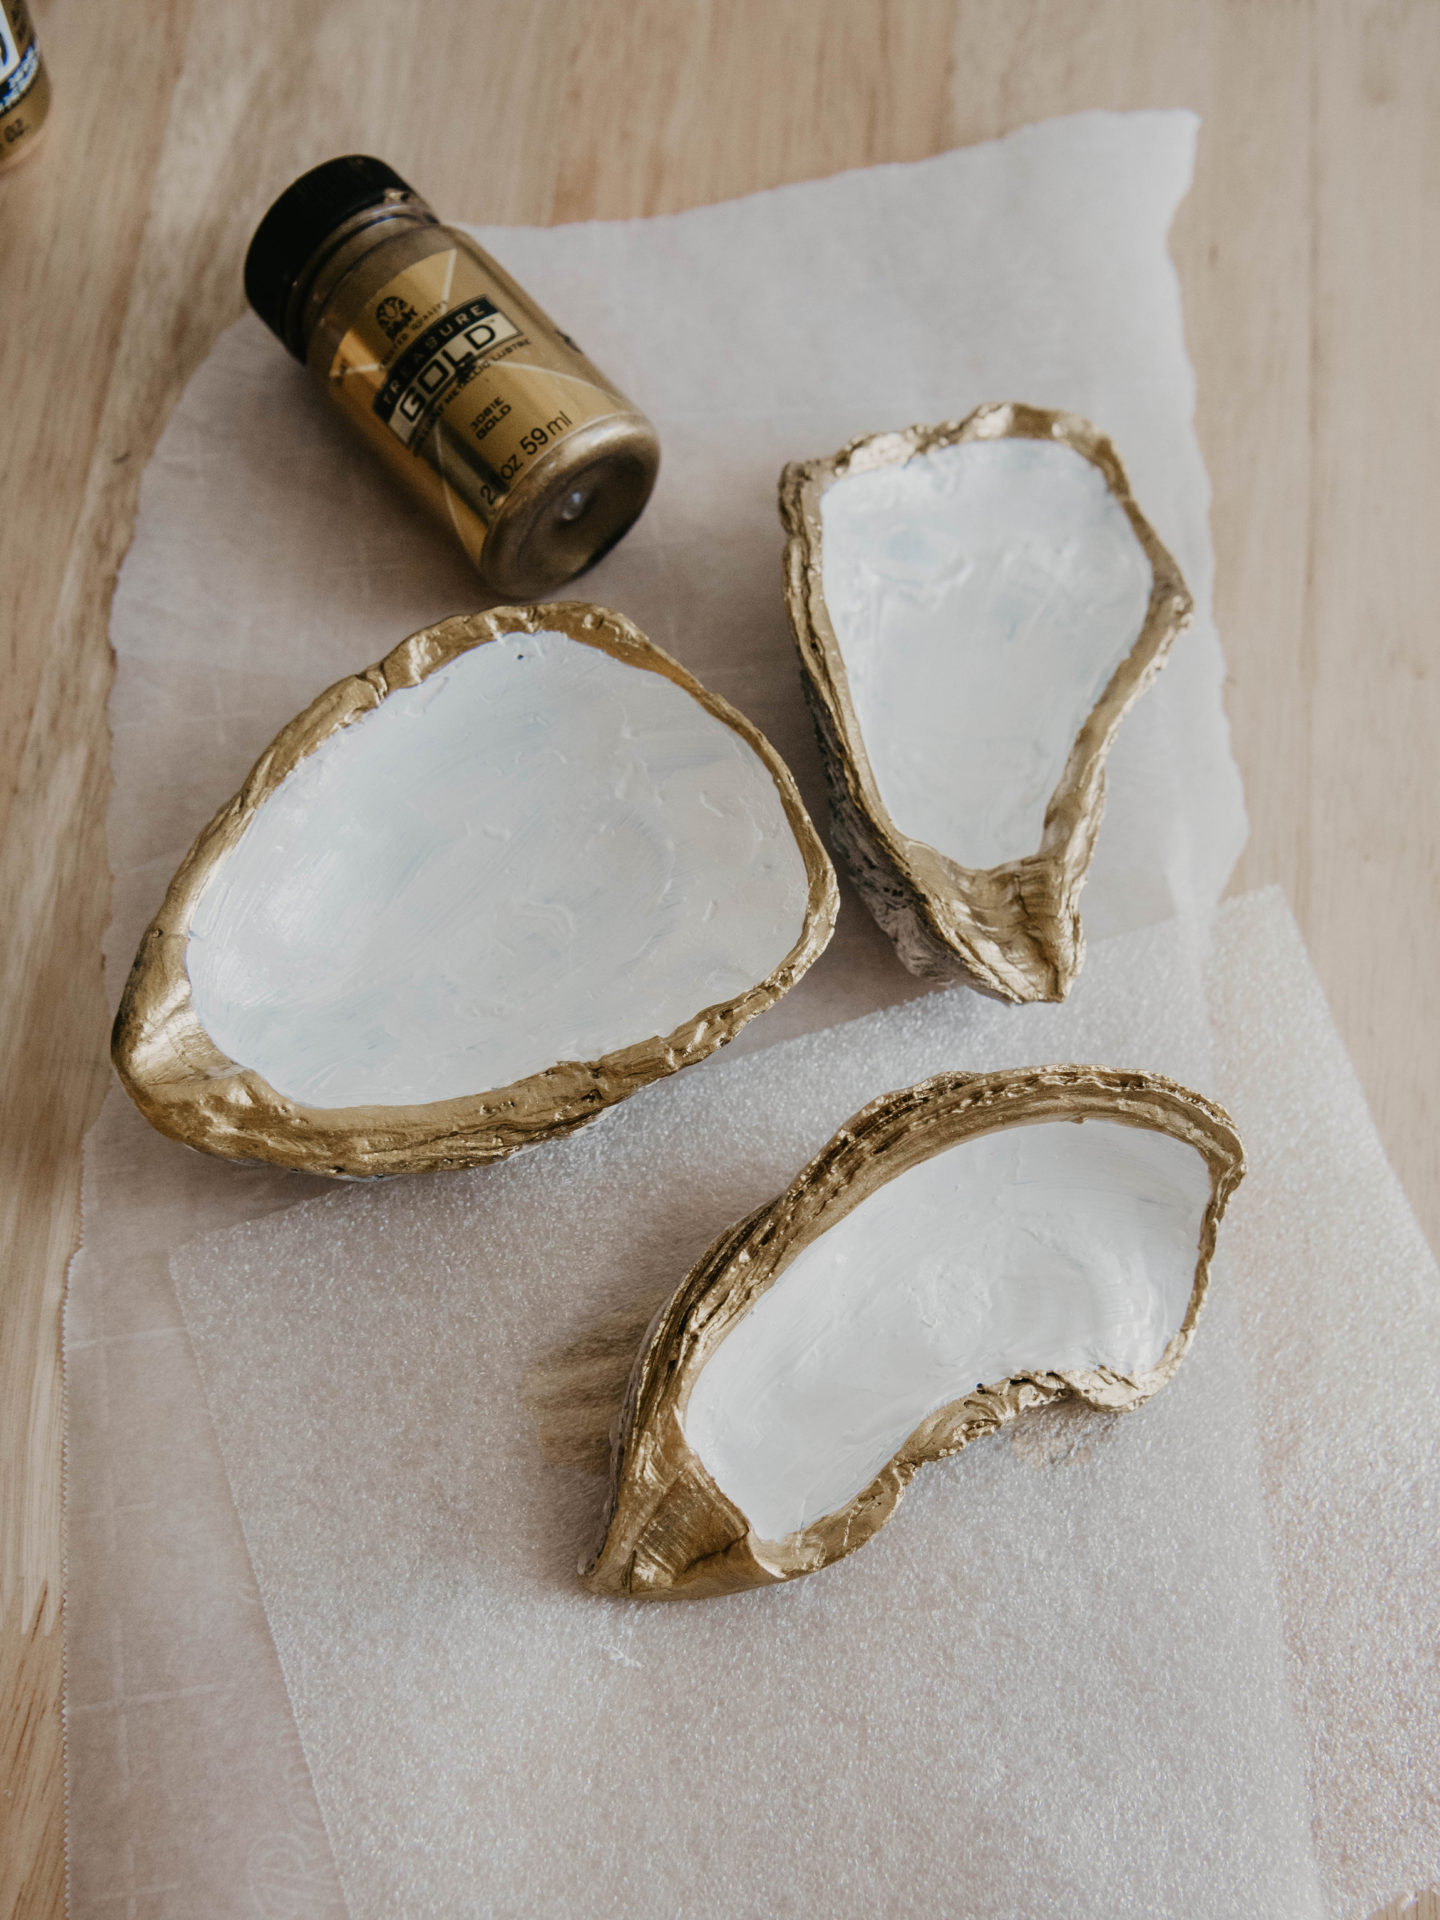
ADD GOLD TRIM
With a paint brush, carefully apply your gold paint to the edges of the shell. You can make this as minimal or as thick as you’d like. You may choose to paint the back of the shell gold too – However, I chose to leave the shell as it was.
SEAL WITH MOD PODGE
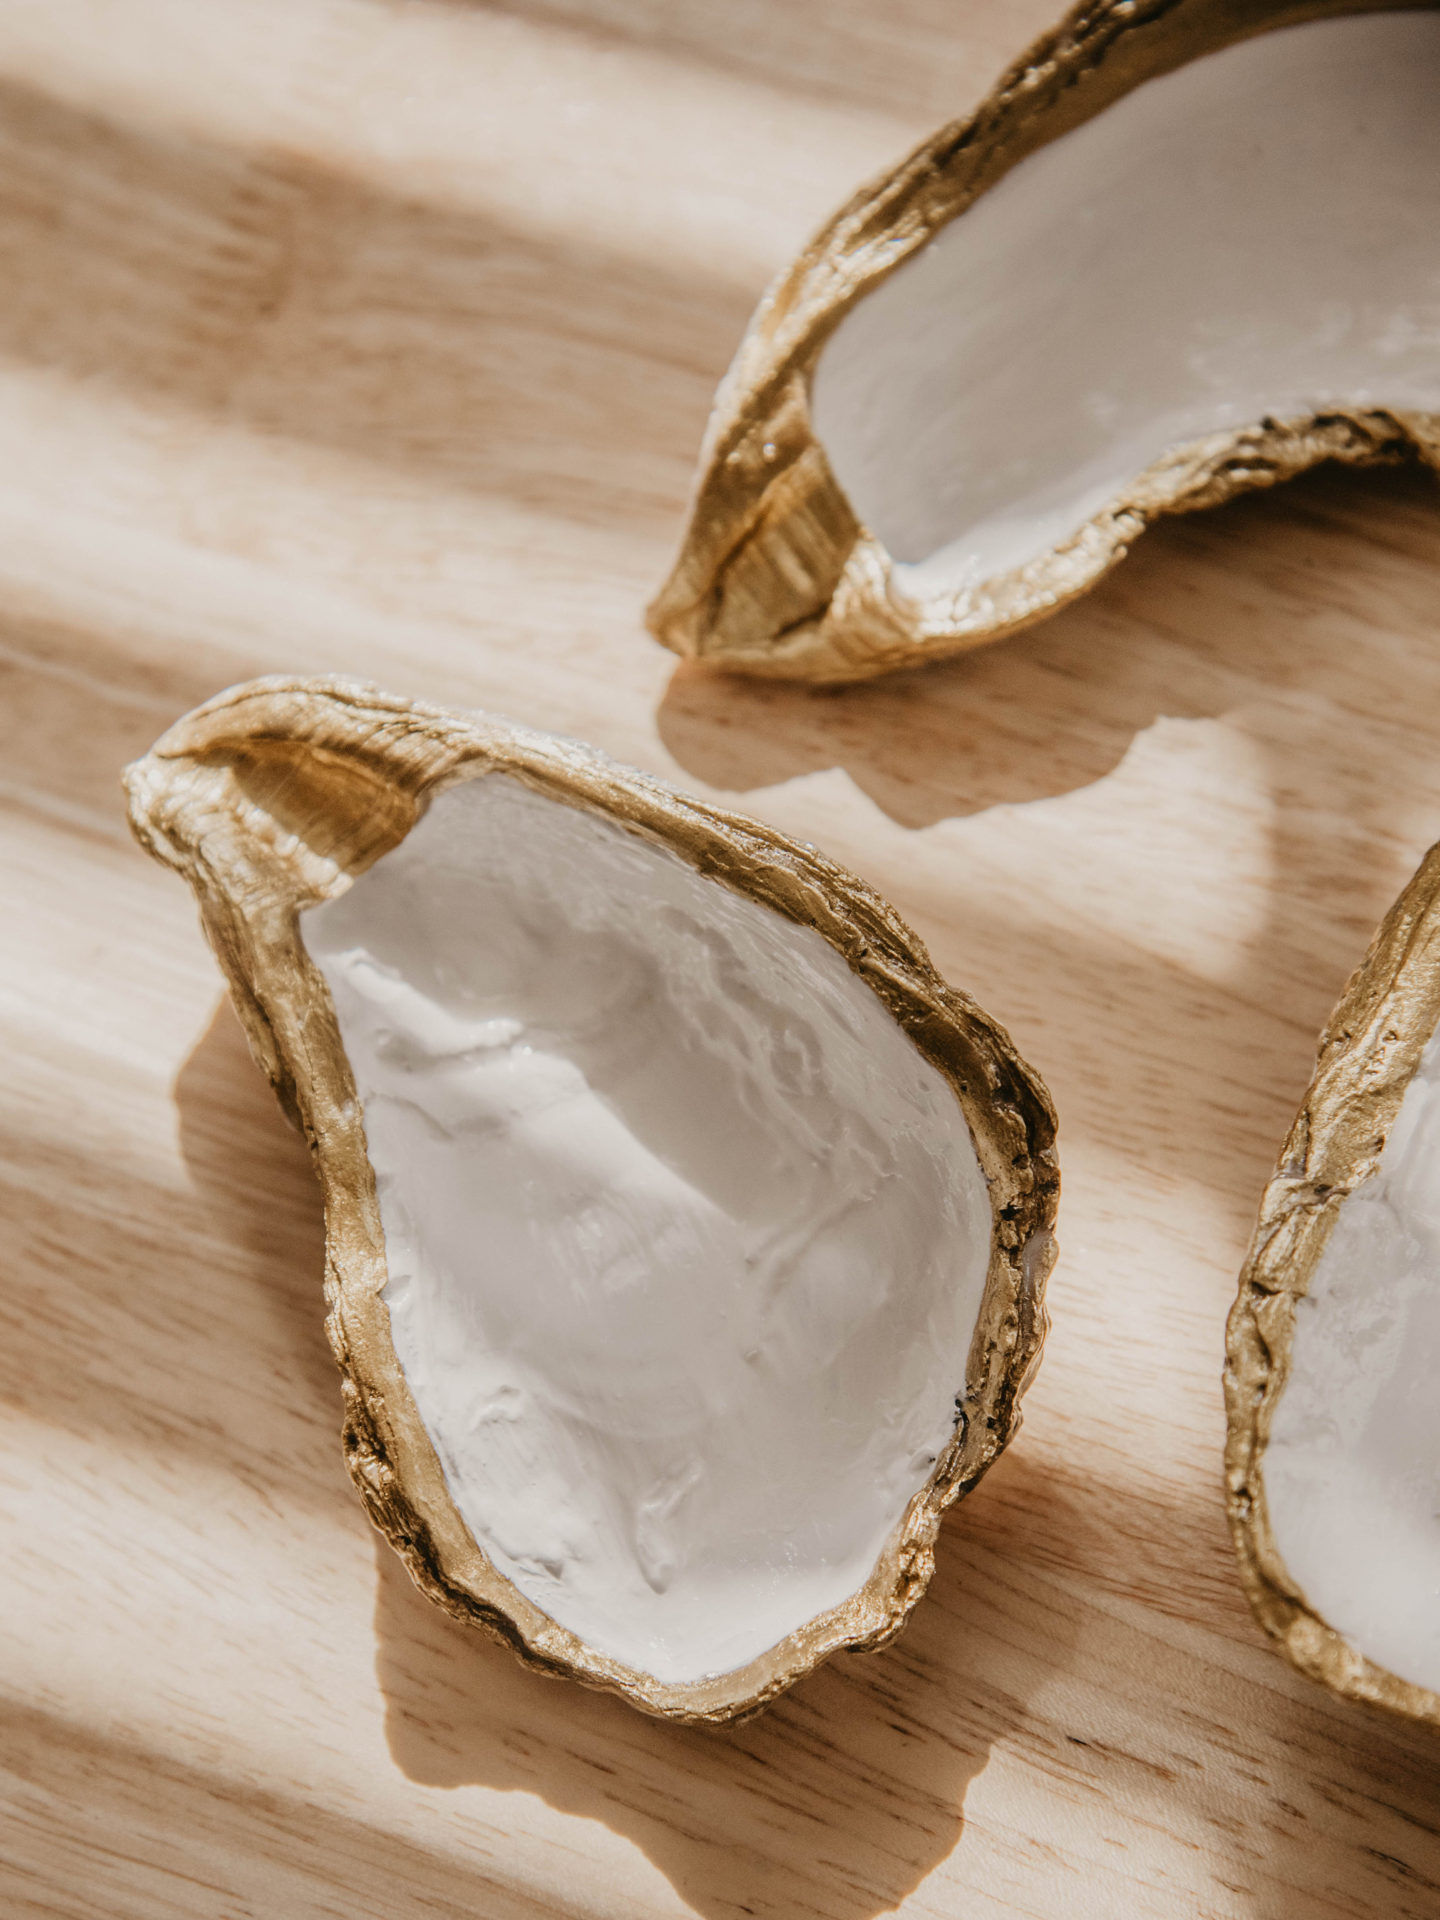
Grab a large brush and generously apply Mod Podge glue all over the painted areas of the shell. Once it’s dry, it will be clear, glossy, and water resistant.
–
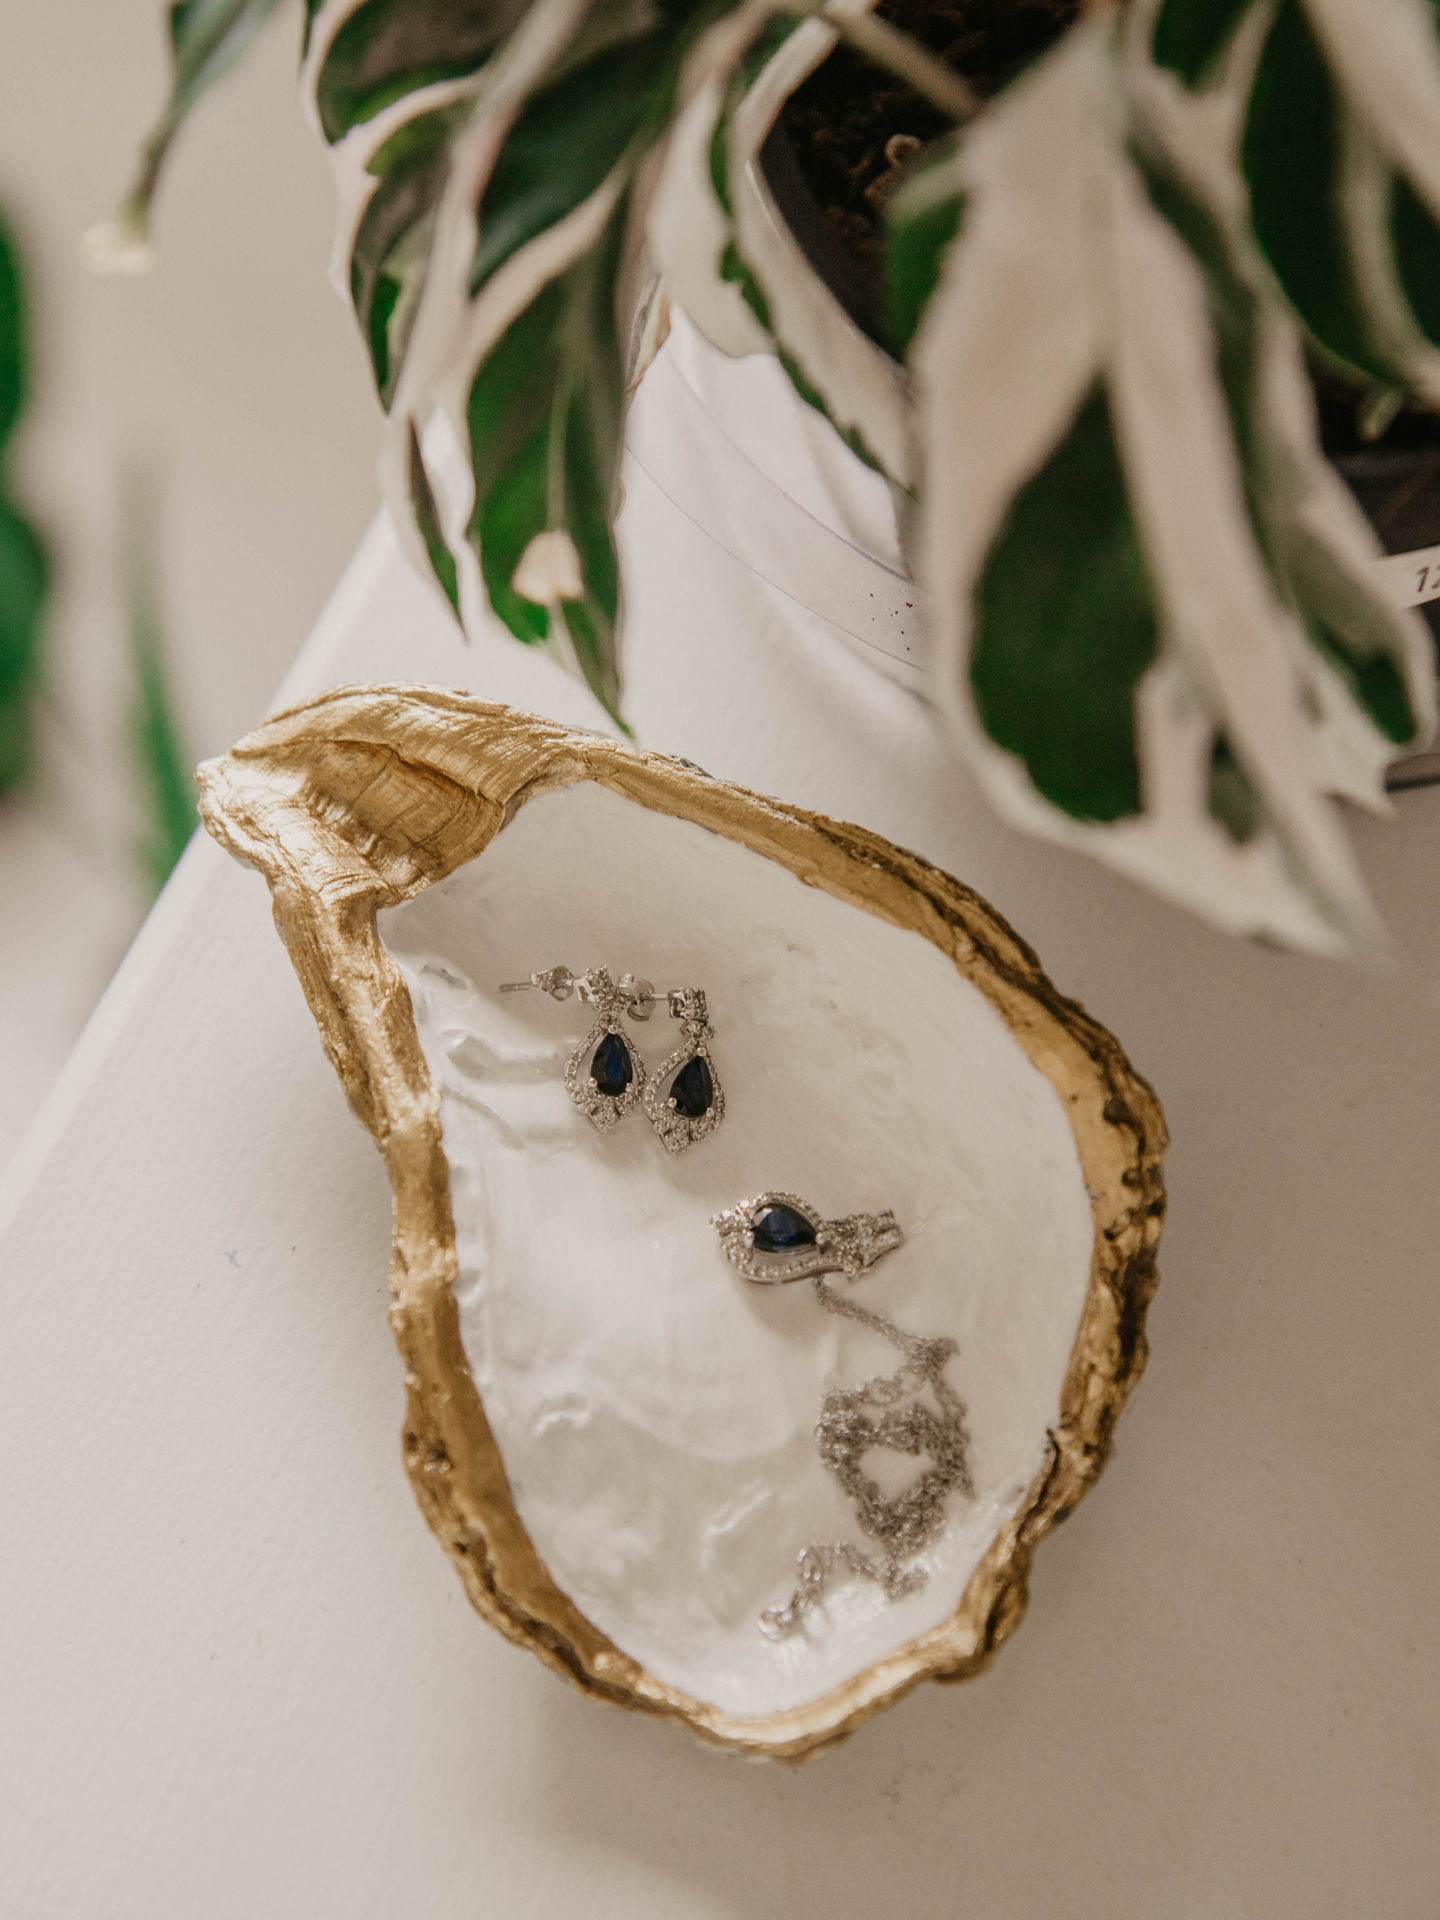
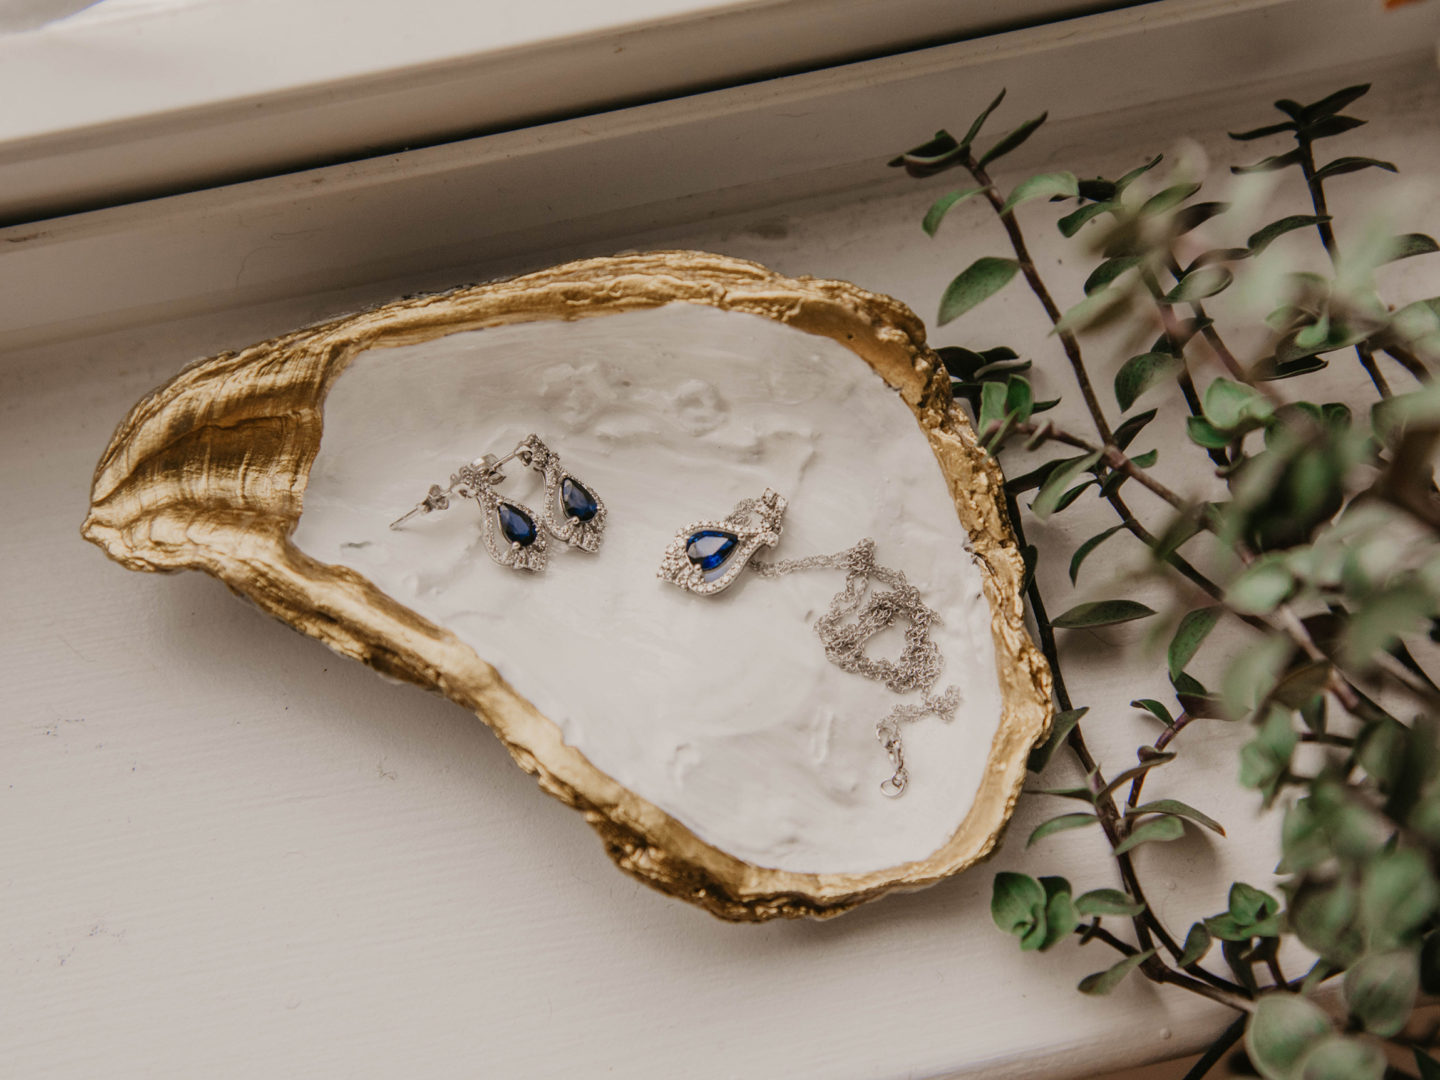
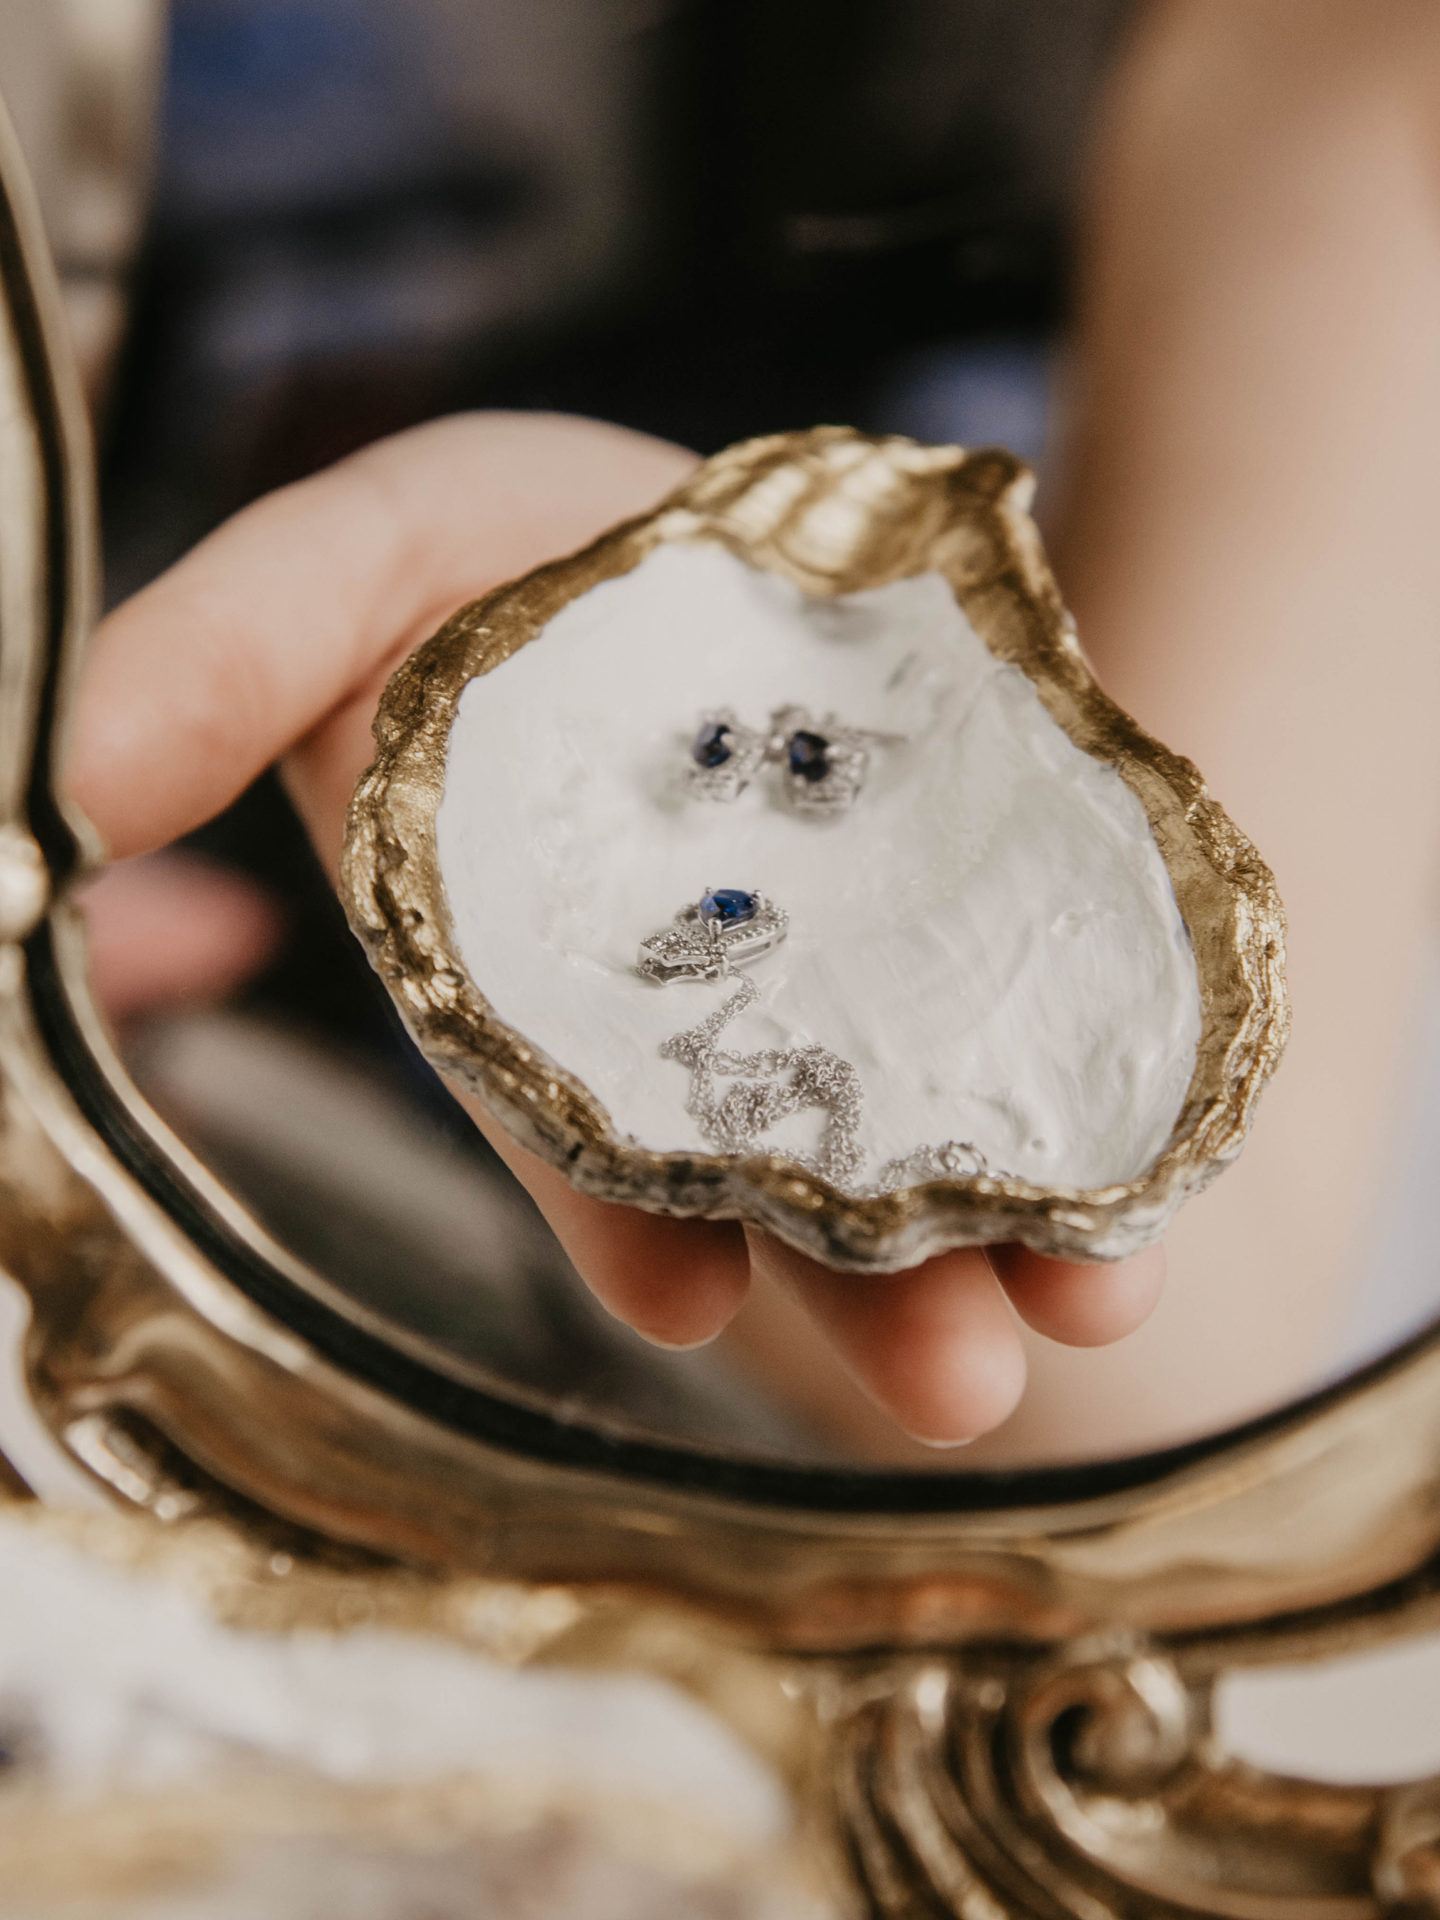
The oyster shell trinket dish came out exactly as I hoped. It’s perfect to accent jewelry or keep near a sink. It would also be an eye-catching detail to use for beach wedding ring photos, too and honestly, any statement rings would look great sitting here too. I could also see these being cute with designs inside, whether they be hand painted or ‘mod podged’ in with design tissue paper. I love turning sea shells into fun home decor projects.
What do you think of this DIY?