A unity candle symbolizes two people joining in marriage.
Filipino weddings typically have several ceremonies, or rituals, within the main ceremony. There’s a candle lighting, a coin blessing, a veiling, the tying of the nuptial rope, as well as the throwing of rice grains. My fiancé and I wanted to have more of an American-style wedding and incorporate some aspects of a Filipino wedding. We decided on a unity candle that incorporates our mother’s as the bearers of the familial candles.
Our beautiful moms will carry their candles down the aisle and set them on an alter. During the ceremony, Pat and I will take the flames from each familial candle and light our own unity candle together. We wanted our unity candle to look as beautiful as the ceremony will be, so I decided to DIY my own that was in keeping with our English Garden wedding theme.
Things You’ll Need:
-
- Glass Votive (Dollar General)
- Glass Candlestick Holder (Dollar General)
- White Pillar Candle
- Dried Greenery
- Mod Podge
- Brush
- E6000
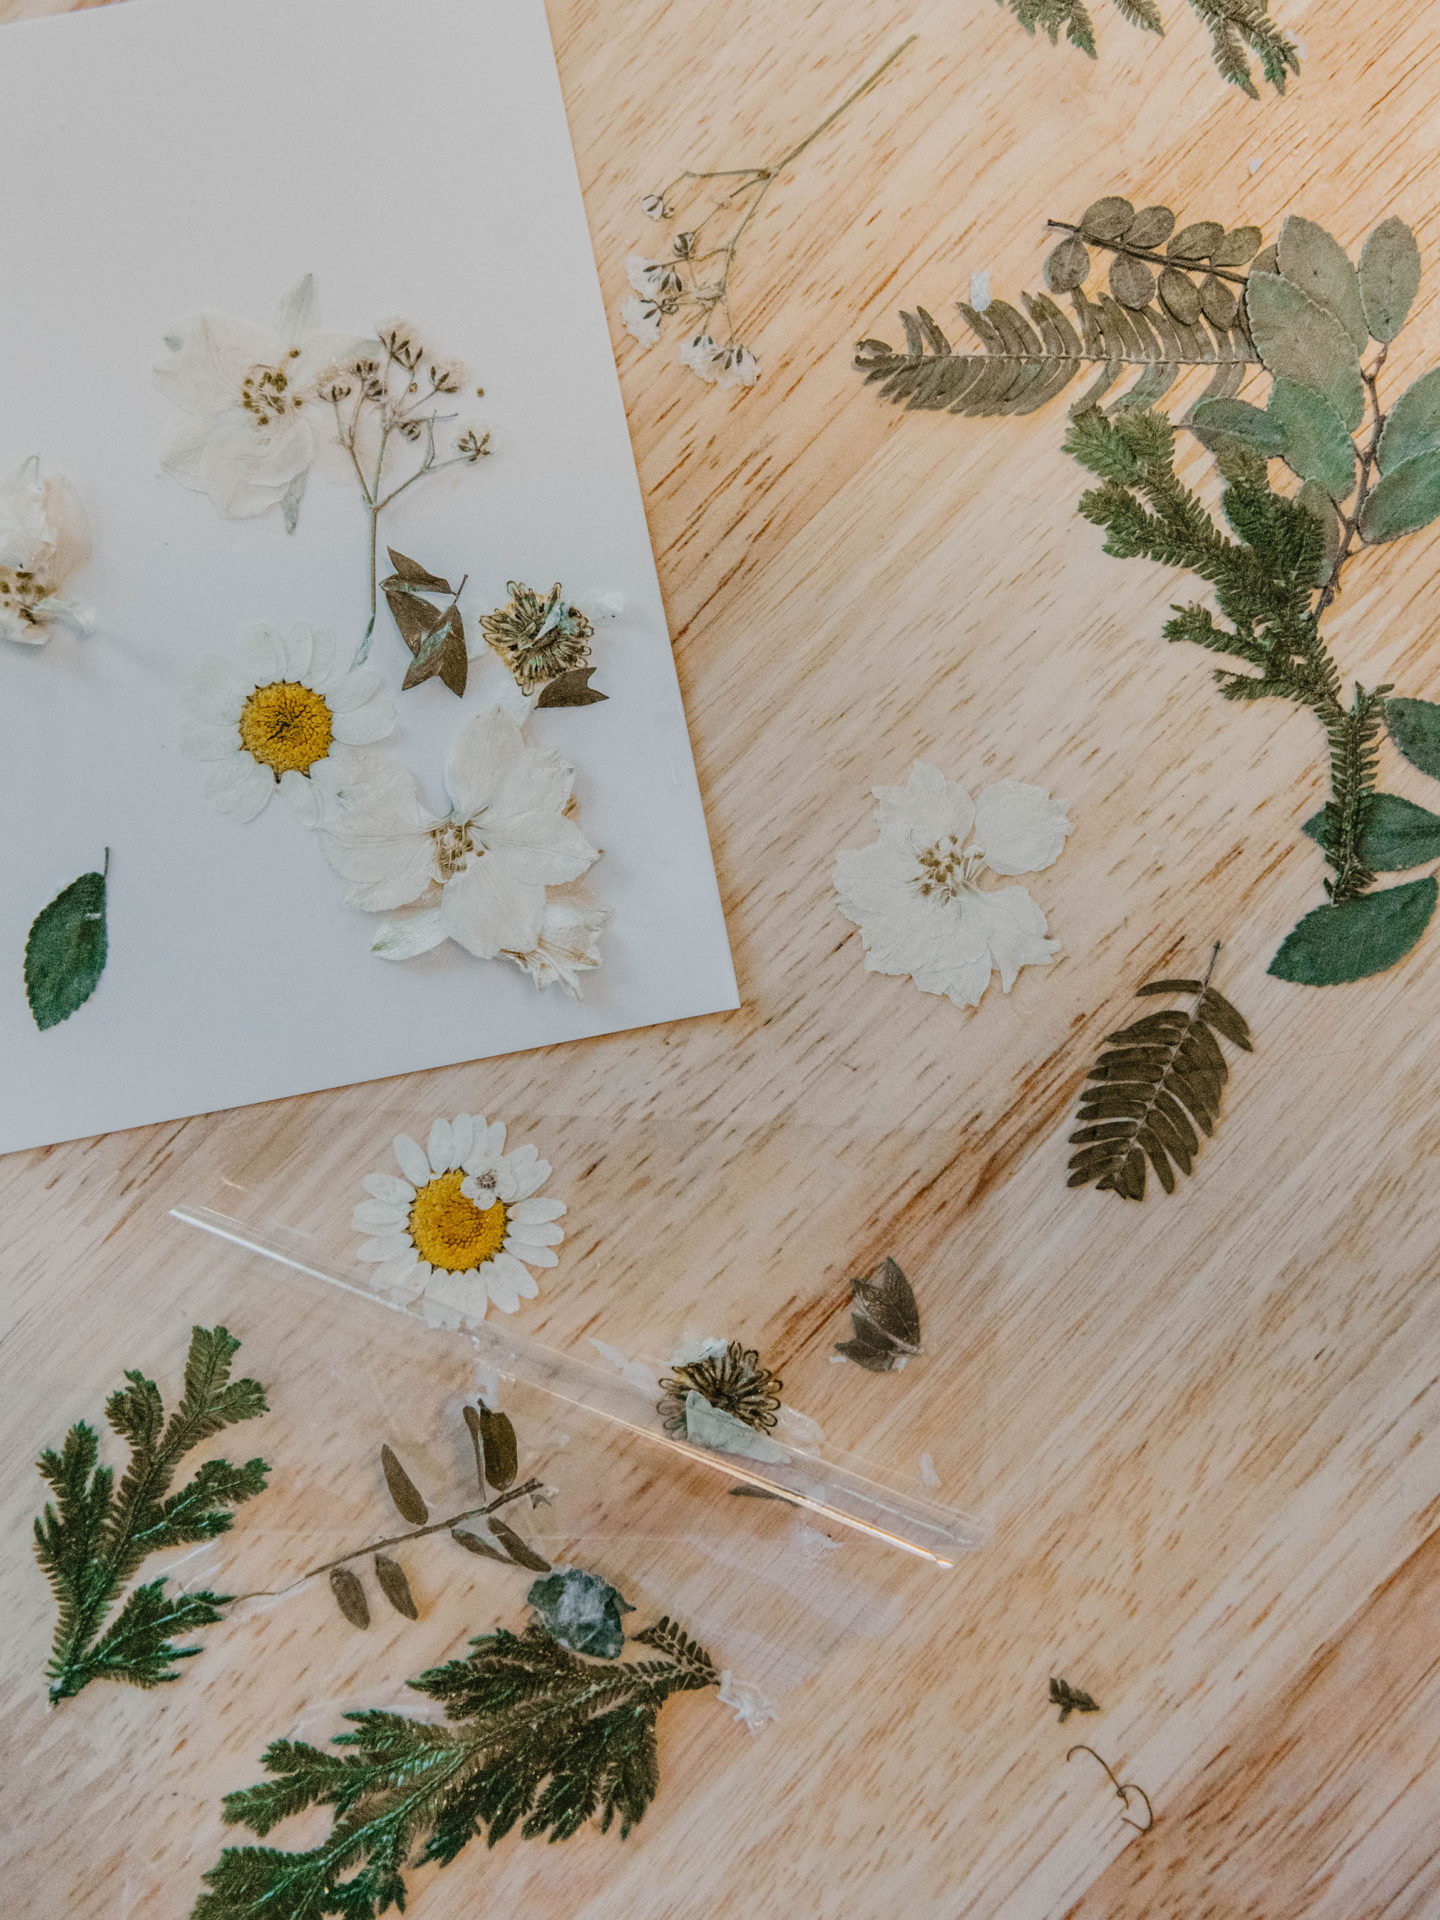
Choose Your Greenery
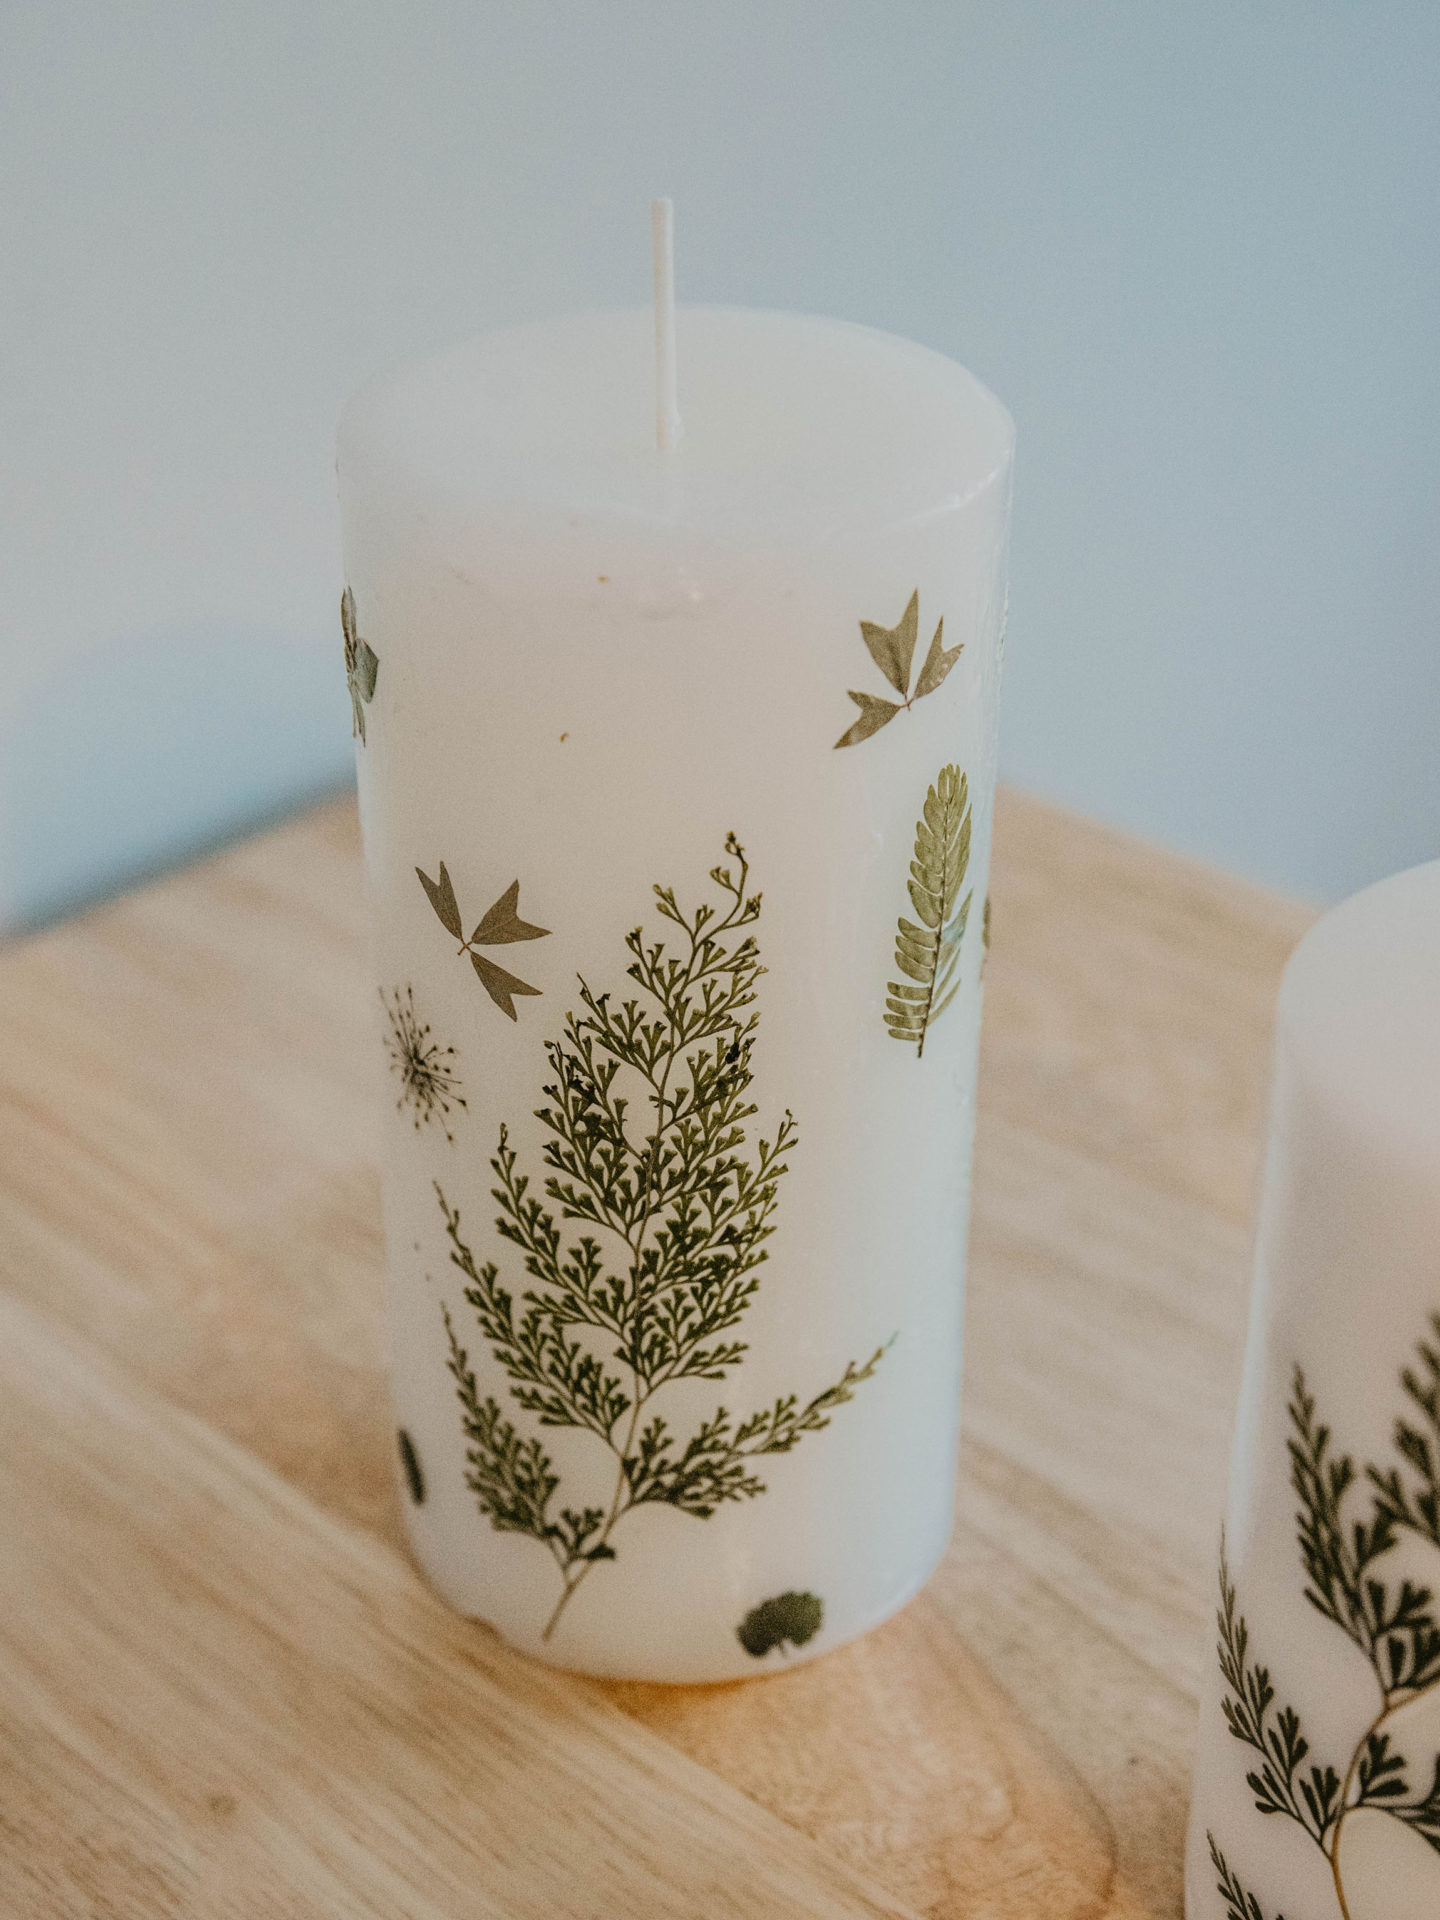
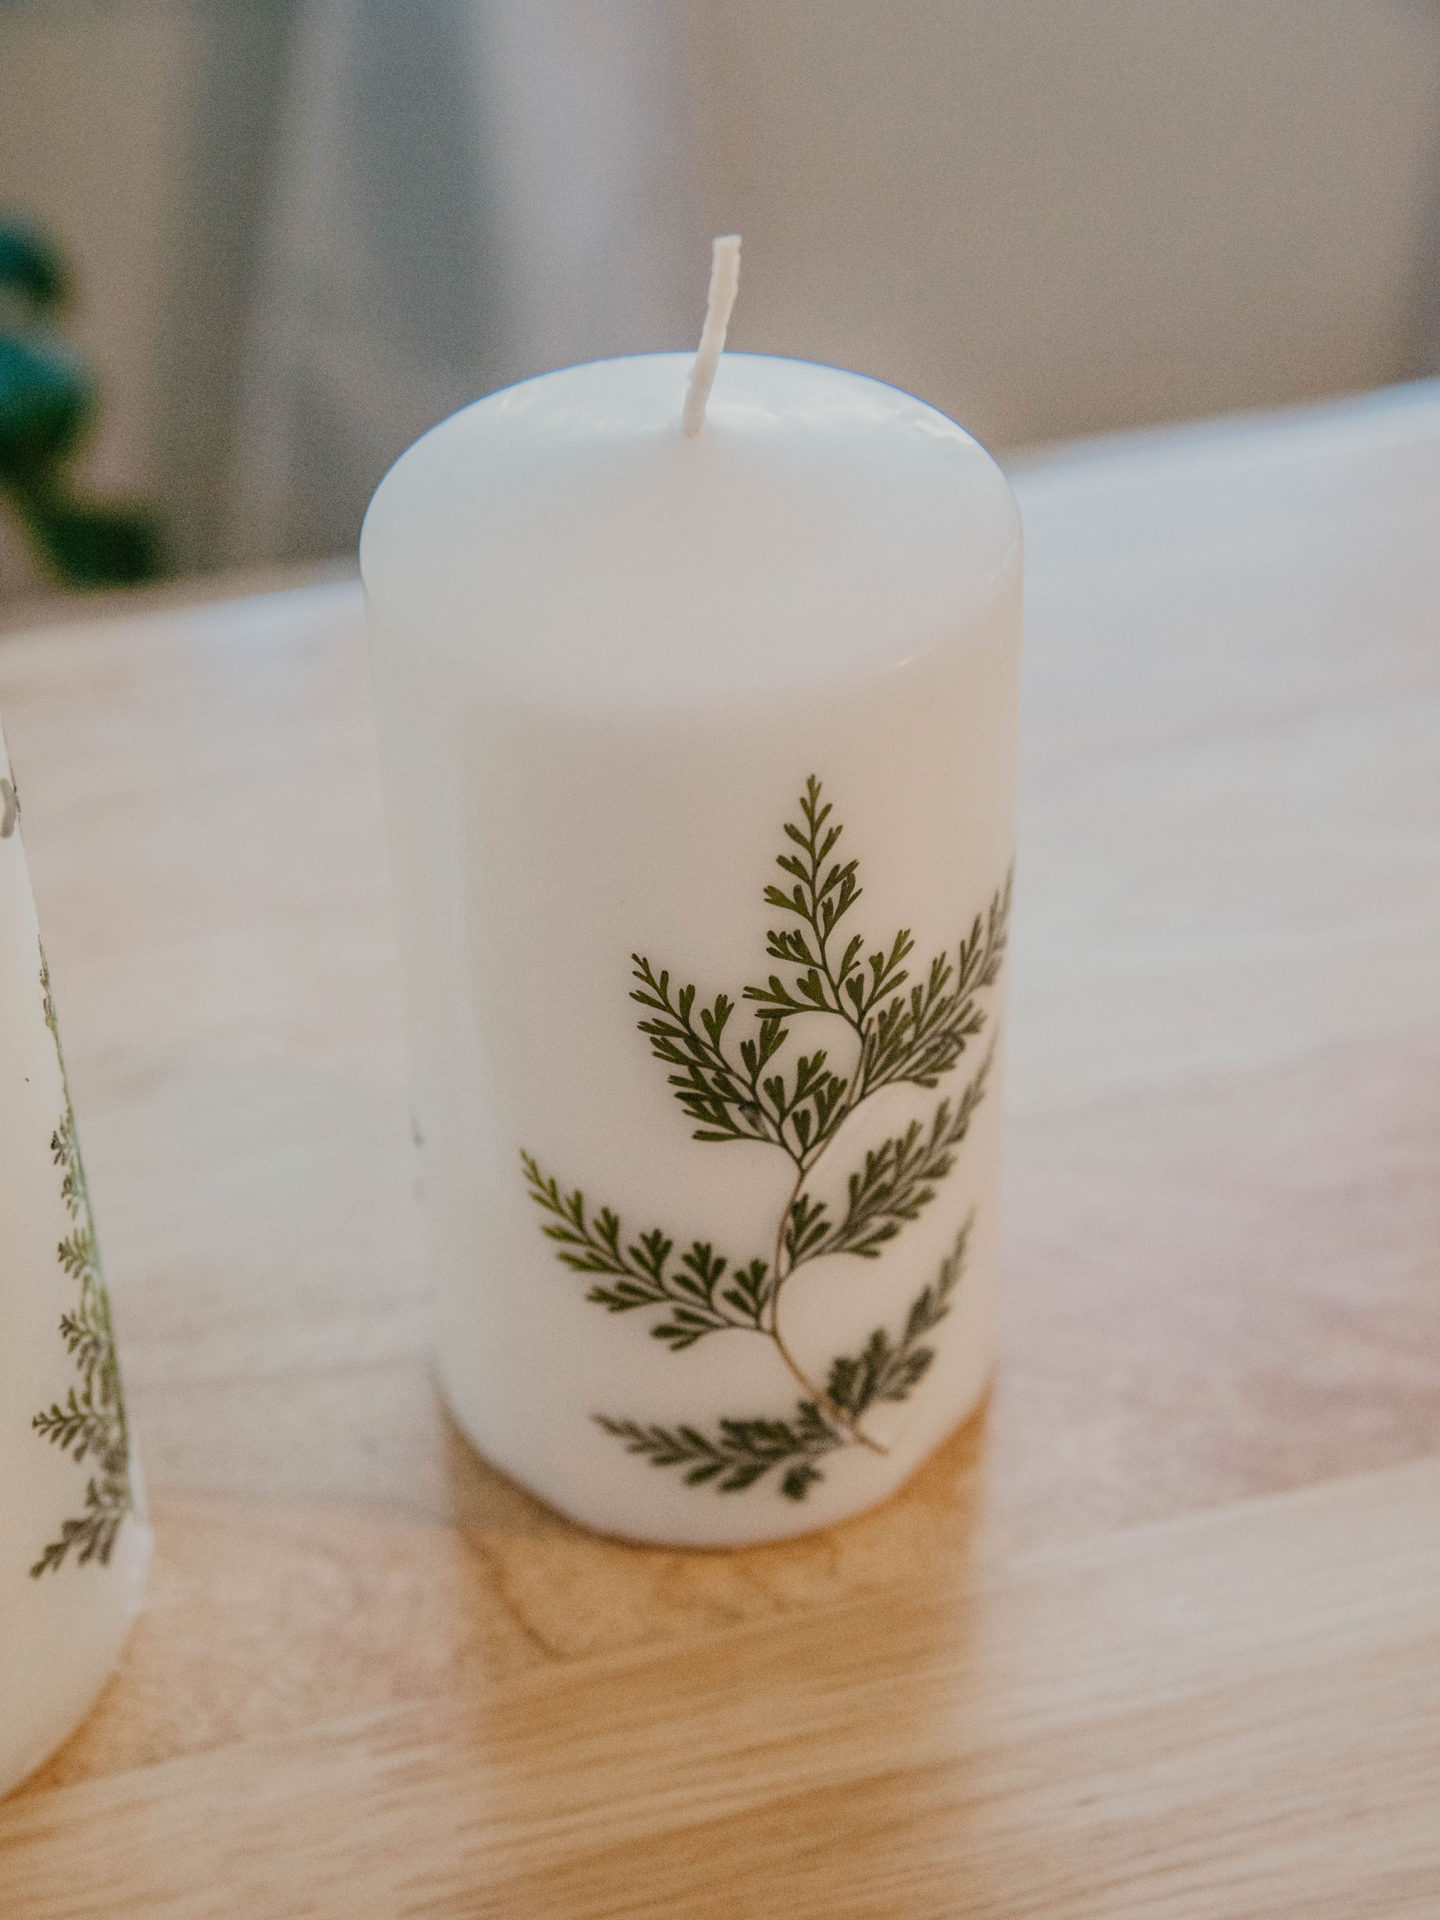
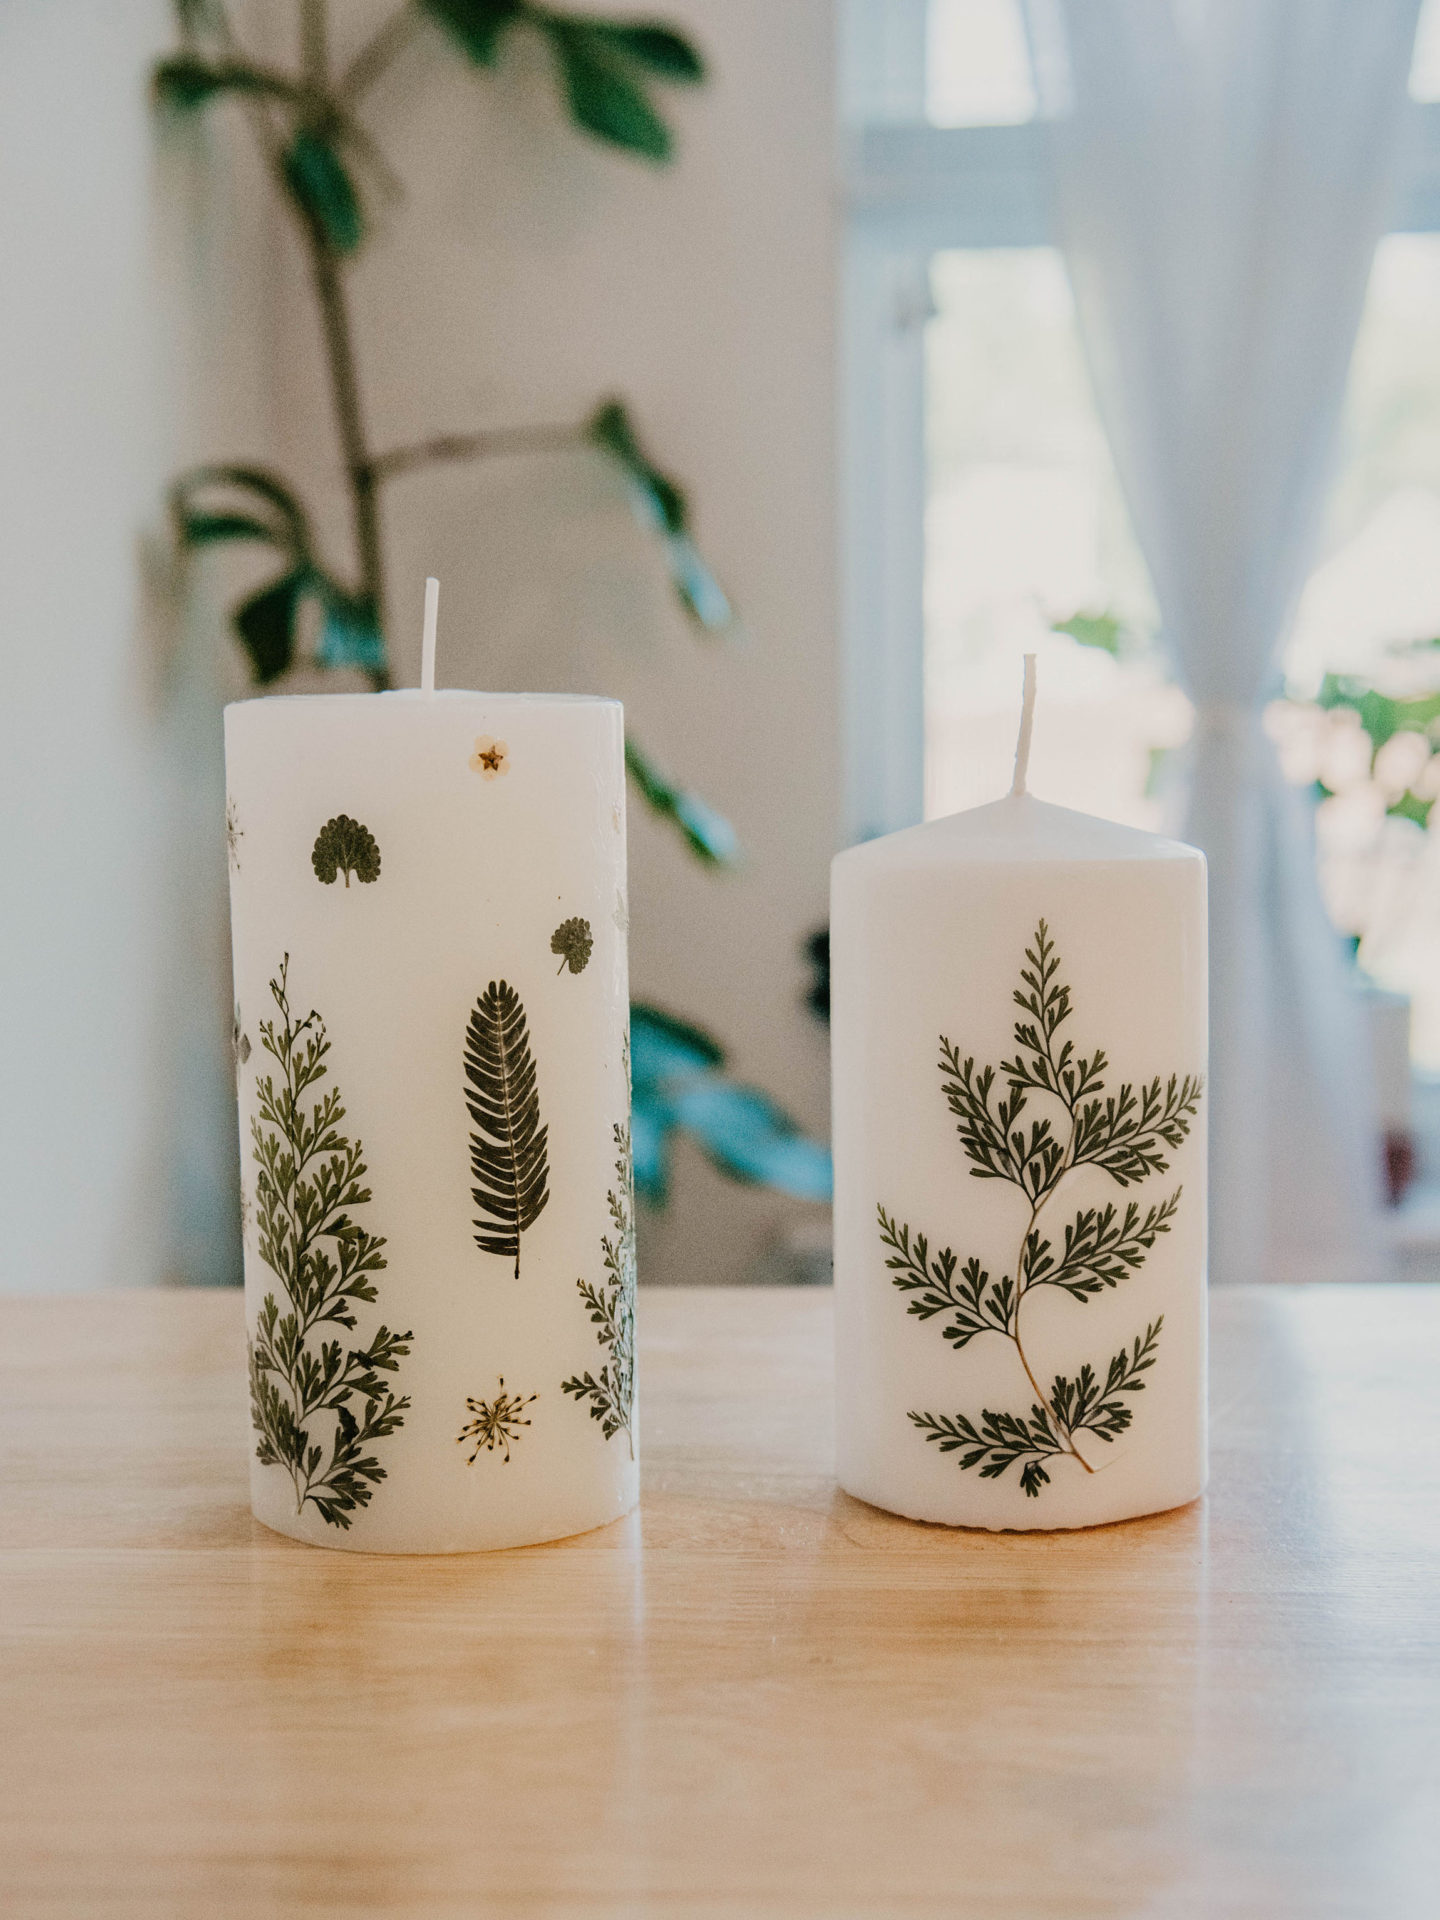
I had a very specific look I was going for with my candle, but if I am being honest, I ended up making two because the first one did not turn out as elegant as I had hoped. I made one with greenery and florals but it was more organic and sporadic. So for my second candle, I chose to do larger pieces of greenery only.
As you choose what greenery you want to use, consider how large pieces work together with the smaller ones. Also, think about the color palette and how every hue will look next to each other or against the candle color.
GLUE
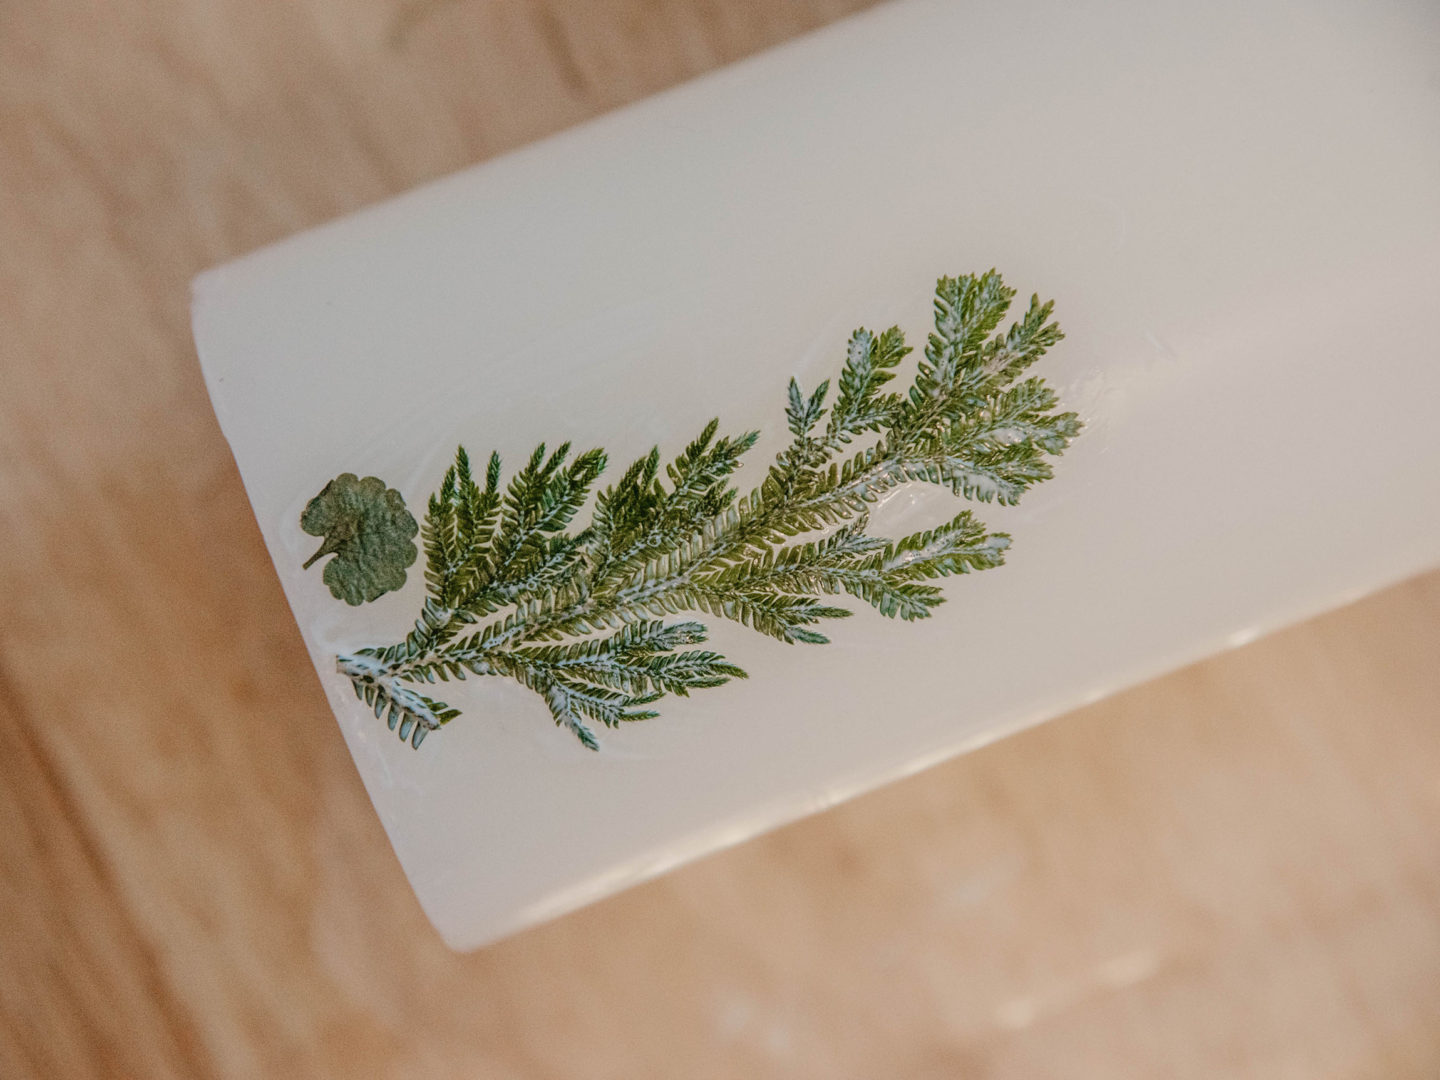
Once you’ve chosen your greenery, you can start gluing them to your candle. Start by brushing on a generous amount of glue straight onto the candle. Next, place the greenery on top of the glue and adjust the position. Once you’re happy with the placement, brush on more glue to seal it to the candle.
Let it Dry
Mod Podge needs time to dry, so make sure you take your time and let the glue dry. I was able to finish my simplest candle in less than 10 minutes. My ‘busier’ candle took me closer to 30 minutes to complete because of all the smaller elements. I let both candles dry for 3 hours before handling them.
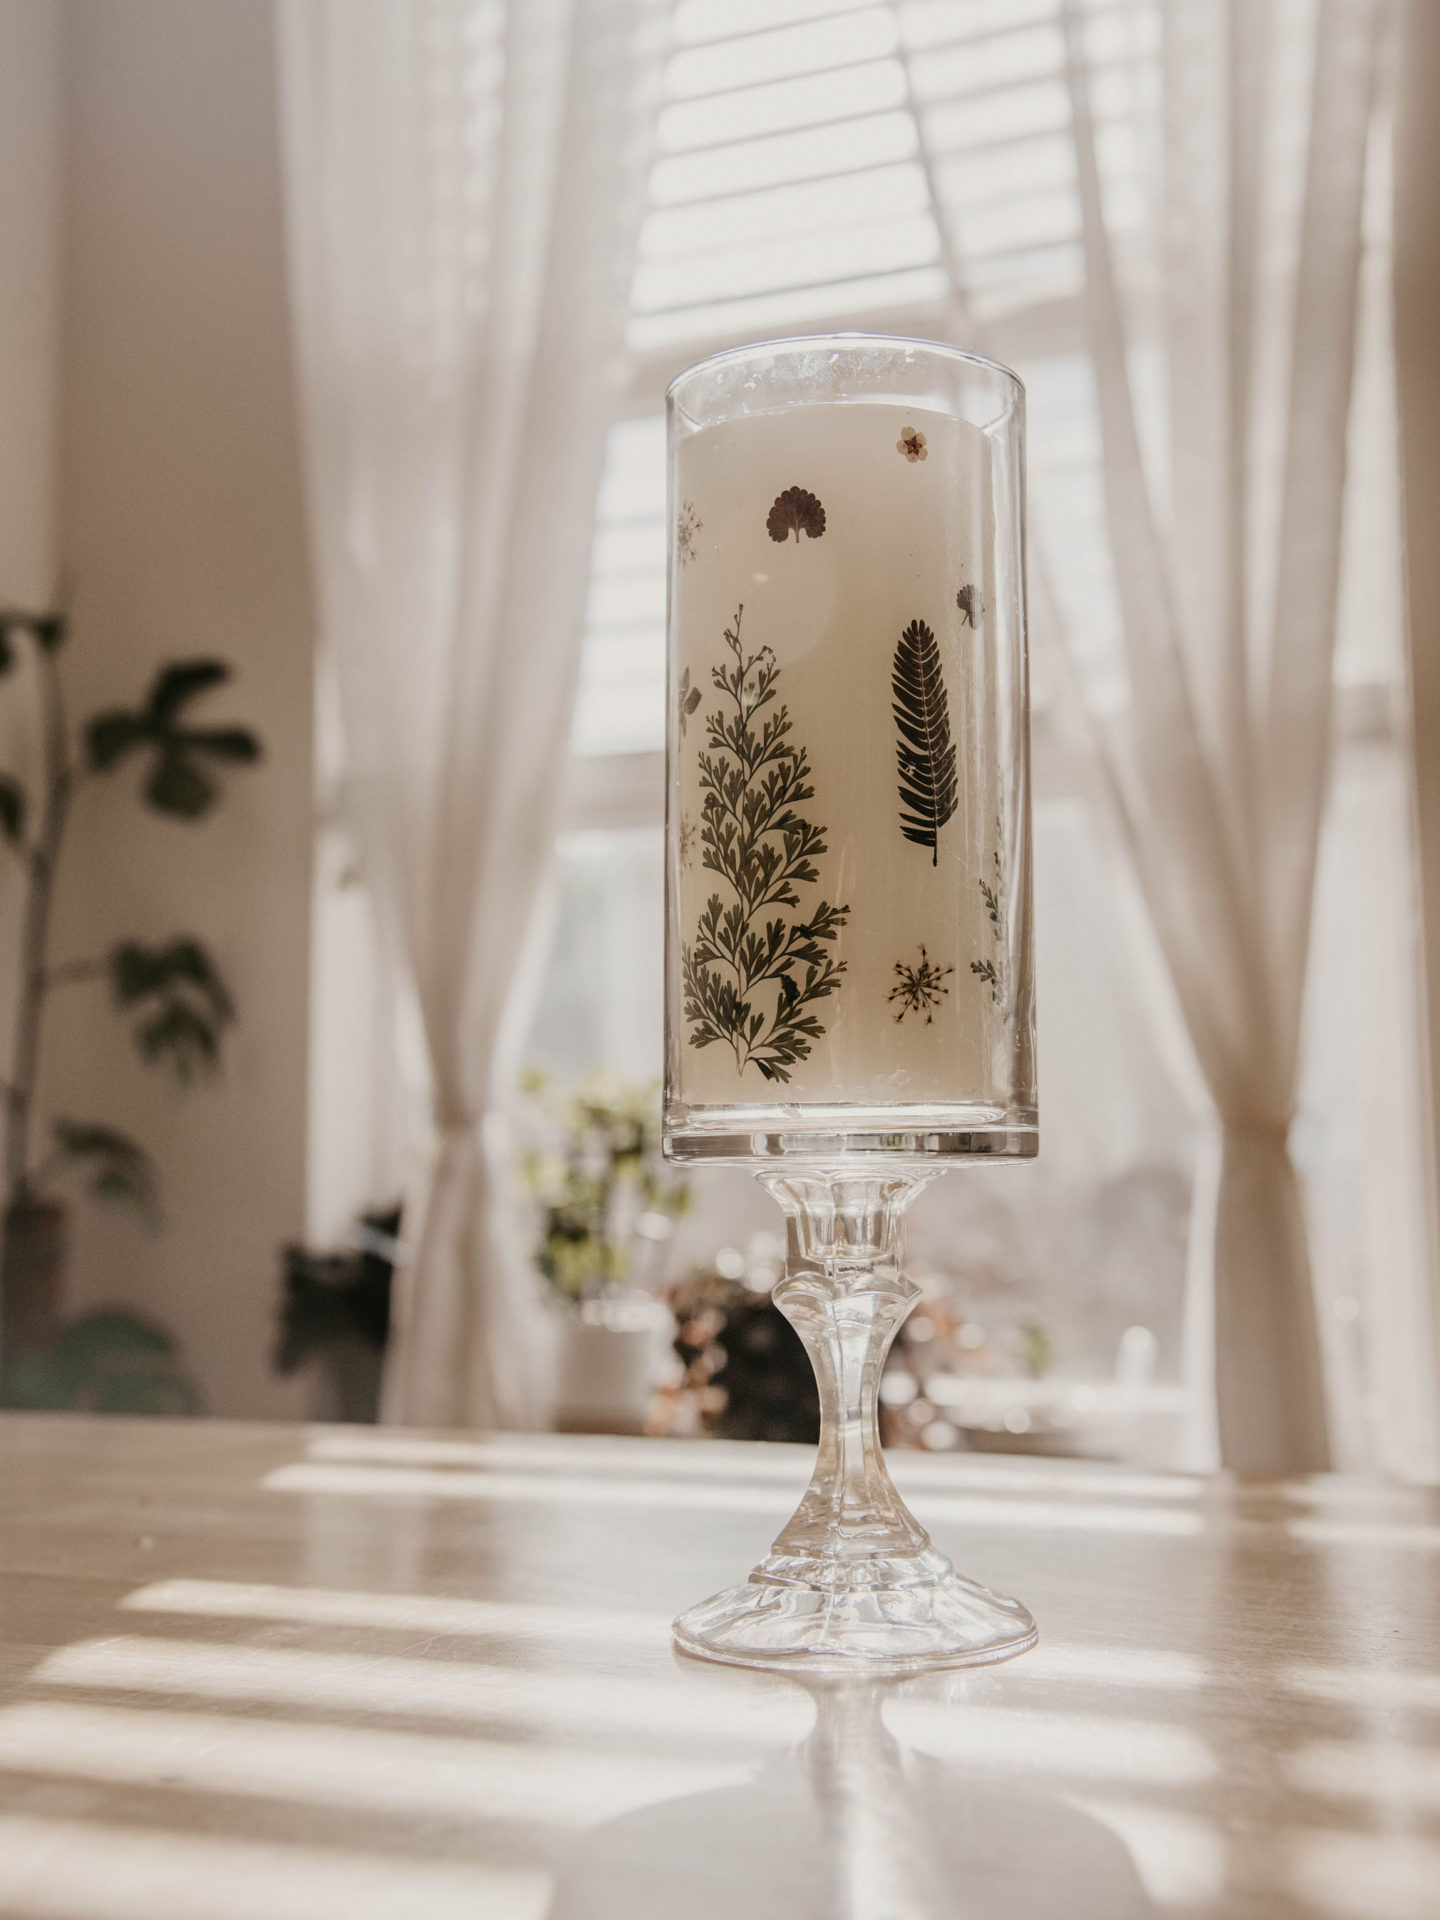
Candle Holder Design
If you like the final votive design you can simply achieve the look by gluing the glass candlestick to the glass votive. I have a simple breakdown of how it’s done on my DIY wedding cake plate.
TDLR; place a generous amount of E6000 to the candlestick, then place it in the center of the bottom of the votive. It’s helpful if you fo all of this upside down. Let it dry for 24 hours for maximum hold.
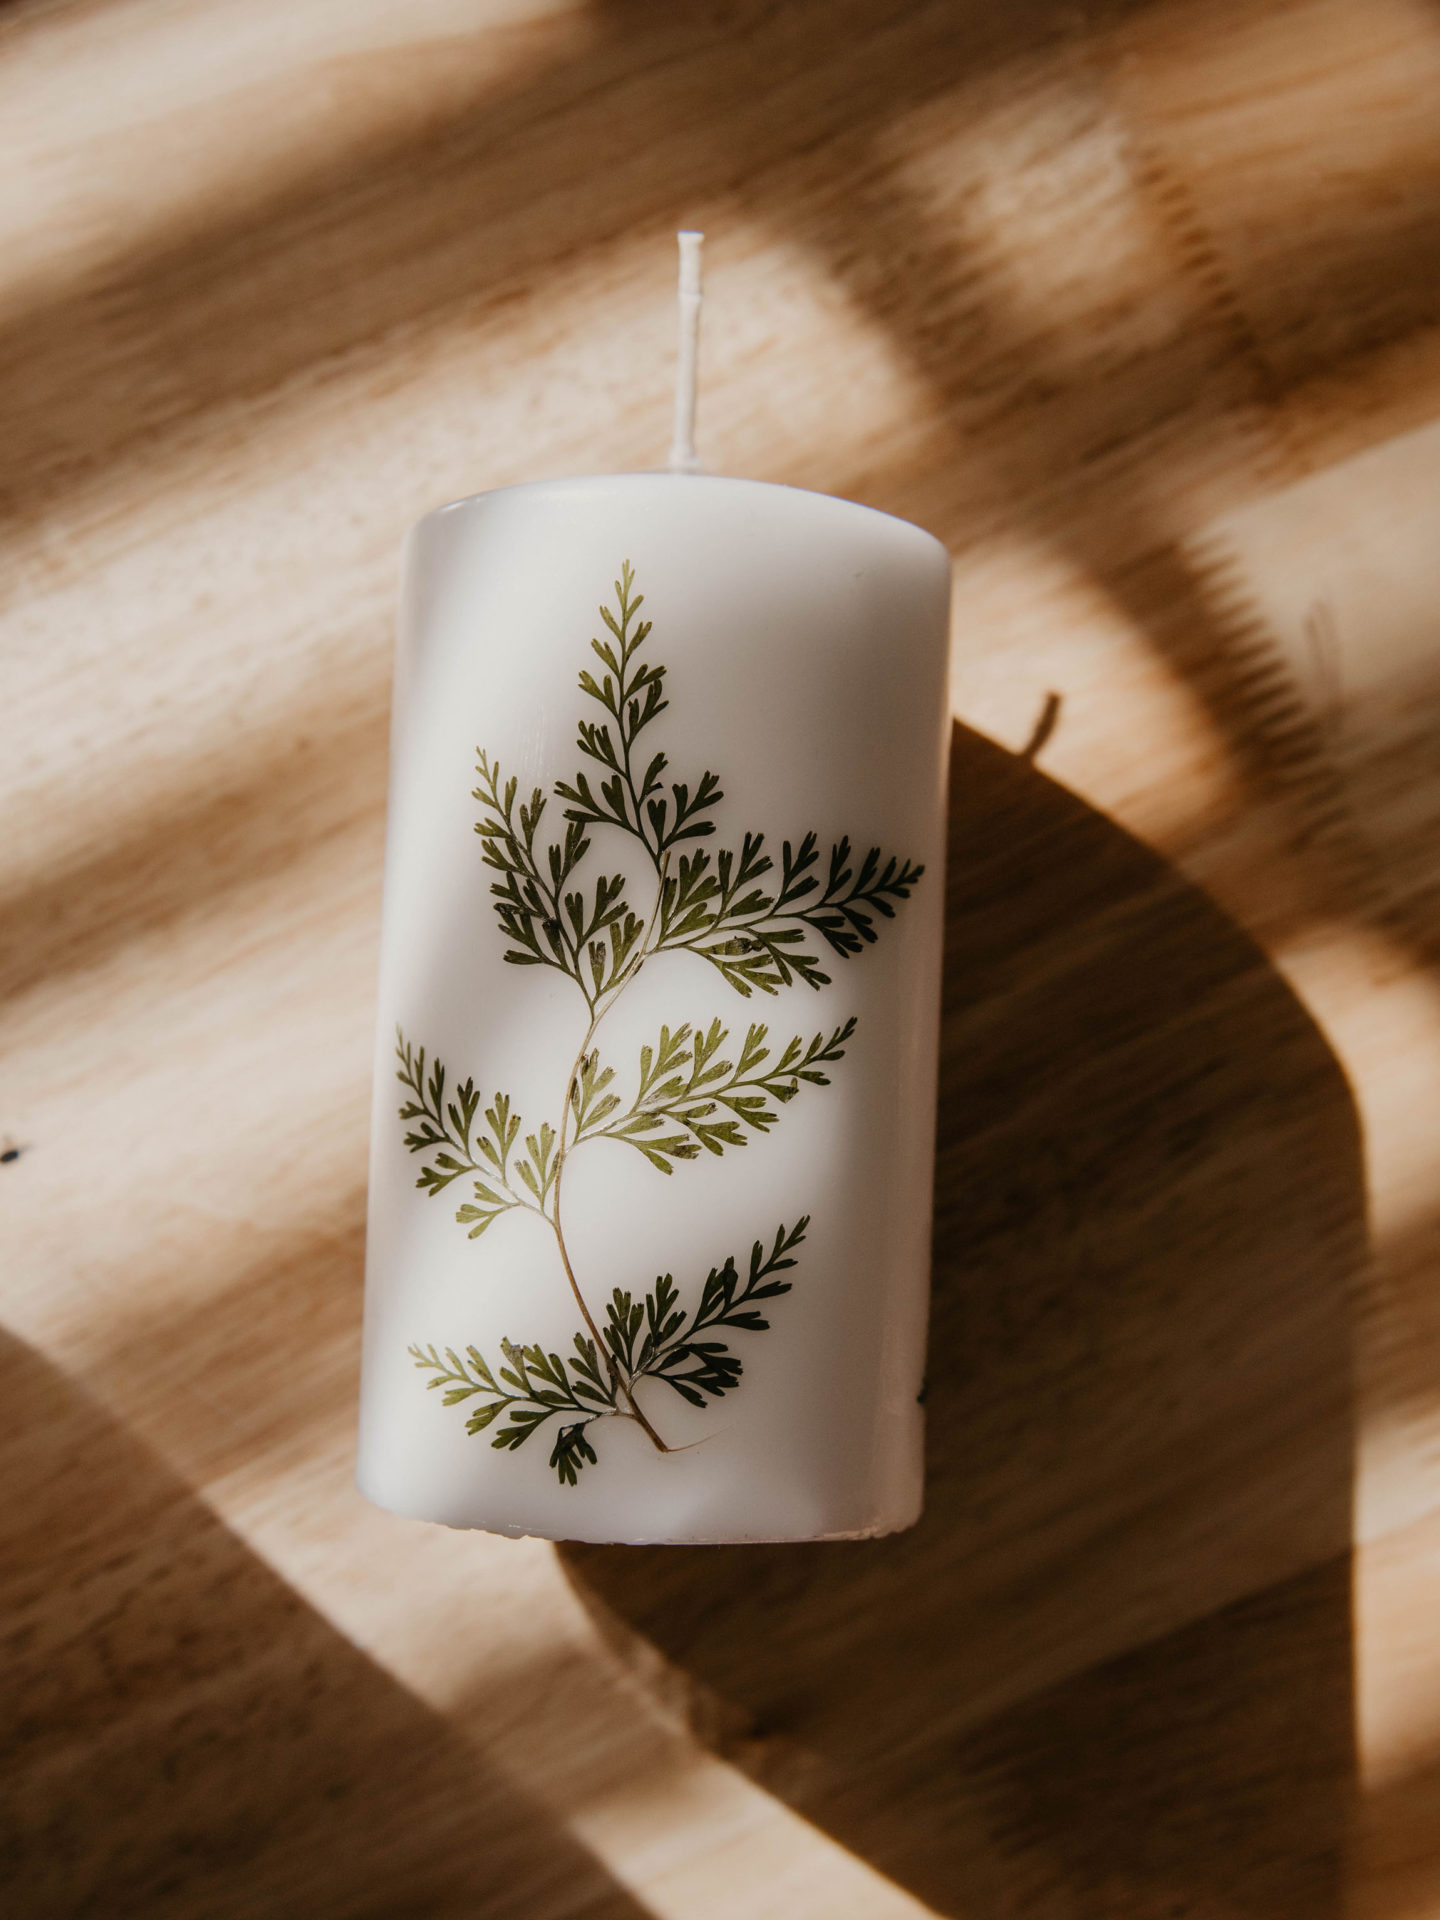
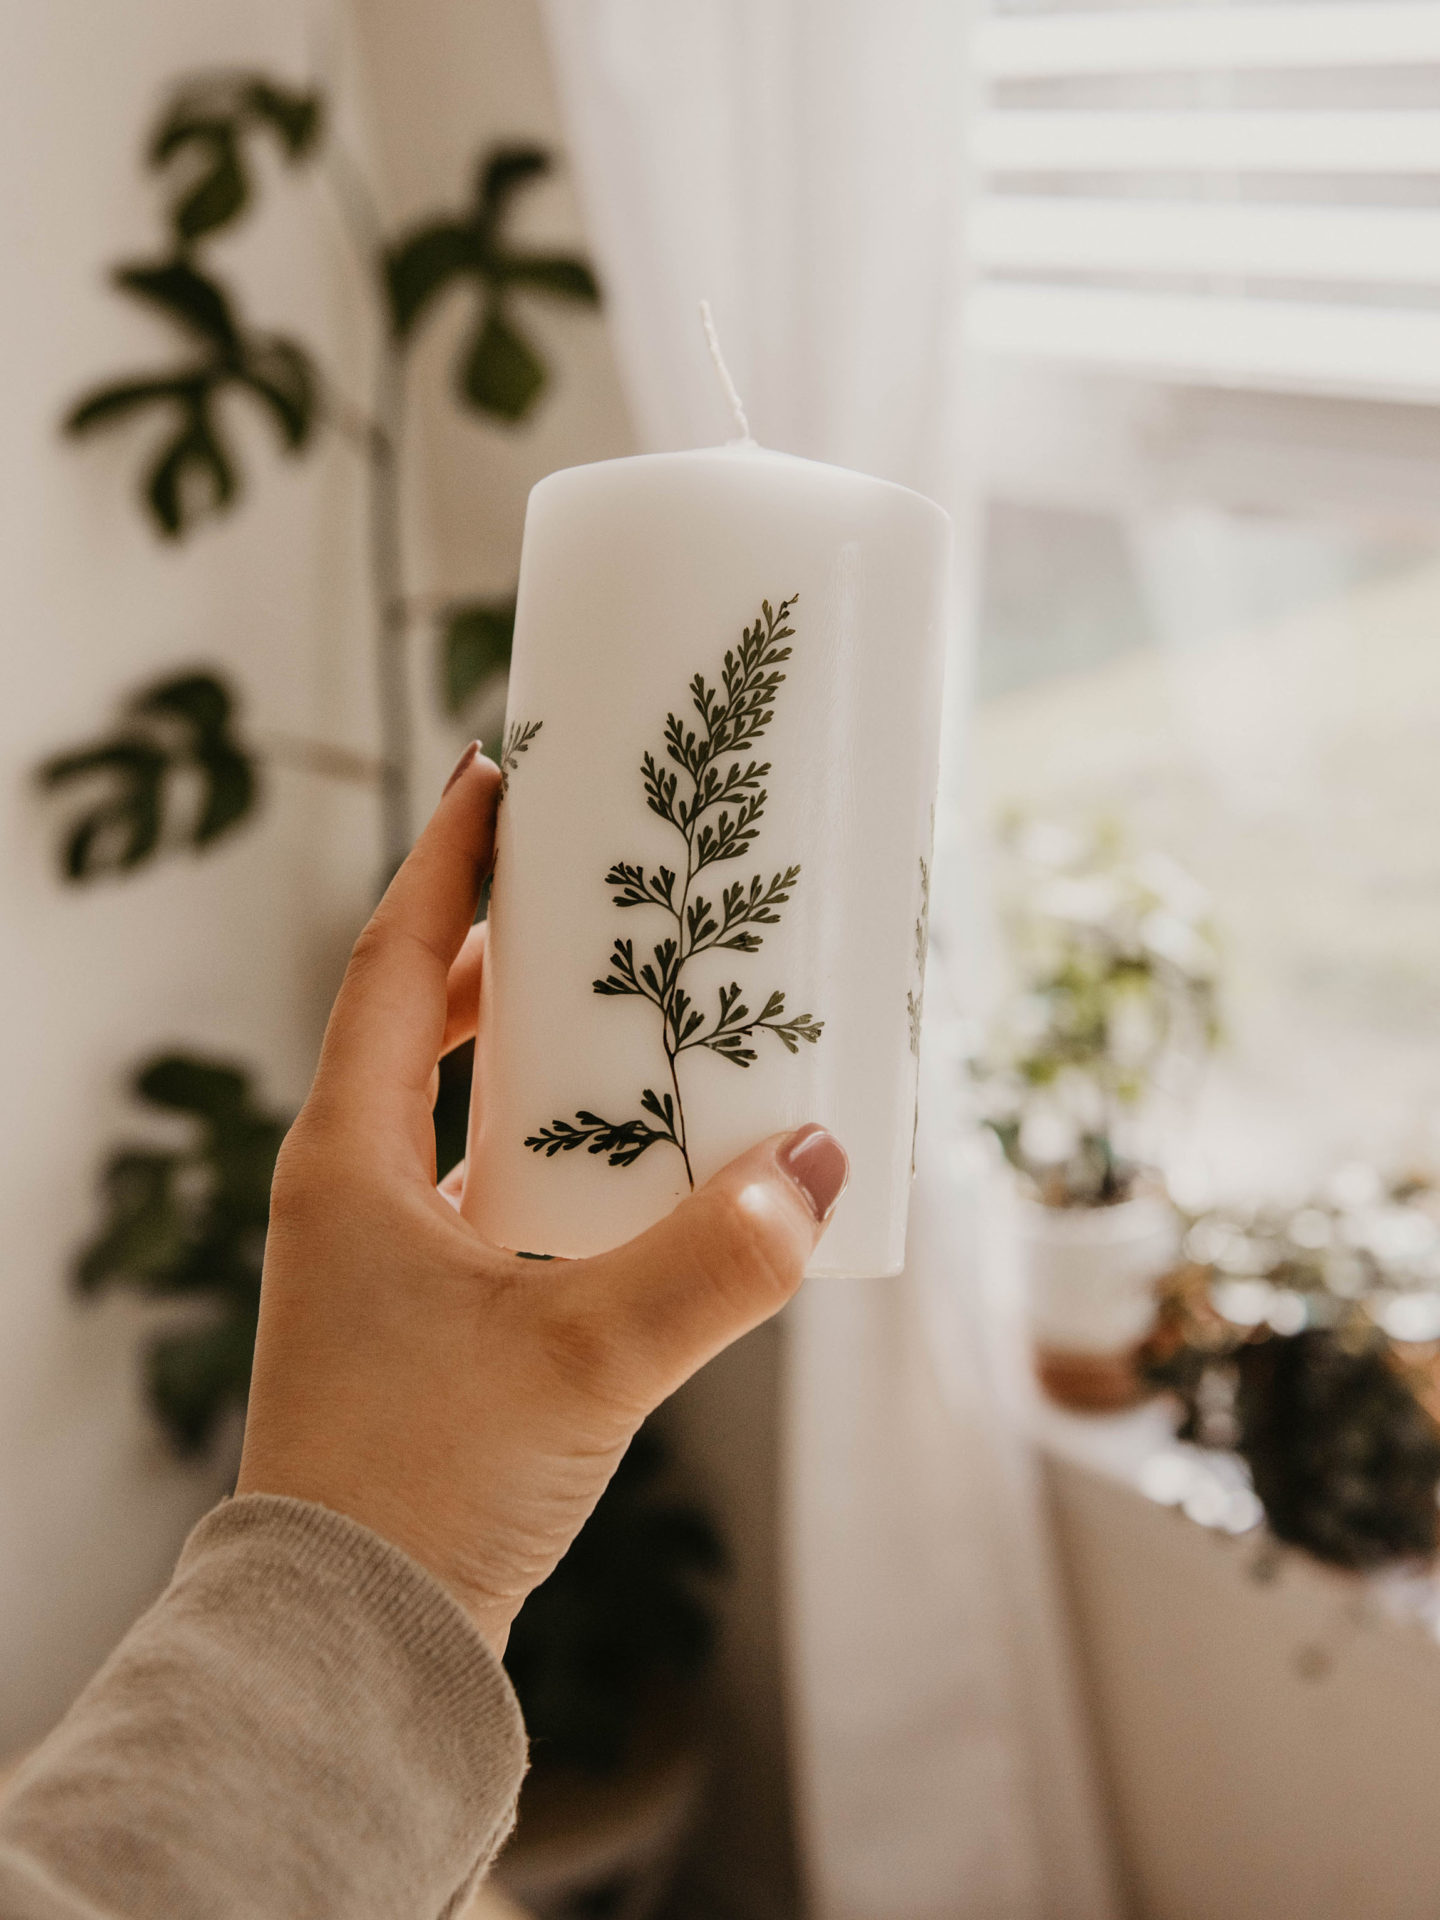
After both candles were finished, Pat and I took a good look at which one we wanted to use during the ceremony. We decided on the simpler one without the florals looked the most appropriate. I’m excited that all these wedding DIYs are coming together and have some more coming along soon too.
What Wedding DIYs would you like to see next?
![]()