Designing wedding invitations was fun and so much easier than I thought it would be.
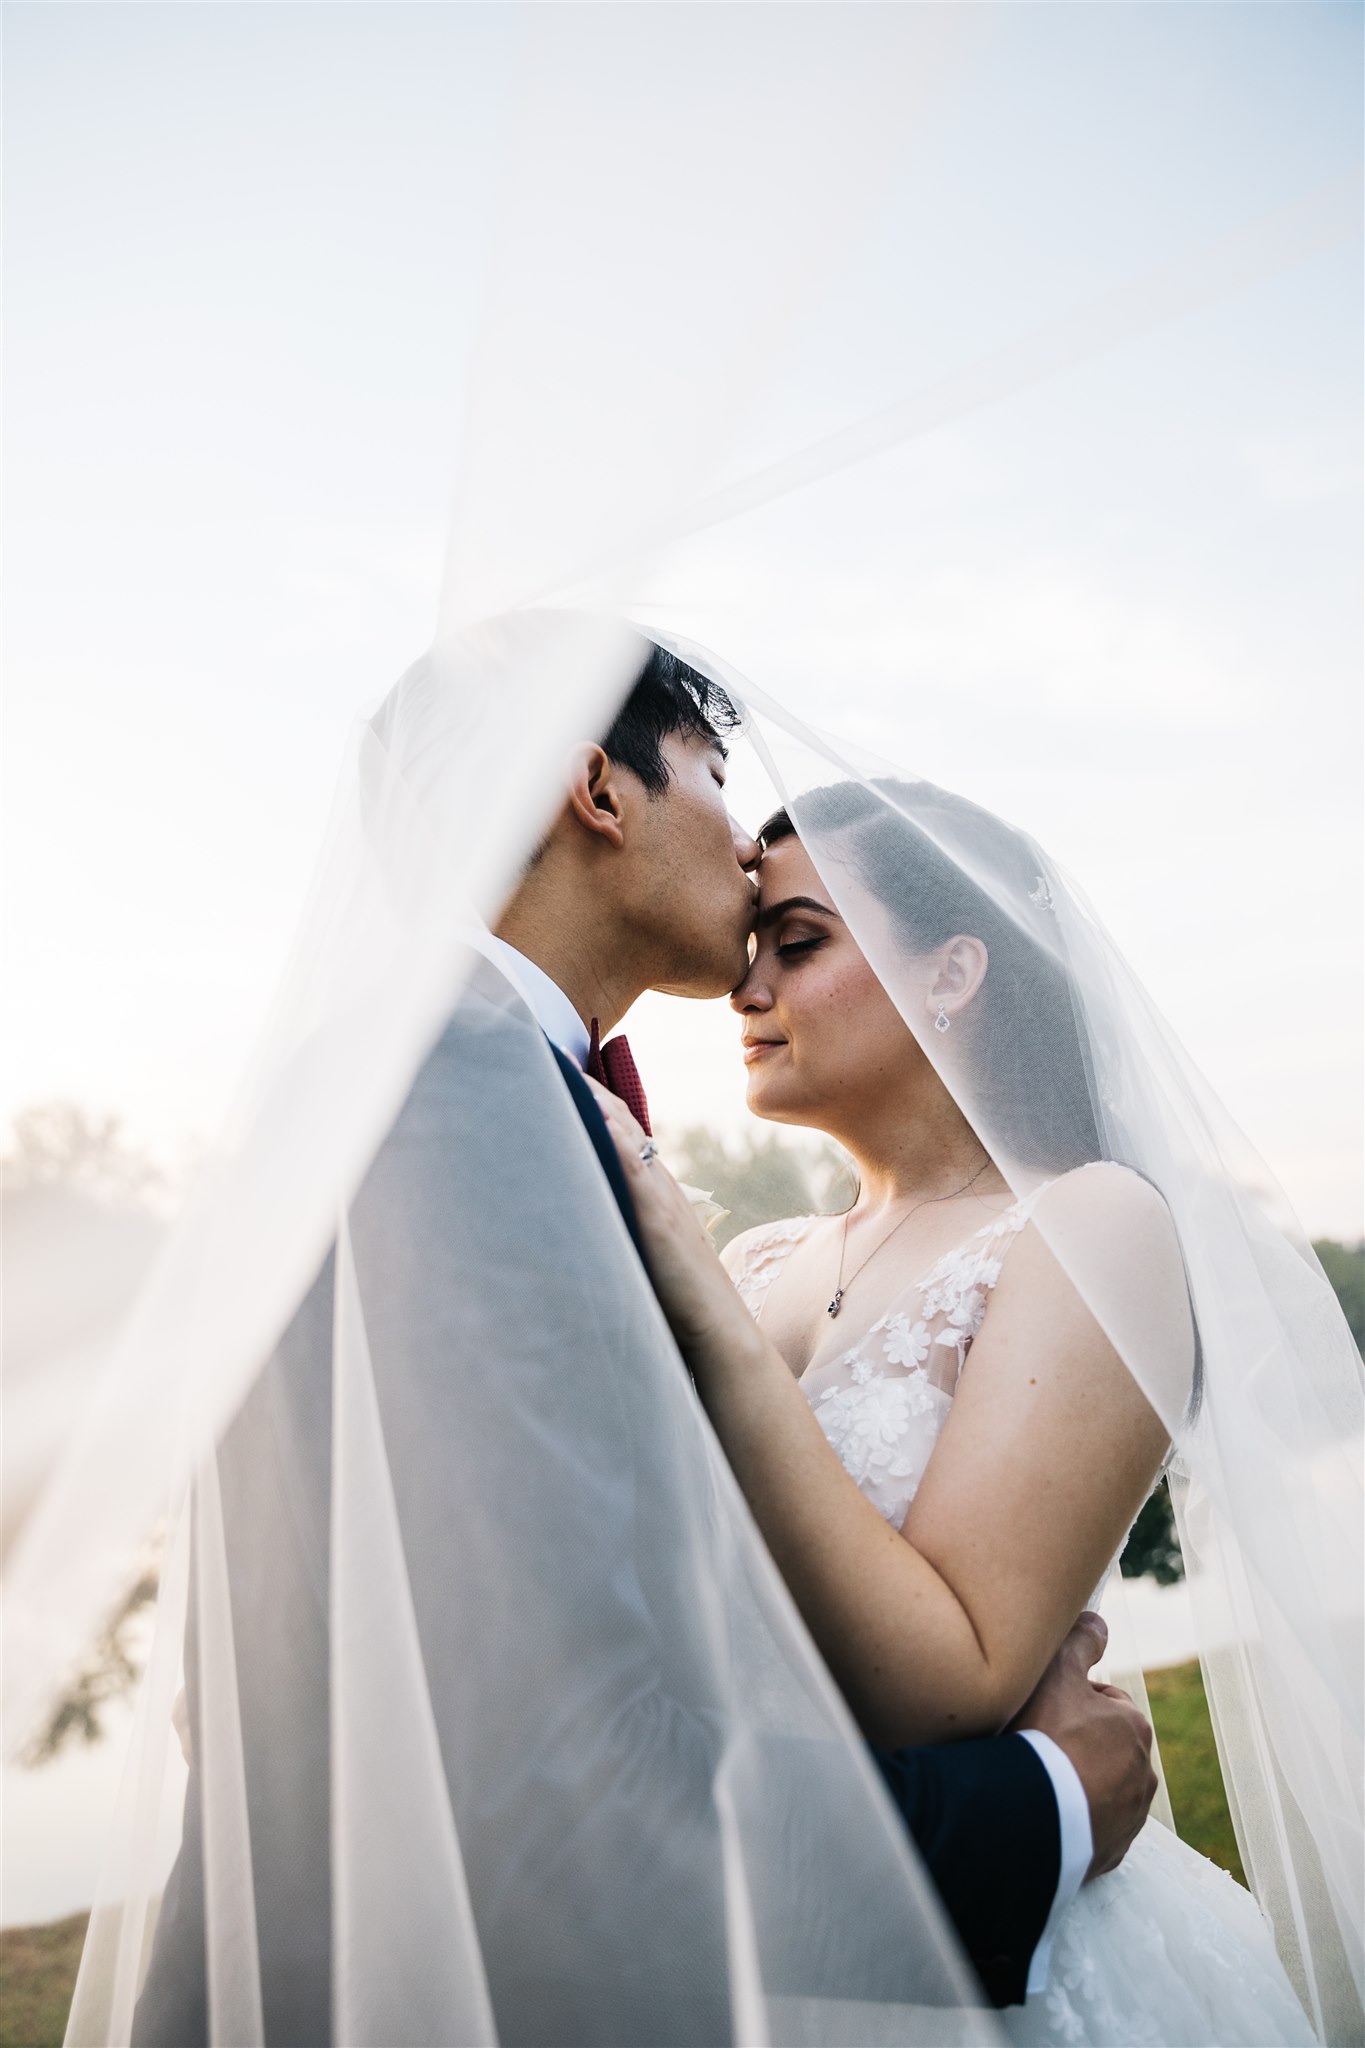
But first, I wanted to say, WE GOT MARRIED! This past Saturday, Pat and I said, “I Do,” in front of all our family and friends. It was a hectic day but all those DIY projects paid off because everything was so beautiful. Every detail – from our wedding invitations to our place cards – tied into one another and looked perfect. Don’t worry – once we get all the photos from our photographer, I’ll do a full blog post about the day and the decor.
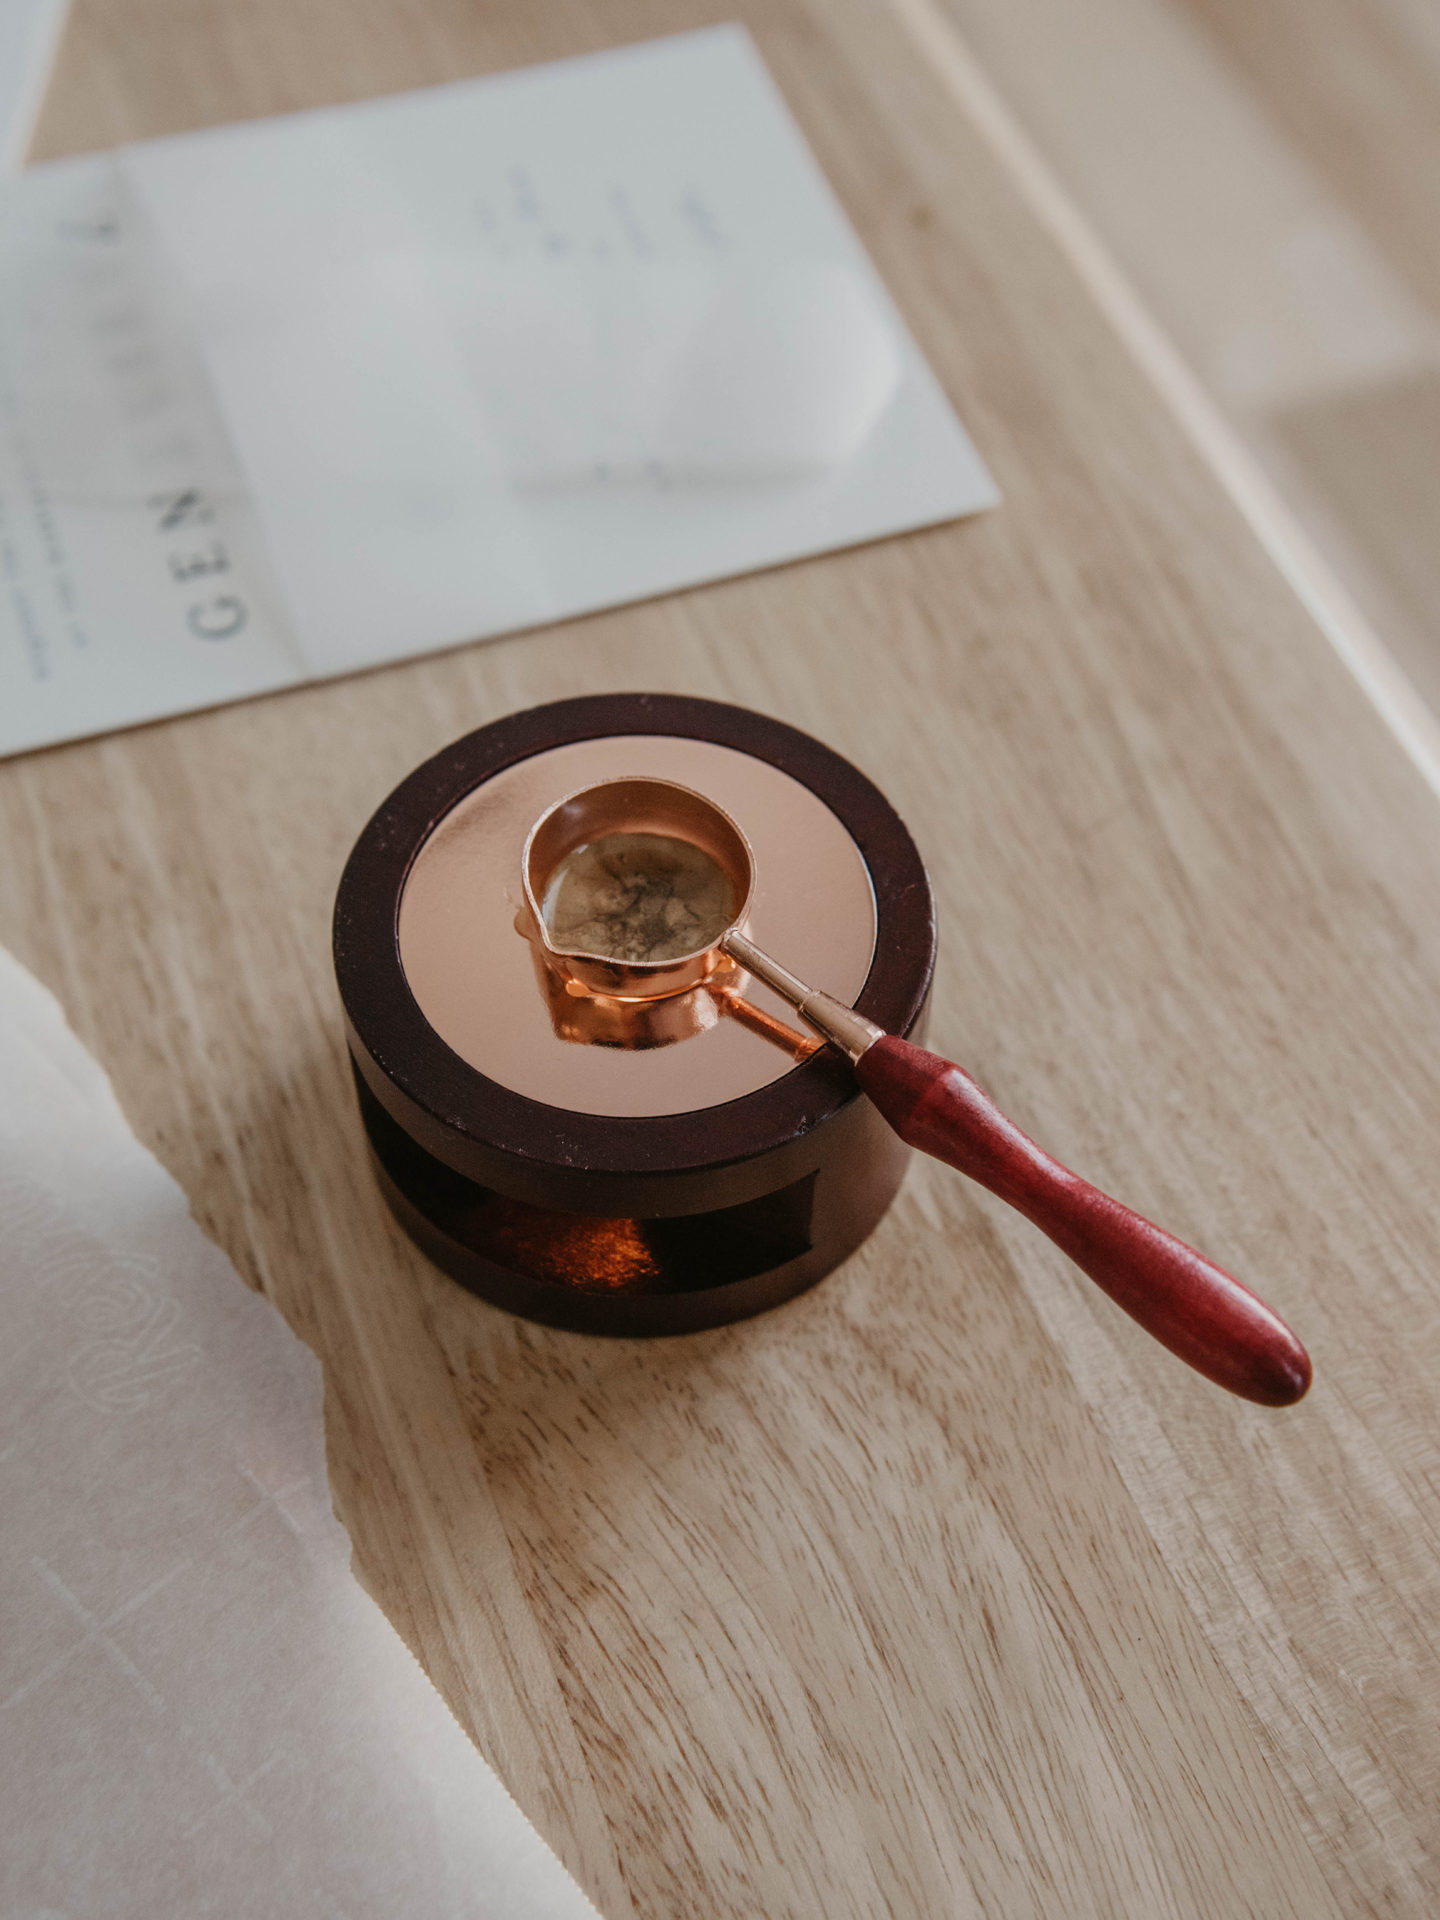
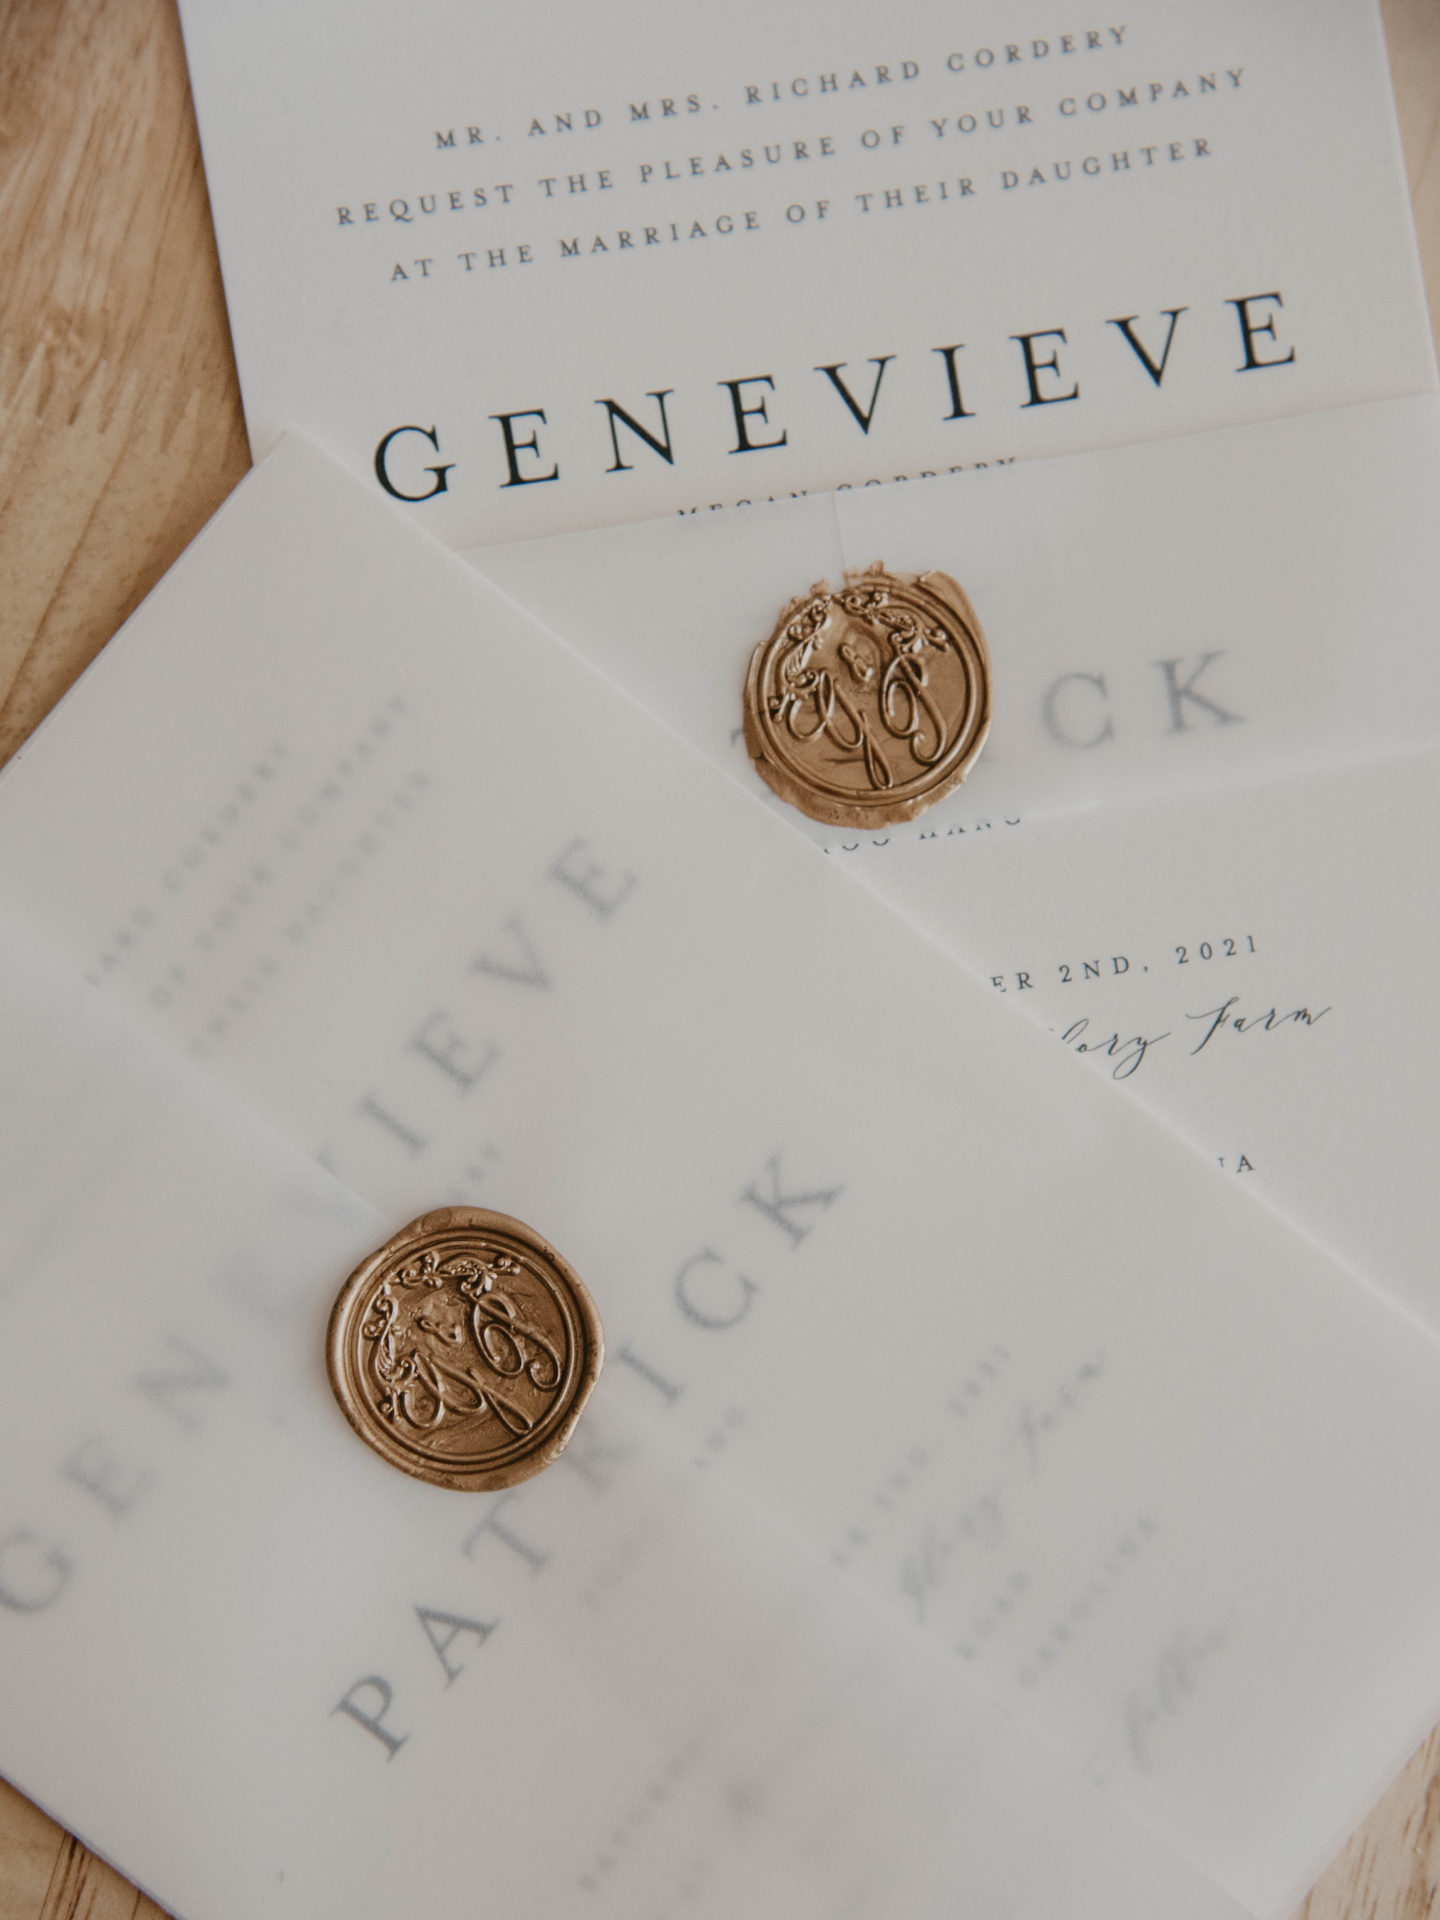
Okay so back to why we are here. The invites! We wanted our invitations to be beautiful, elegant, but within budget. Typically you pay extra for vellum and seals but since I had already purchased a wax kit for my Etsy shop, I knew I could do it.
Looking for Inspiration
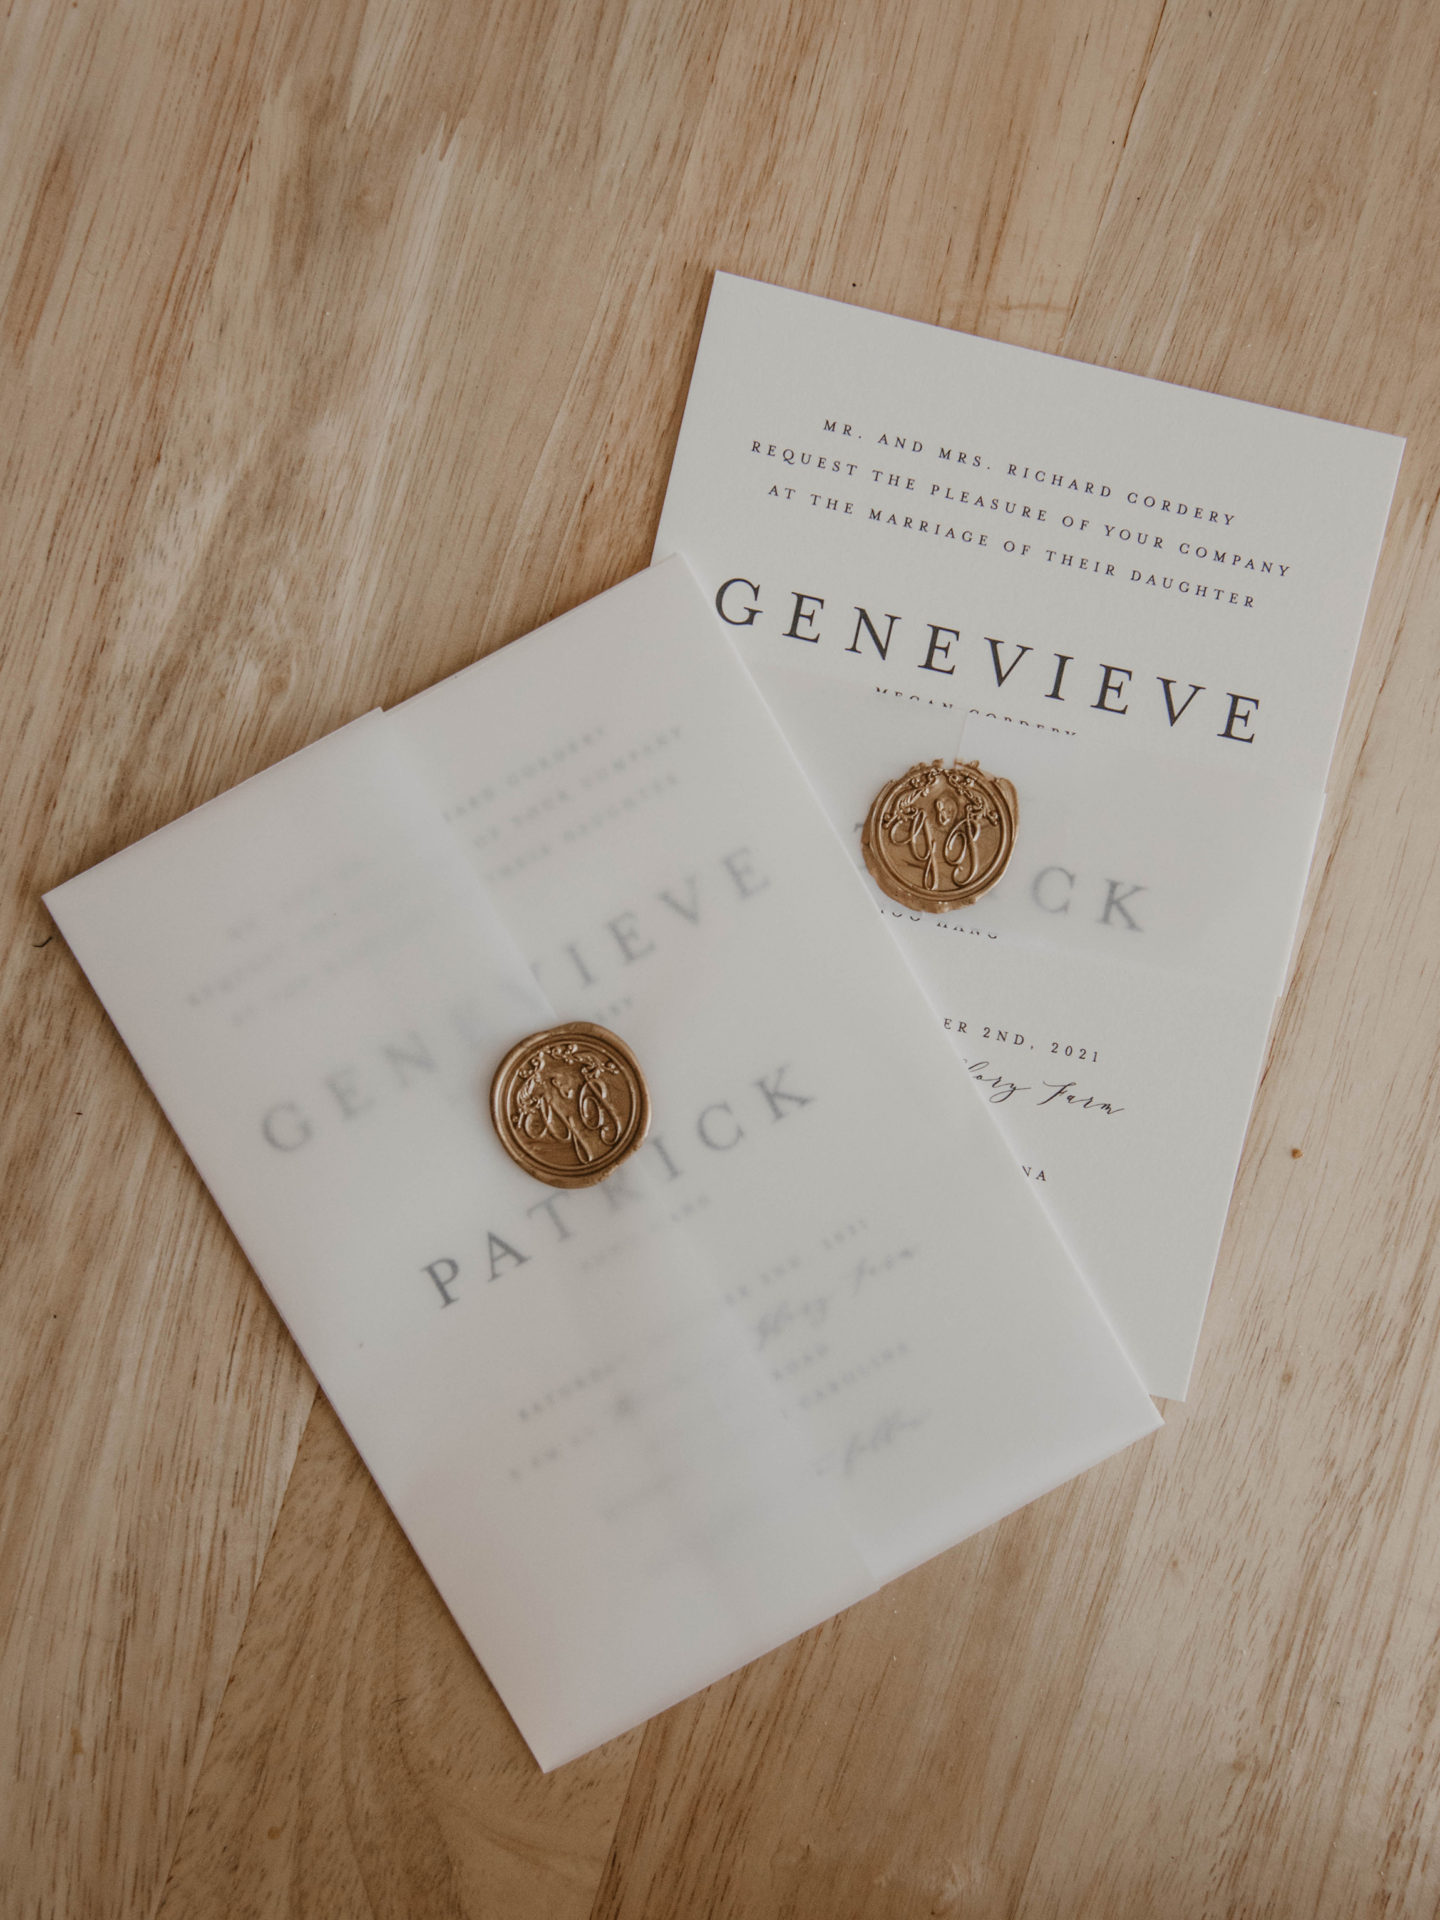
In the beginning, I needed some style inspiration. I ordered free samples from Minted and Shine to help us visualize. Pat and I went through everything in their sample kits and found the paper we liked and the font style we wanted. From there it was a breeze creating a mock-up on Minted. We chose the Classy Type Wedding Invitation. It was very easy to plug in all the info we wanted and the designers were willing to perfect and change a few elements for me too.
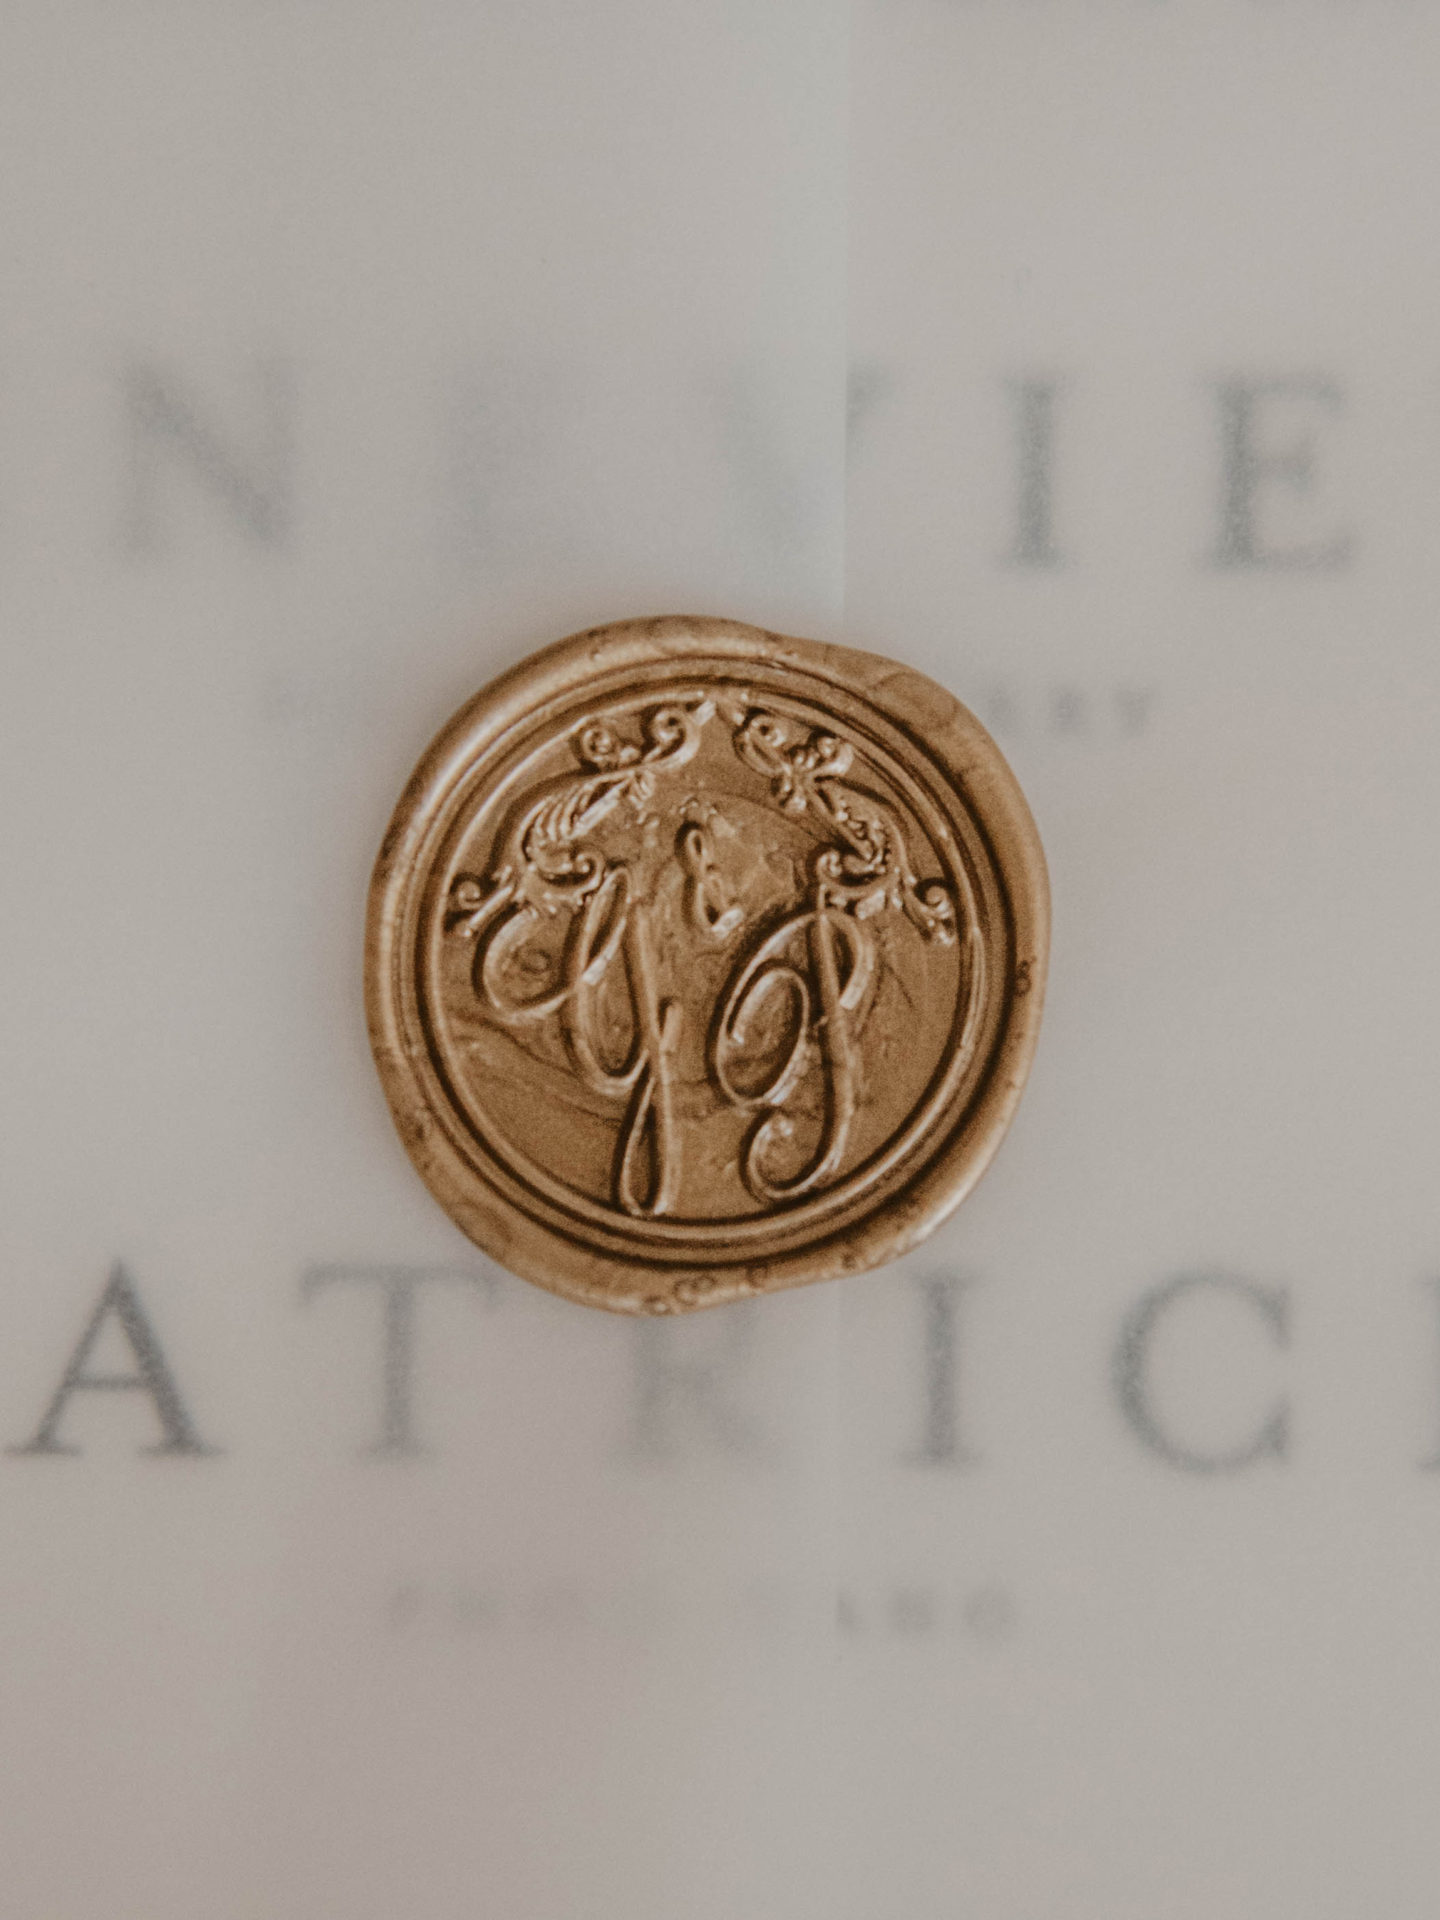
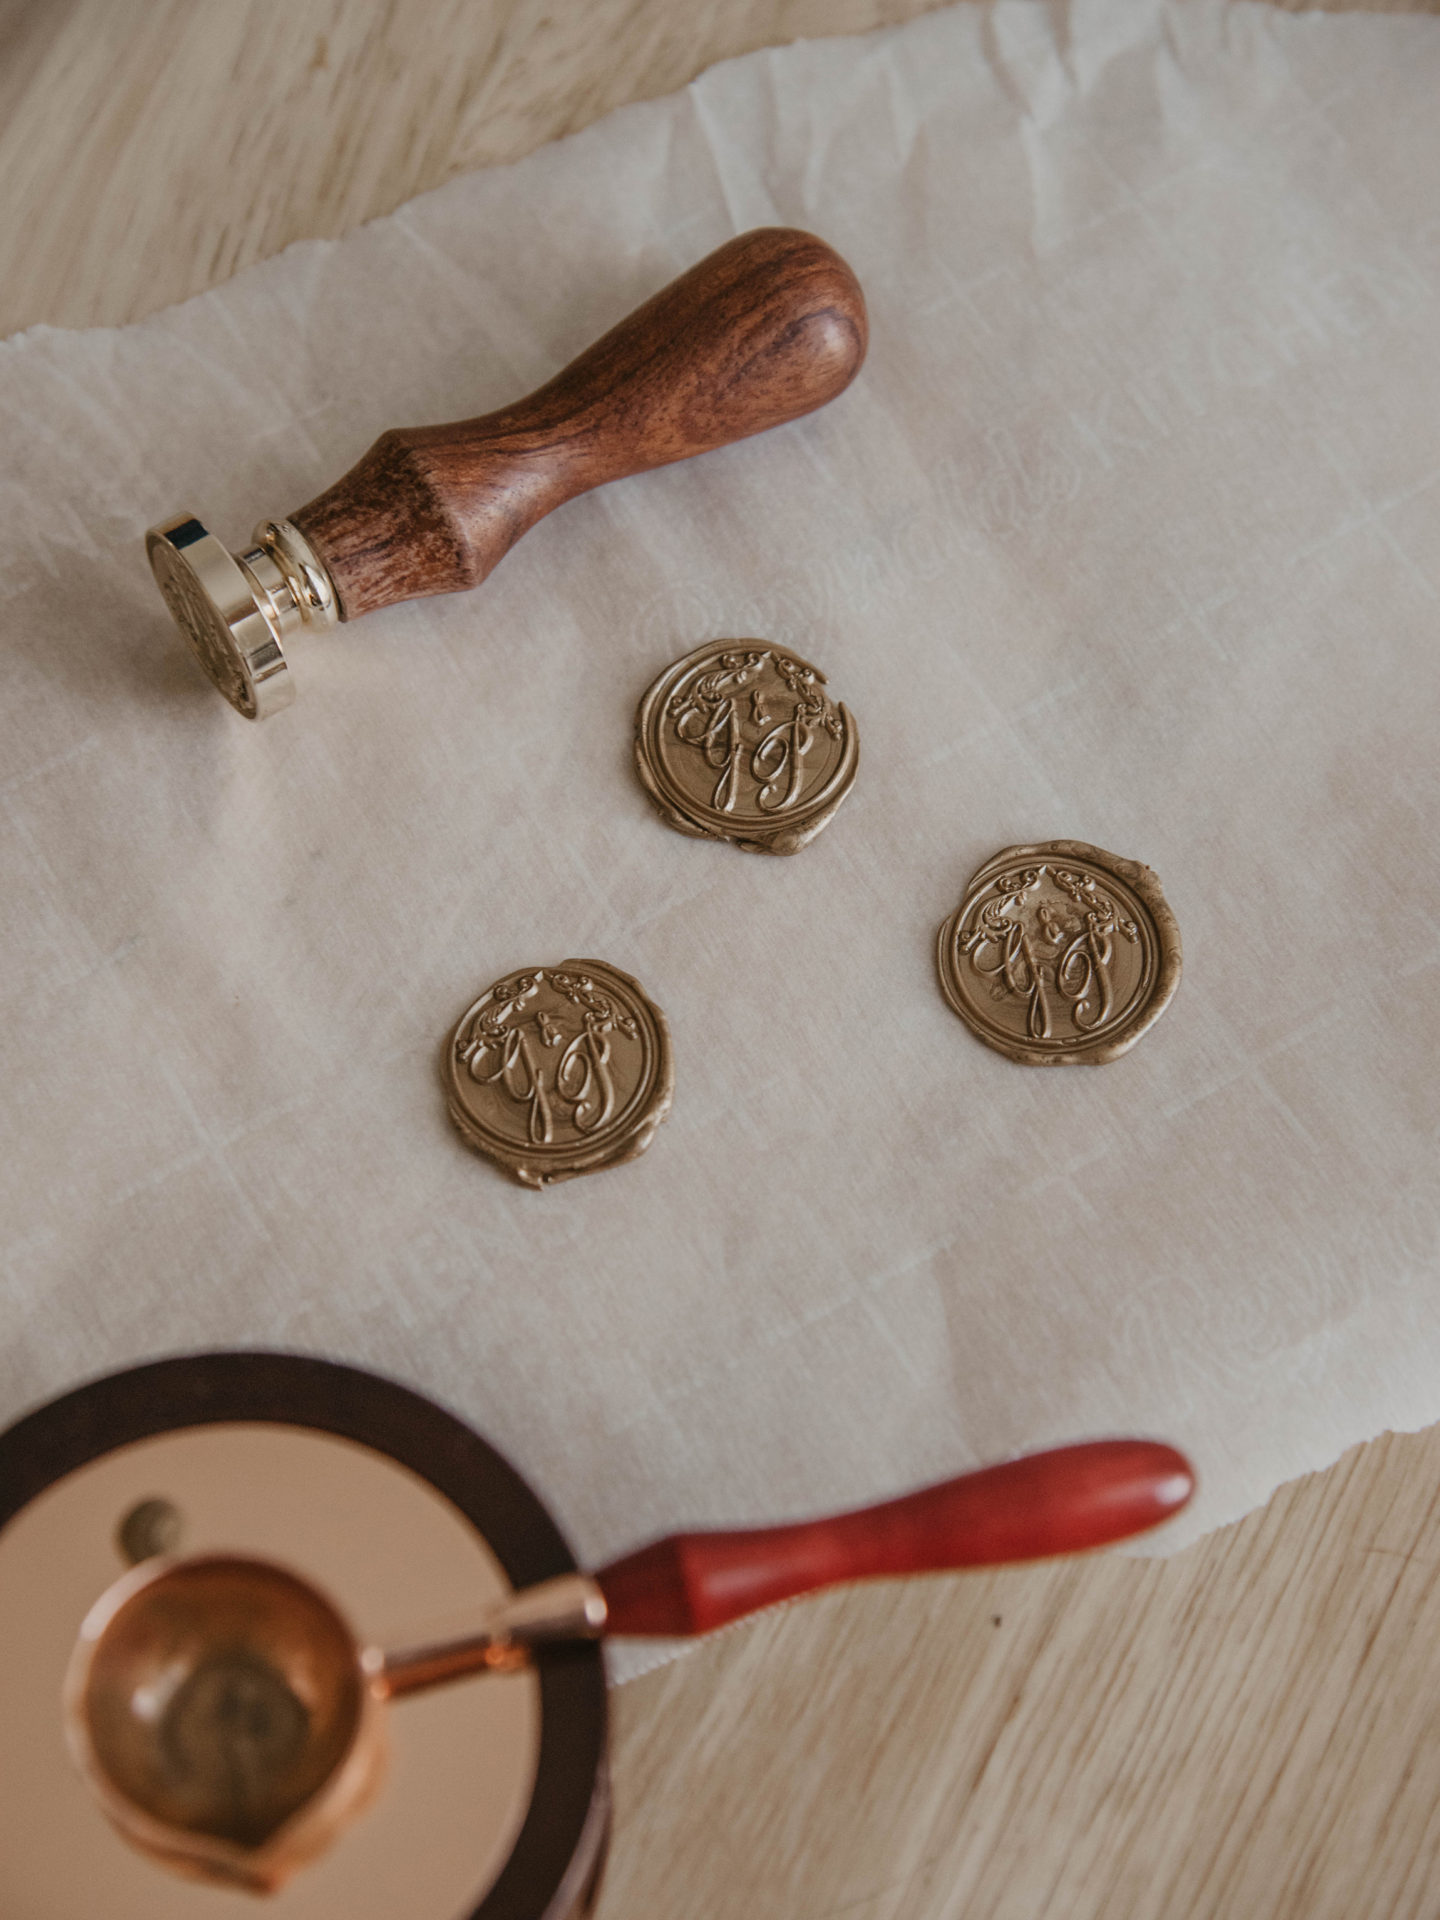
I also took to Pinterest to find invitation wrapping styles I would like. That’s when I decided to wrap the invitation in vellum and seal it shut with a custom wax seal stamp. It’s elegant and understated at the same time.
Assessing the Cost
To save and keep within our allocated budget, I decided to order only the invitations, rsvp cards, and envelopes from Minted. I purchased vellum paper from Hobby Lobby, cut it to the size I needed, and sealed each one with a wax seal. The custom wax seal I used was ordered from AMZ Deco. I was able to pick out the style and lettering myself, making the stamp feel more whimsical and “garden wedding friendly.”
For mailing, I ordered a custom address stamp from Etsy. I saved so much money not having our return address printed on the invitations. It was so much easier to use waterproof black ink and stamp the envelopes myself.
𓆱
I loved the way our invitations turned out and I love how beautiful and amazing our wedding day was. Big thanks to all our family and friends who came together to help decorate. And big shoutout to my handsome husband, who lead all the wedding day decorating while I was having my hair done. When I walked out from the bridal cottage and into the reception tent, I couldn’t believe my eyes. Both families and our friends came together to pull off my dream wedding and it was breathtaking.
If you’re planning your own wedding, I hope this post helps you to think outside the box in regards to your invitations.
![]()
All photos in this post were taken by me except the featured image. The featured image was shot by Noir9 Creatives.