It’s spring which means all my plant babies are growing!
That also means I need decorative planters. I typically get mine from discount stores or Home Goods, but since those stores are still not open, I decided to make my own. I pulled my inspiration from this ceramic basket by Burke Decor. It’s understated and simple. I have some air dry clay at home so I am going to make a similarly styled clay basket!
So here’s the thing – as cute as this clay basket is, it was a huge pain in the butt to make. I’m convinced it’s because I used air dry clay and not a ceramic or polymer clay. (Clay experts out there, give me tips, please!) I lost count of how many times it fell apart. 🤬 I ended up needing to super glue some of the parts together. I’m still happy with the end result, so if you want to give it a try, here’s how.
Things You’ll Need:
-
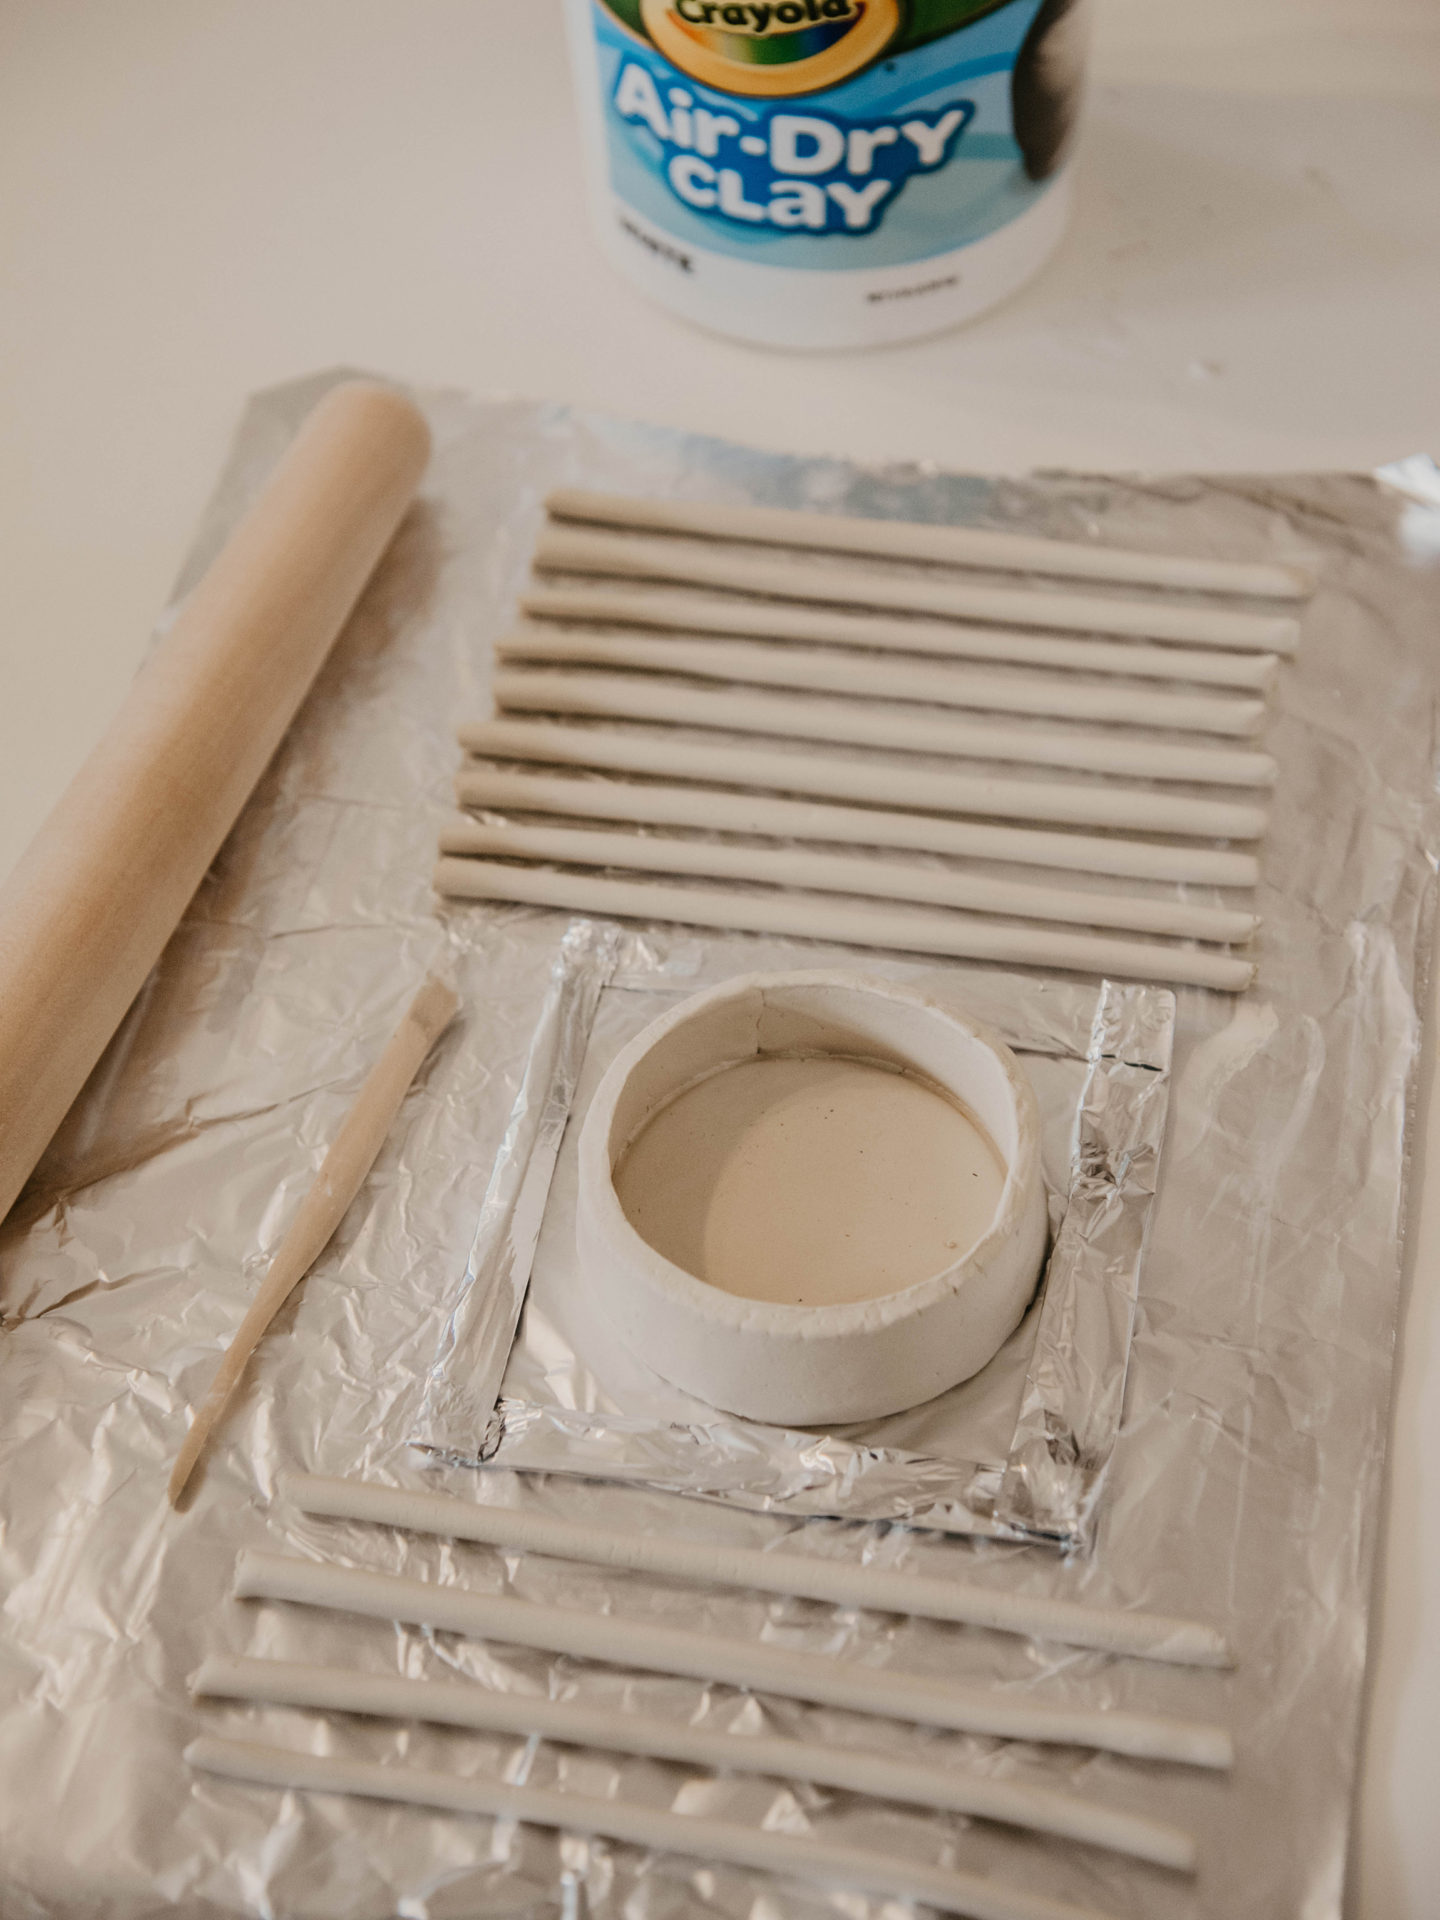
- Crayola Air Dry Clay
- Knife or Sculpting Tools
- Ruler
- Rolling Pin
- White Spray Paint
- Bowl or Cup Filled with Water
- Glass Cup or Jar
- Super Glue
Step One:
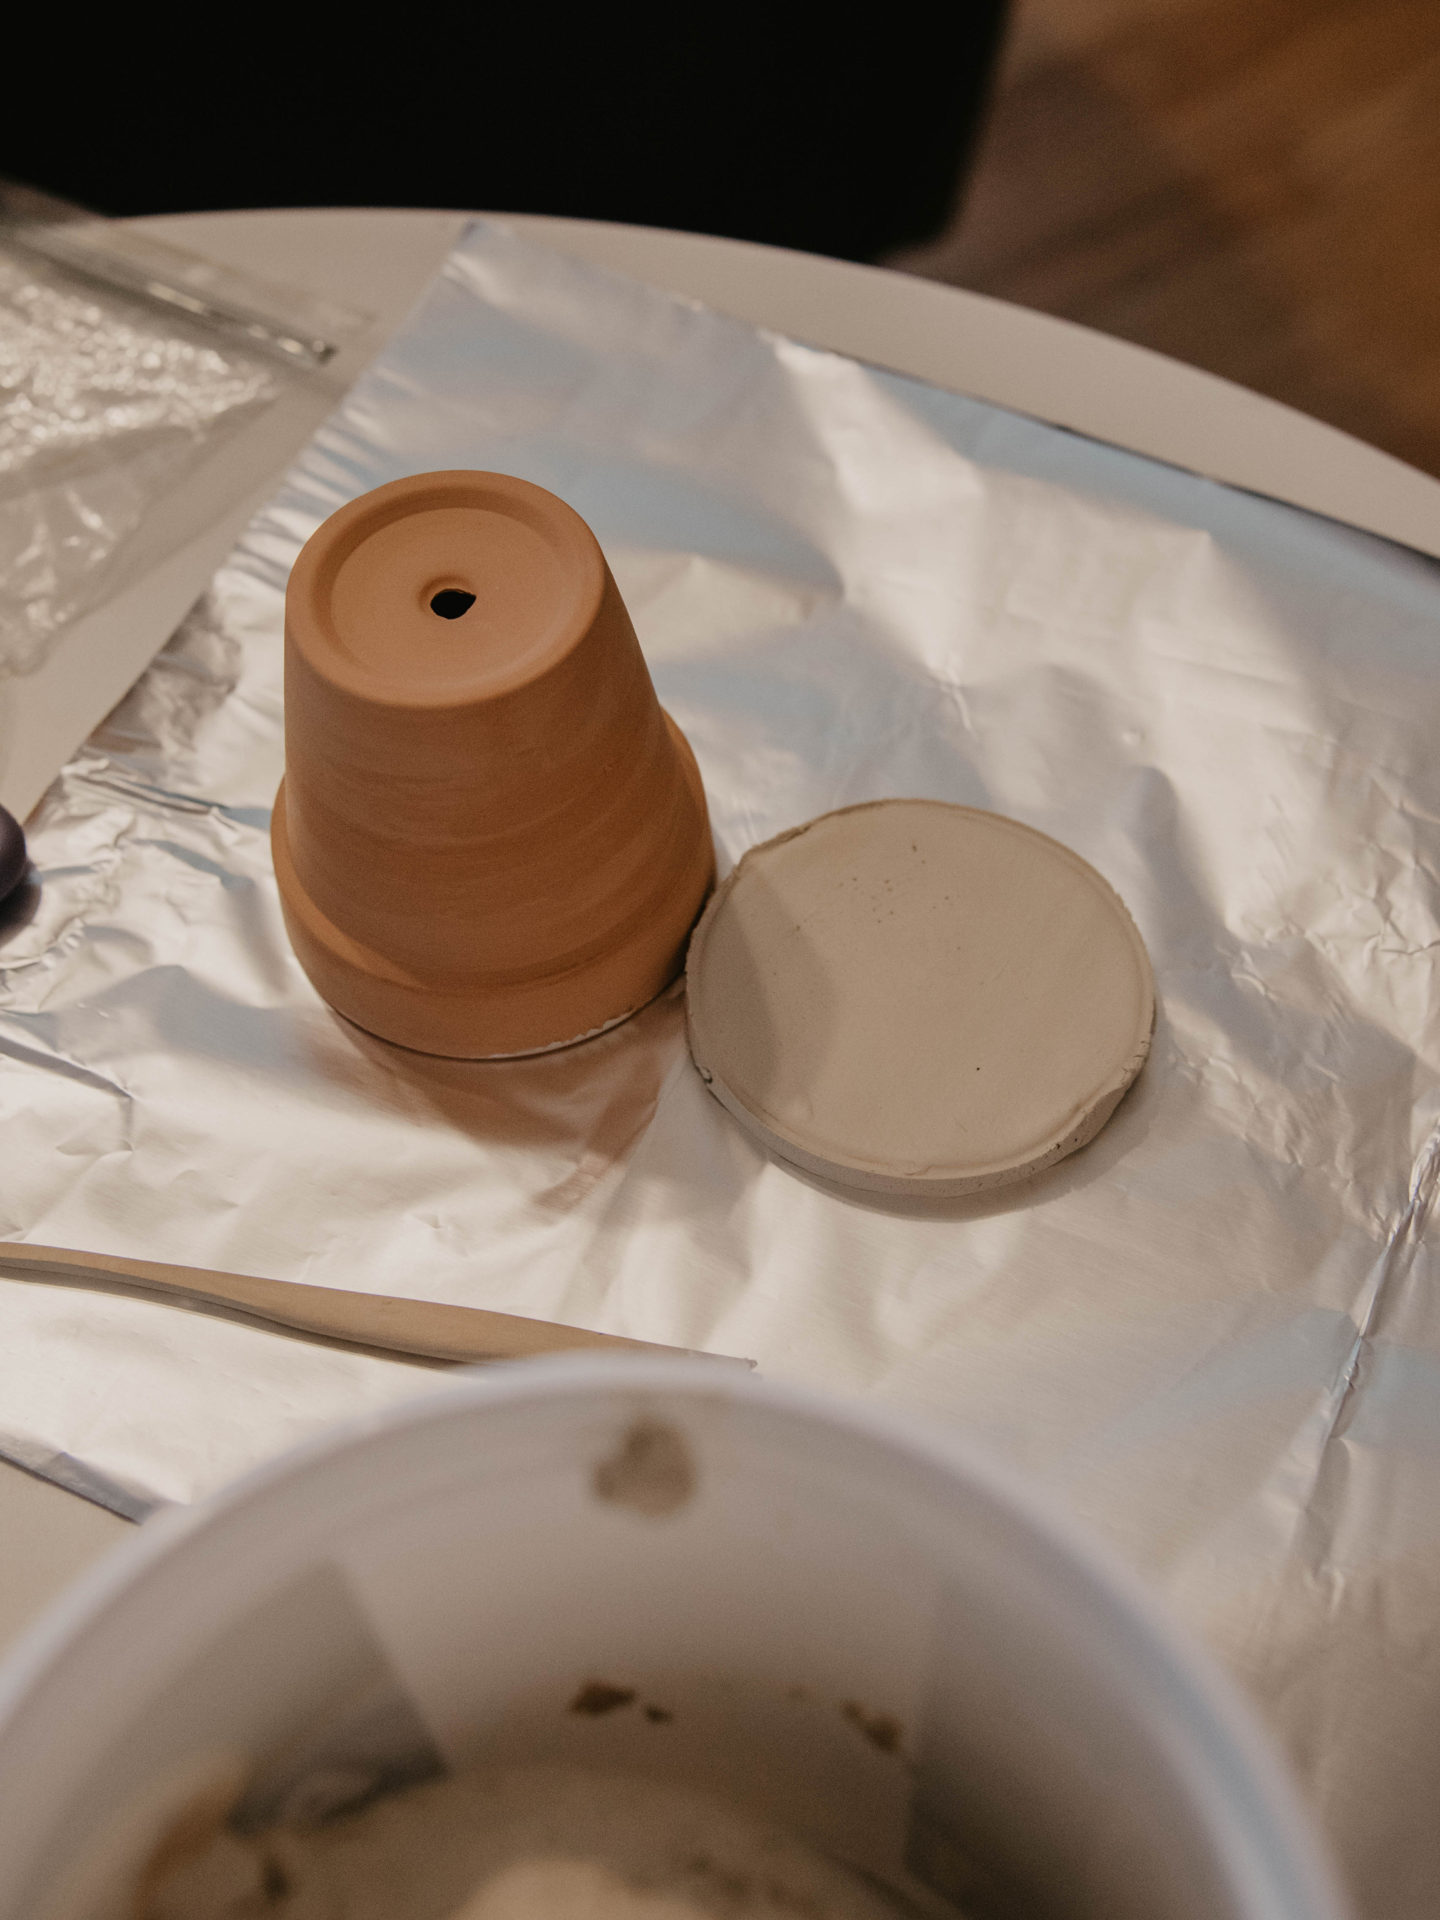
Roll out your air dry clay to your desired thickness and use a circular object to outline the base for your basket. I used a 6-inch terra cotta pot and a sculpting knife to cut a perfect circle out of the clay. Using my sculpting knife, I cleaned up the edges, ensuring that it was flat and smooth.
Step Two:
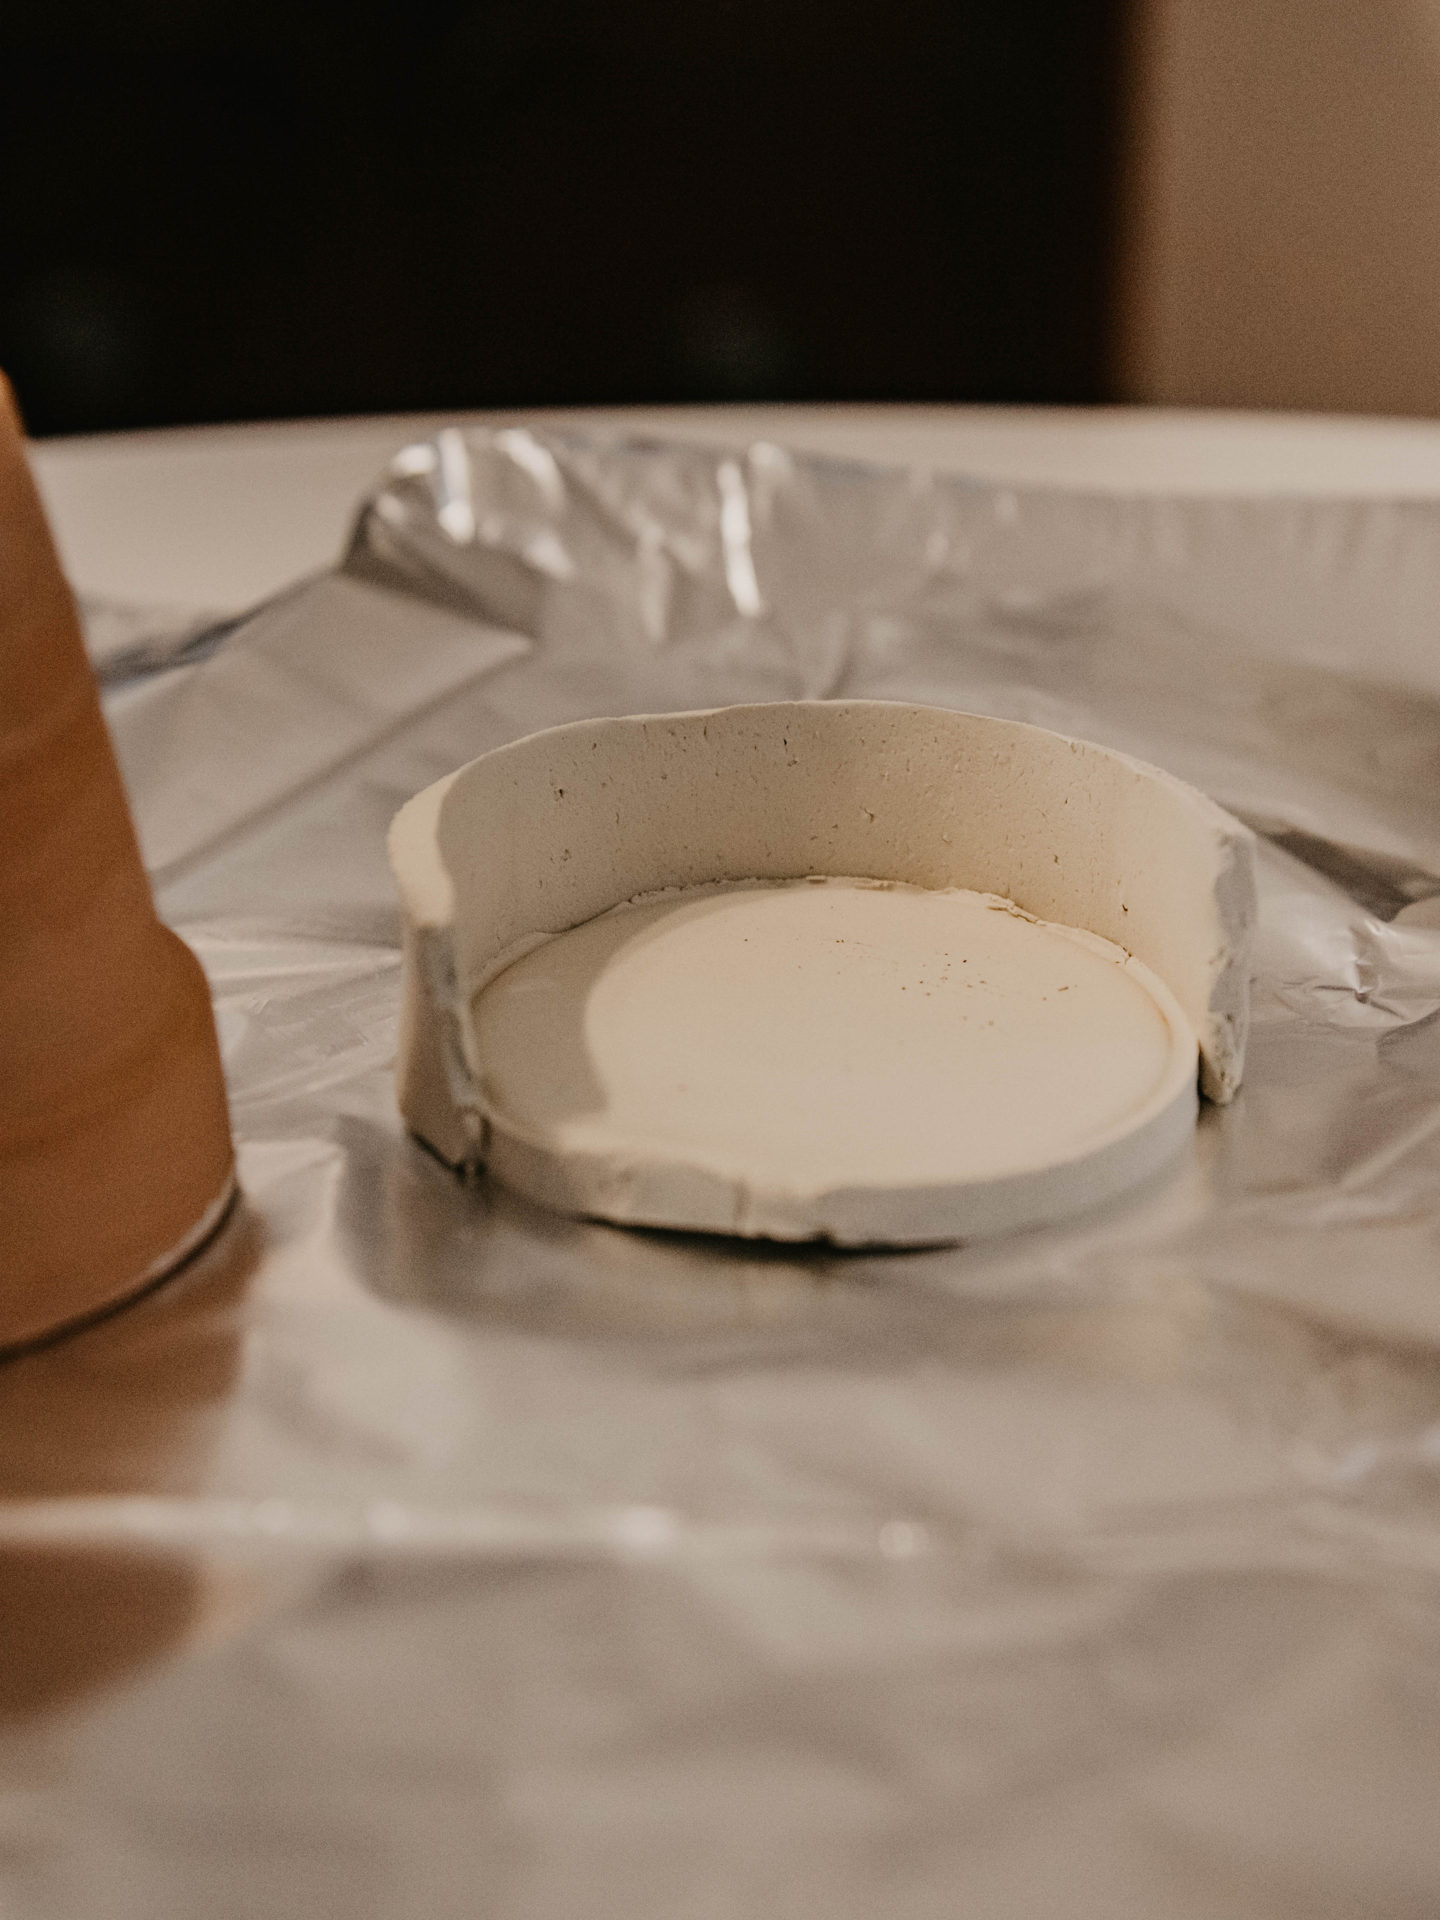
I used a ruler to cut out rectangles to create the sides for my cylindrical basket base. I rubbed water on the edges of the clay rectangle to fuse it to the circular base. This helps make the clay smoother and tackier so it can form a solid shape. I did the same with the sides and pinched the slay together to minimize the seam (see below).
Step Three:
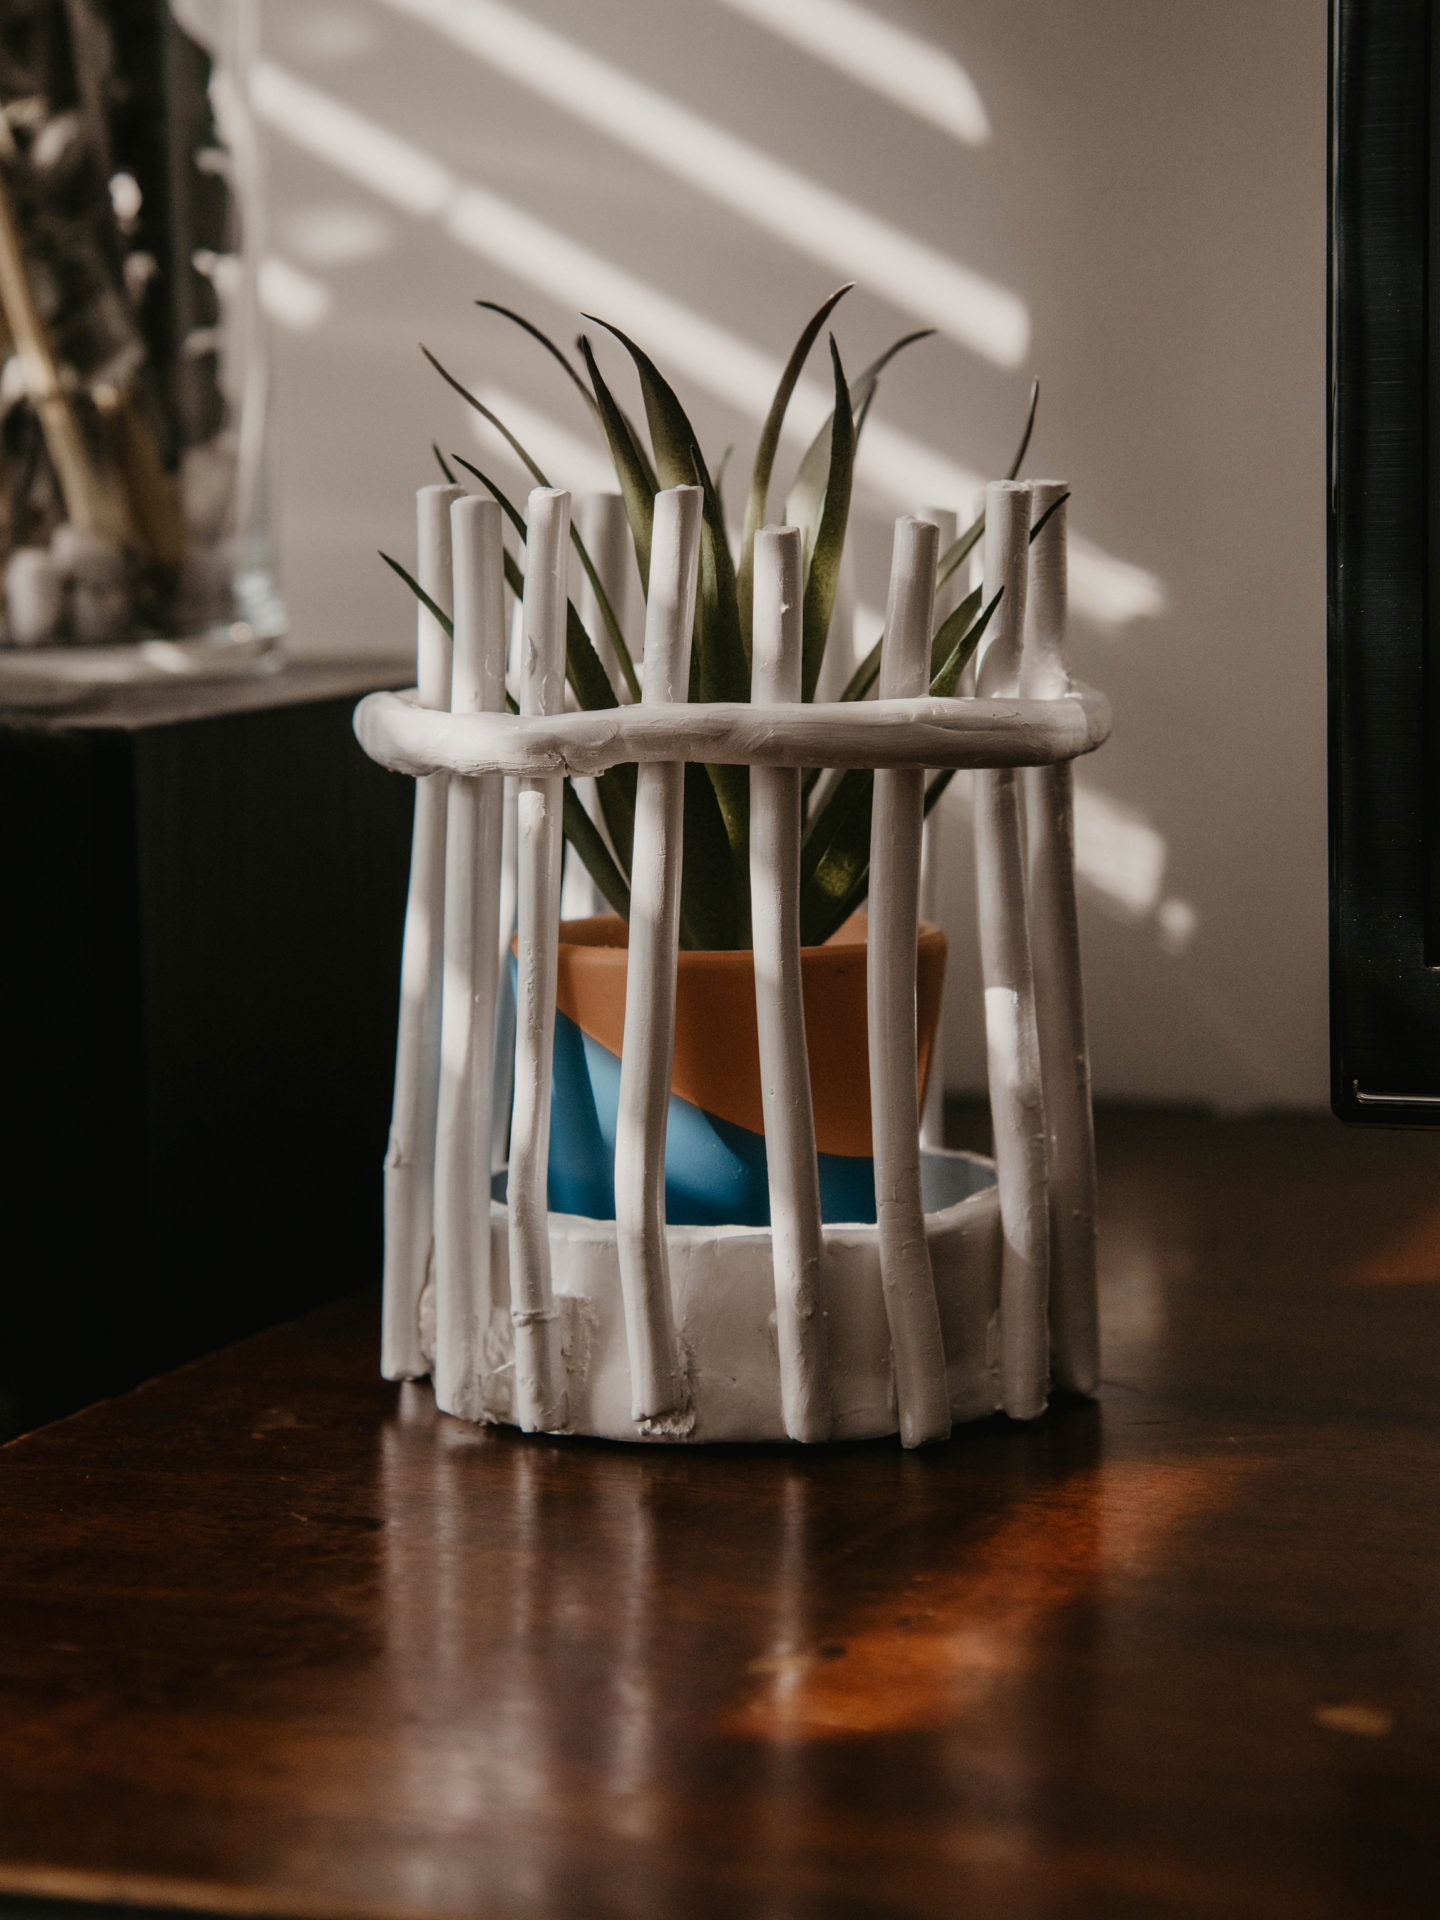
Roll out enough pillars to fuse to the base. I made twelve similarly sized pillars. Using my glass cup, I flipped my base upside down so I could mount the pillars to it. I took a tiny ball of clay, wet it with water, and used it as a buffer between the pillar and the base. Pressing firmly, but carefully, I worked my way around the base, fusing each pillar. I wasn’t worried about making it look perfect – I wanted it to have that handmade and imperfect feel.
Once each pillar was on, I rolled out a big section of clay to band around the top of the basket (see image below). I made sure to fuse the two ends together so that it perfectly wrapped around the pillars. Using my sculpting knife, I pressed parts of the clay ring onto each pillar to make sure the ring would not budge.

Step Four:
I let the clay basket dry like this for two days, checking on it periodically. However, each time I checked on it, one of the pillars had popped off! 🤬 Since it was already starting to dry, I had no choice but to super glue it back together.
–
Step Five:
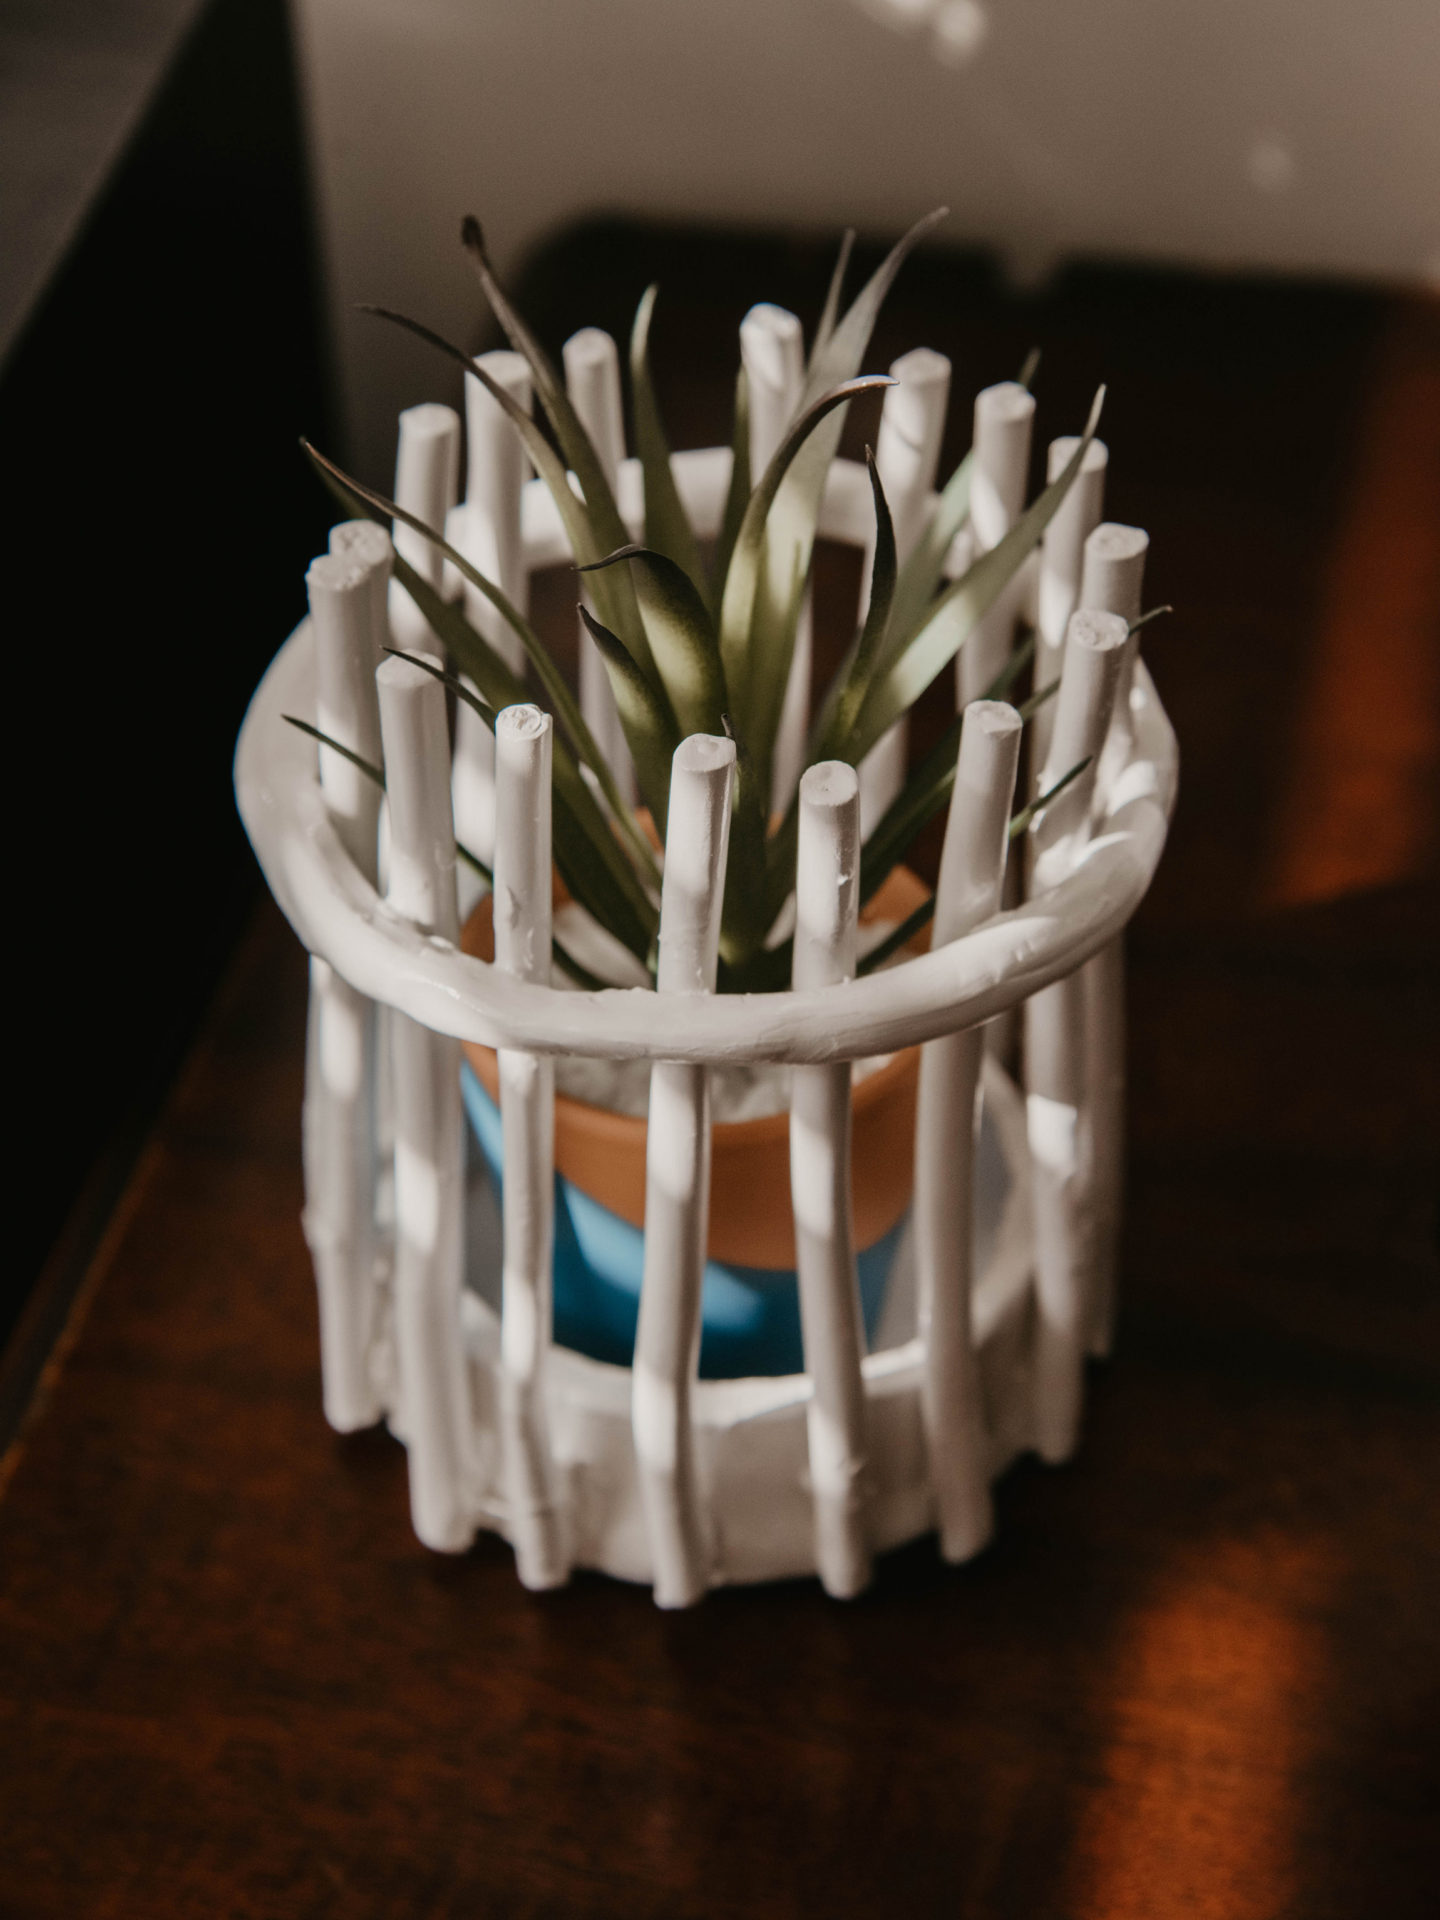
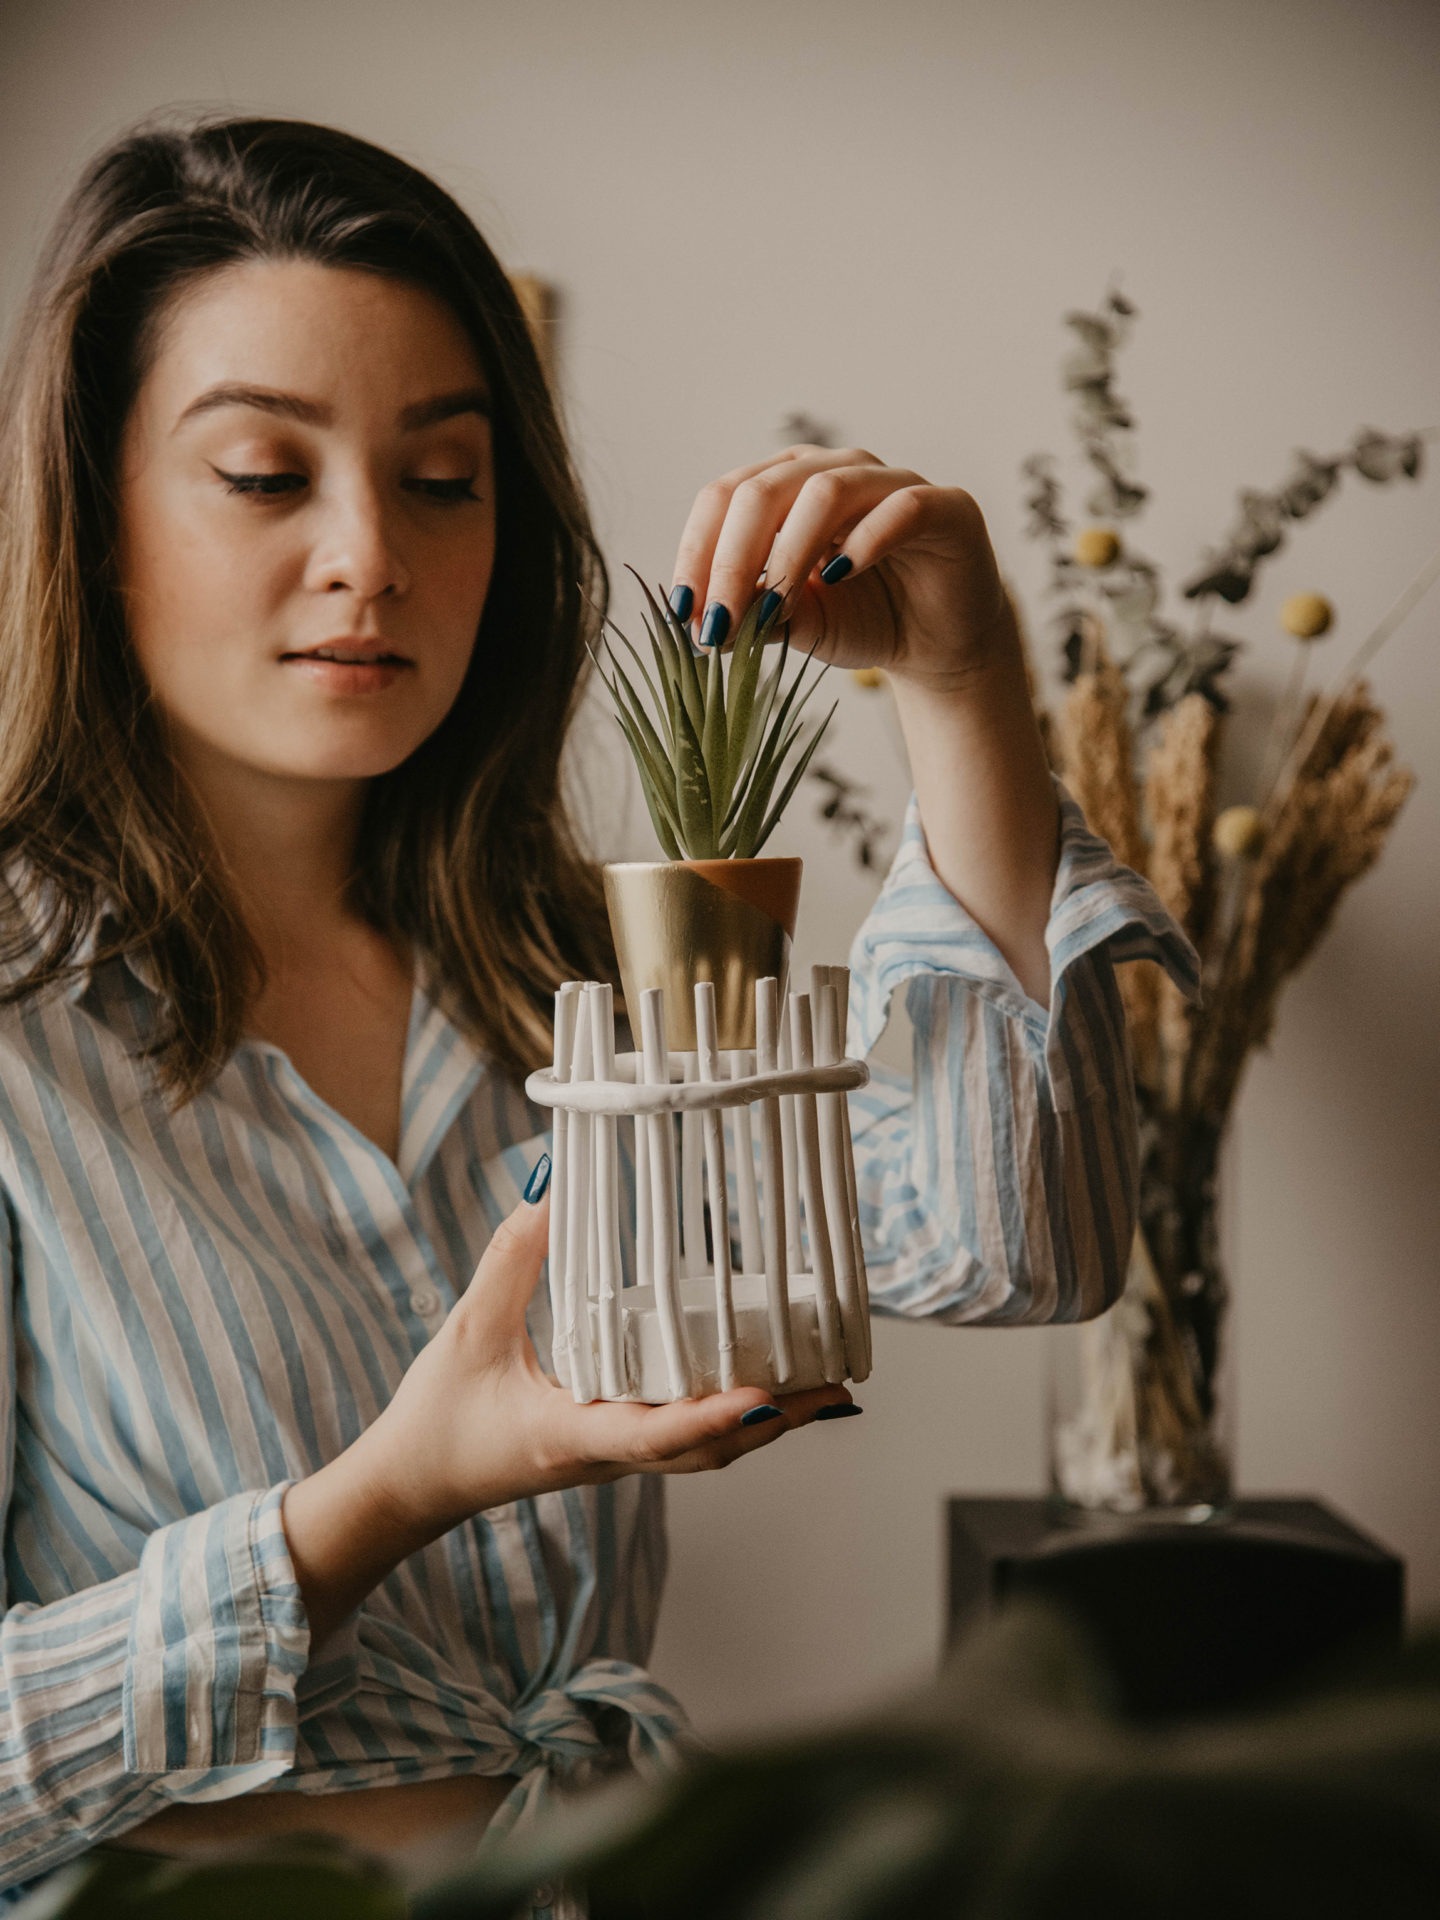
Once it was completely dry and the pillars were no longer popping off, I carefully took the clay basket outside and spray painted it white so it would look more ceramic. I waited a few hours, and let it dry. Once it was ready, I took a cute faux plant from Target and placed it inside.
–
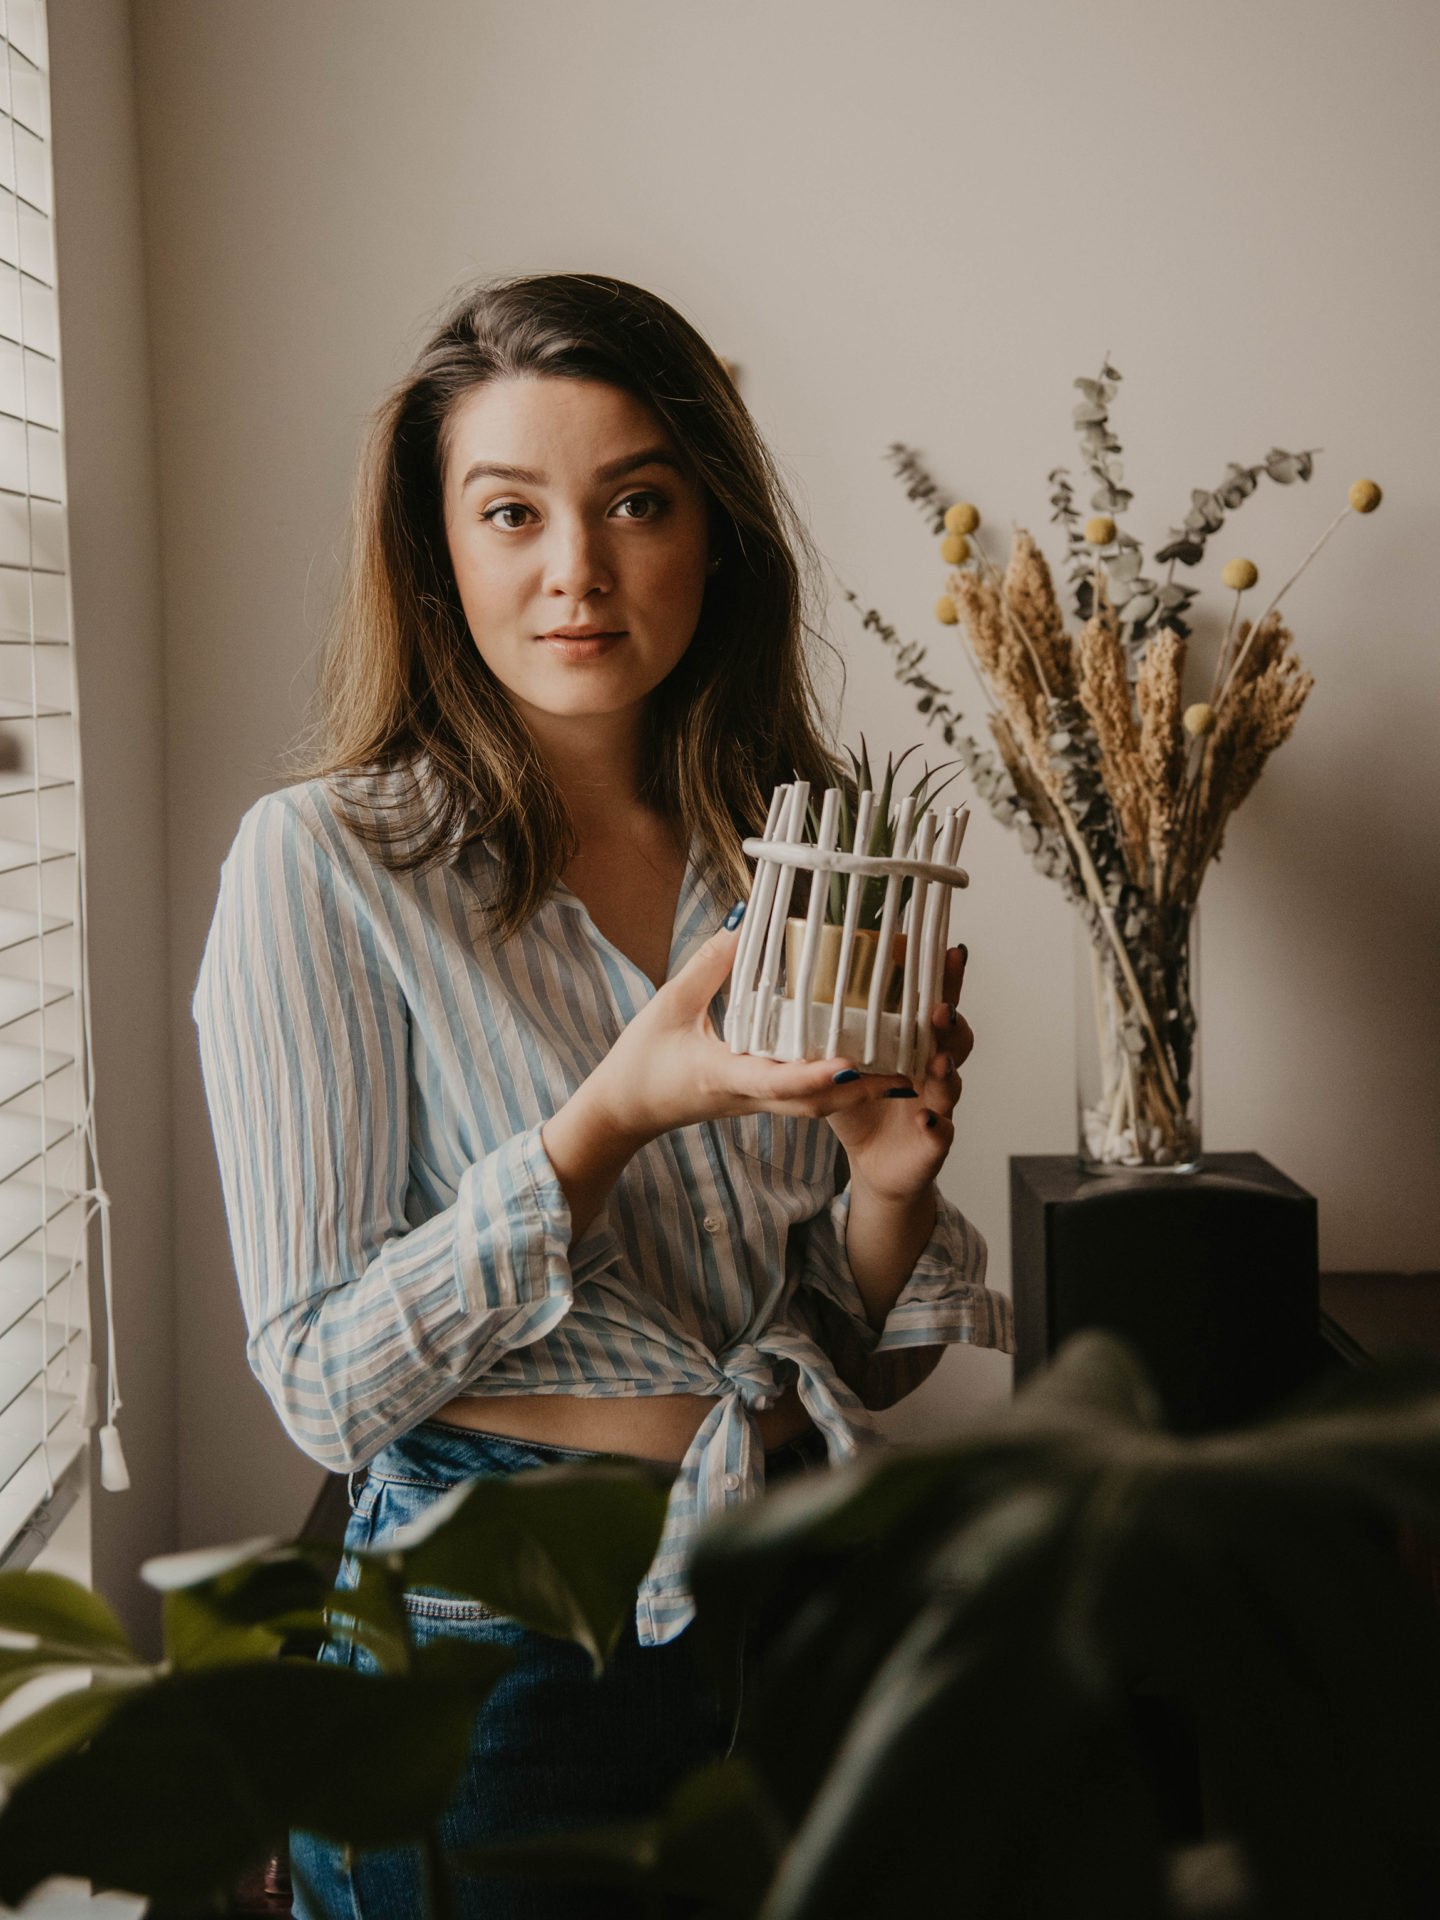
Now you have a cute clay basket you can use to decorate your home! Has anyone else tried making a clay basket? Any tips for me? I’m considering getting my hands on polymer clay and trying this again.
Anyone know of an easier way to pull off a clay DIY like this?