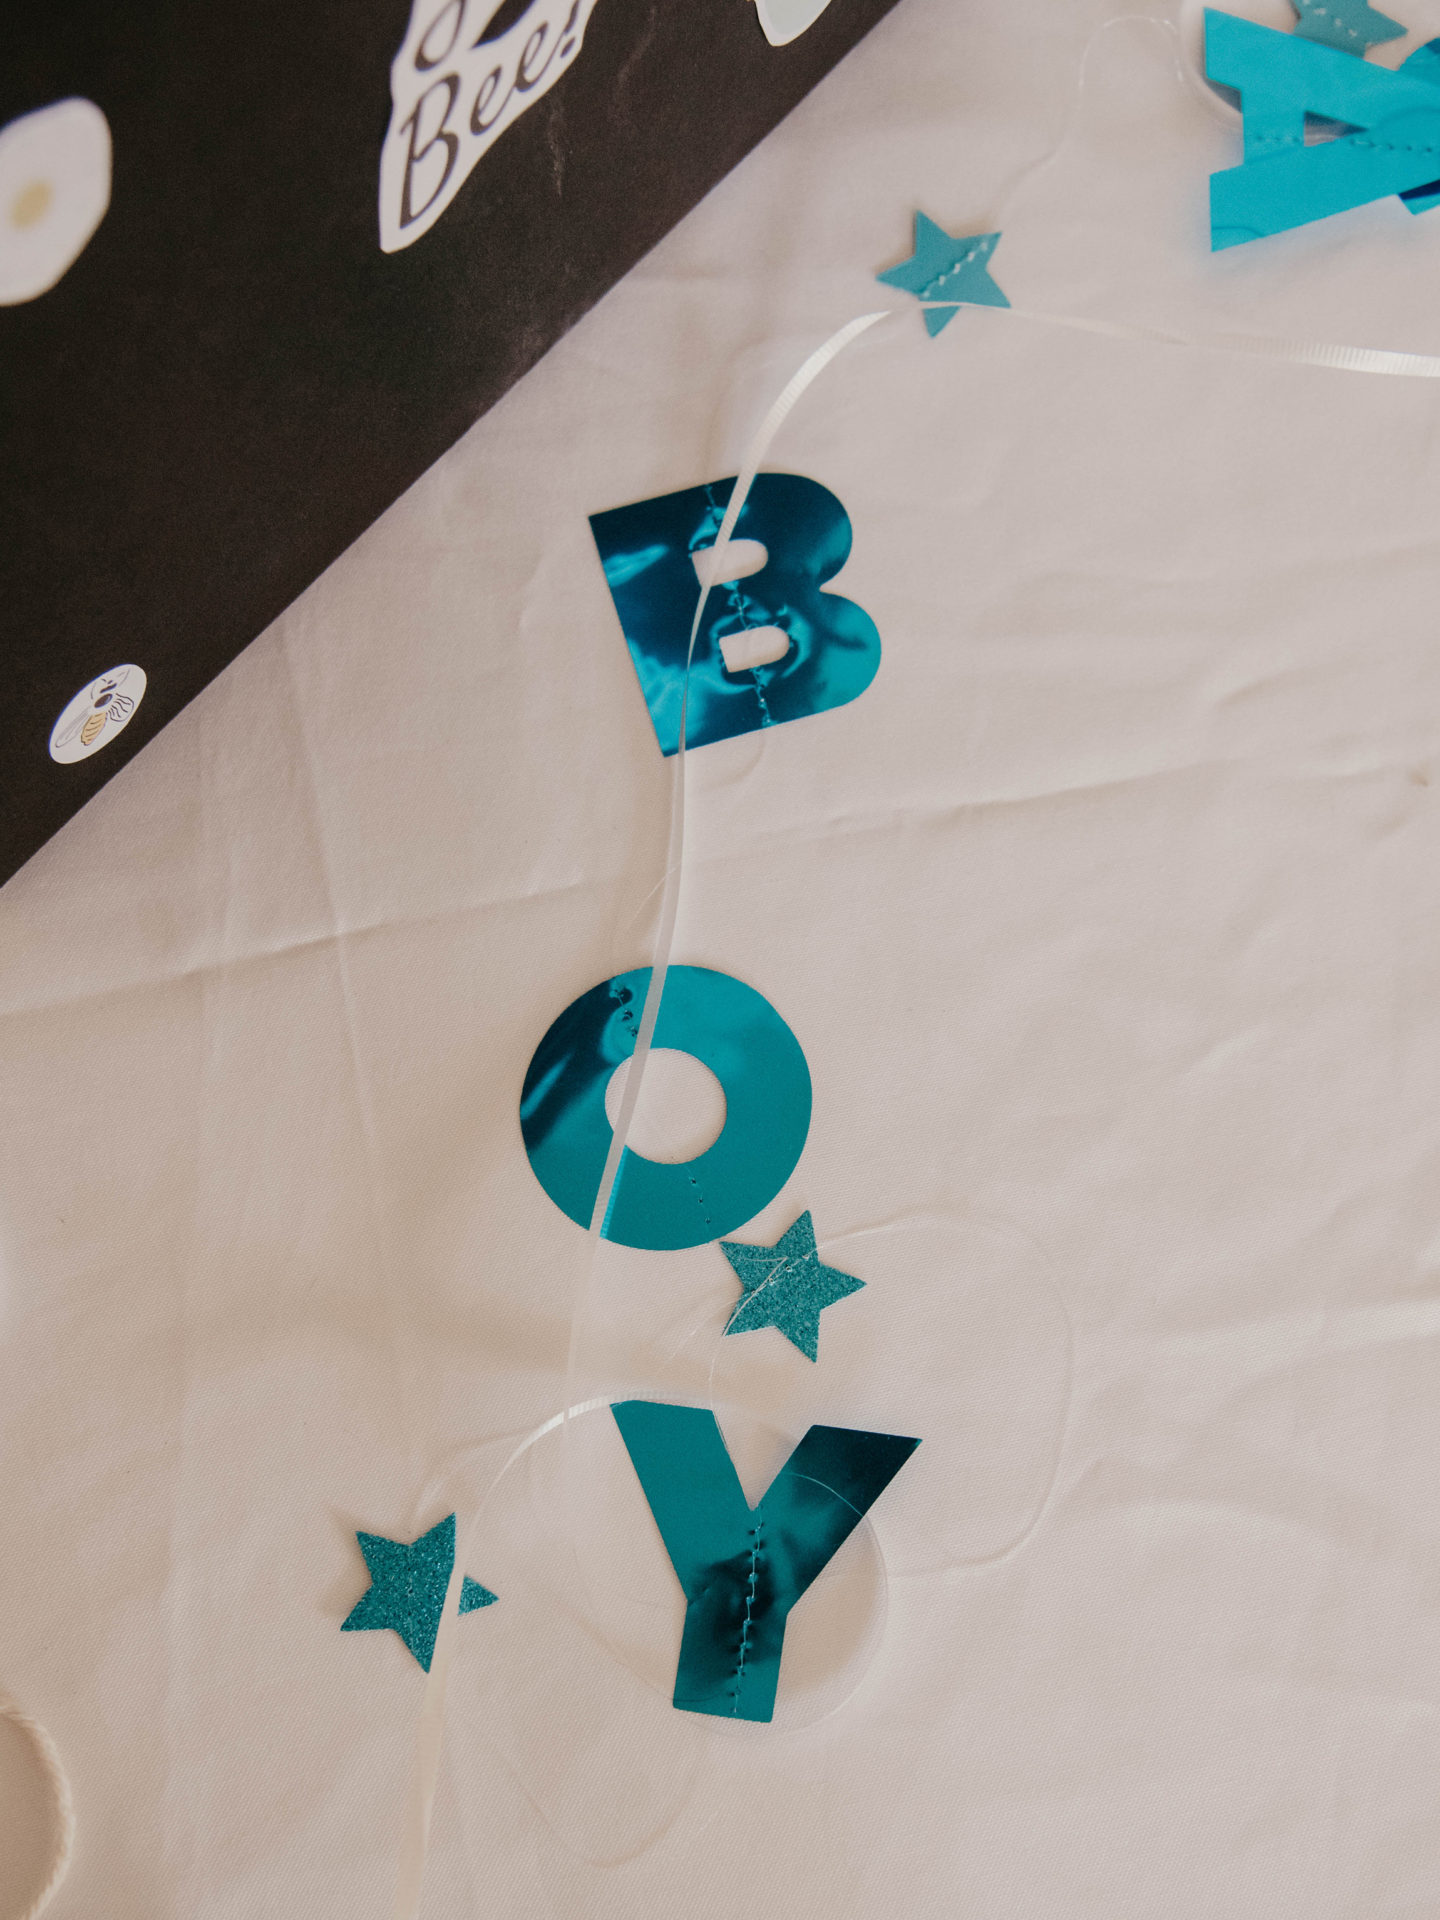
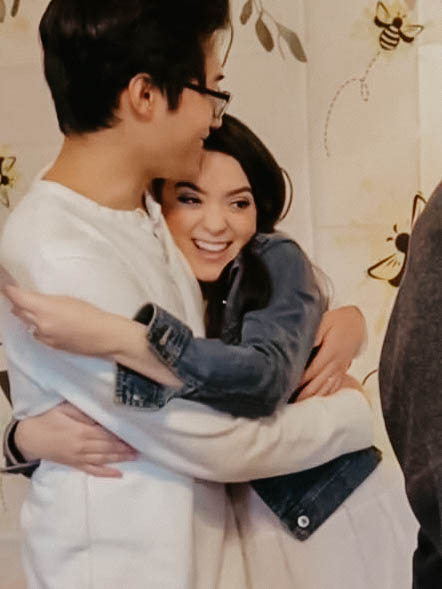
We’re having a baby boy!
I keep looking at our ultrasound photos and rewatching the gender reveal video over and over. Haha! Earlier this week, we hit the halfway milestone of 20 weeks. Nugget a.k.a. Baby Hang has been kicking me and with each passing day those kicks and punches have been getting stronger and stronger. I’m just so excited and can’t wait to hold my baby in my arms.
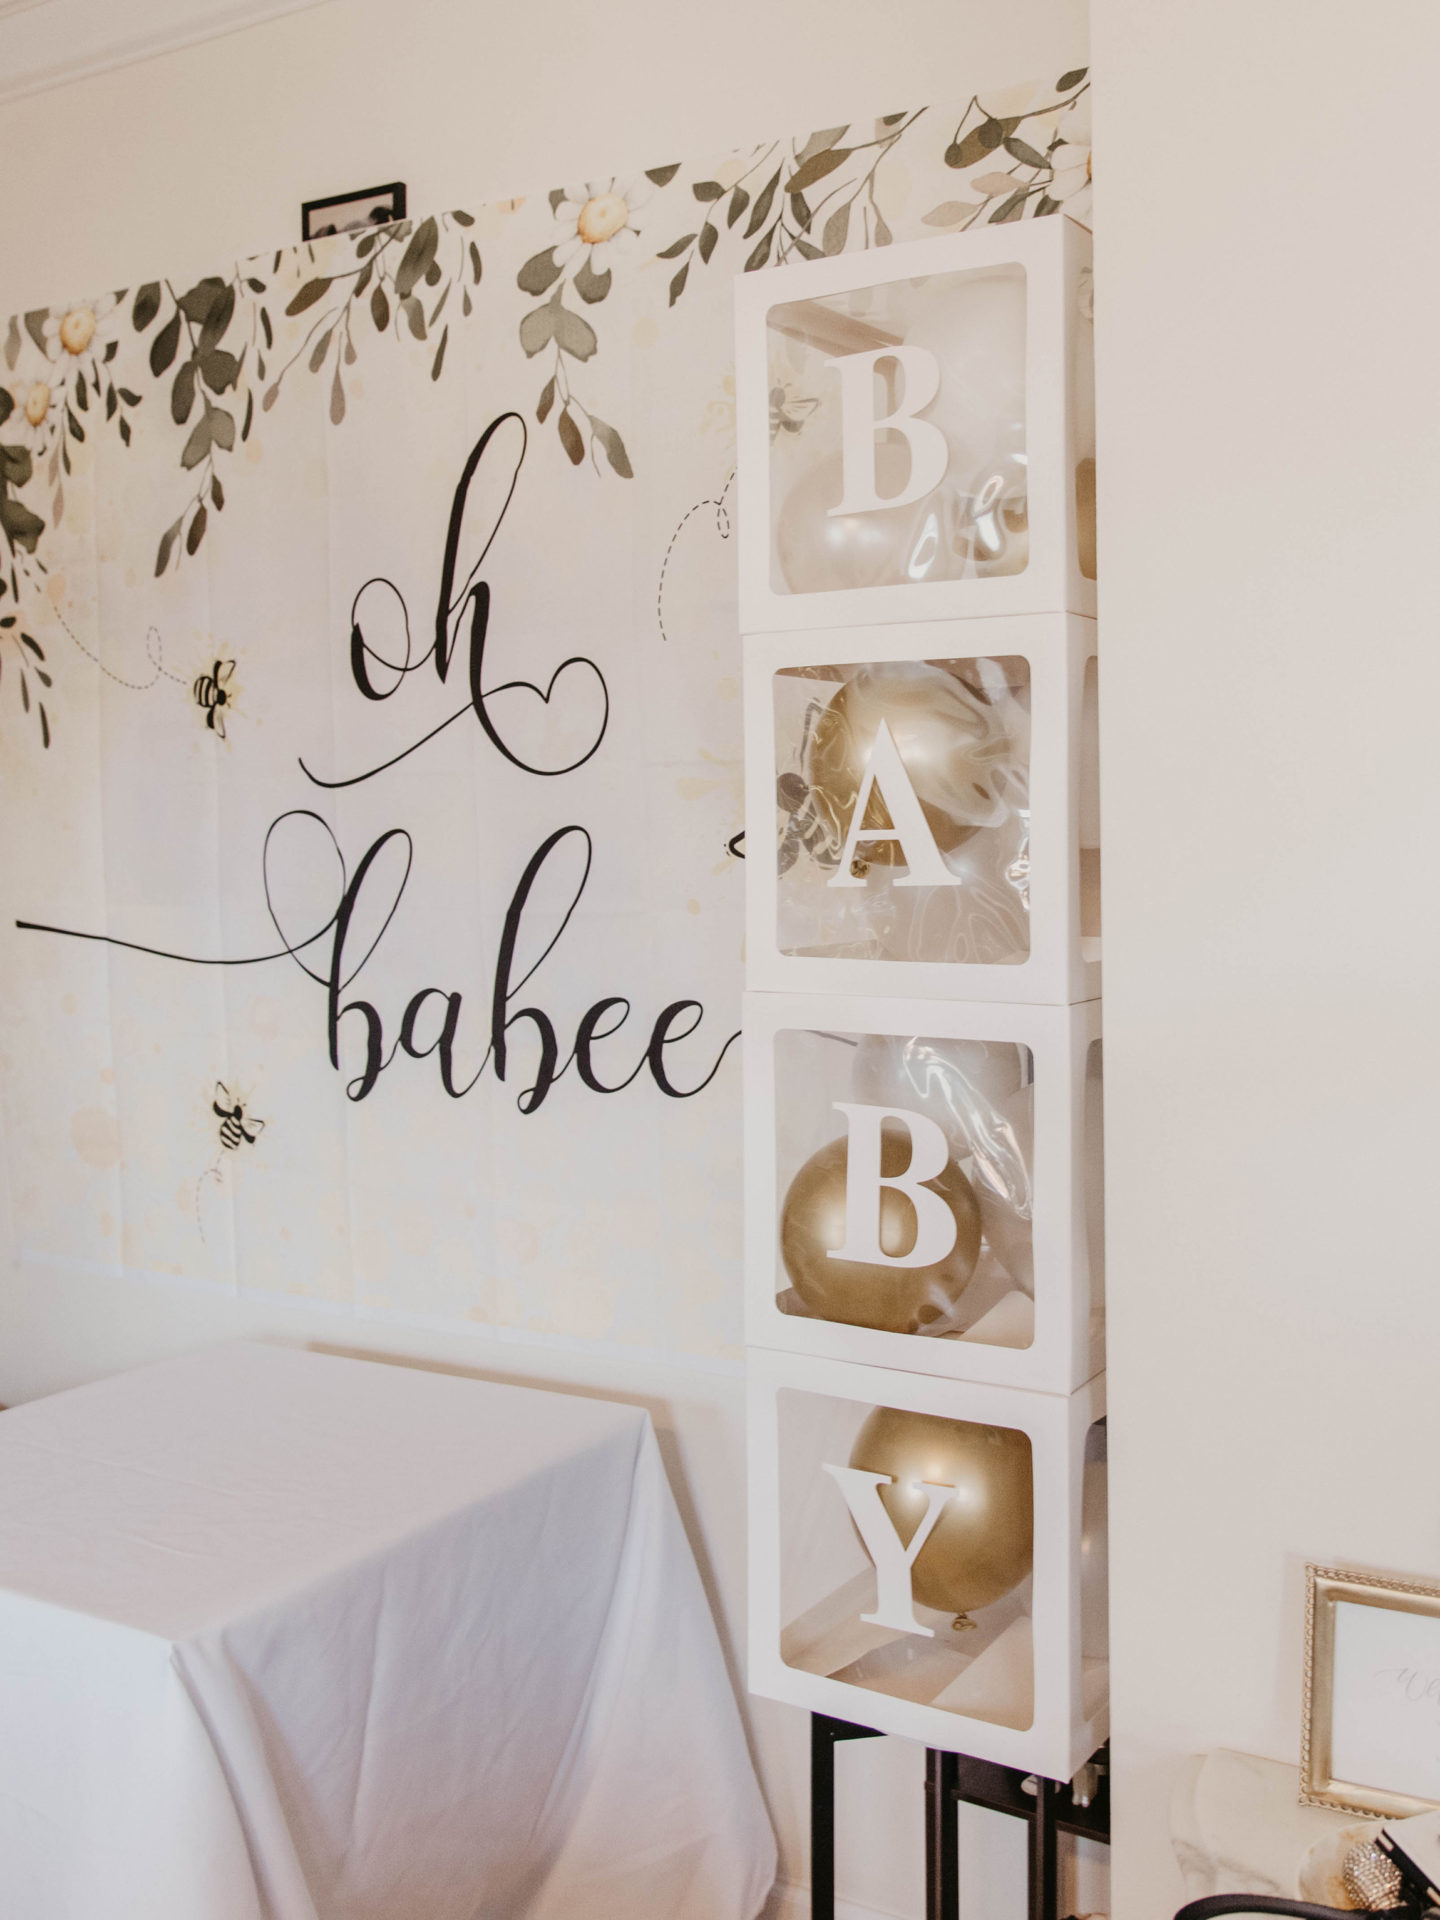
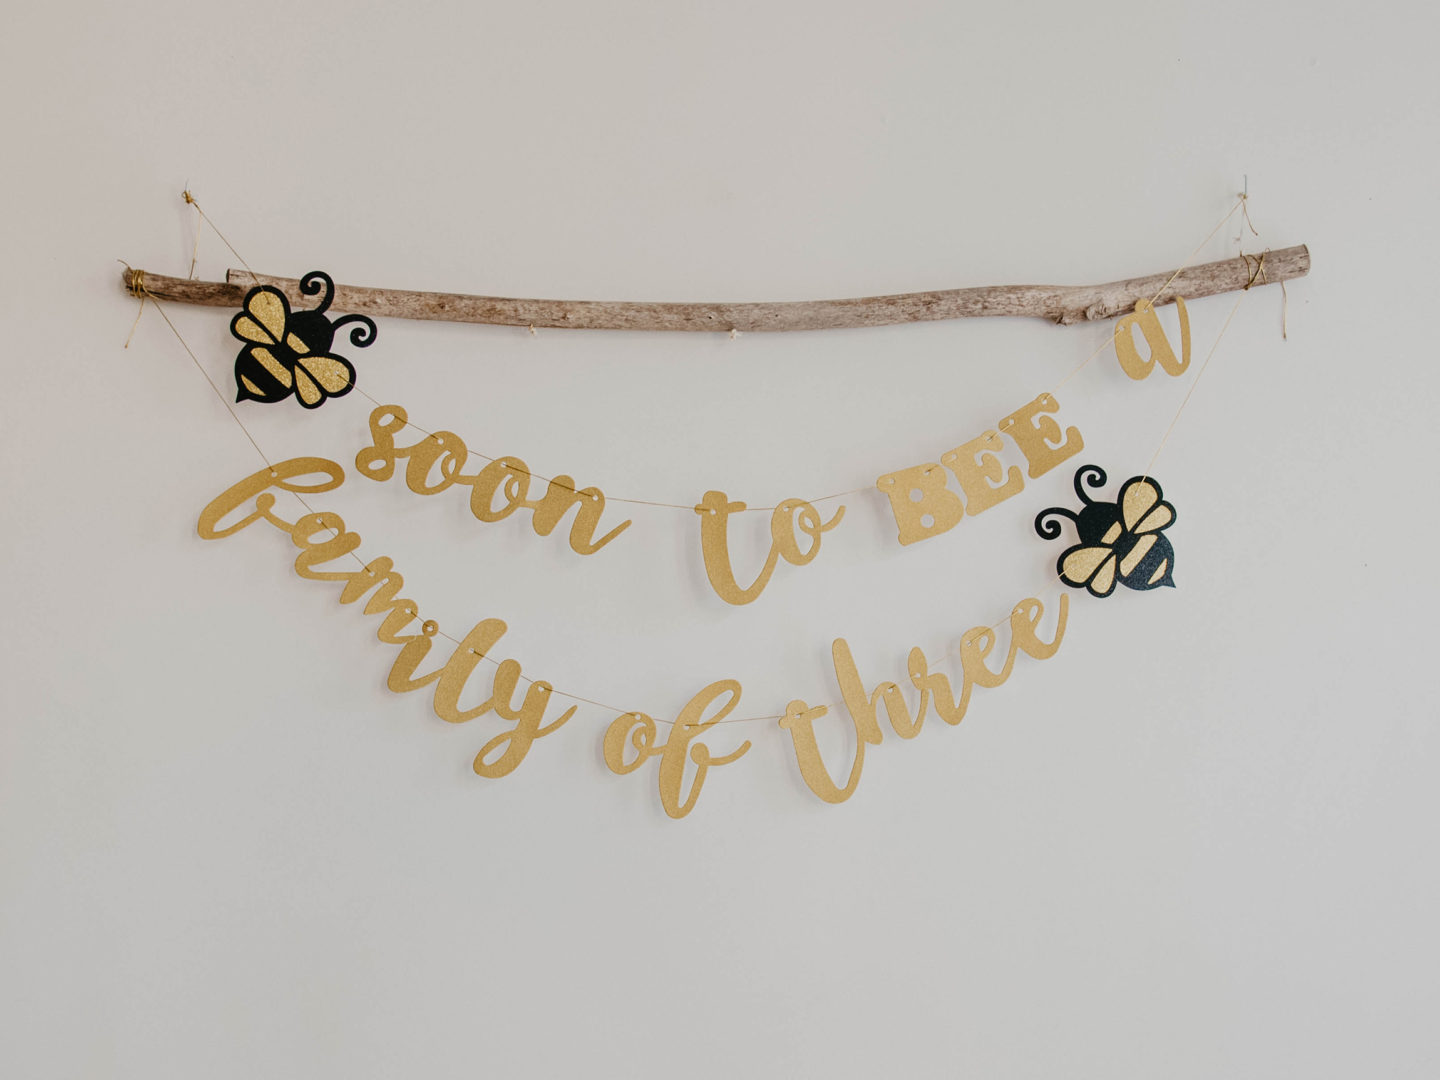
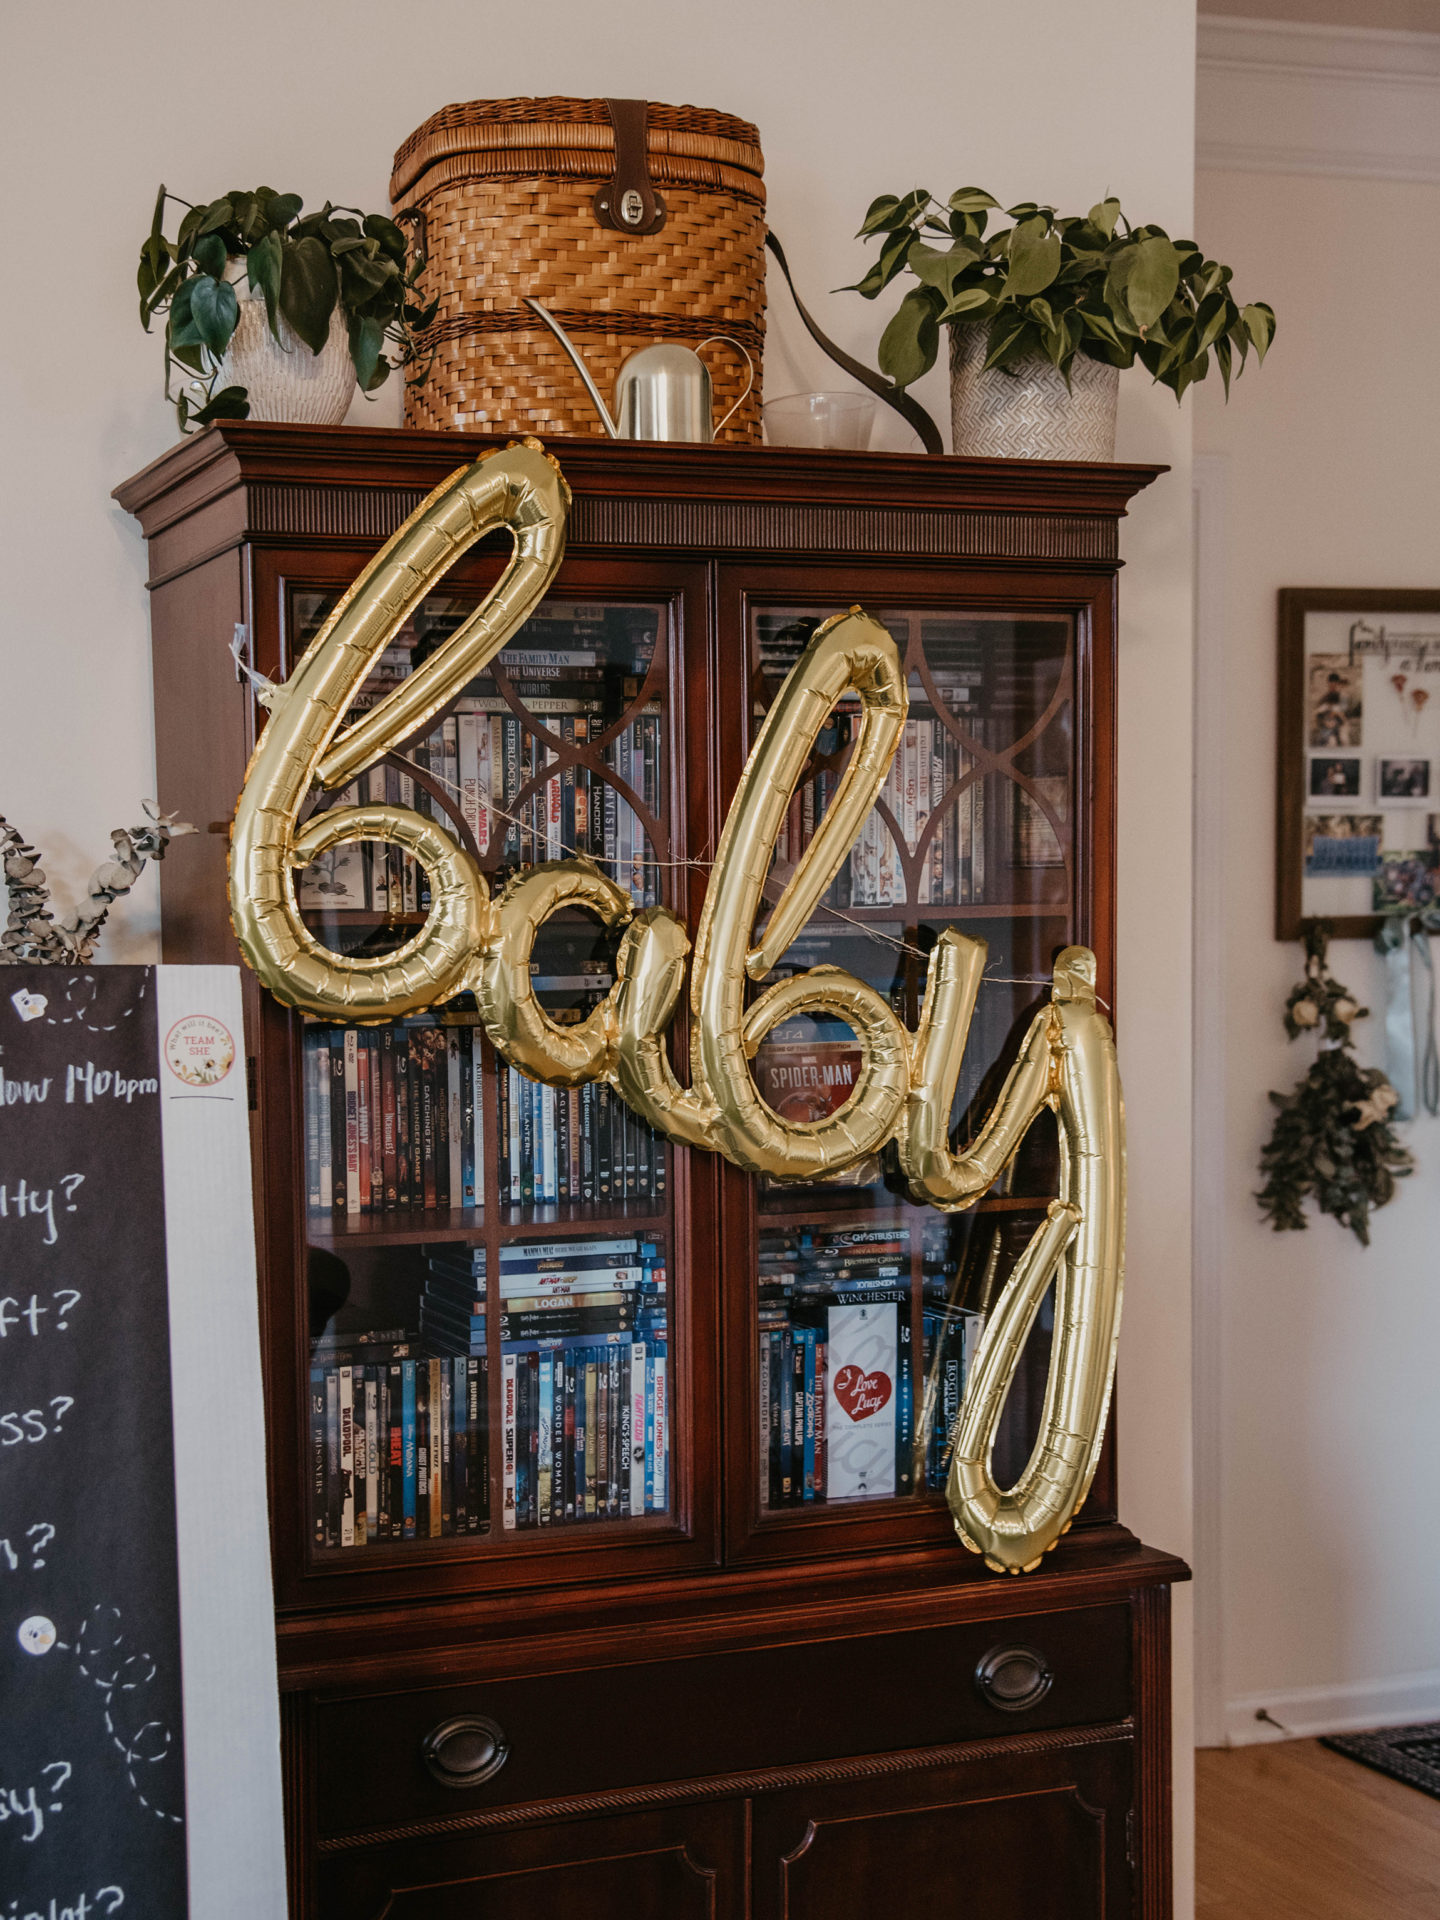
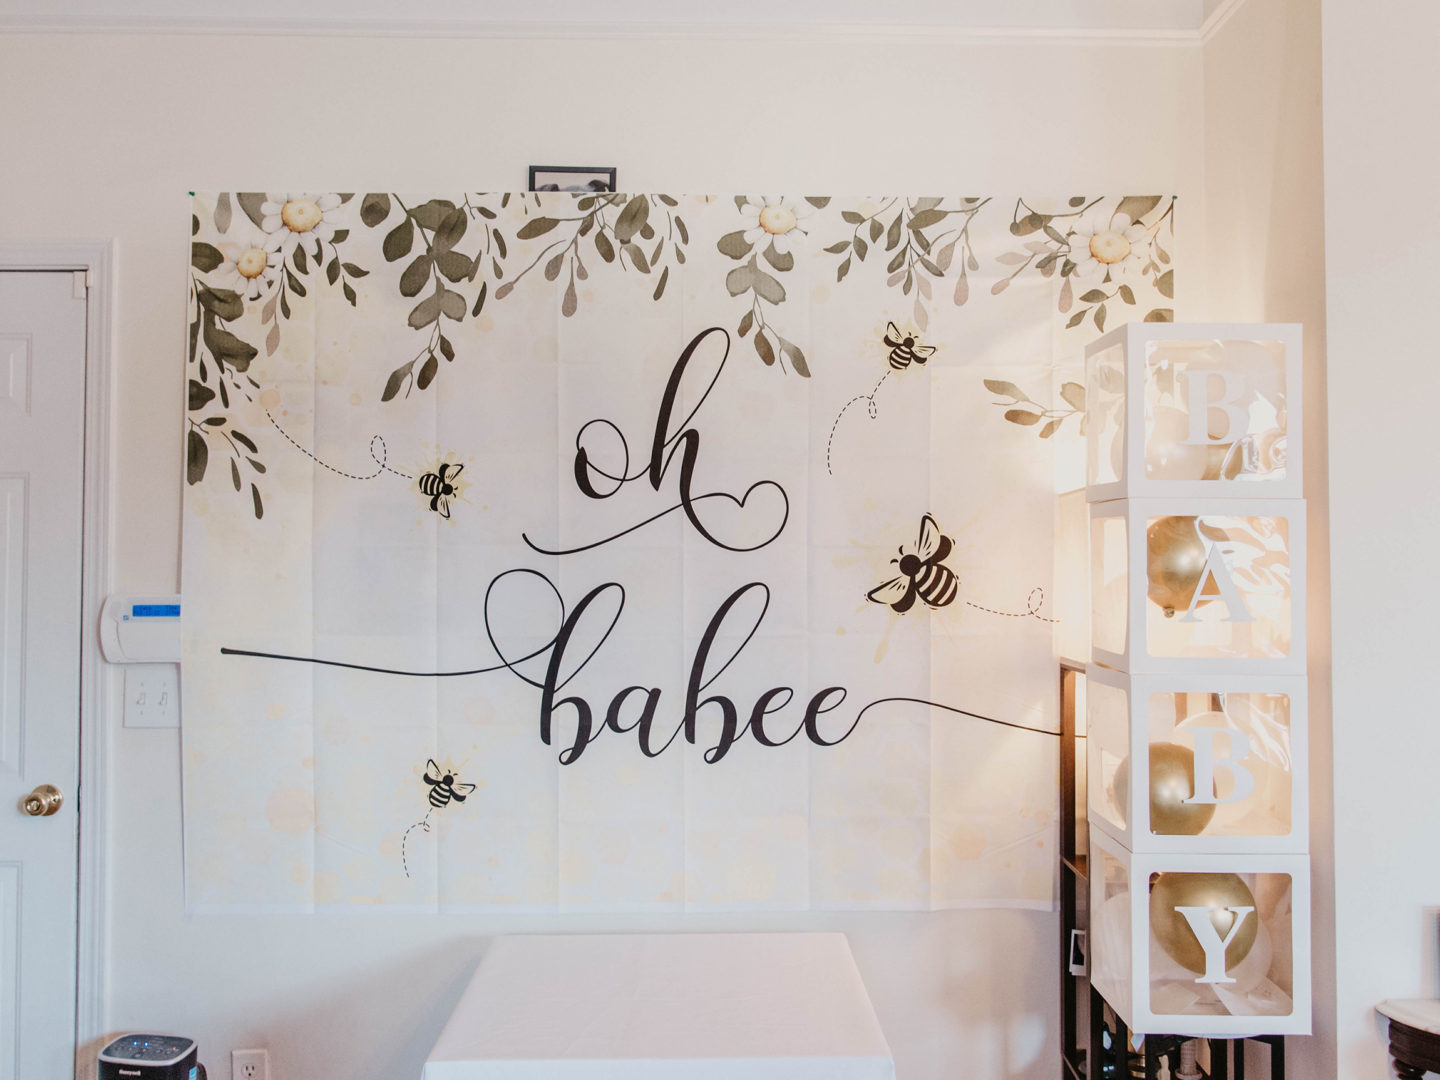
When we started planning our gender reveal, I knew I wanted to keep it fairly neutral with minimal blue and pink decorations. I opted for a ‘garden bee’ theme and wanted to make our gender reveal balloon box match. Instead of dropping a lot of money on a huge balloon box, I DIY’d my own. If you like getting creative, this is a perfect project for you!
Things You’ll Need:
-
- Kraft Paper (Black)
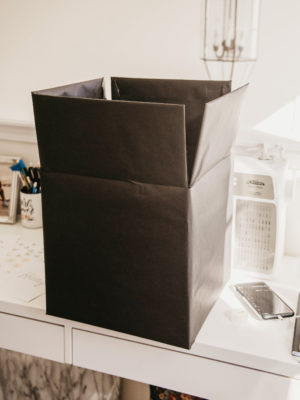
- Cardboard Box (13 x 13 x 13)
- Sticker Paper
- Scissors
- White Balloon (Helium Filled)
- Balloon String (It’s A Boy // It’s A Girl)
- Tissue Paper (I recommend skipping this – you’ll see why later)
- Gift Tape + Glue Sticks
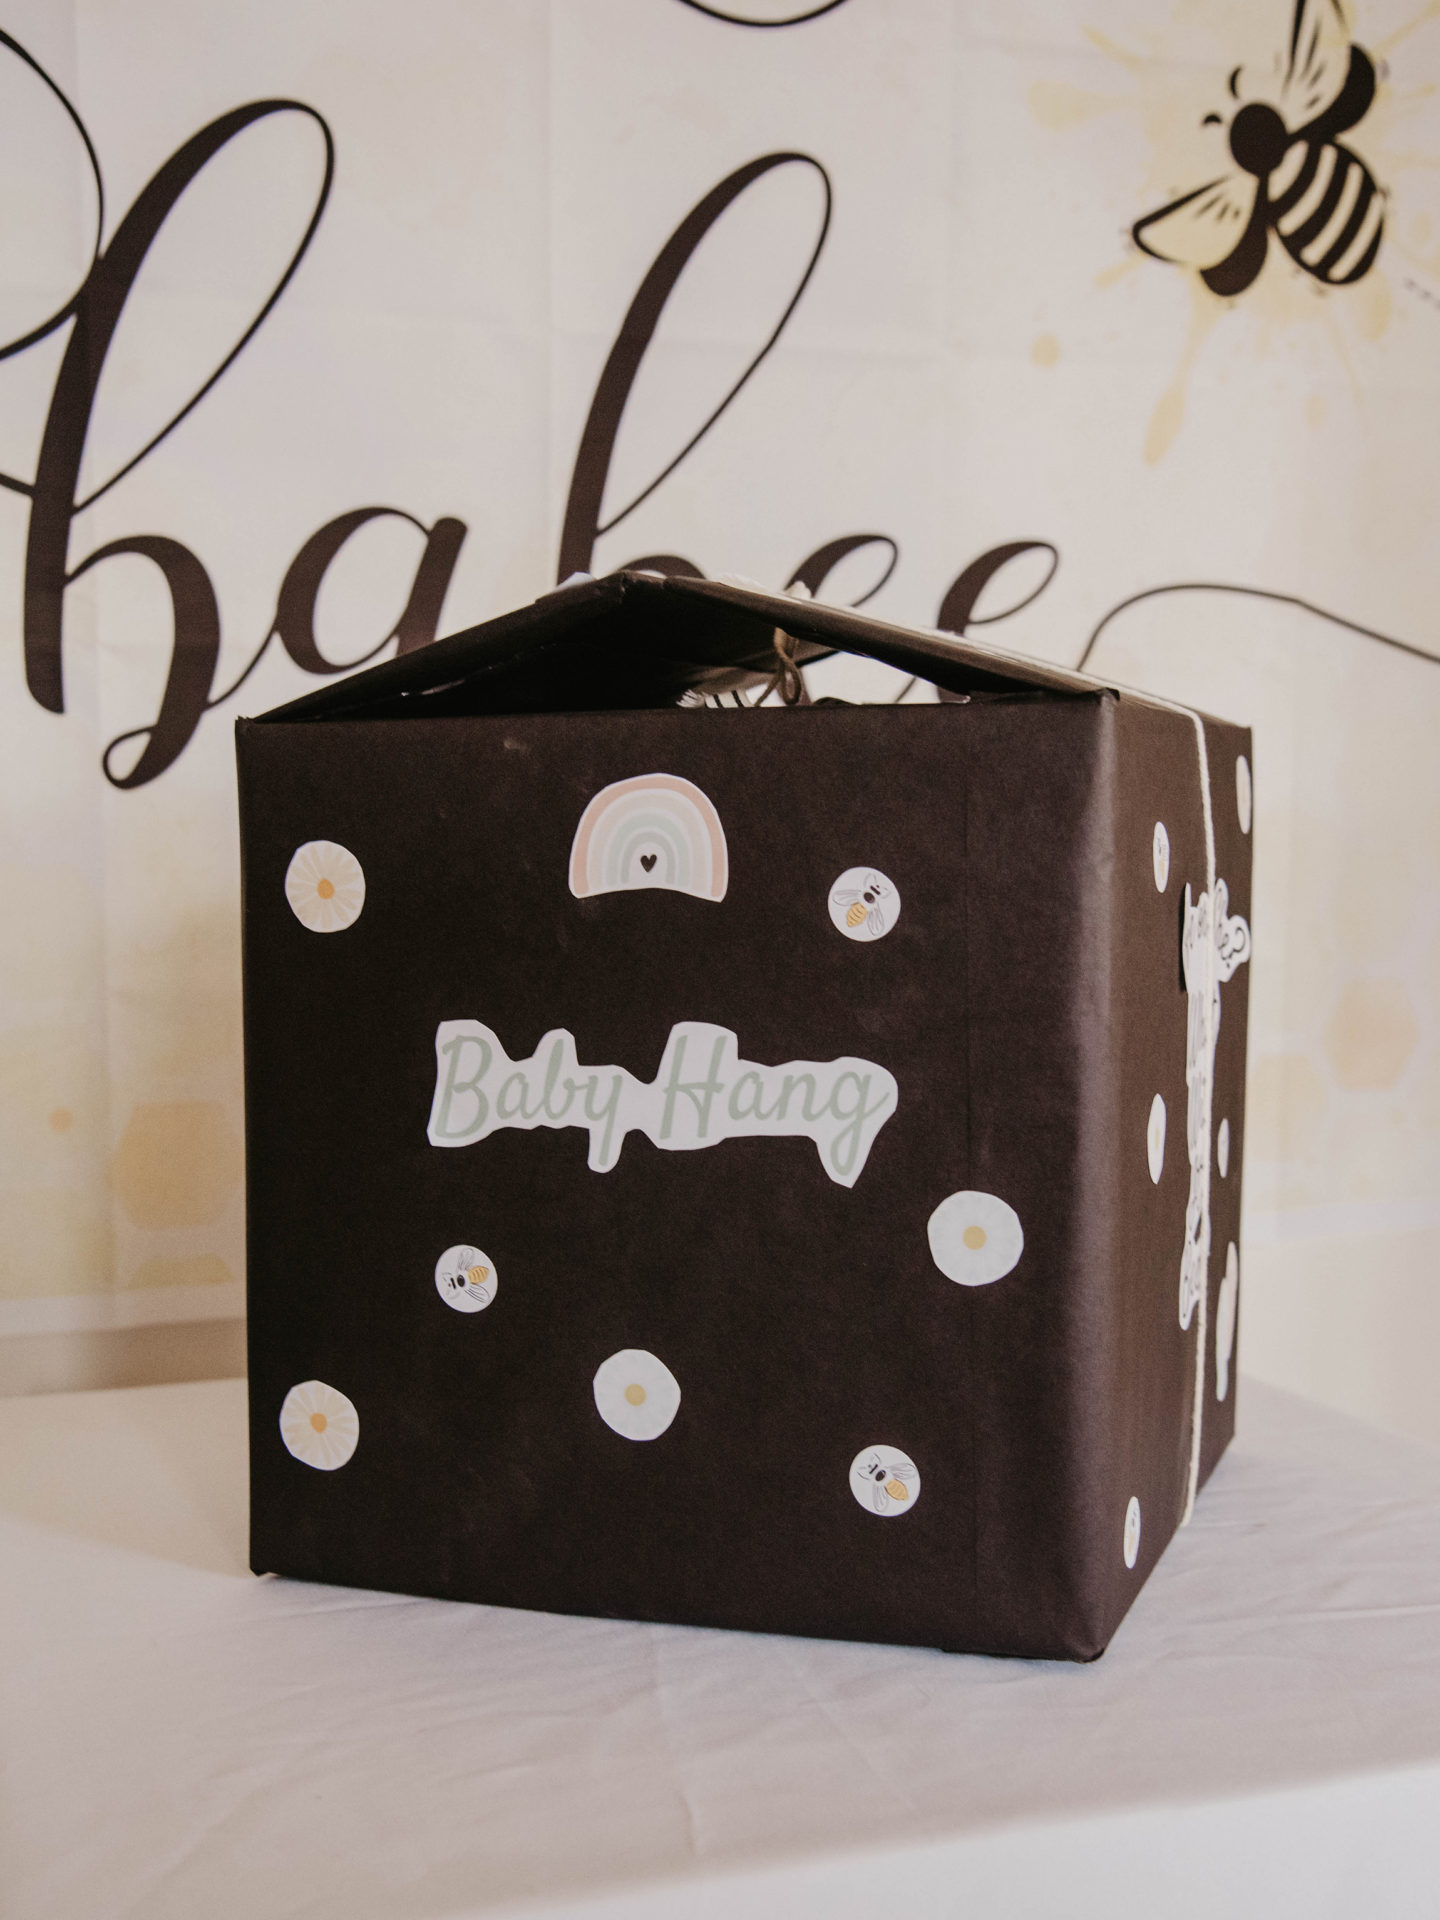
Wrap the Box
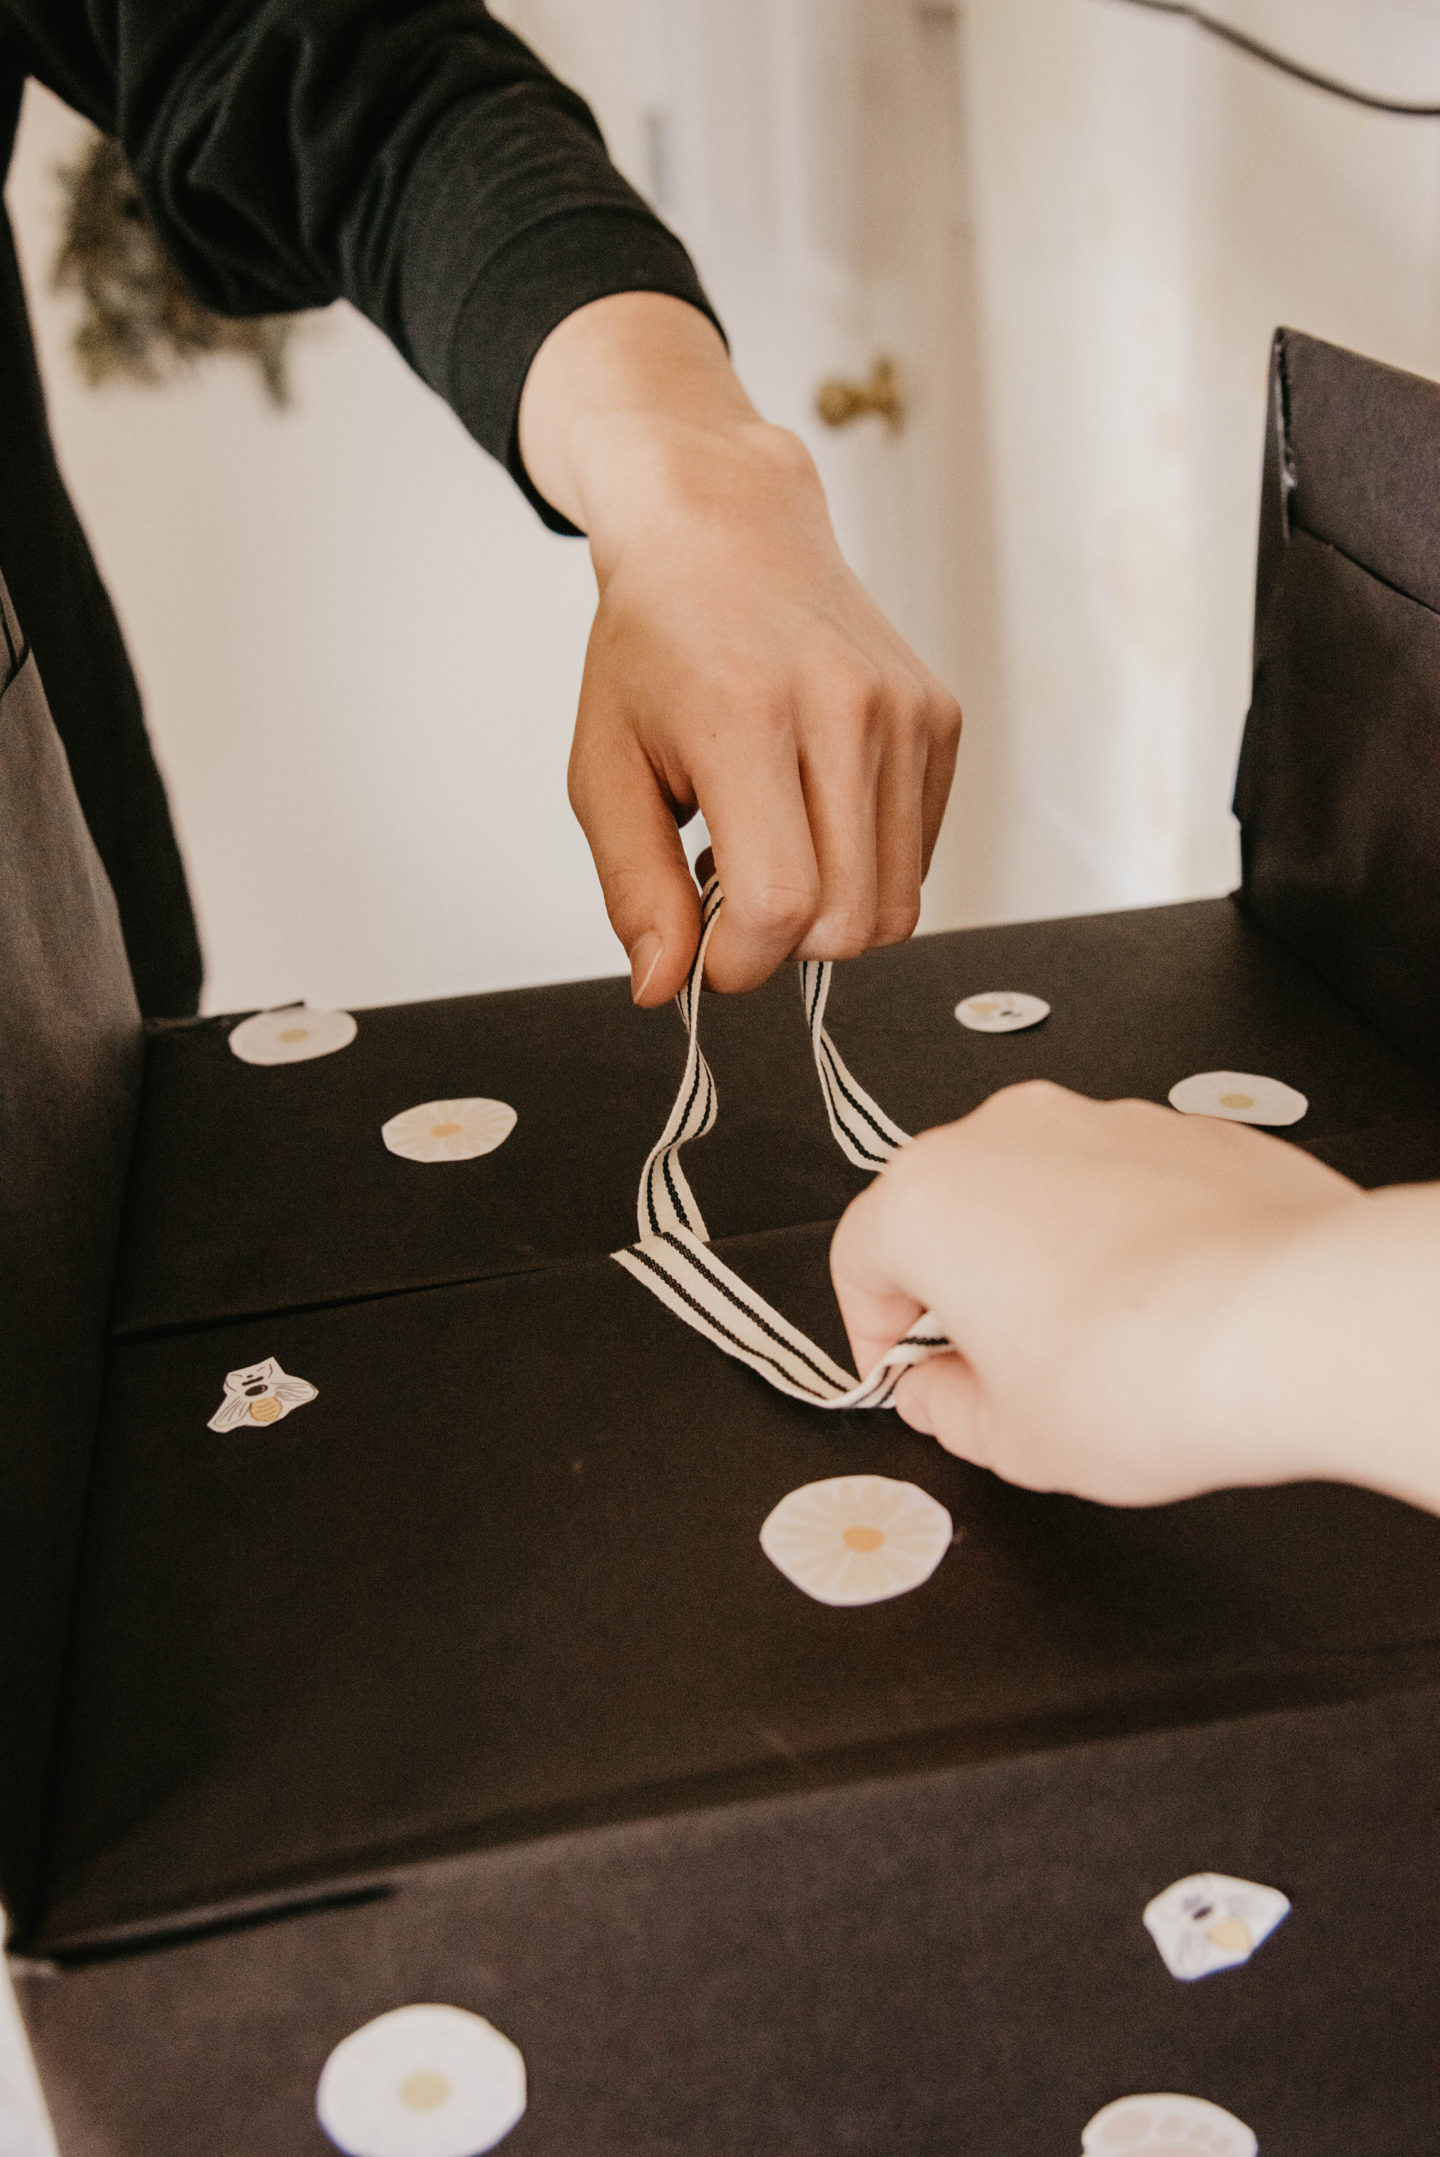
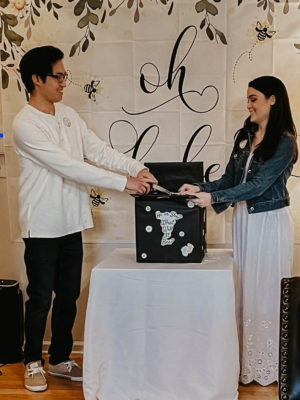
I didn’t want to see exposed cardboard so I covered the box with black kraft paper, inside and out. I used gift tape and glue sticks to keep the edged and creases clean. The inside of the box wasn’t super pretty but no one is going to be looking in there anyway. It’s just the place where the balloon lives until it’s released.
Note: I ended up adding ribbon handles to the inside flaps so that Pat and I could both pull them open together to release the balloon. It didn’t exactly work the way we wanted though because of all the tissue paper, haha!
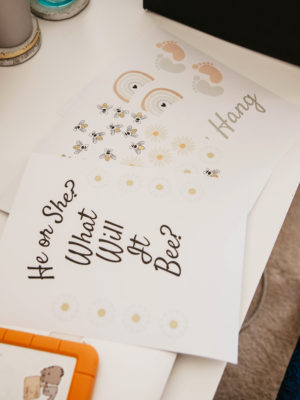
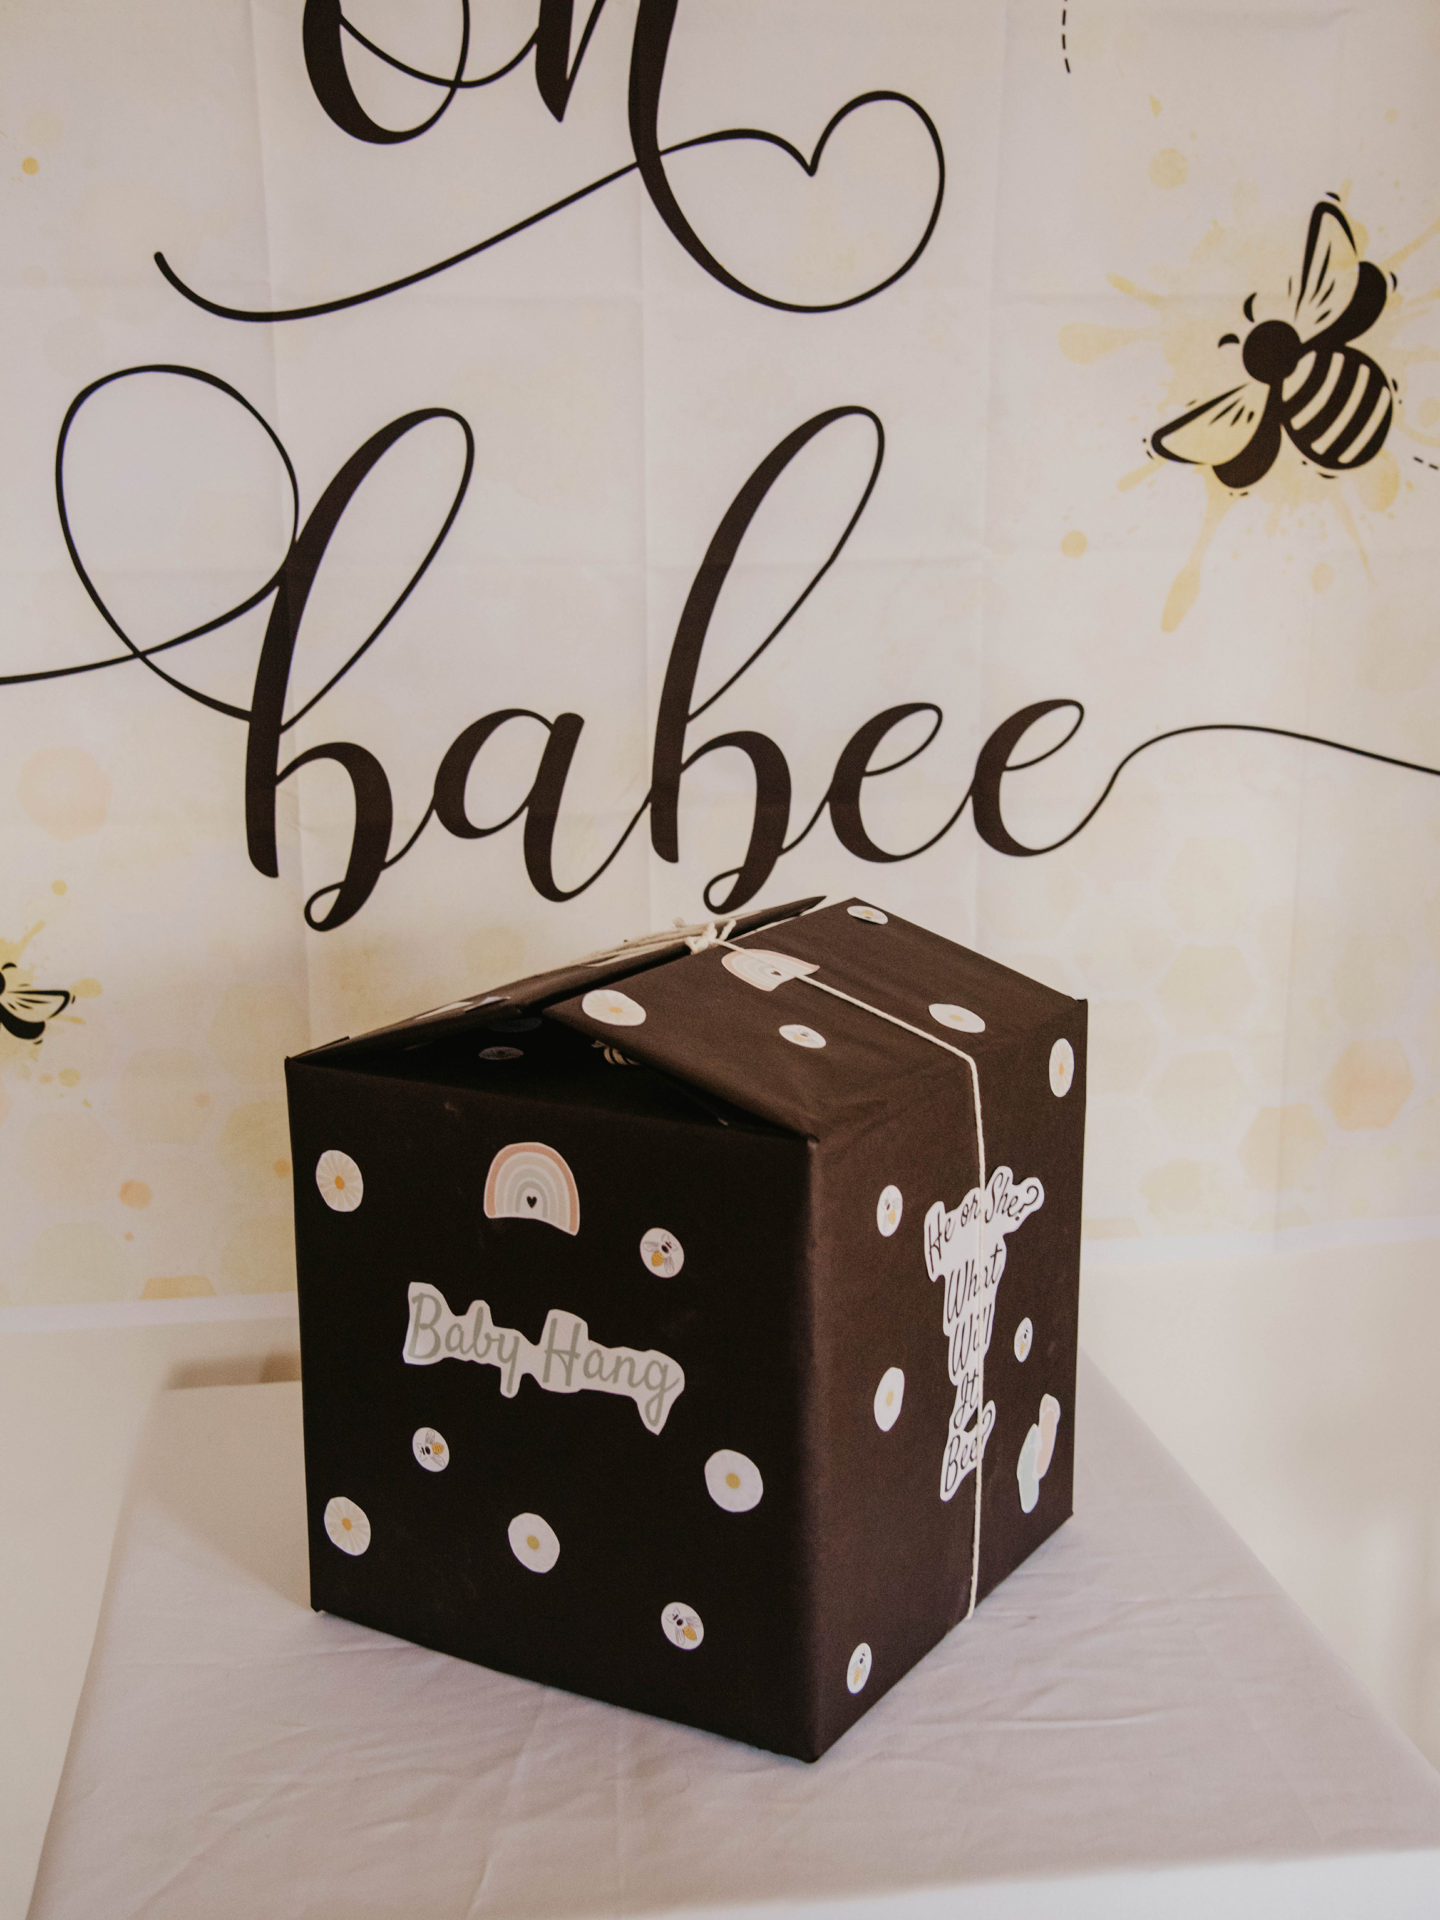
Design + Print Your Stickers
I used Canva to make my stickers. They have a ton of clip art from talented artists, as well as fun fonts. You can also customize the colors of some of the stickers to make them match your theme more. Once I was happy with them and the sizing, I printed them on sticker paper using my home inkjet printer, and cut them out with scissors. From there, I just placed them all over the box and flaps.
Prepping for the Gender Reveal
I had the nurses print all the photos for our 20-week anatomy scan and put the gender/sex of the baby in an envelope. From there, I handed my best friend the envelope and she went to Party City for the balloon. She placed the appropriate string on it and put it inside the box with the tissue paper I provided.
Note: Tissue paper ended up being a terrible idea. The letters on the string kept getting caught, so the balloon wouldn’t rise out of the box. Keep it simple and just place the balloon in the box with no tissue paper. Also, make sure you get the balloons blown up a couple hours before the event, like we did. Helium only last 5-8 hours so there’s a time constraint.
–
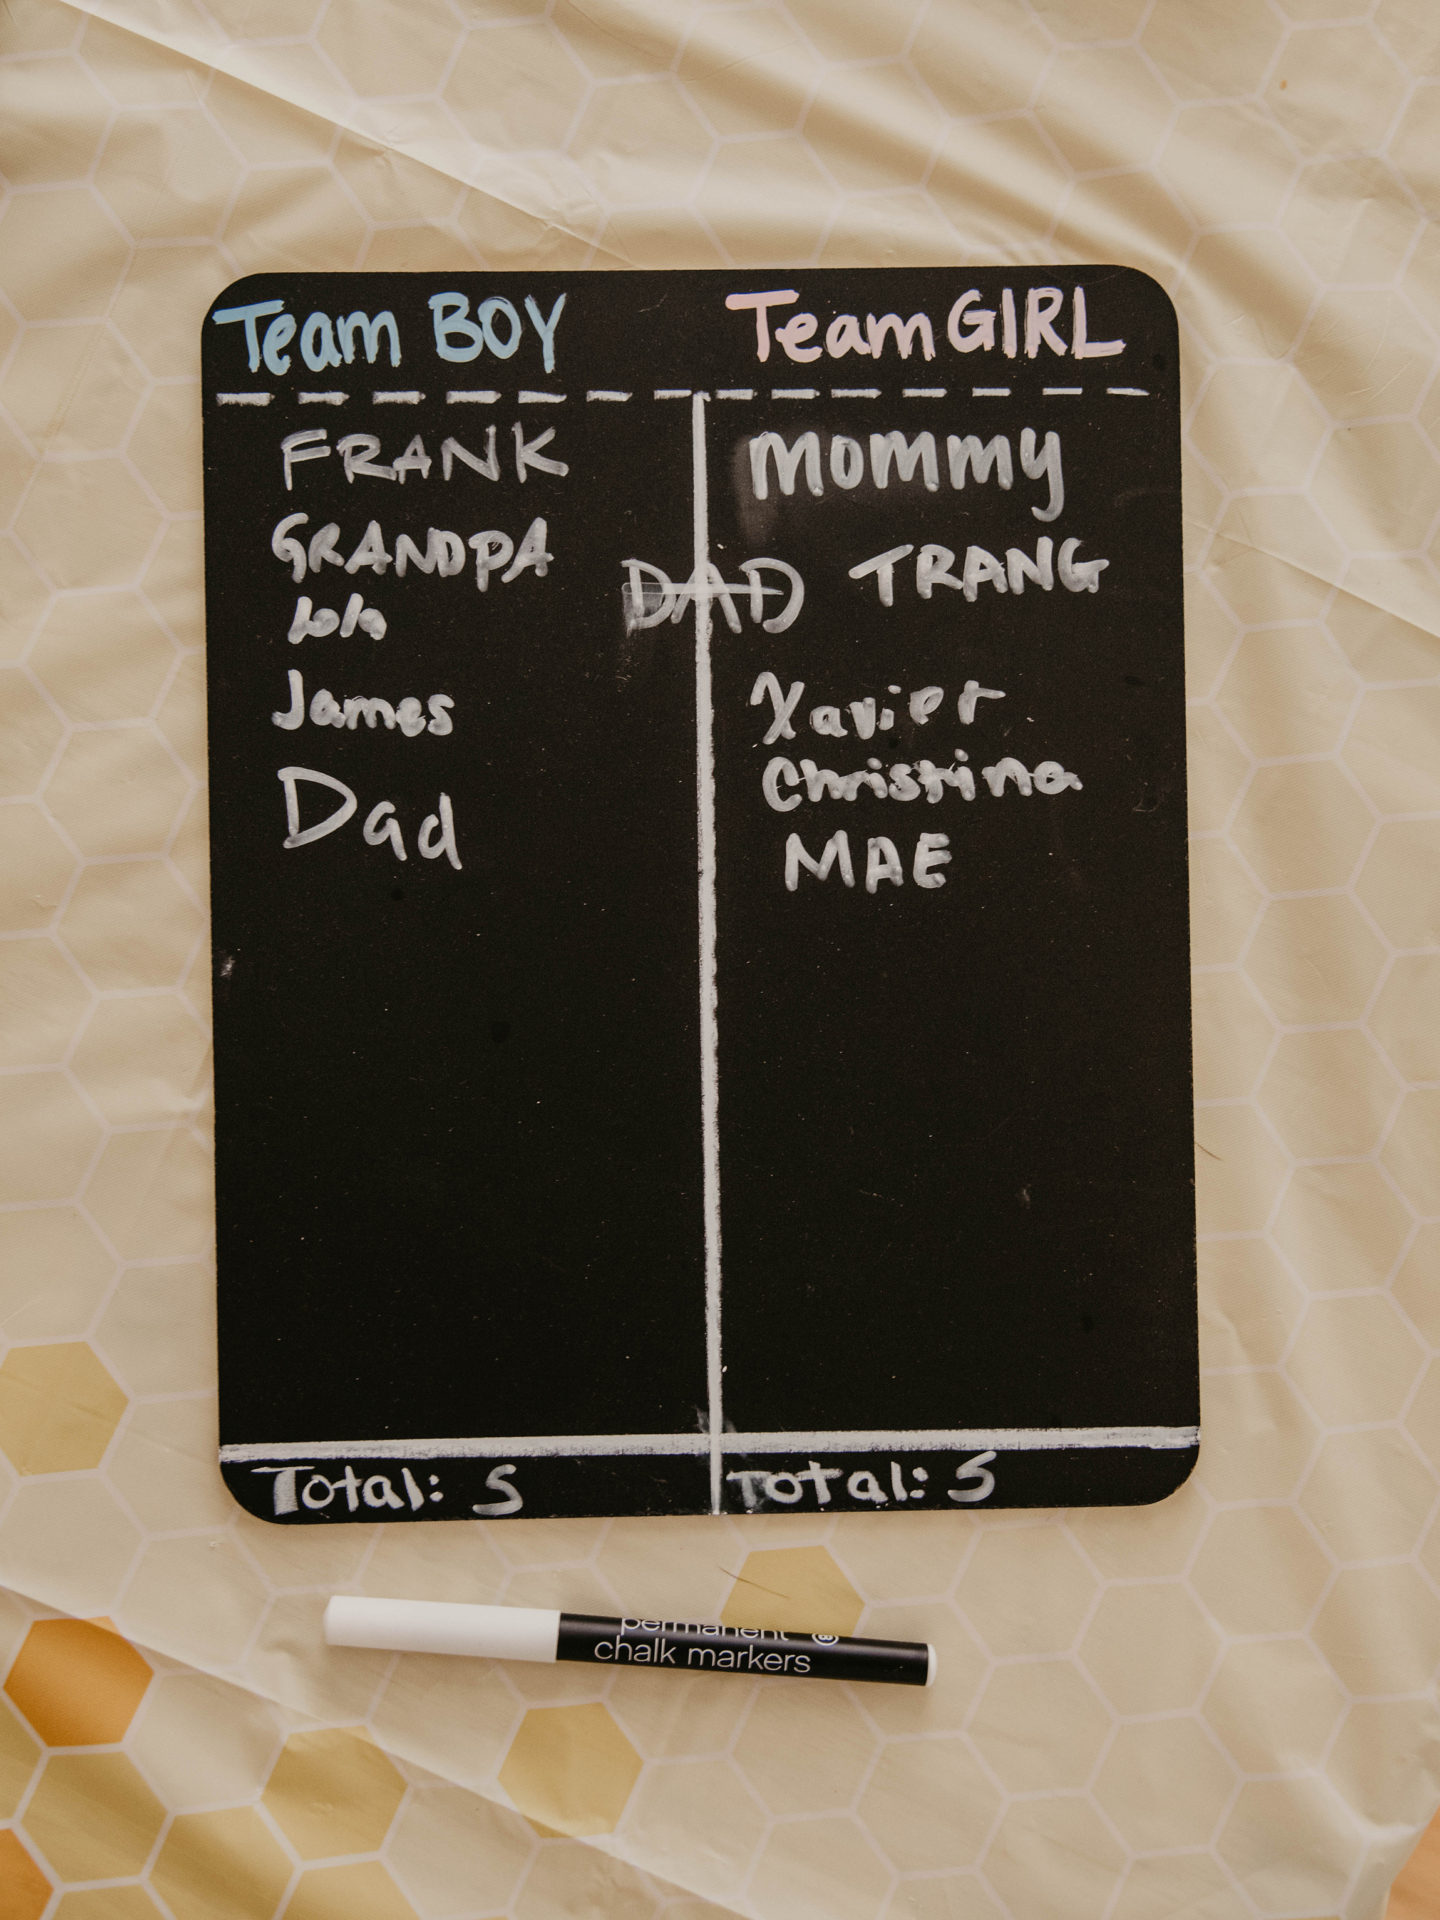
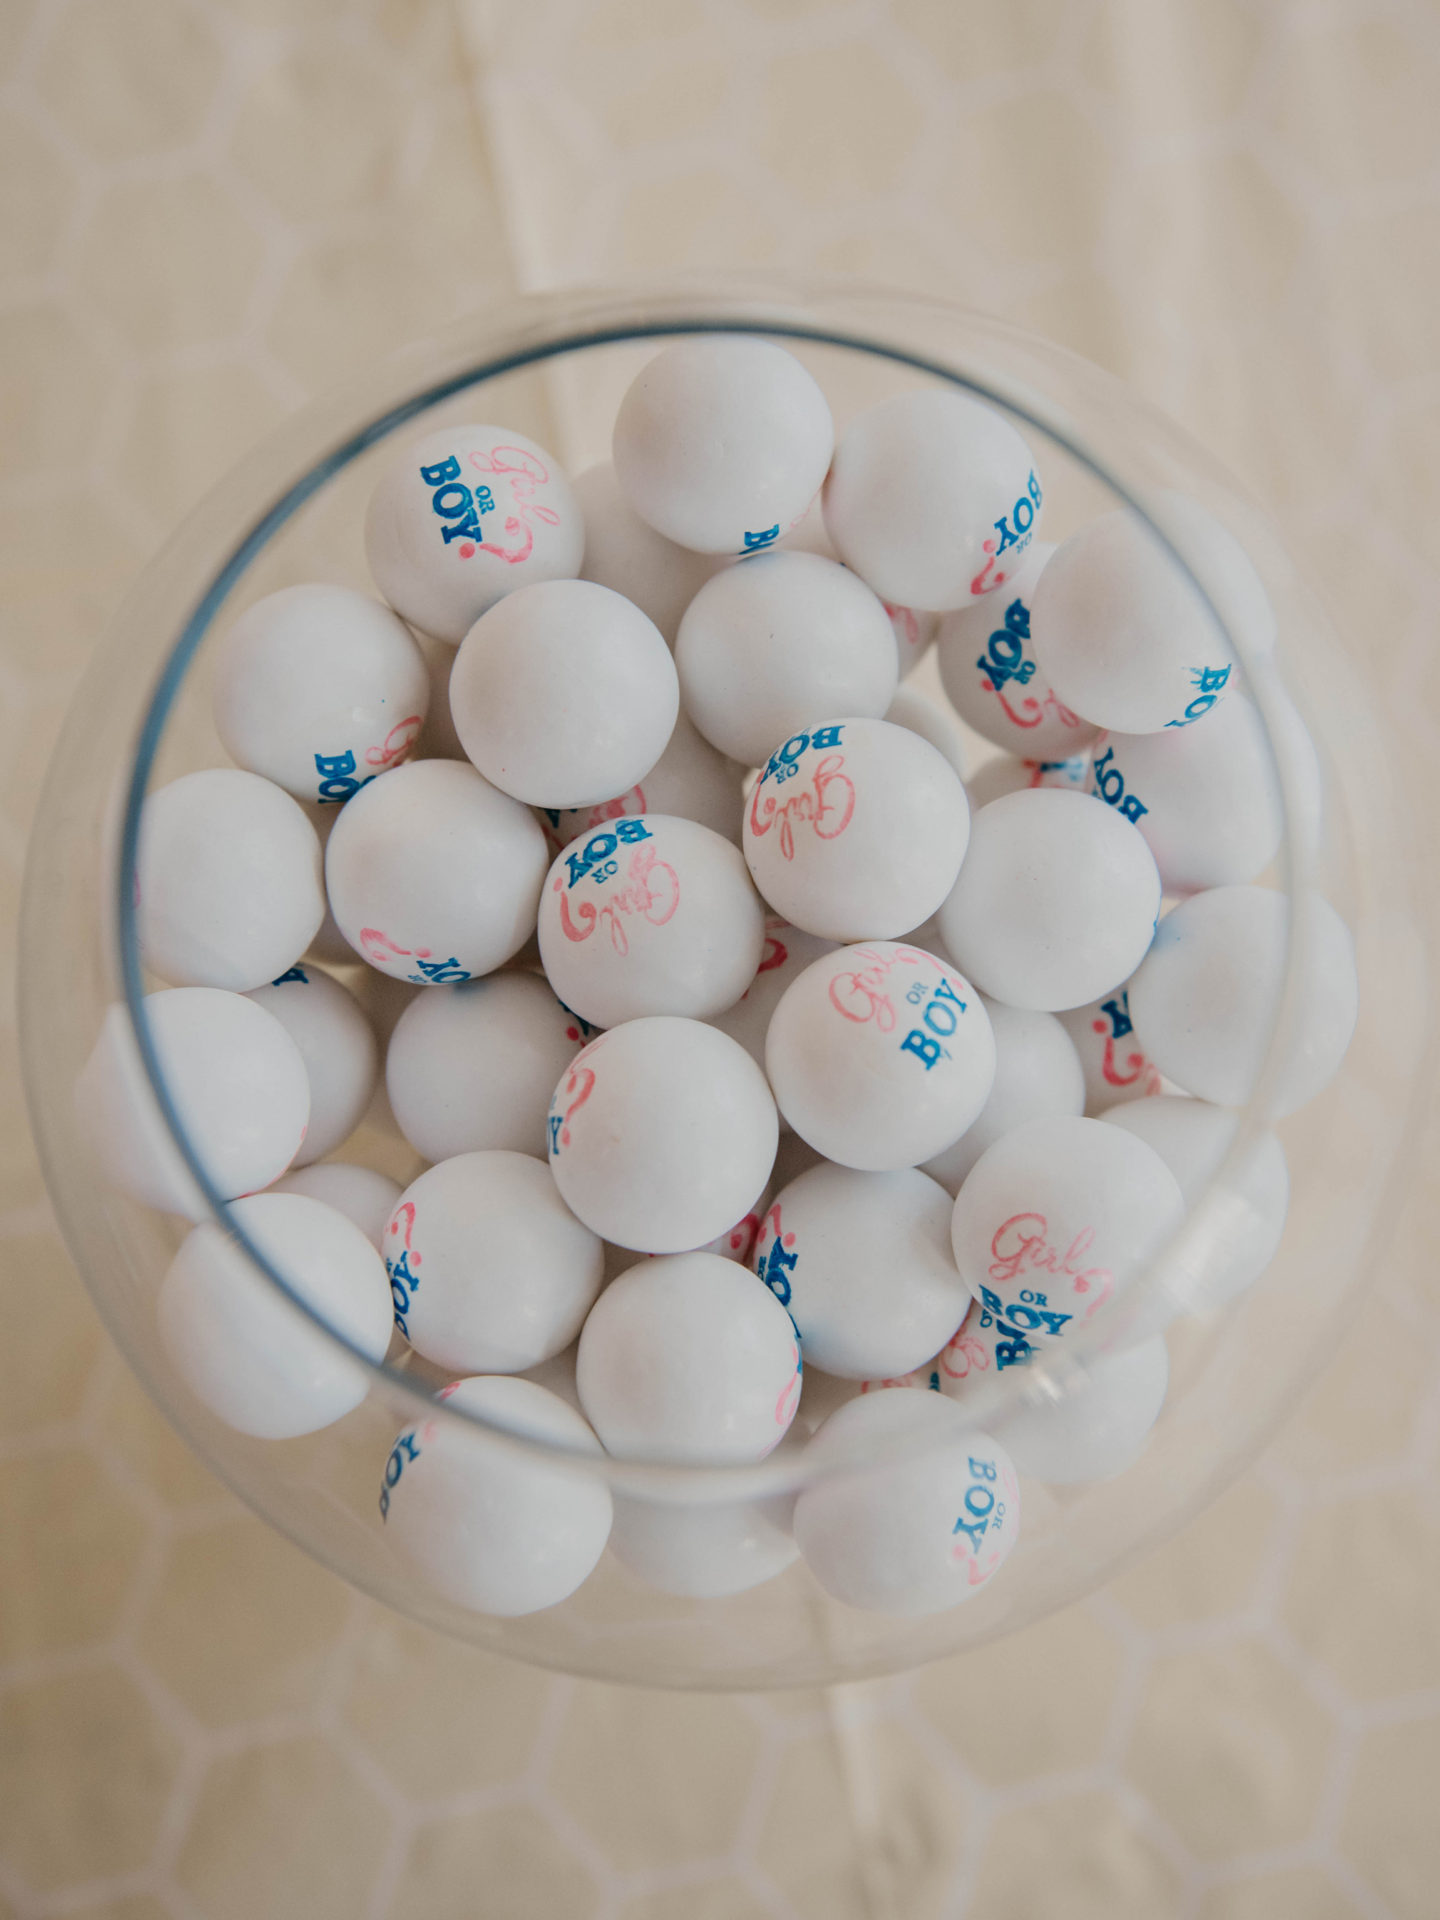
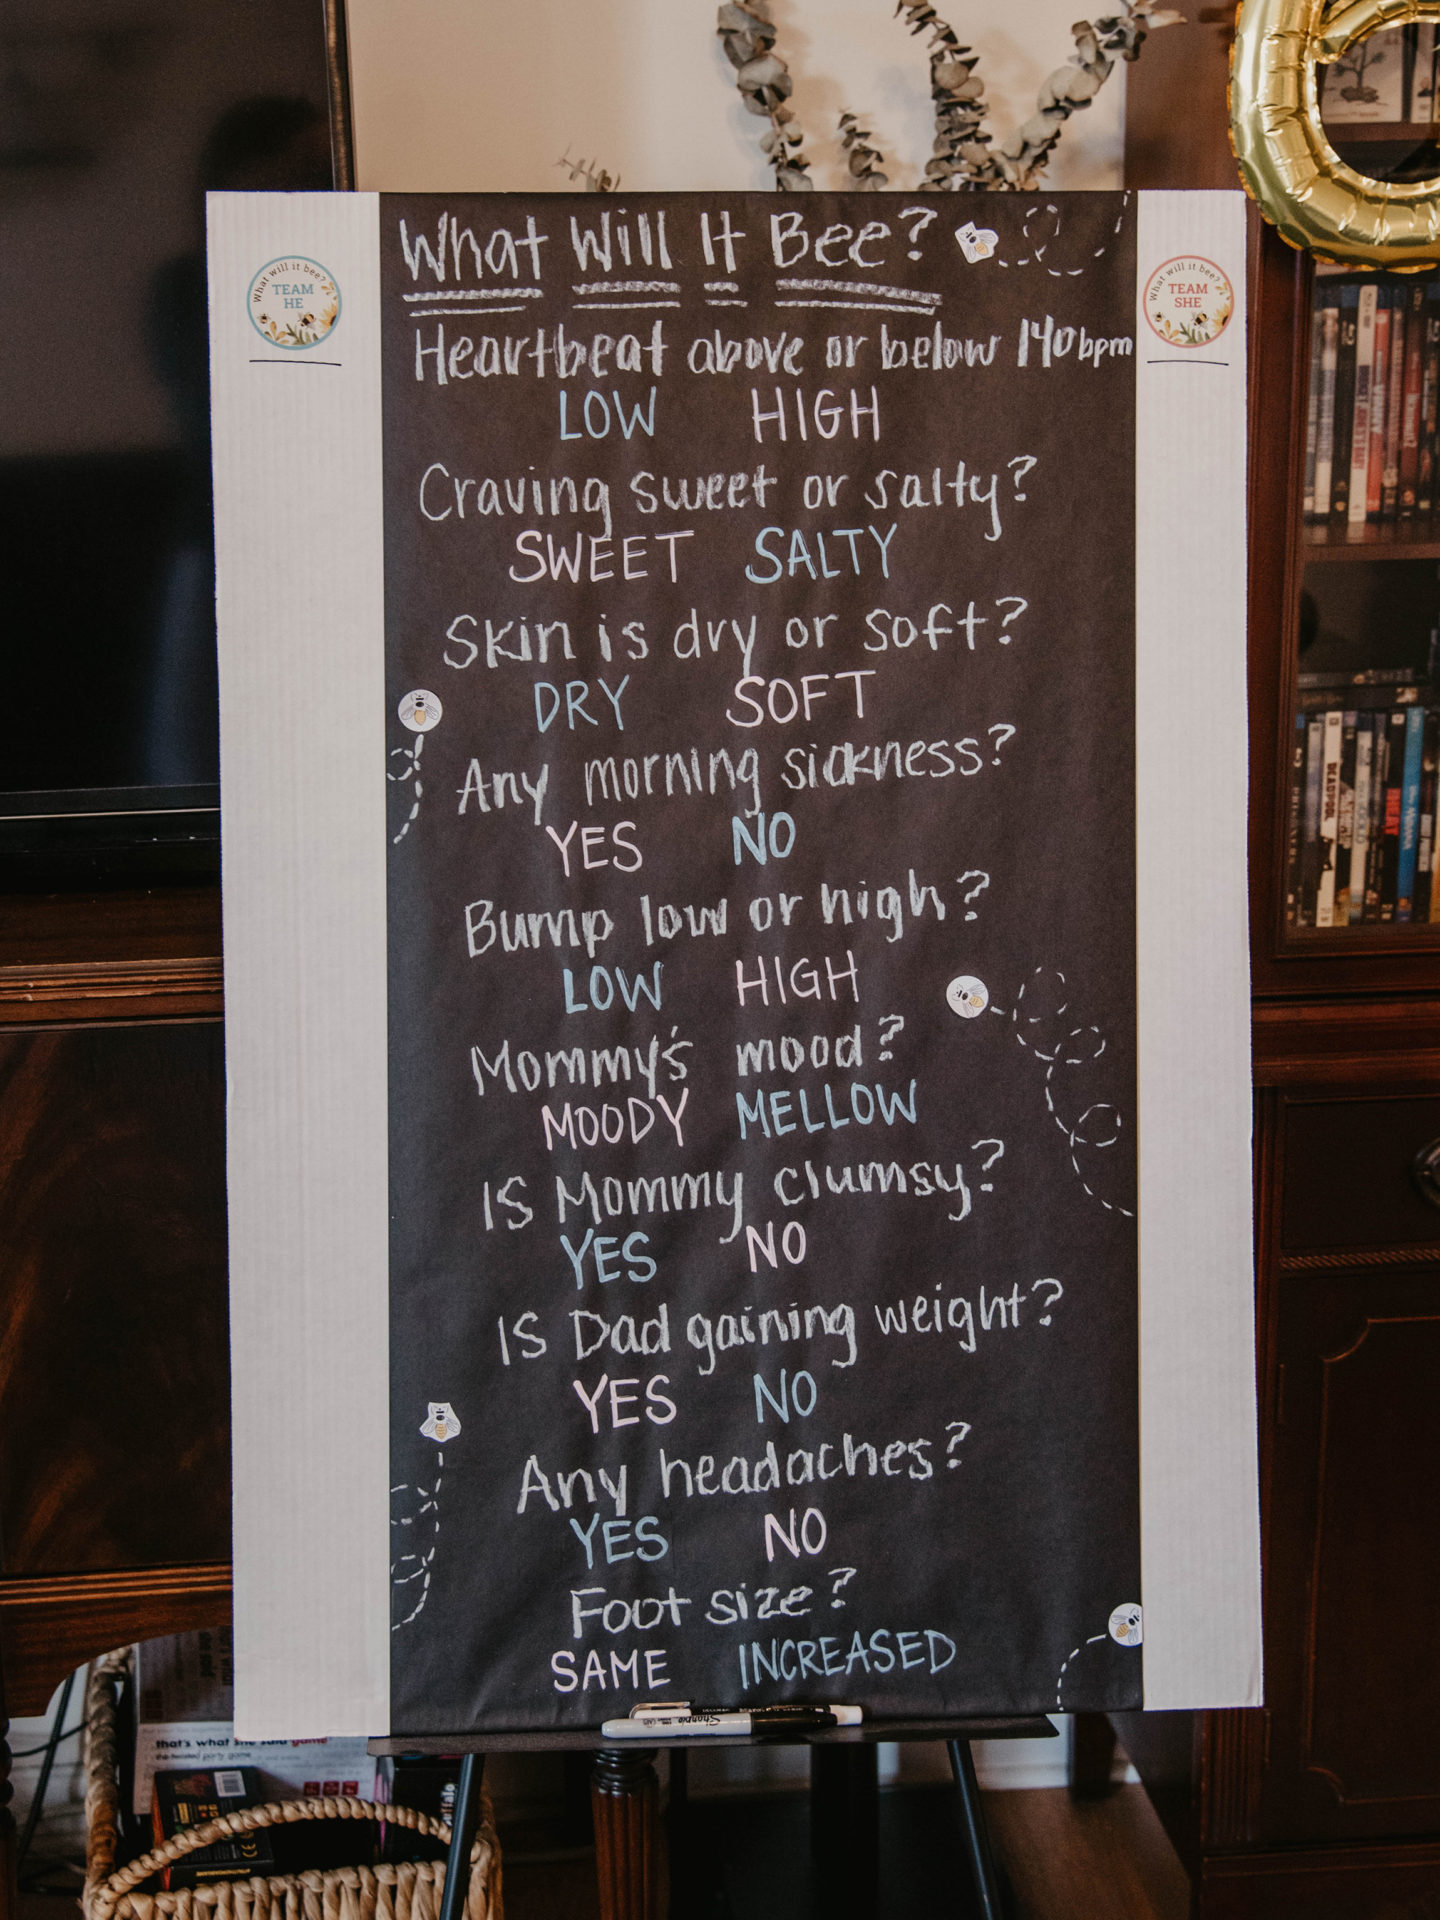
There are so many truly great gender reveal ideas out there but I’m honestly glad we kept ours simple. Since we decided to throw the gathering at our home, we didn’t want to be worrying about a cake getting messed up in transport, or vacuuming up confetti. We played a couple games, like ‘Old Wives Tales’, Blind Doodles, and then we did the big reveal.
Pat, my dad, and I have been spending a lot of time fixing up the laundry room over the last 3 weekends. Because of the pregnancy, I’m very limited in what I can do. As of right now, it’s like 90% done, but we still need to install crown moulding, something that requires getting on a ladder, which I cannot do right now. Once the laundry room is fully complete, I’ll share! In the meantime, we’re narrowing down nursery room colors and starting plans for the baby nursery.
I cannot say enough just how overjoyed we are!